


As we talked about in detail in our article “Color converting Your Car’s Interior Lighting“, many digital displays in your car are simply white LEDs with a colored plastic filter. This is no different for many displays in Volvo’s lineup, and specifically true for the P1 Volvos including the S40, C30 and C70. For those models the standard Volvo Green filters are found in the gauge cluster for the mileage and gear indicator, as well as the information readout, and as we will cover here, the infotainment control module screen (ICM).
Here, we will show you a quick a cheap way to move your interior lighting color conversion towards completion. We will be using a 2006 Volvo S40 shop car for our write up.
Tools Needed:
Small flathead screwdriver
Small phillips screwdriver
New razor blade or x-acto knife
Straight edge (we used a standard level)
Kitchen cutting board
Lighting filters – color of your choice
Time Investment: 45 minutes
Experience level required: automotive beginner
Start by removing the radio bezel that surrounds the infotainment screen and cd player. We used a small flathead screwdriver to pry it out.
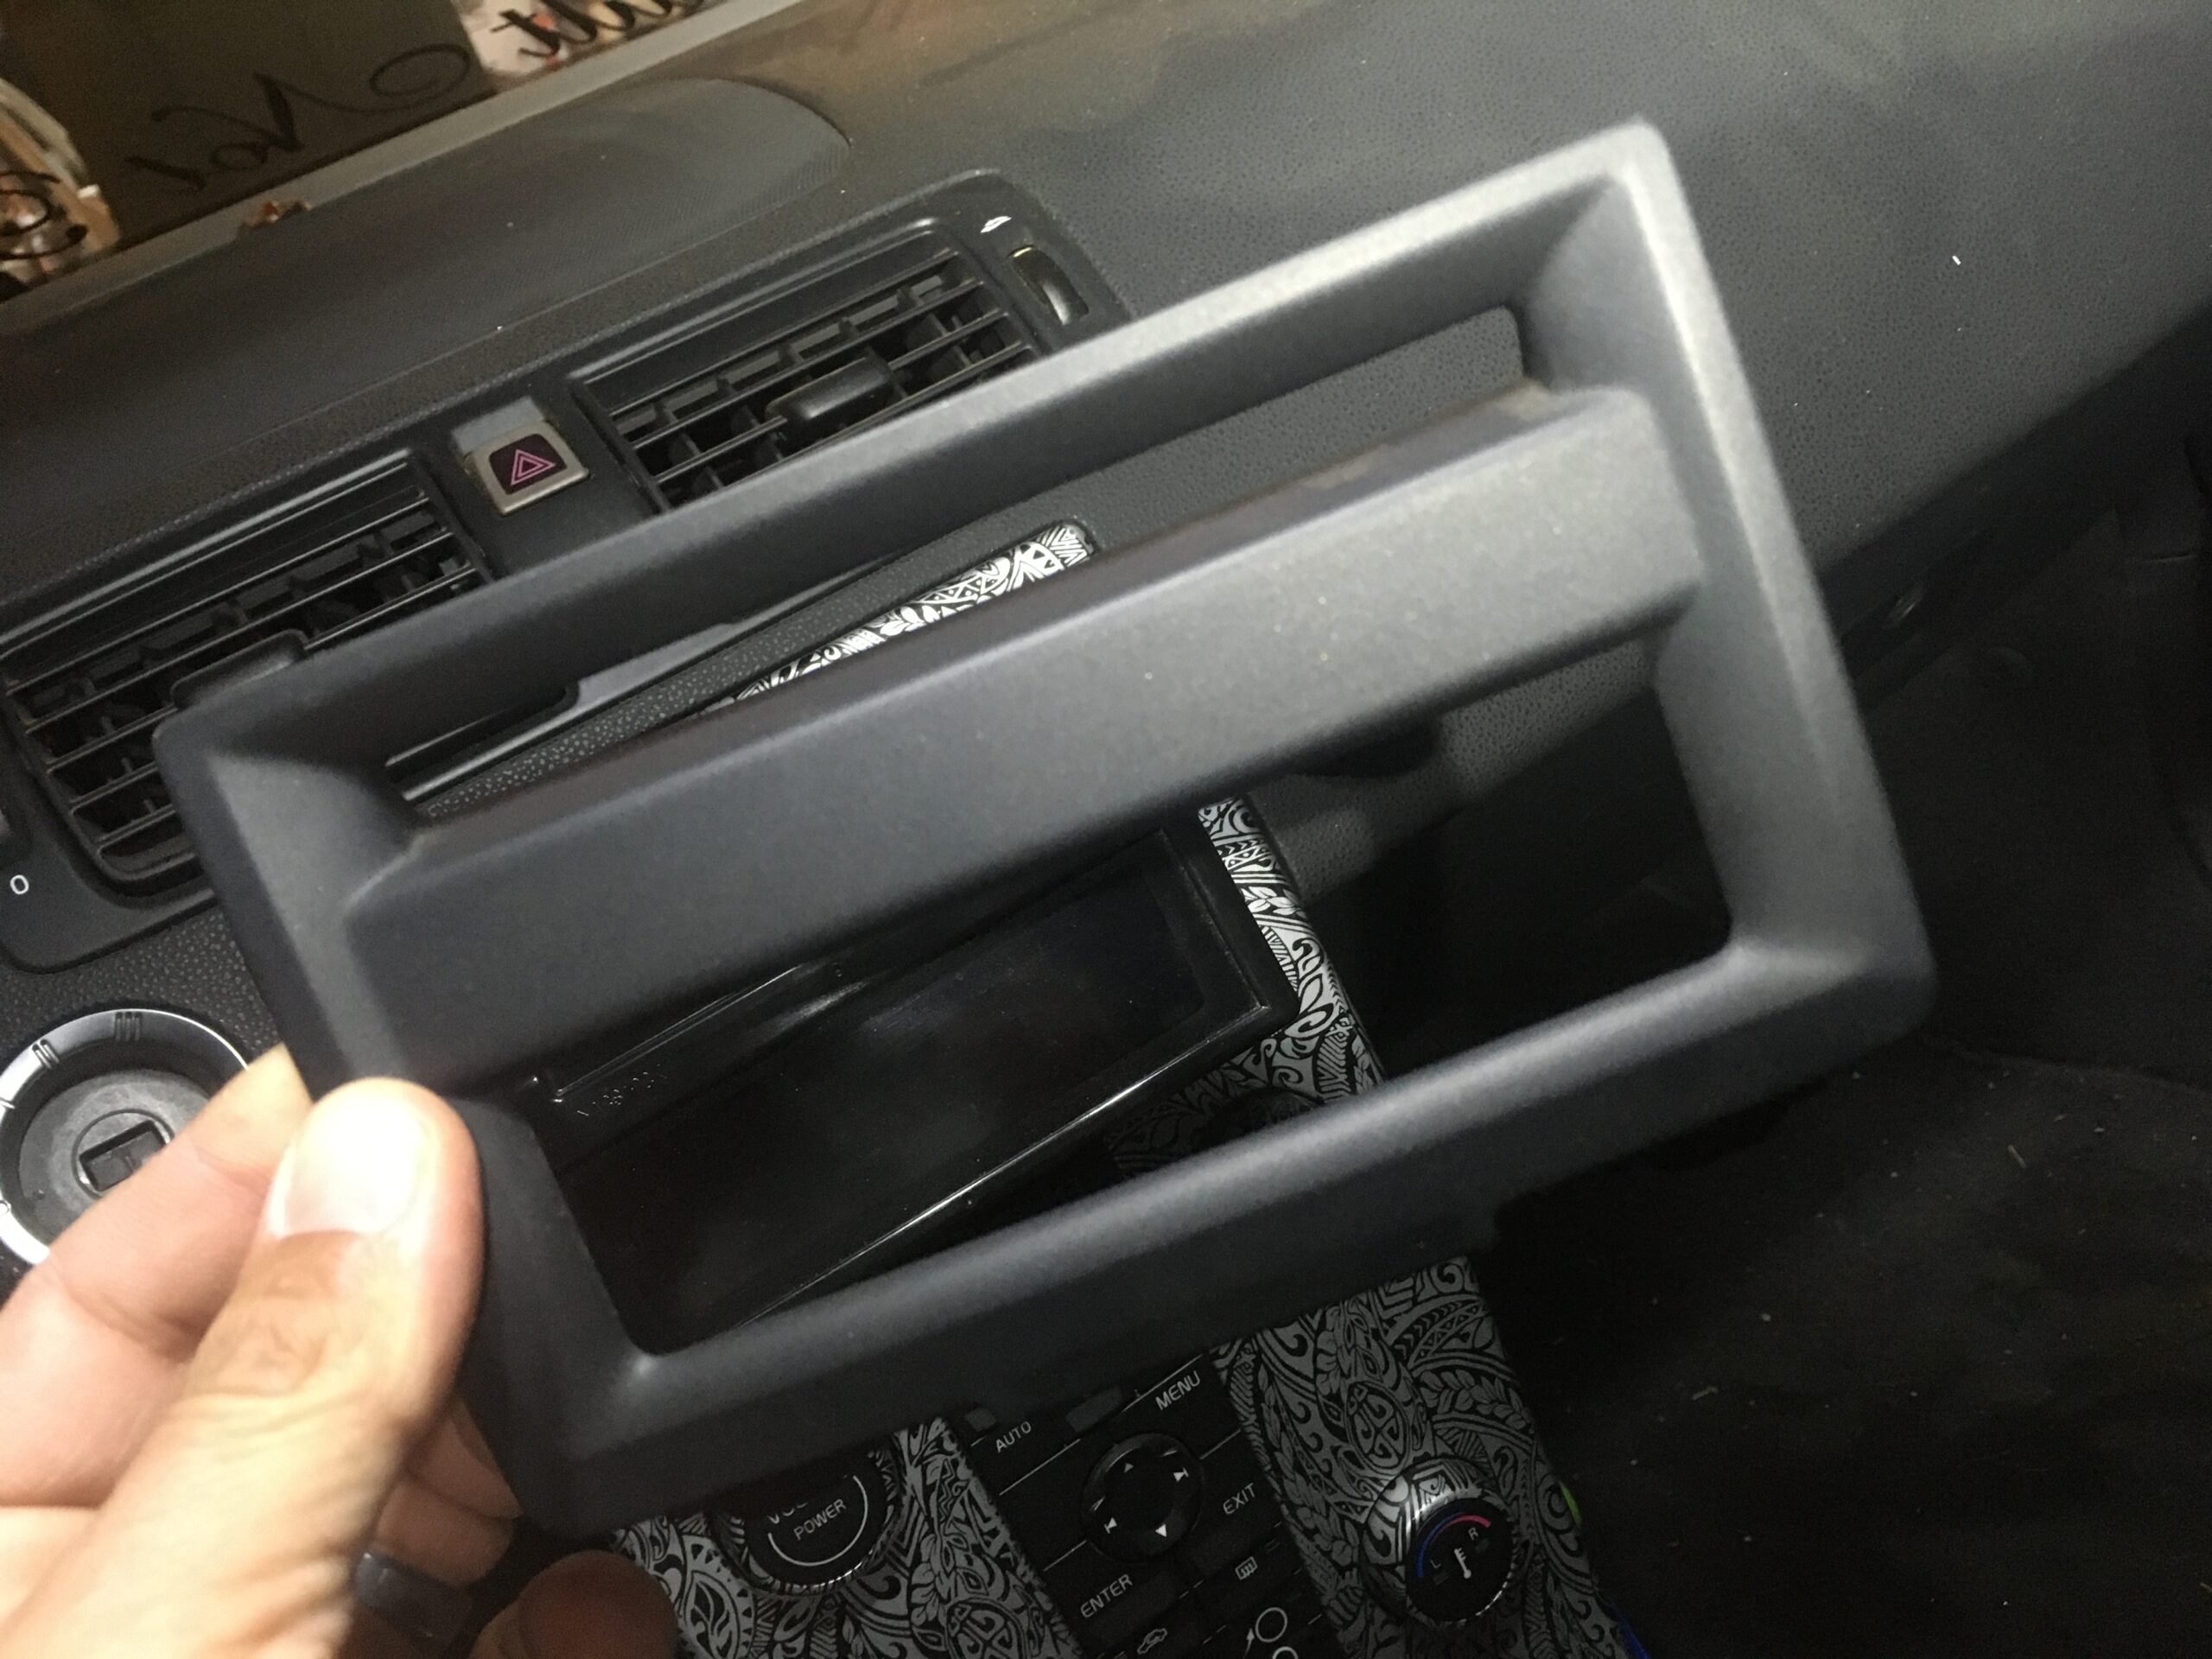
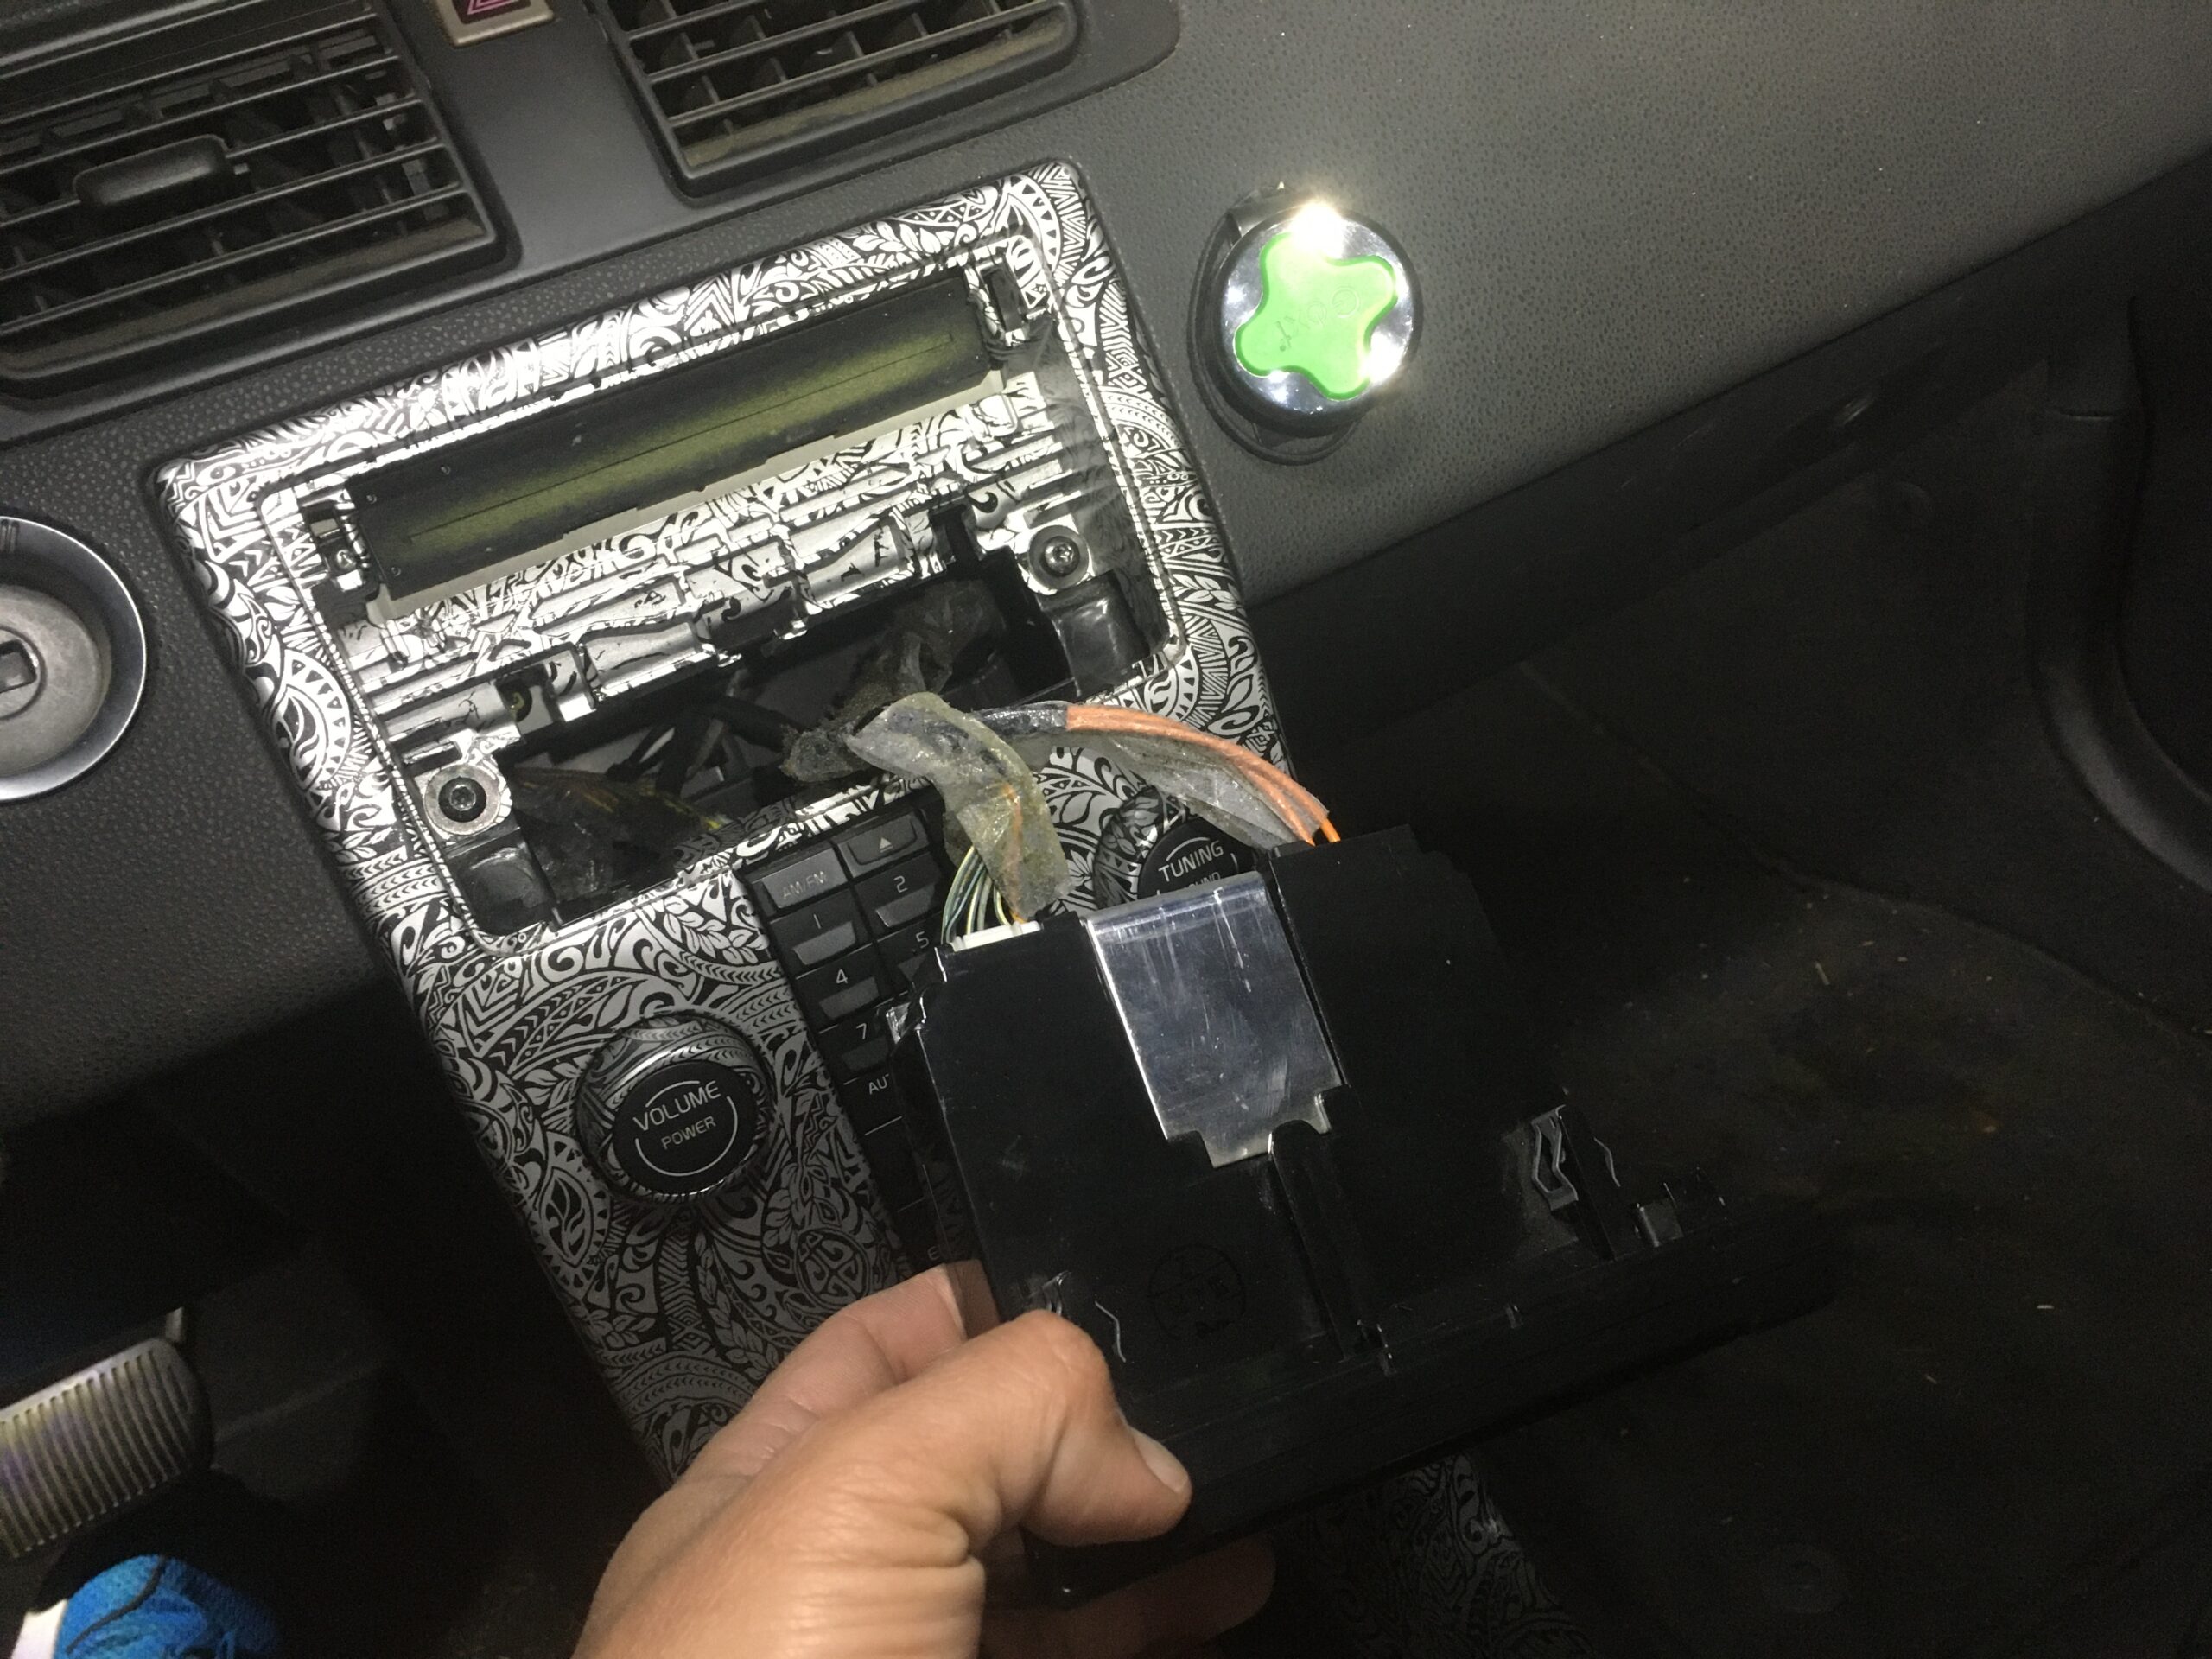
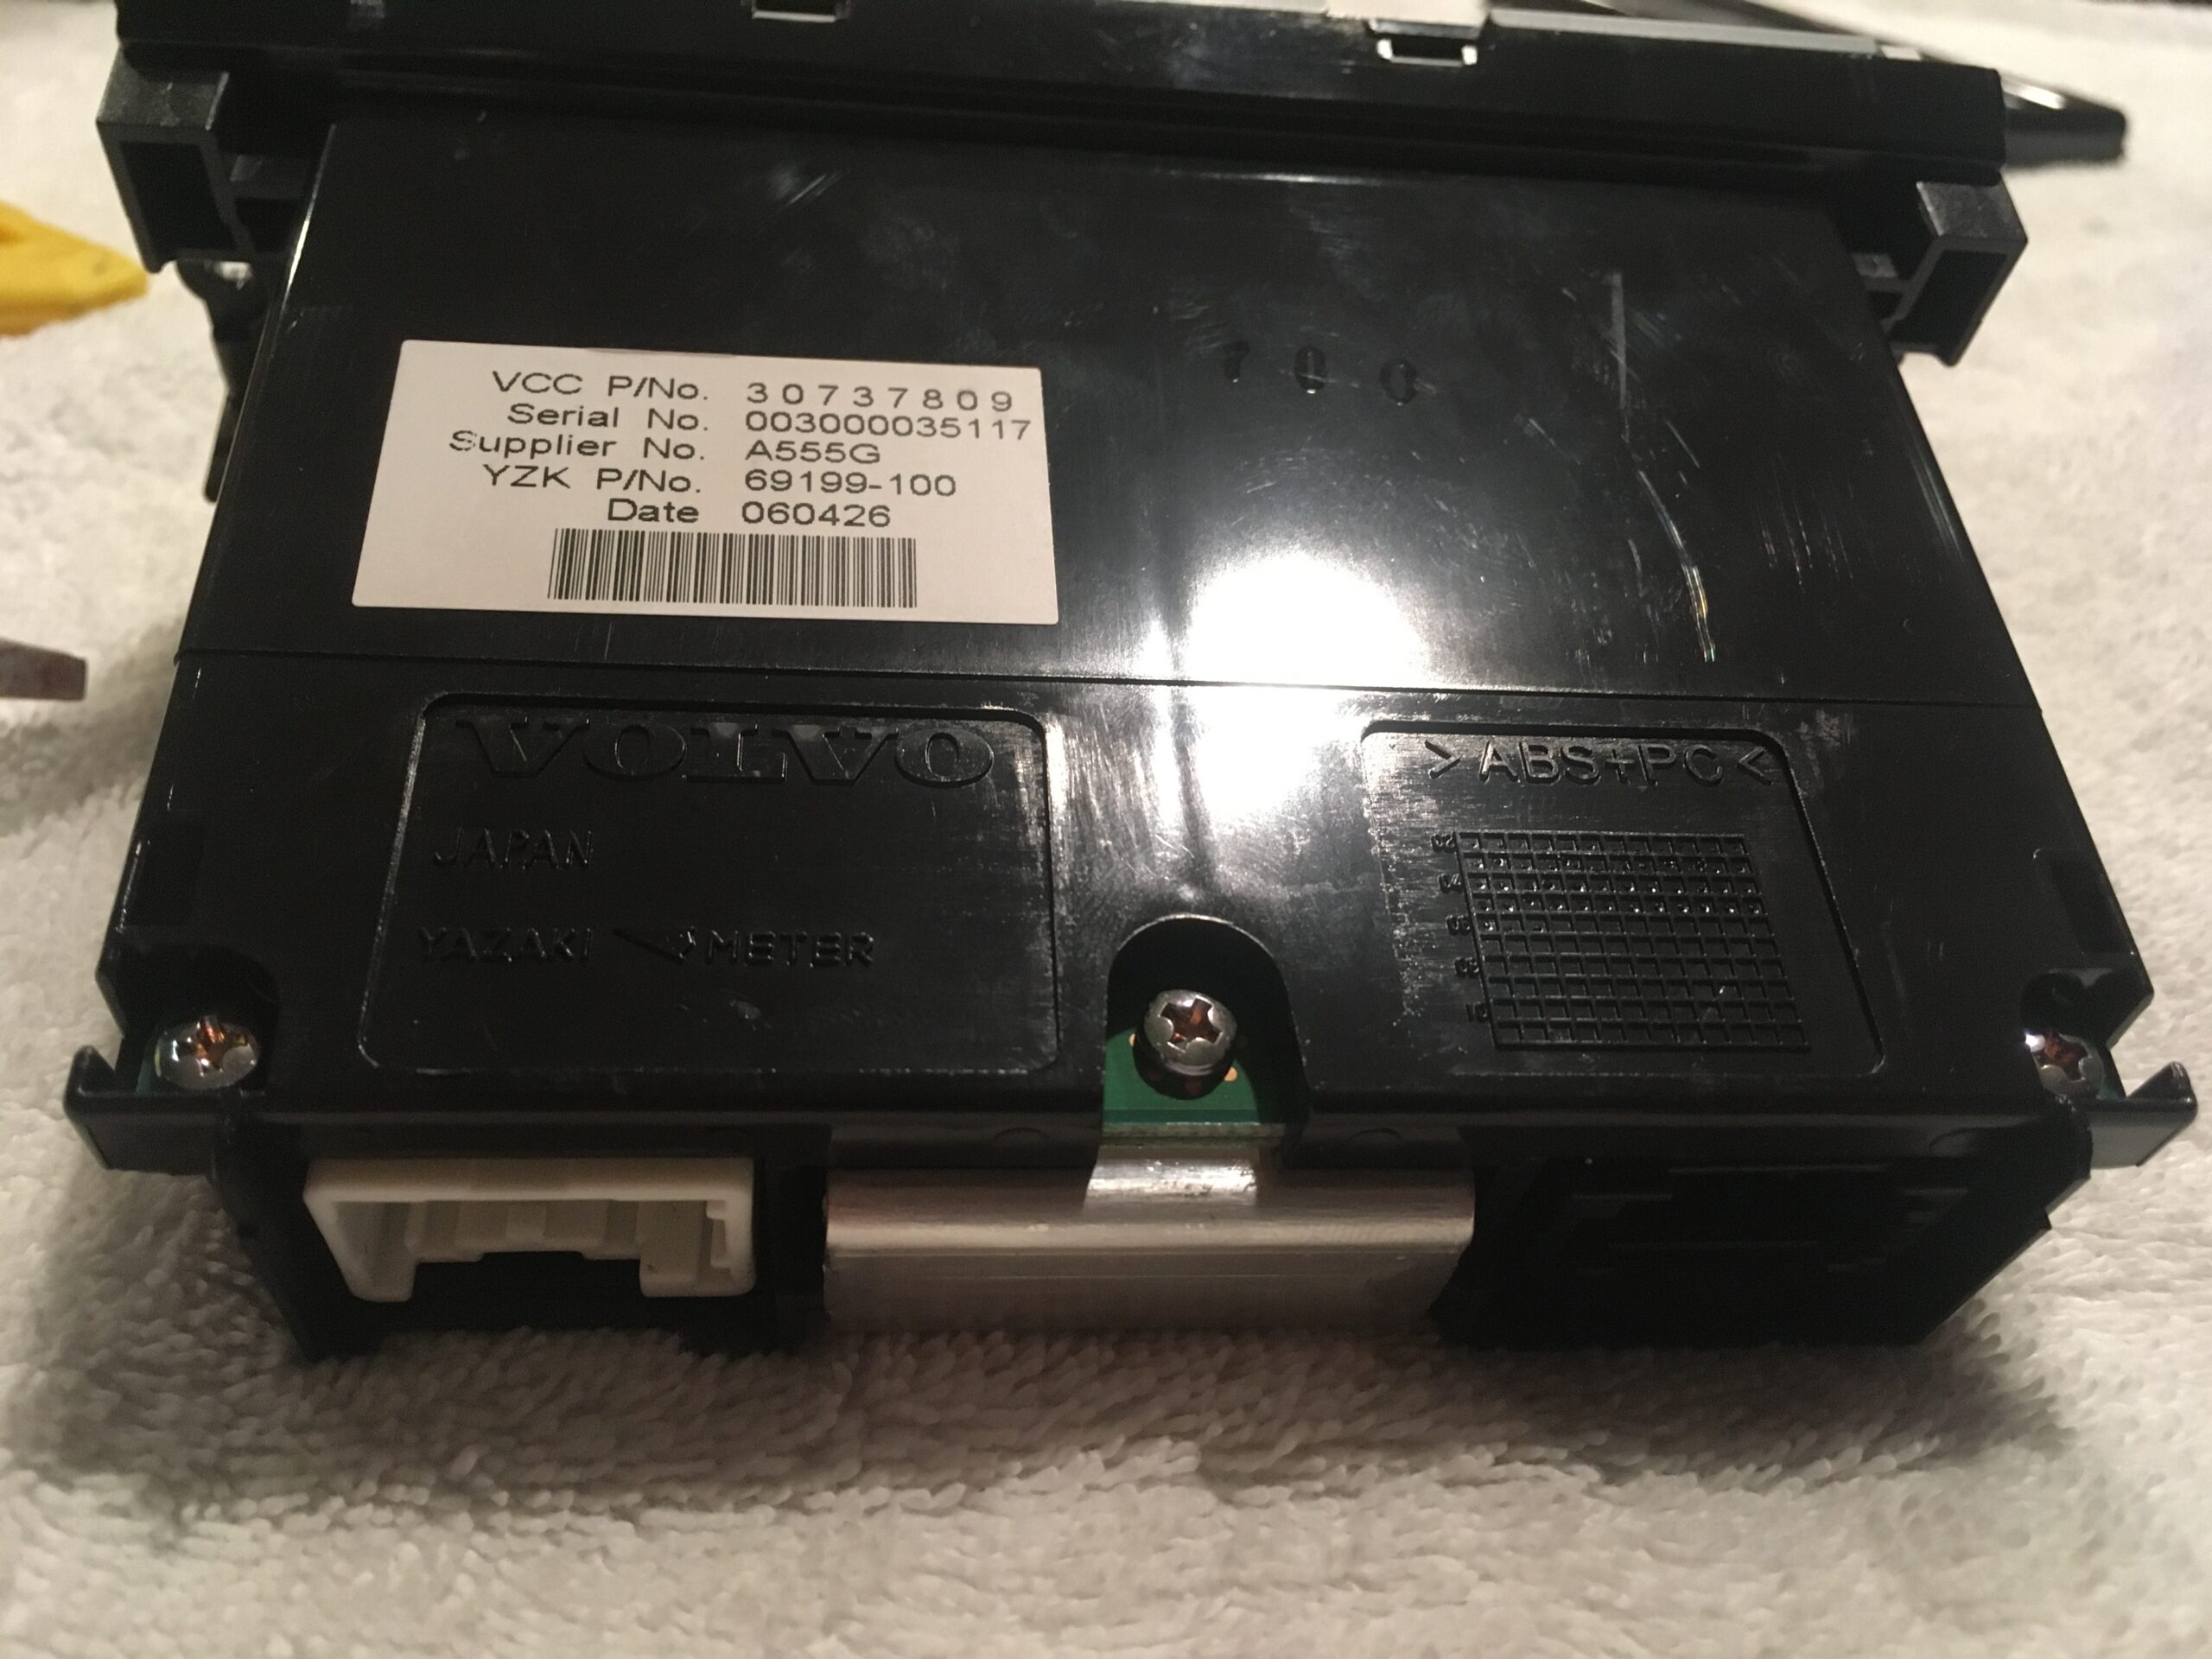
From there, you will have access to the infotainment module. It is held in by two metal push prongs and can be pried out with a flathead screwdriver, but we used a 90 degree angled door panel clip tool.

You will then see two wire harnesses attached to the module. This is the wire harness and the fiber-optic cable harness. Pluck those off by depressing the clip retainer.
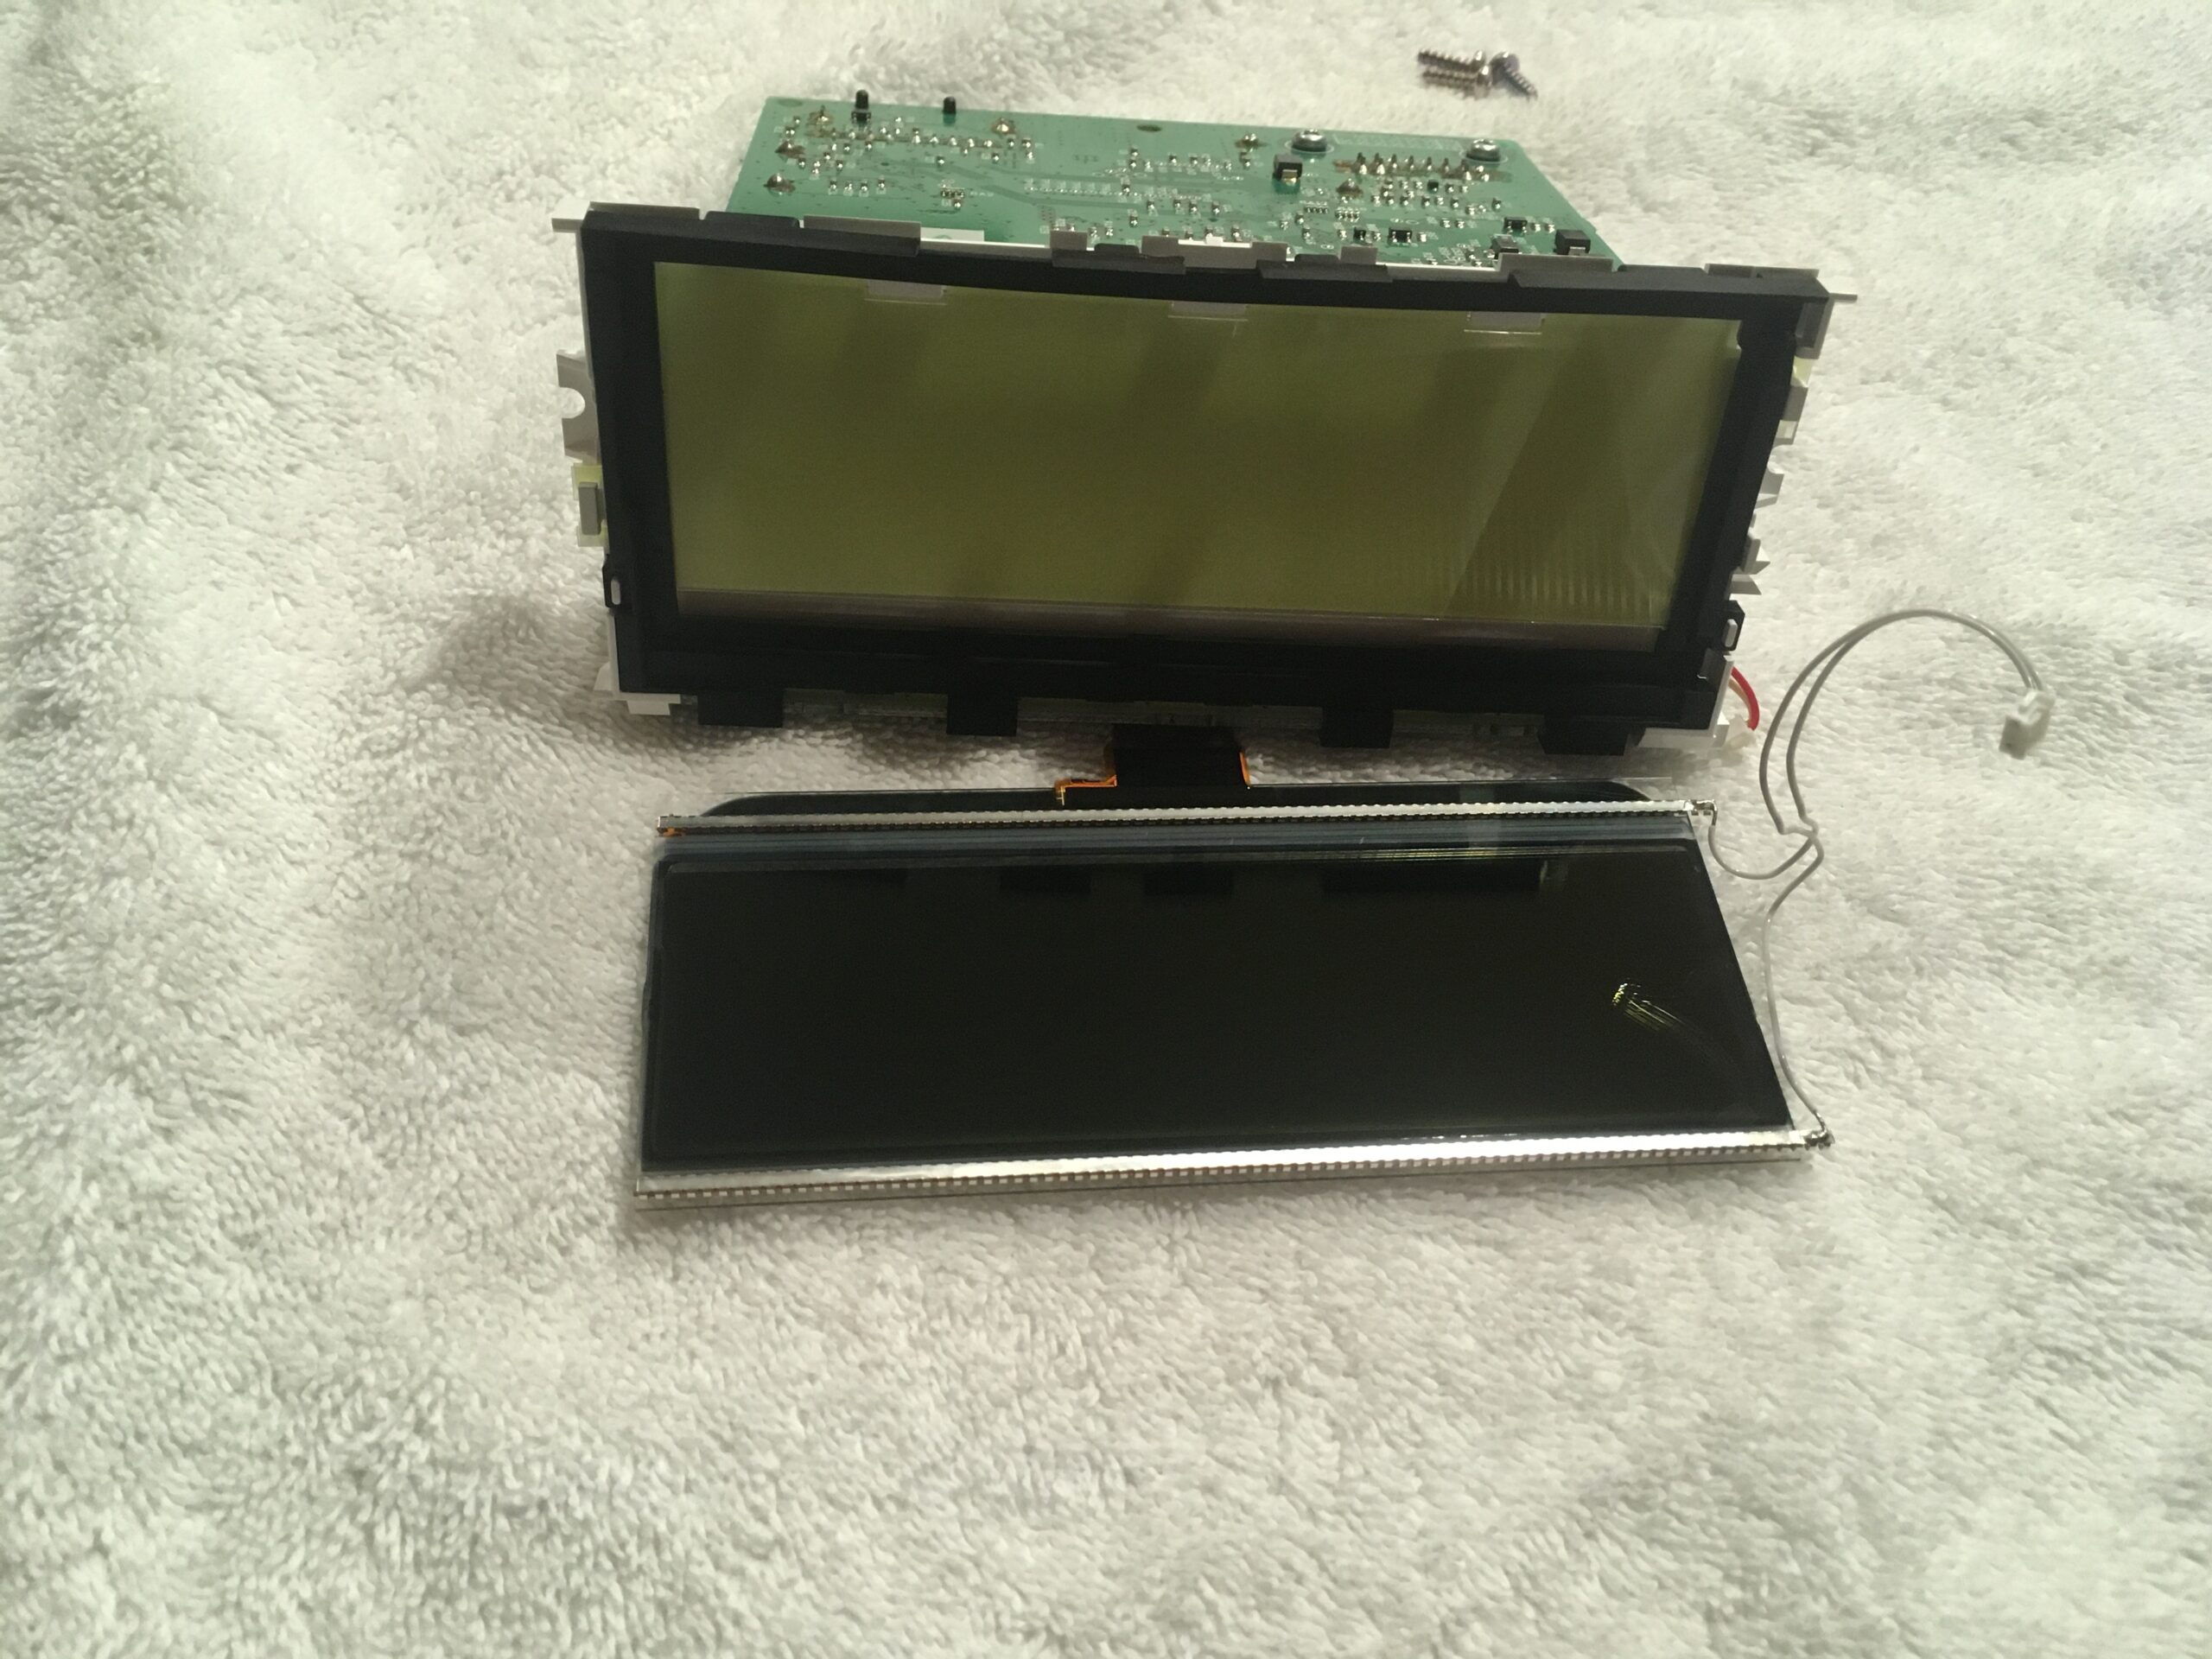
With your module out, move to a flat and clean area for working on the unit. We used our kitchen counter and laid down a fresh white towel. At this point it is also a good idea to wash your hands, and maybe even use a fresh pair of latex type gloves since you will be touching glass screens.
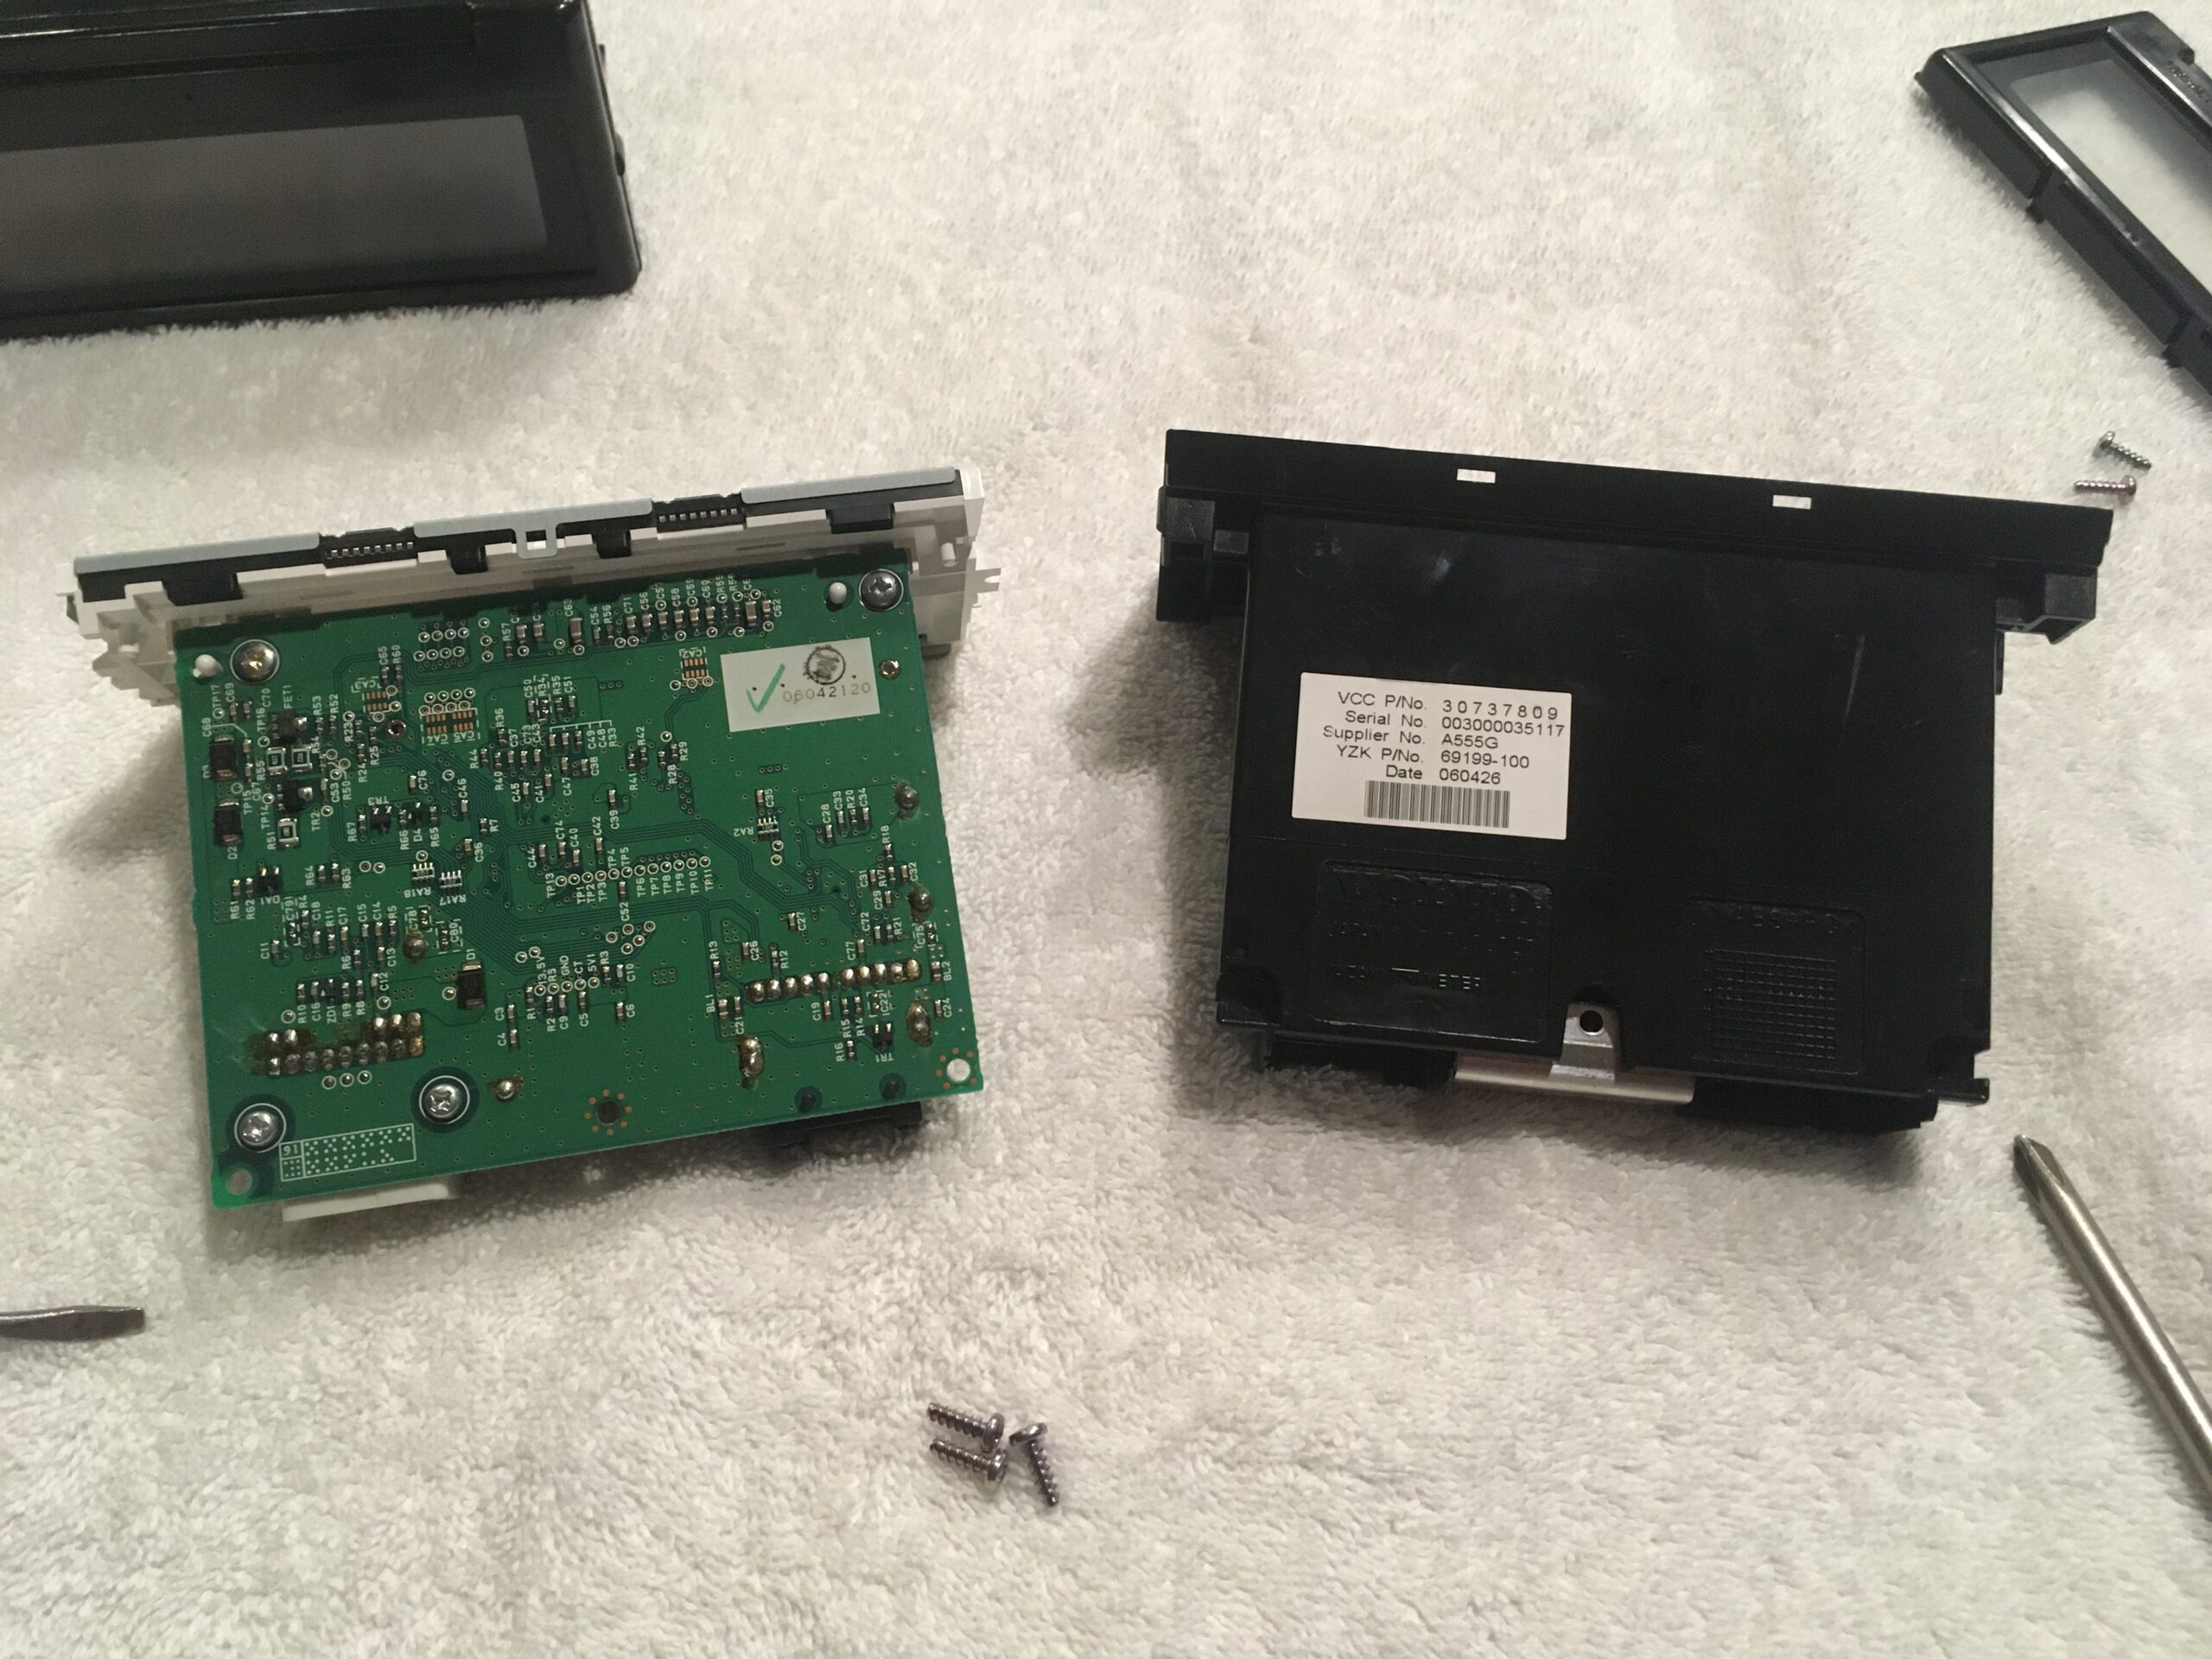
First you will remove the outer plastic screen protector. You will see two phillips screws on the back of the screen. Remove those and pull the outer screen protector cover off of the module.
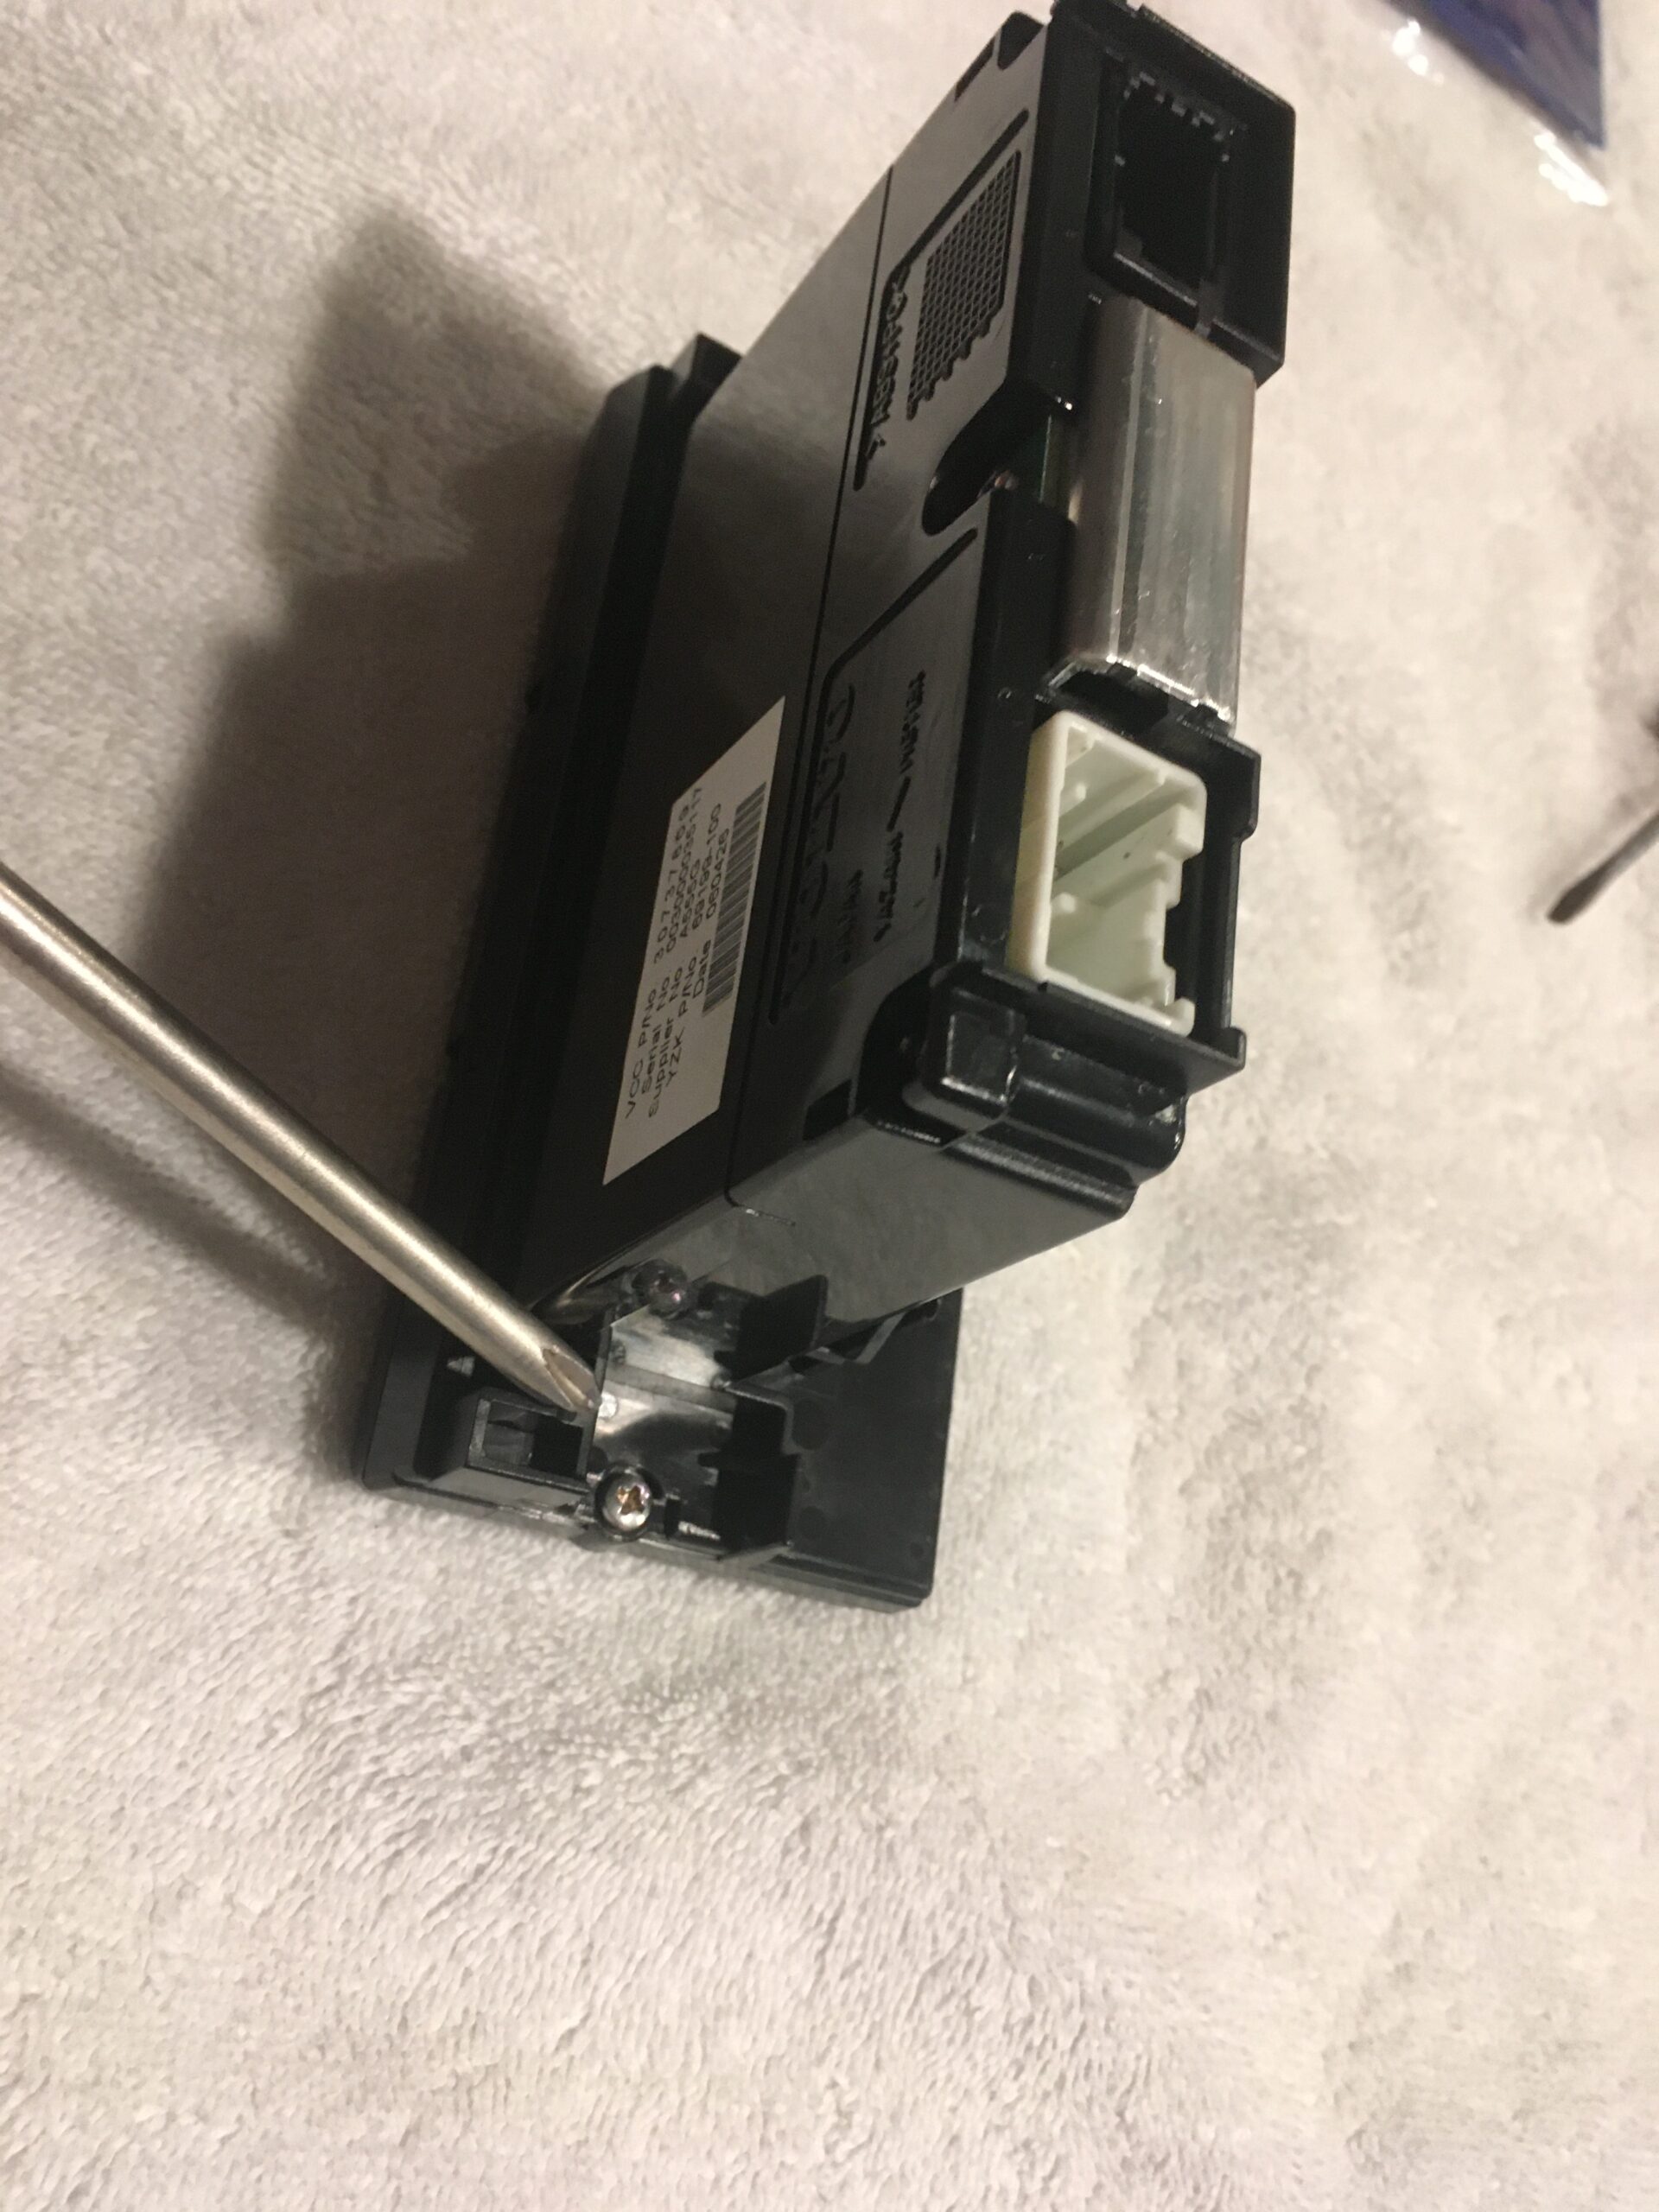
Next flip the module over and you will find 3 phillips screws that hold the housing to the circuit board inside. Remove those and place them aside.
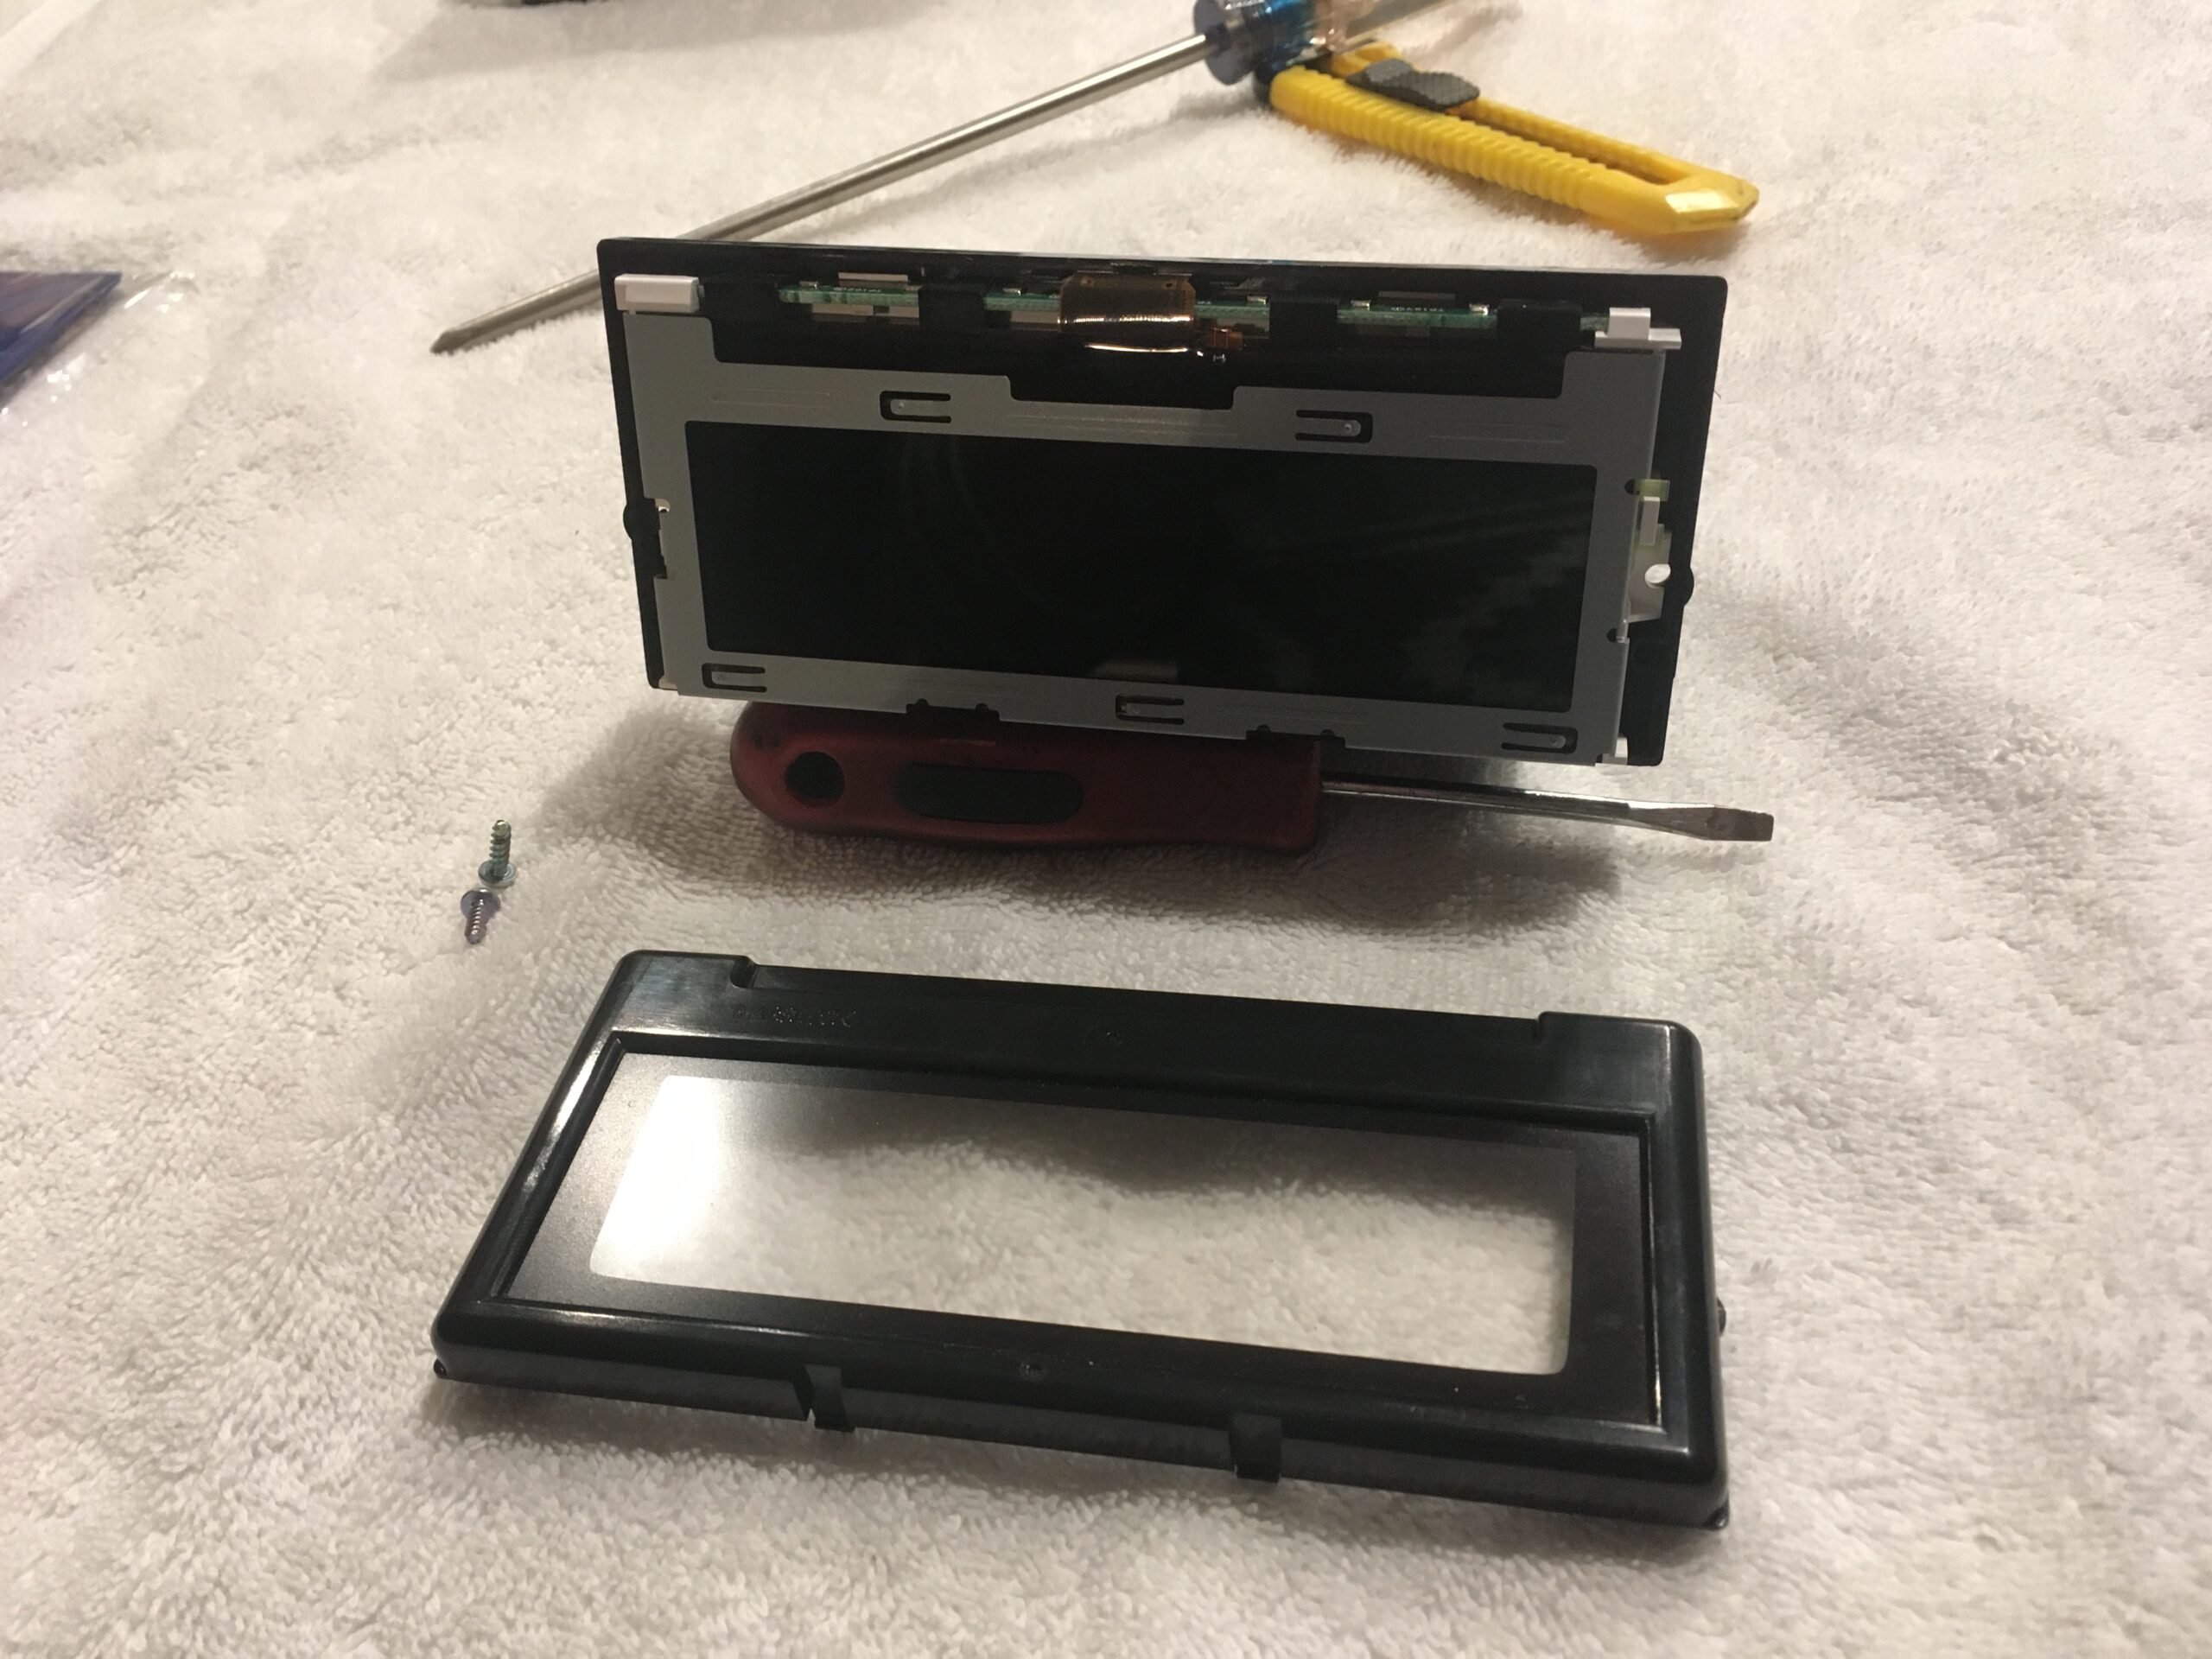
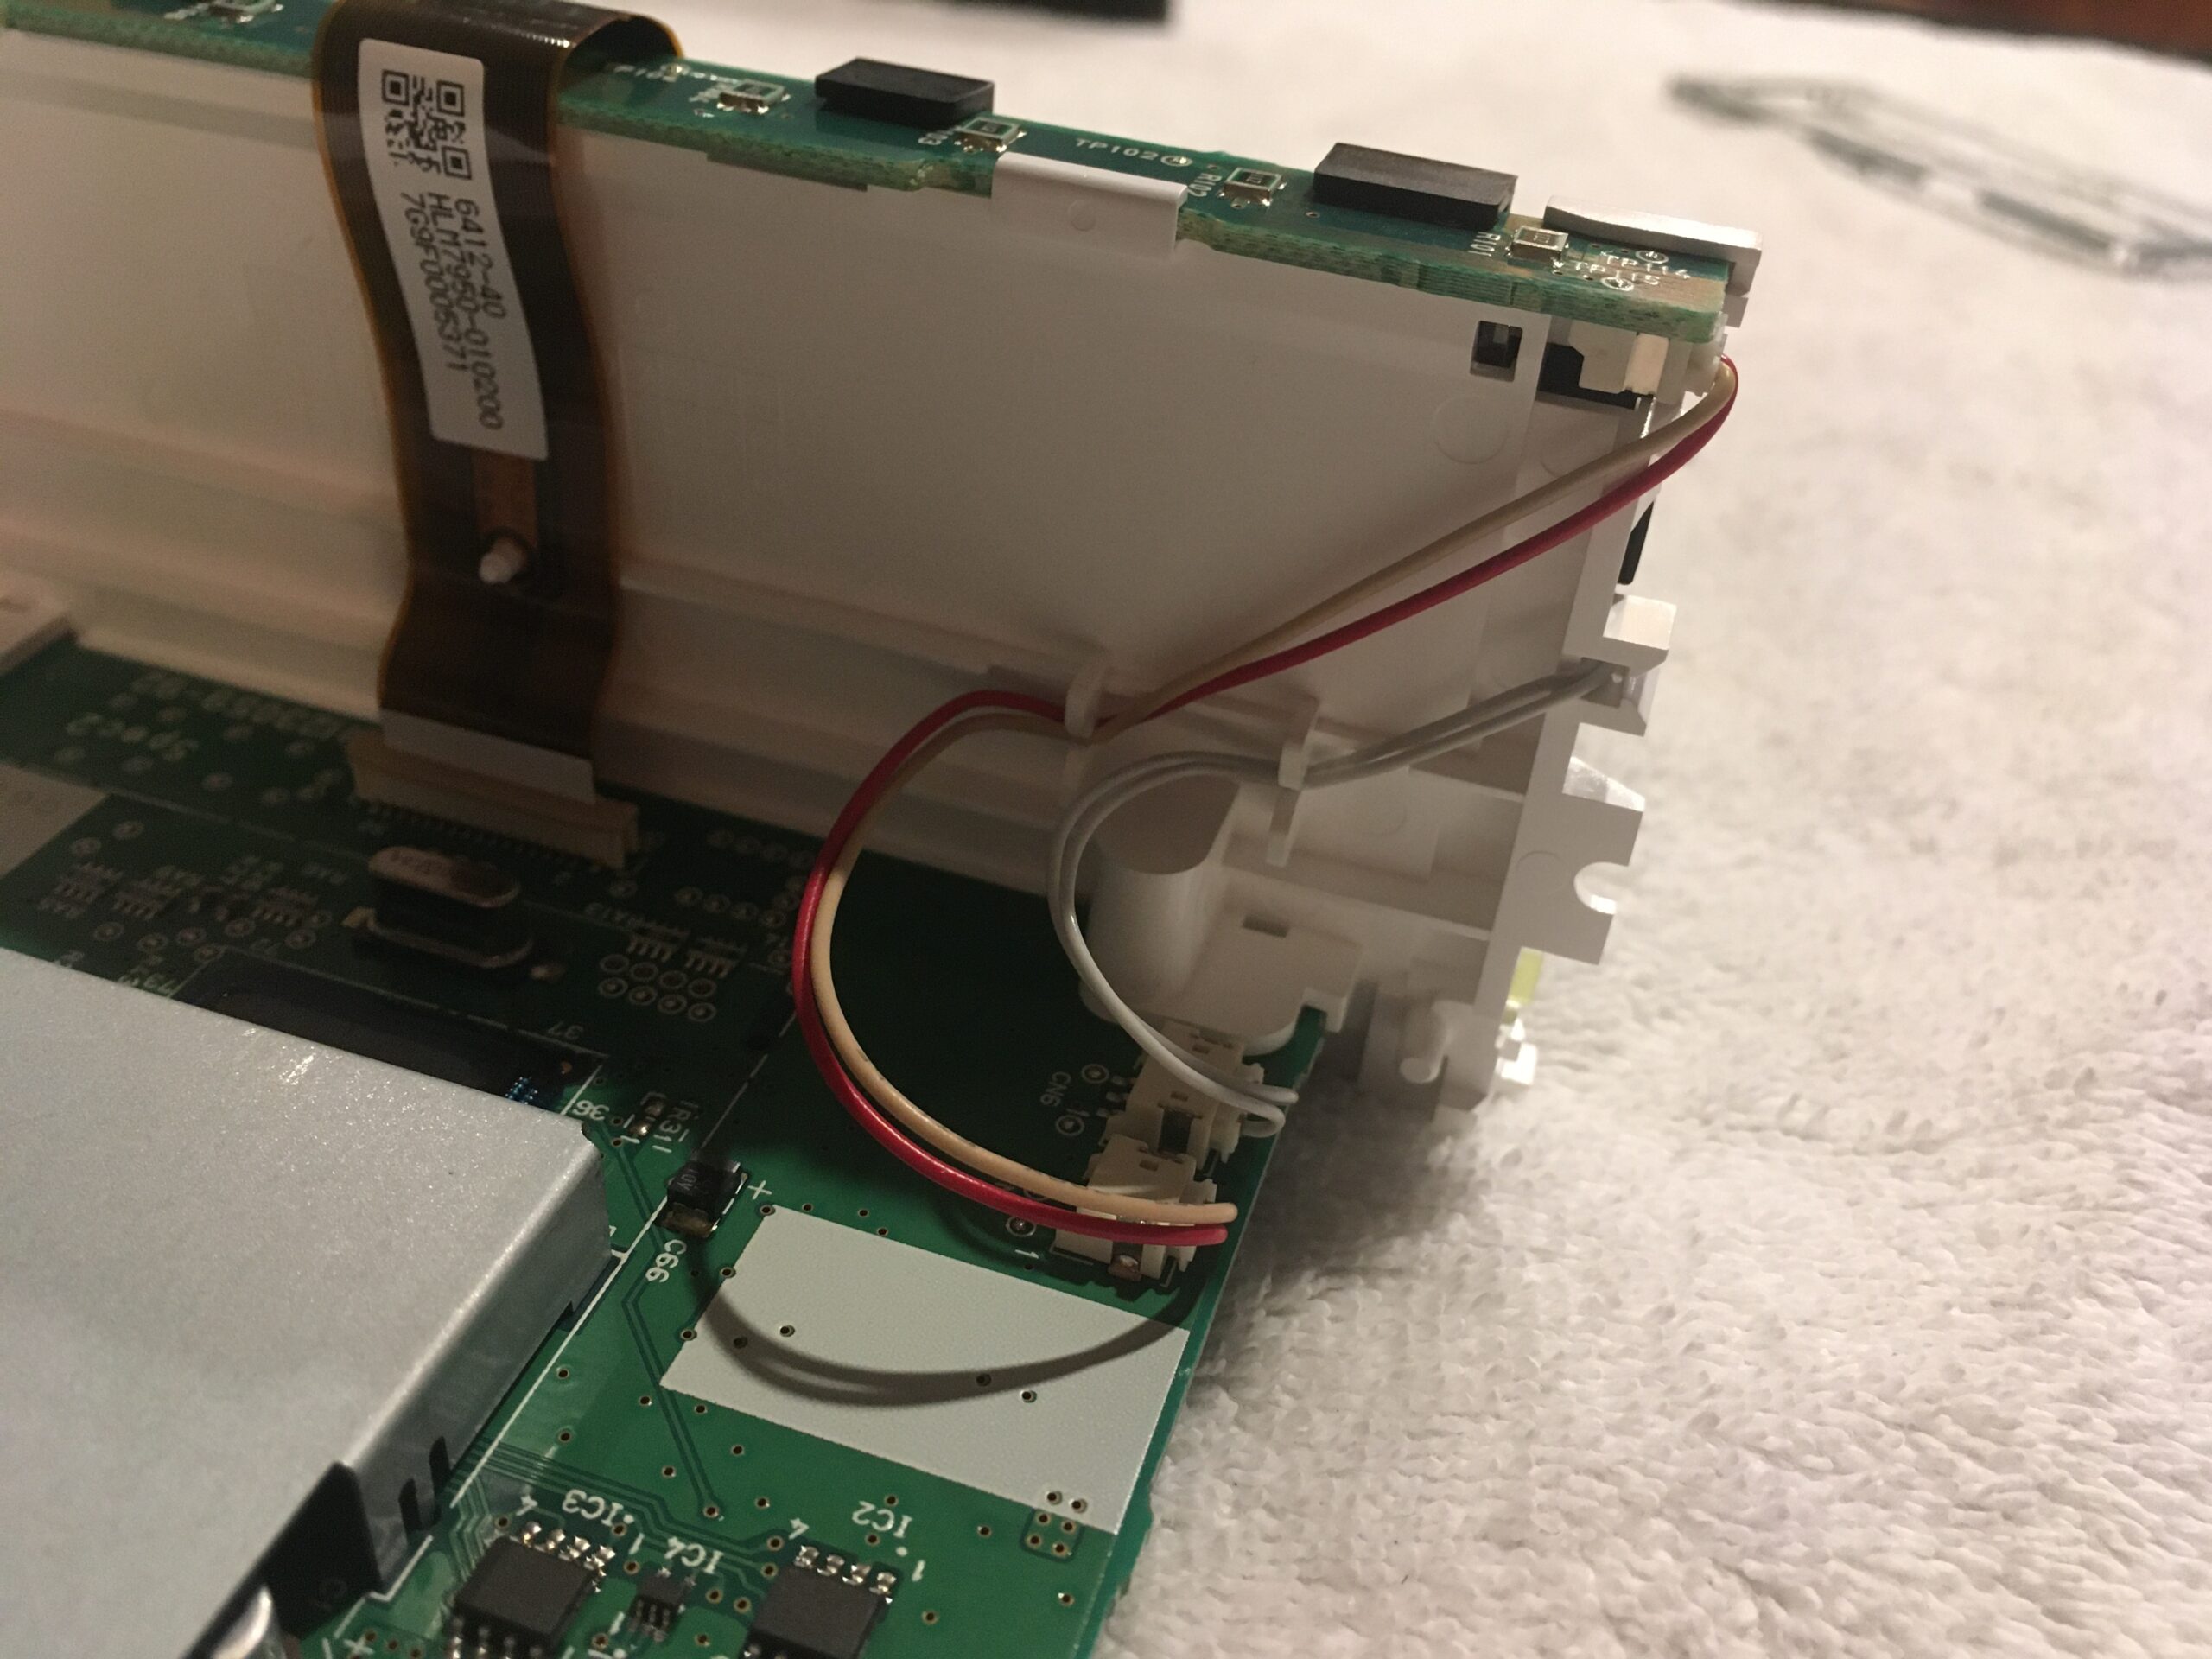
Slide the screen and circuit board assembly out of housing by pushing on the wiring harness sections. No pressure needed, it will just zooop right out.
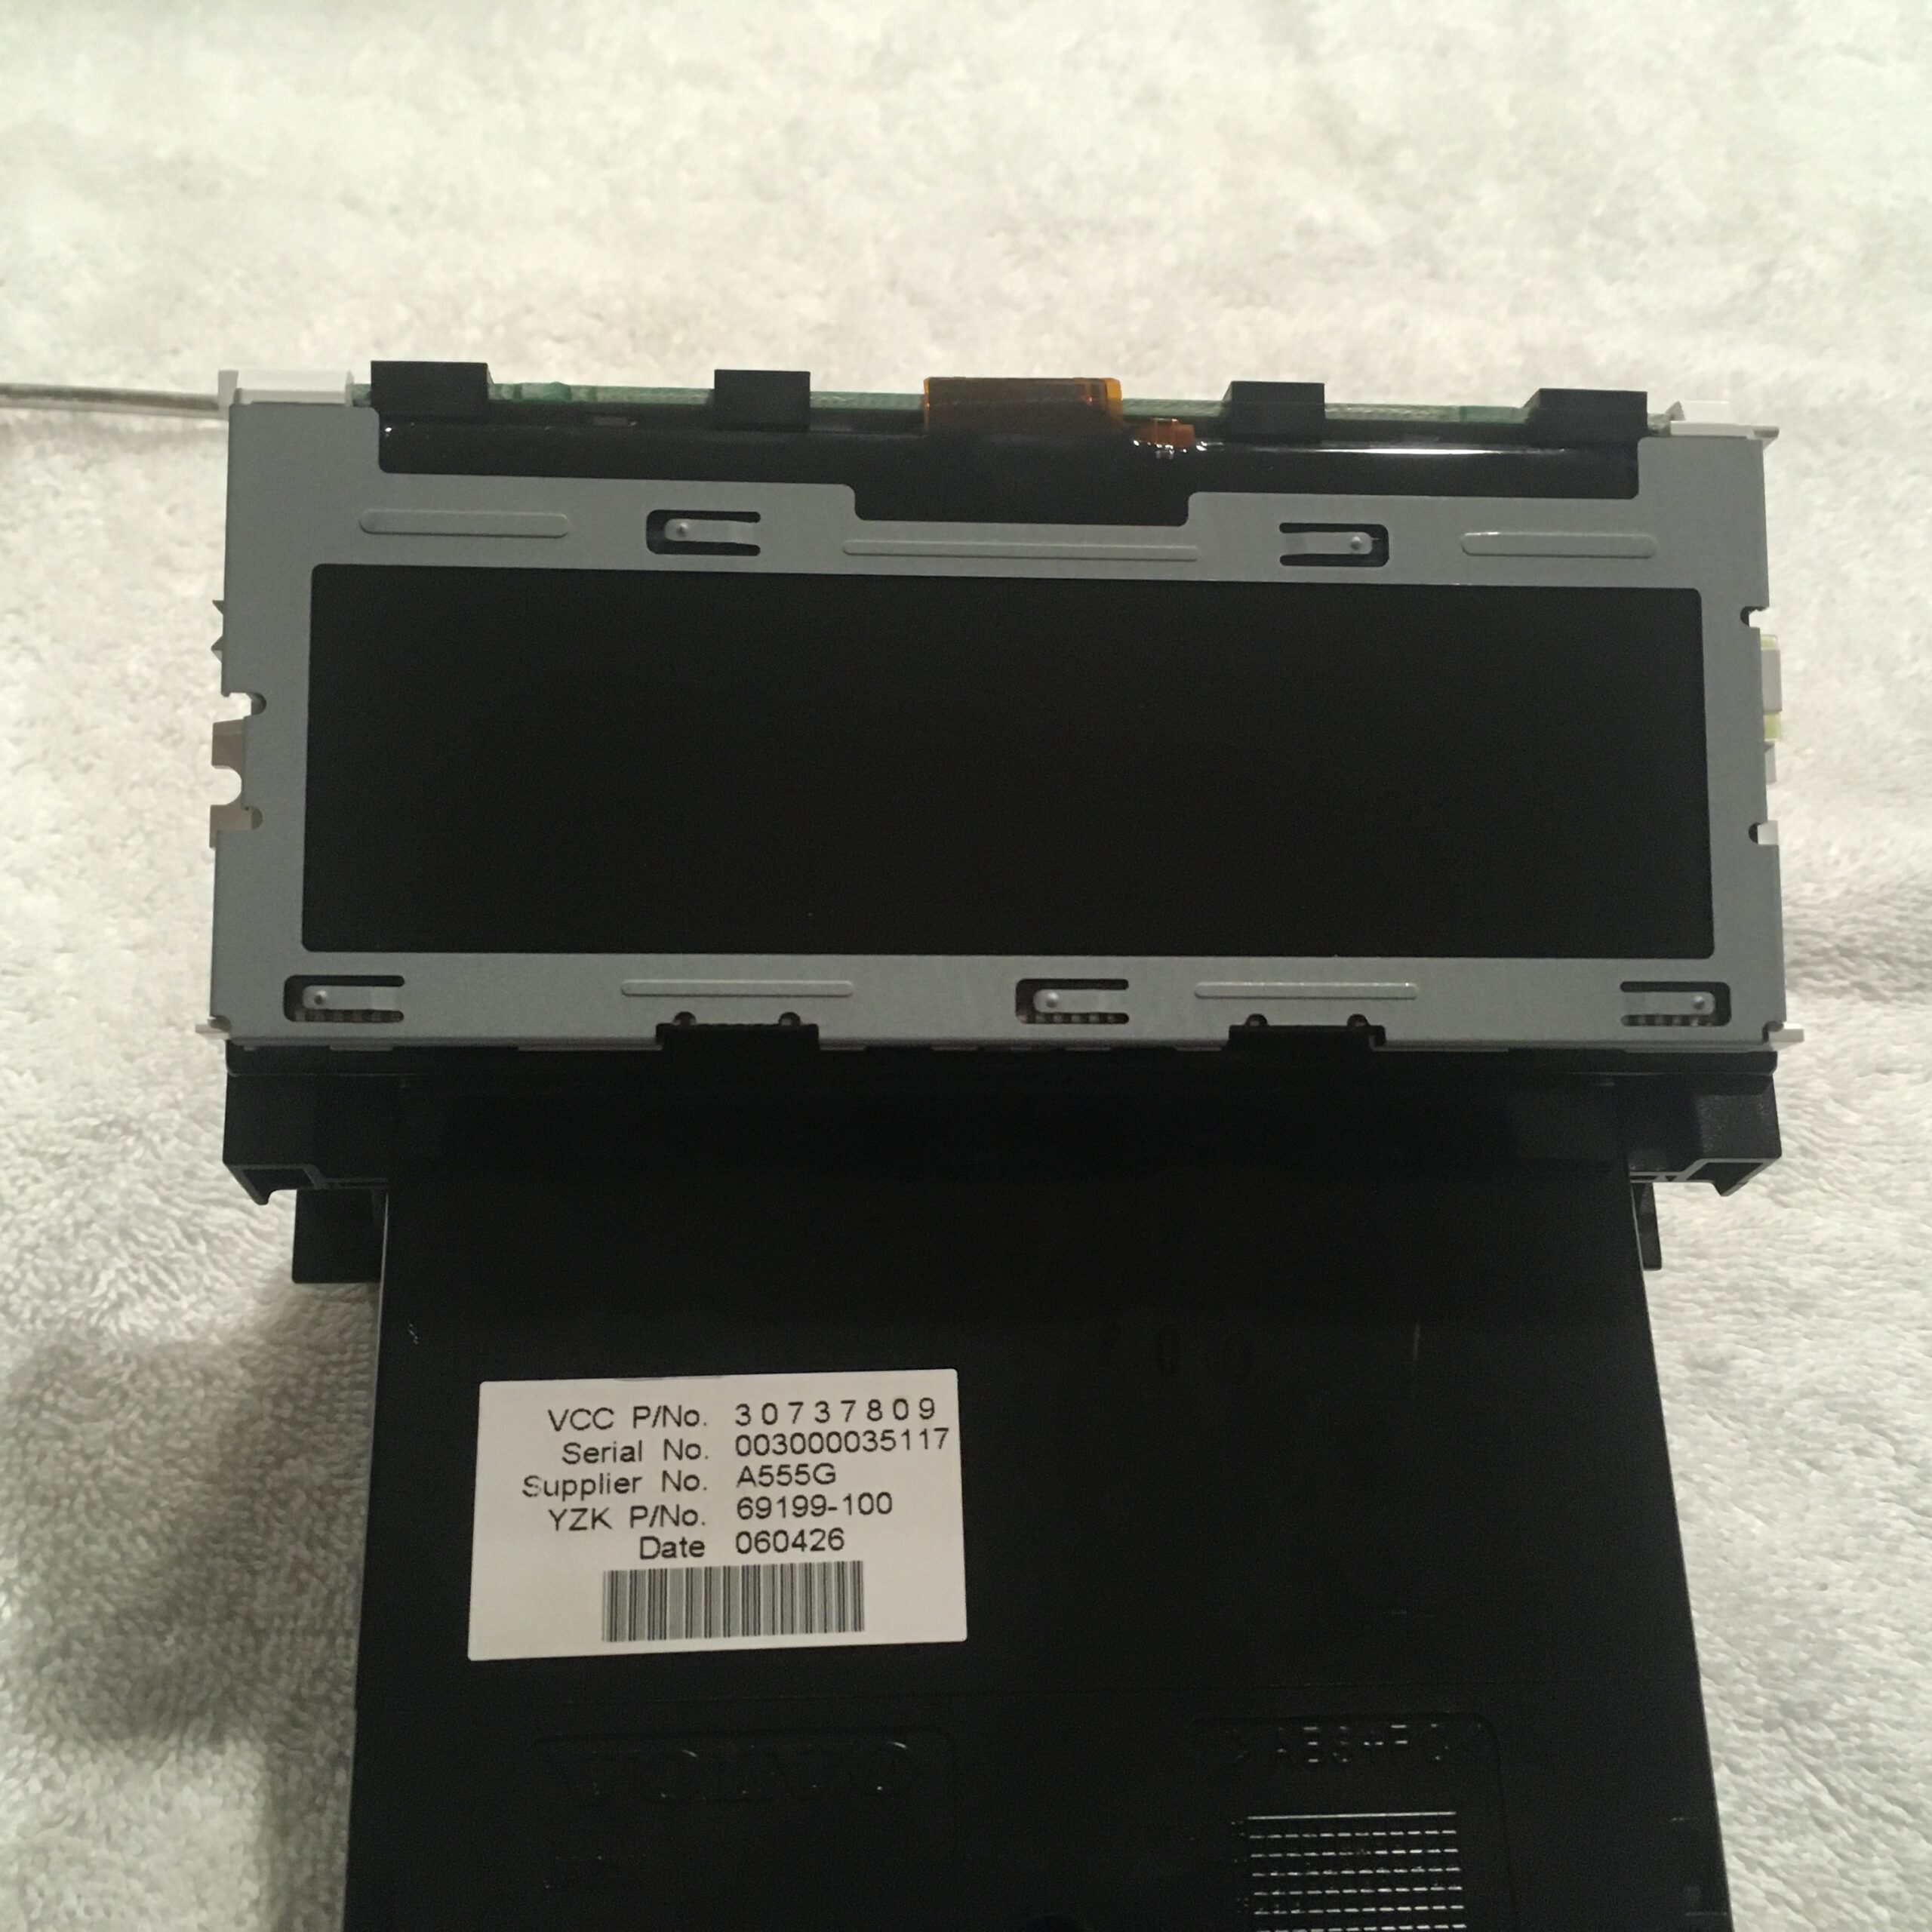
Now we will look at taking apart the screen. There will be a few parts here coming off. Be sure to be slow and steady, and gentle. These parts are not serviceable (you can’t buy them from Volvo).
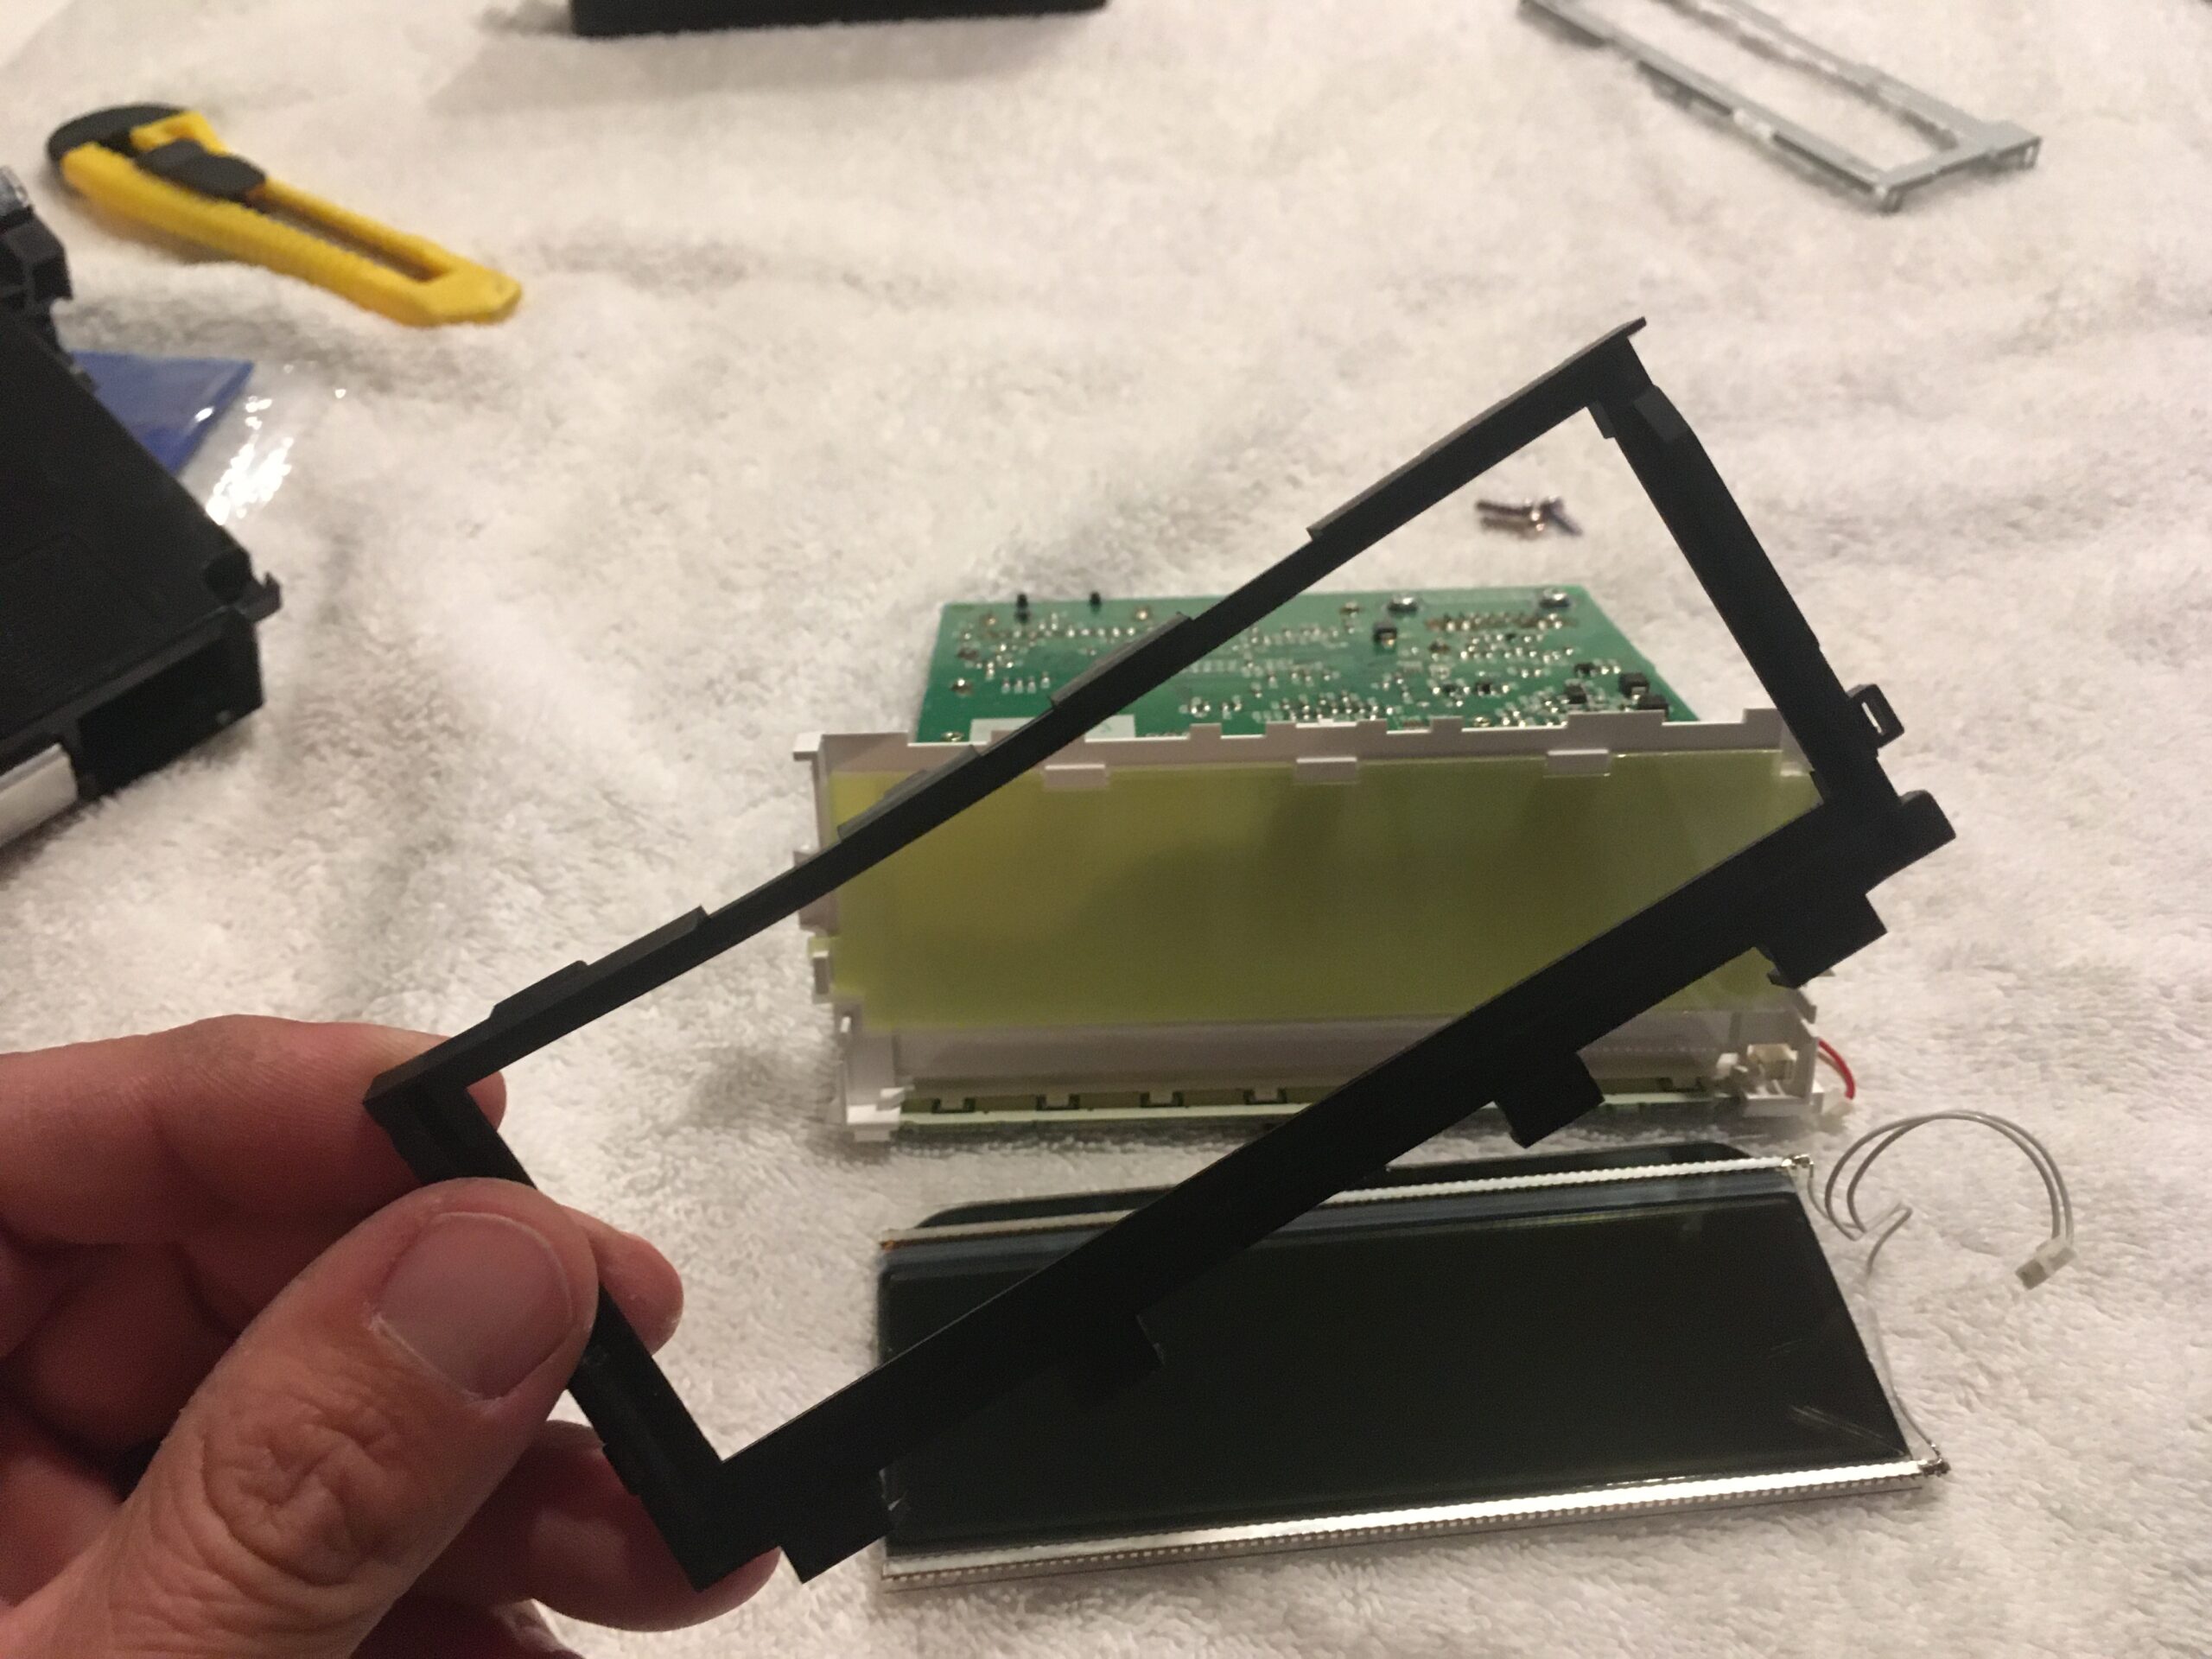
First you will see a metal retainer holding the screen on. There are pry prongs that hold this on. 2 on each side and one on the bottom. We used our flathead, but a fingernail would likely work.
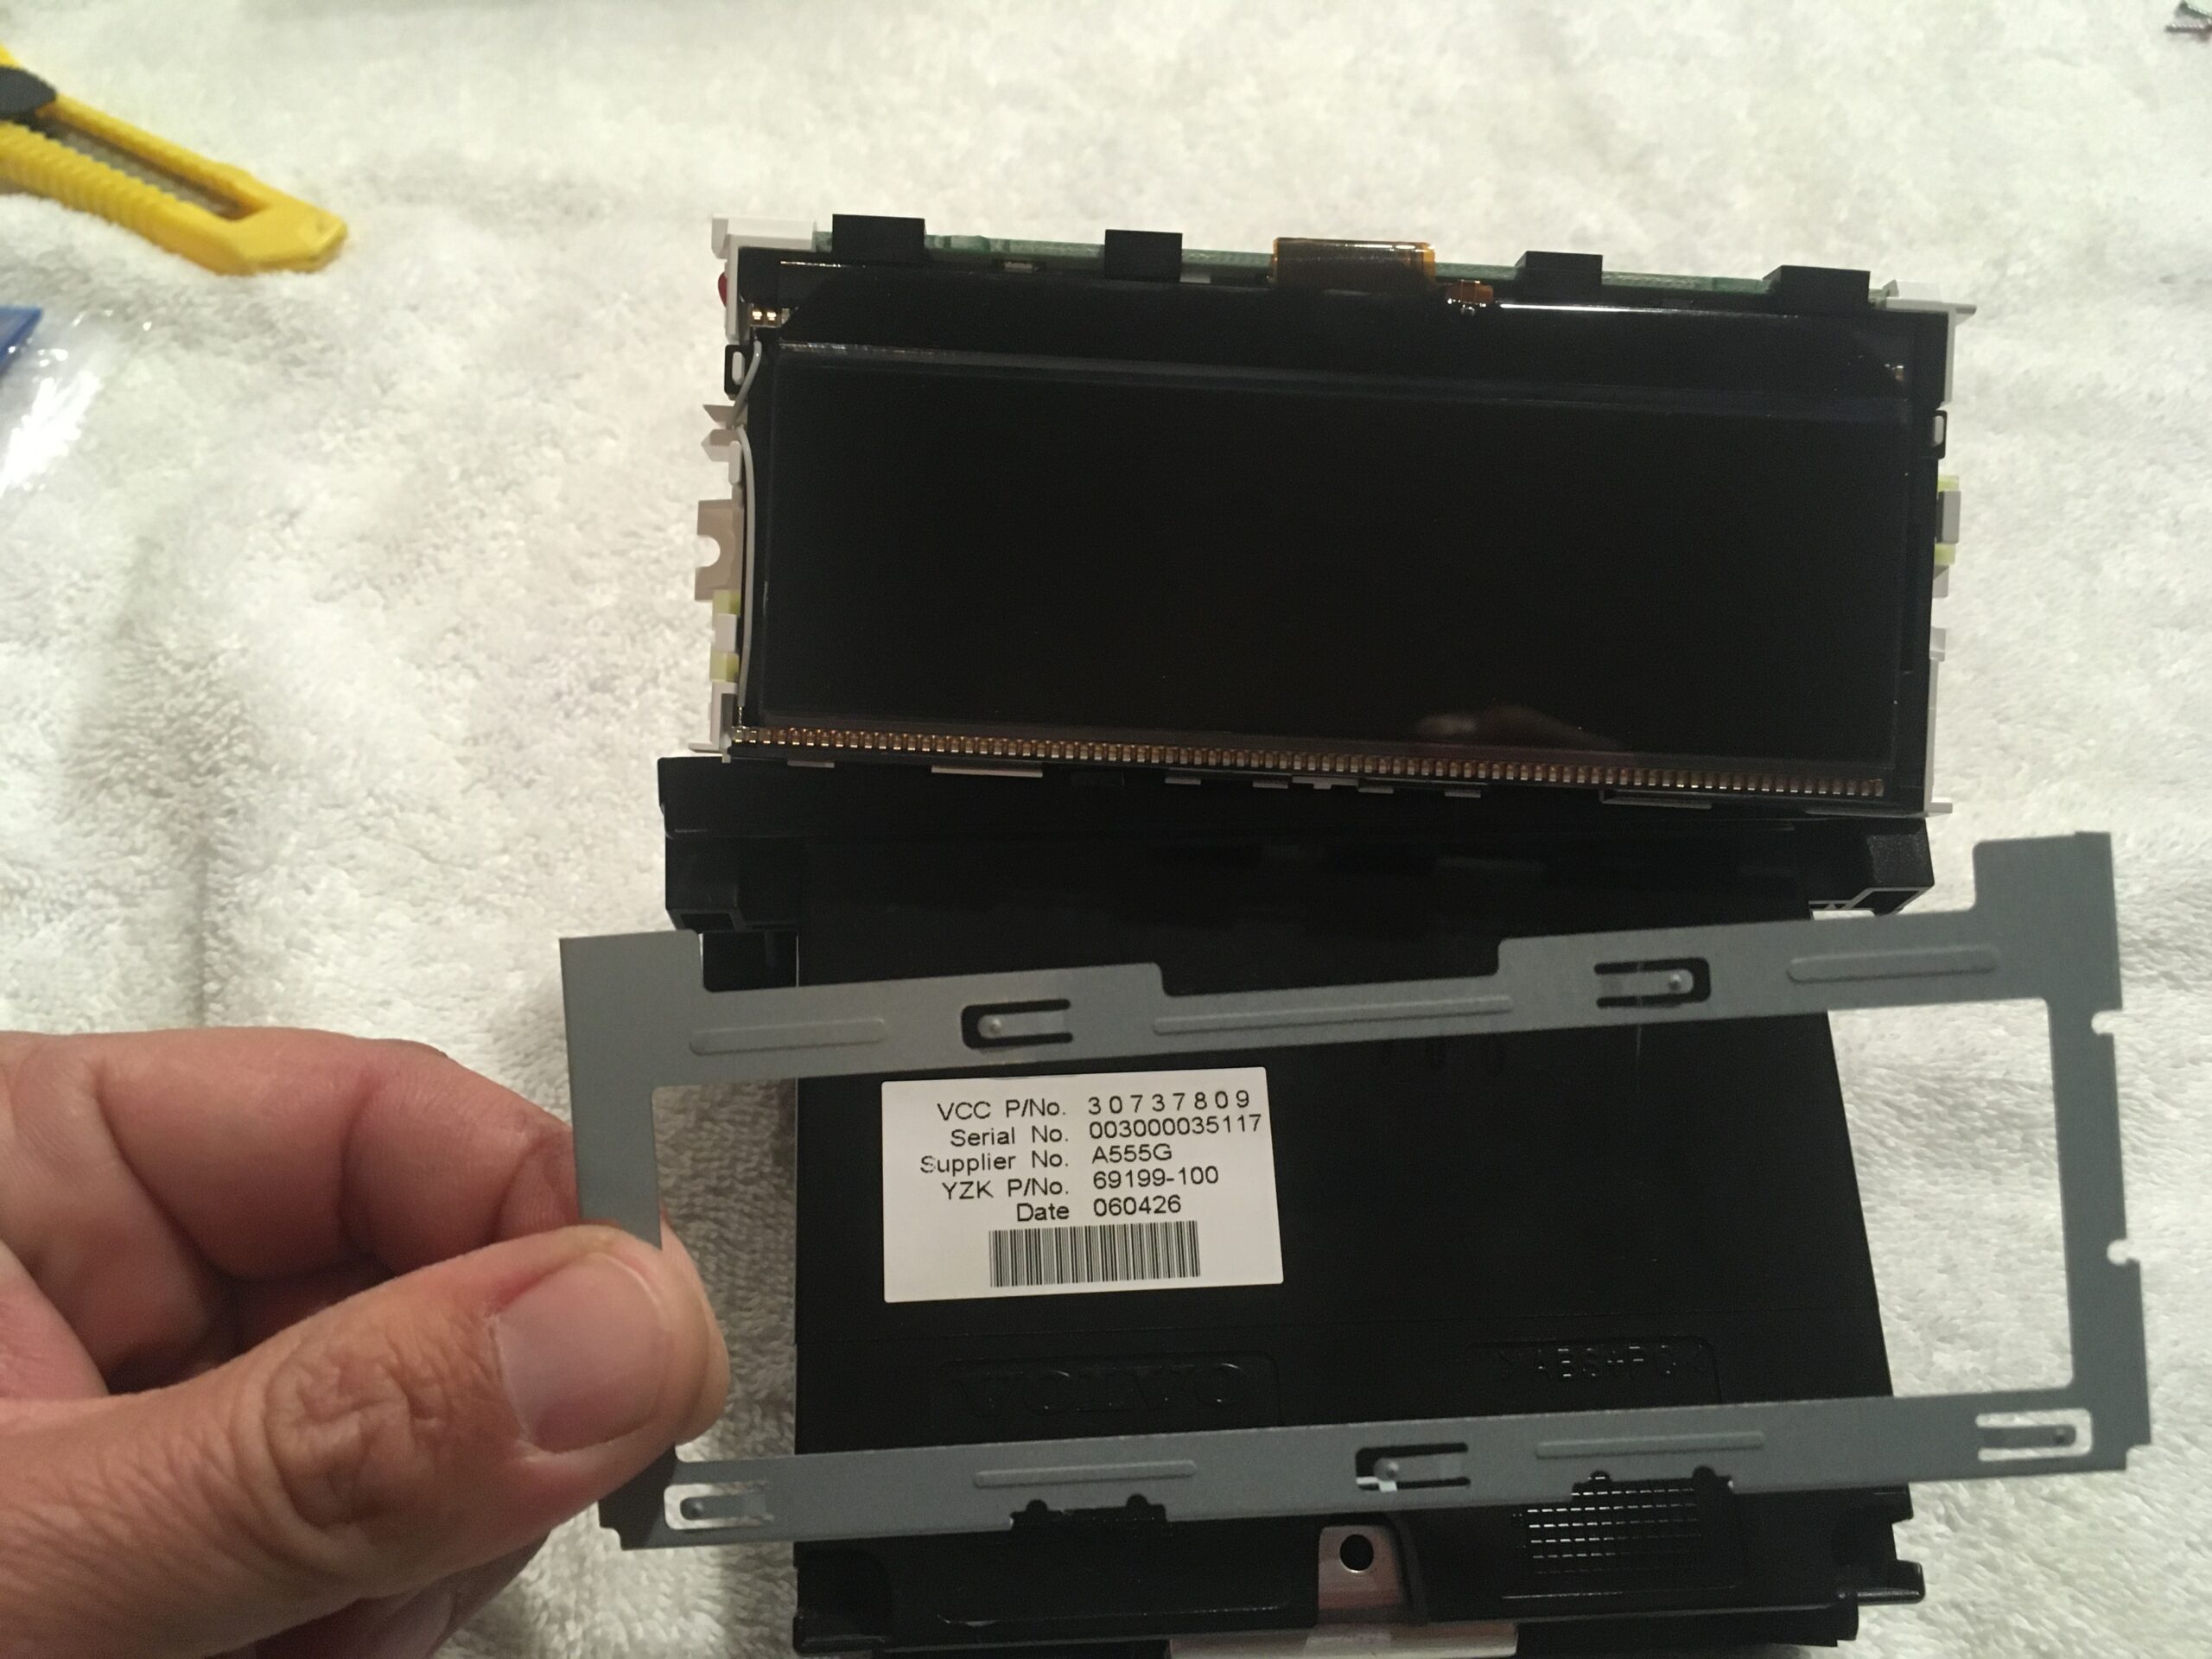
From here we want to make sure the glass screen has proper room to break away from the back lighting assembly. To do this, find the two wire groups going from the circuit board to the screen. Unplug the red/white harness at the screen and the double white at the circuit board.
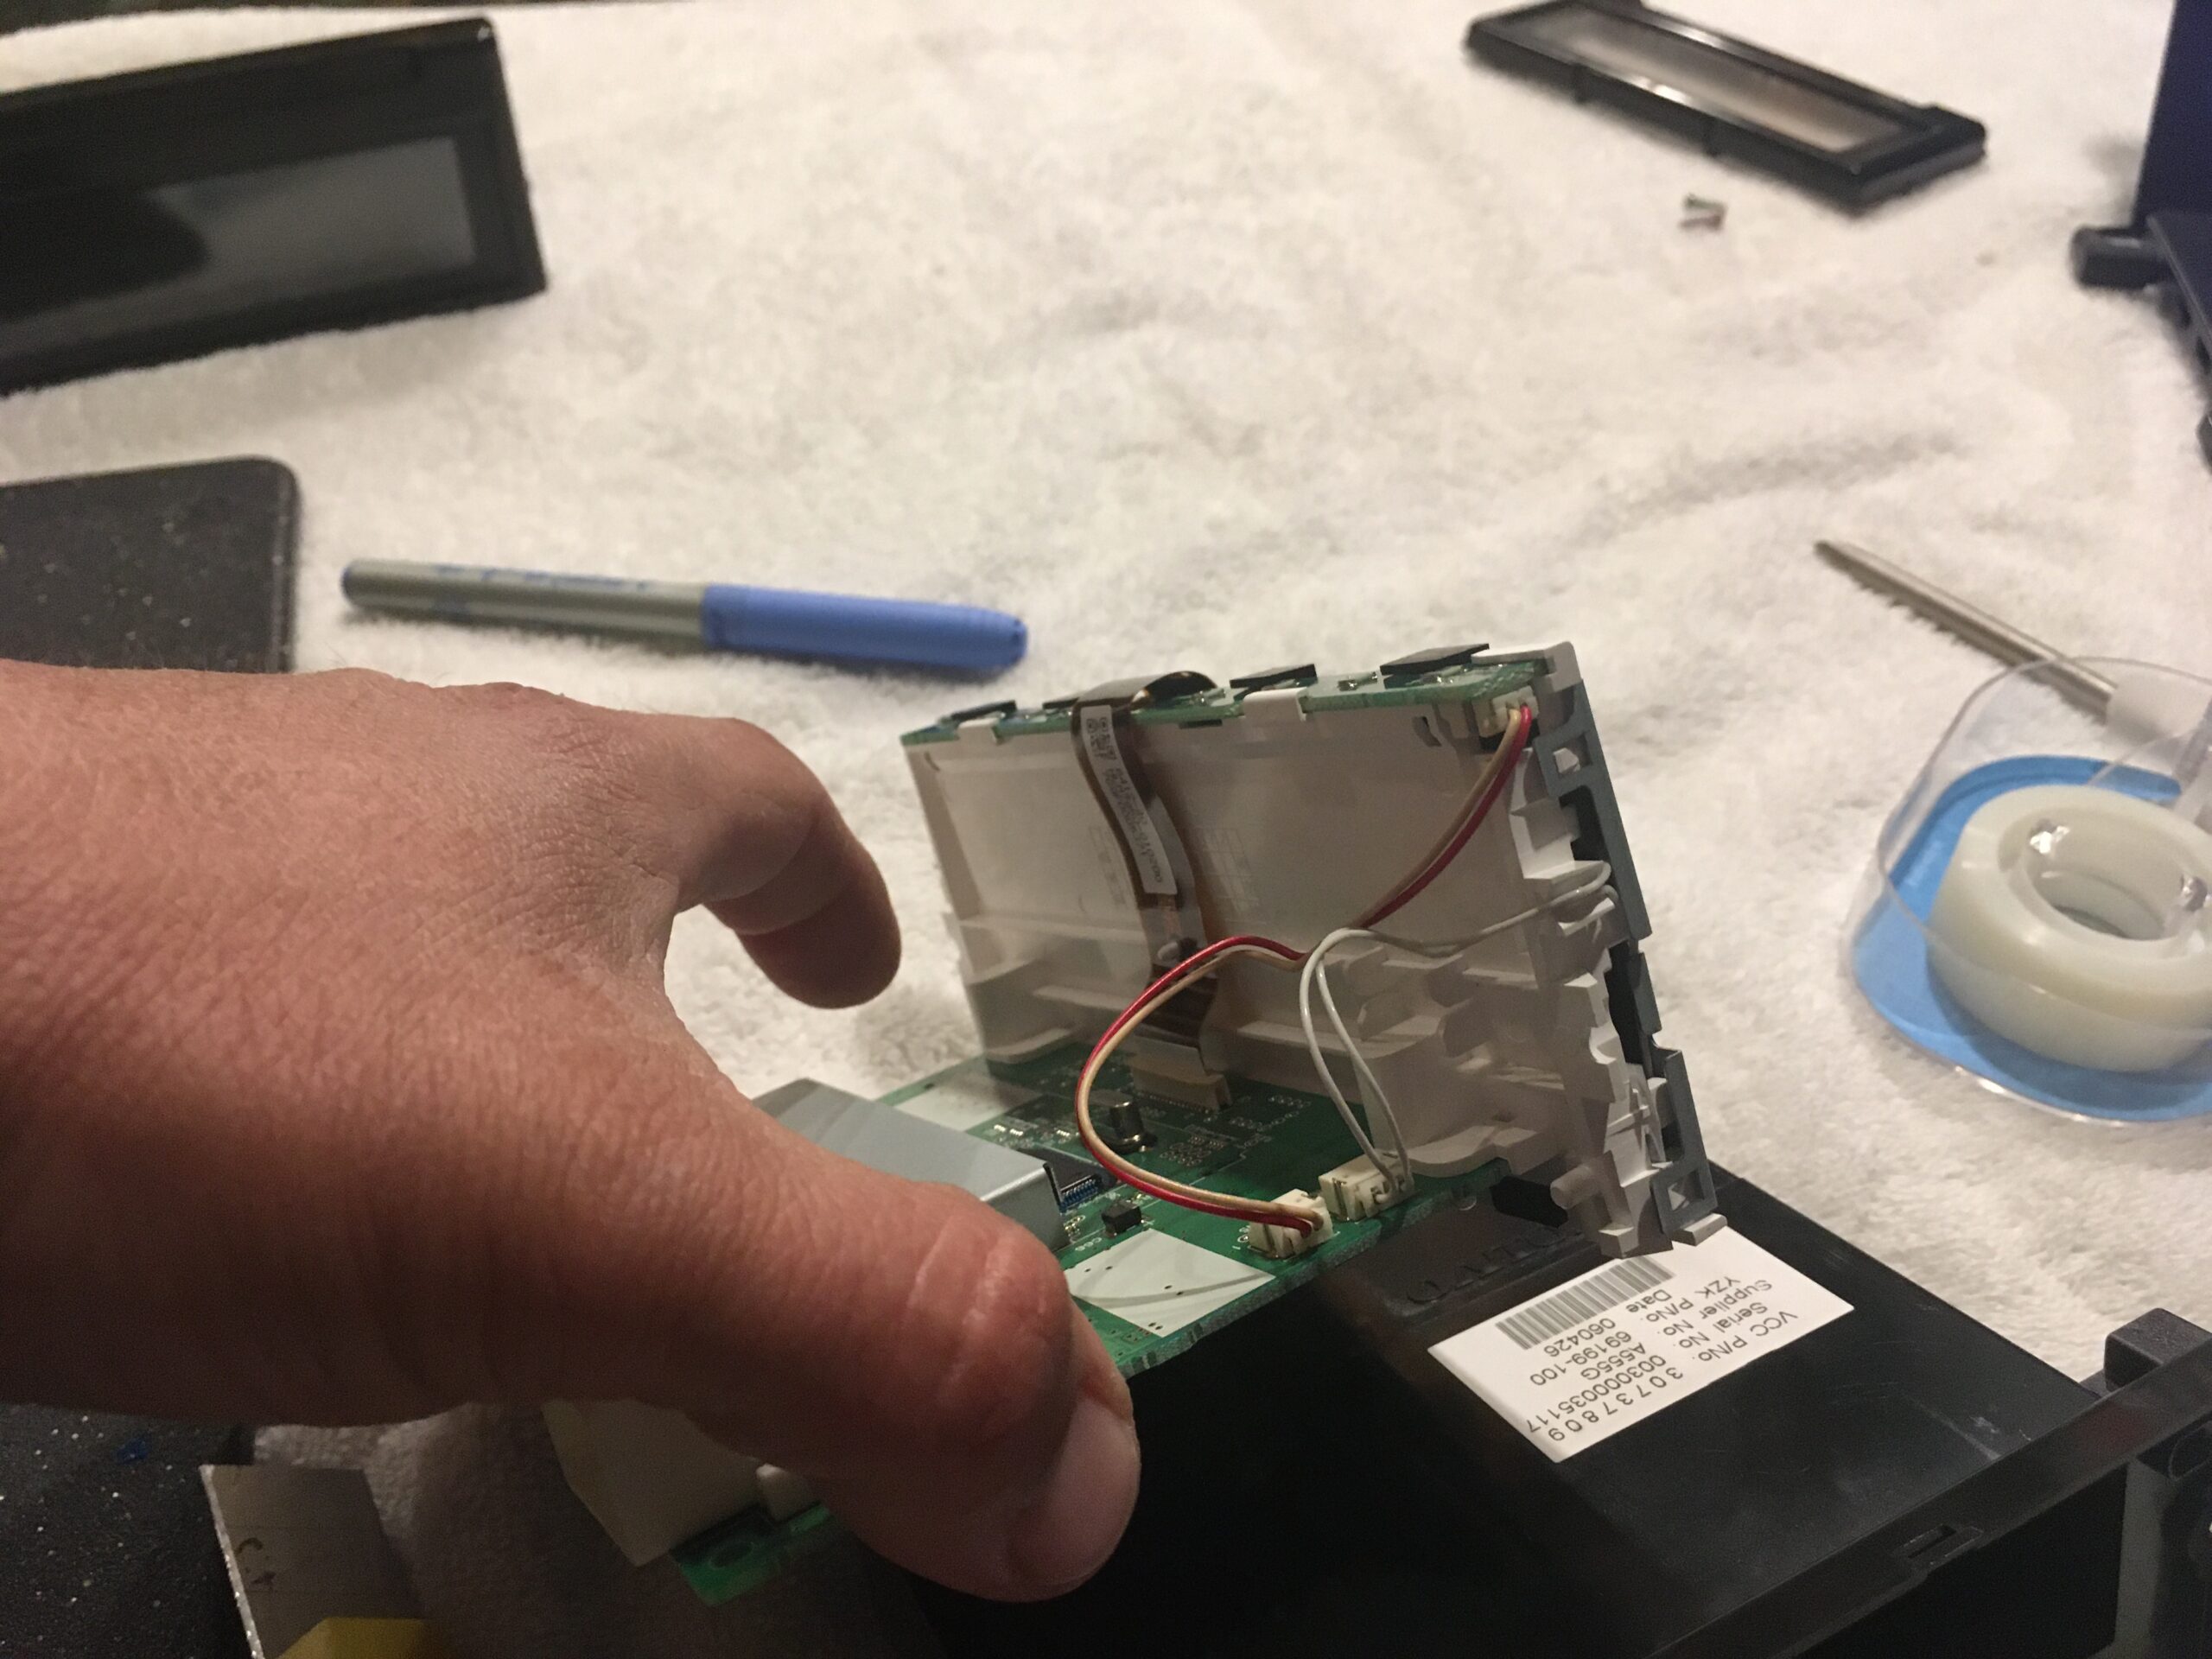
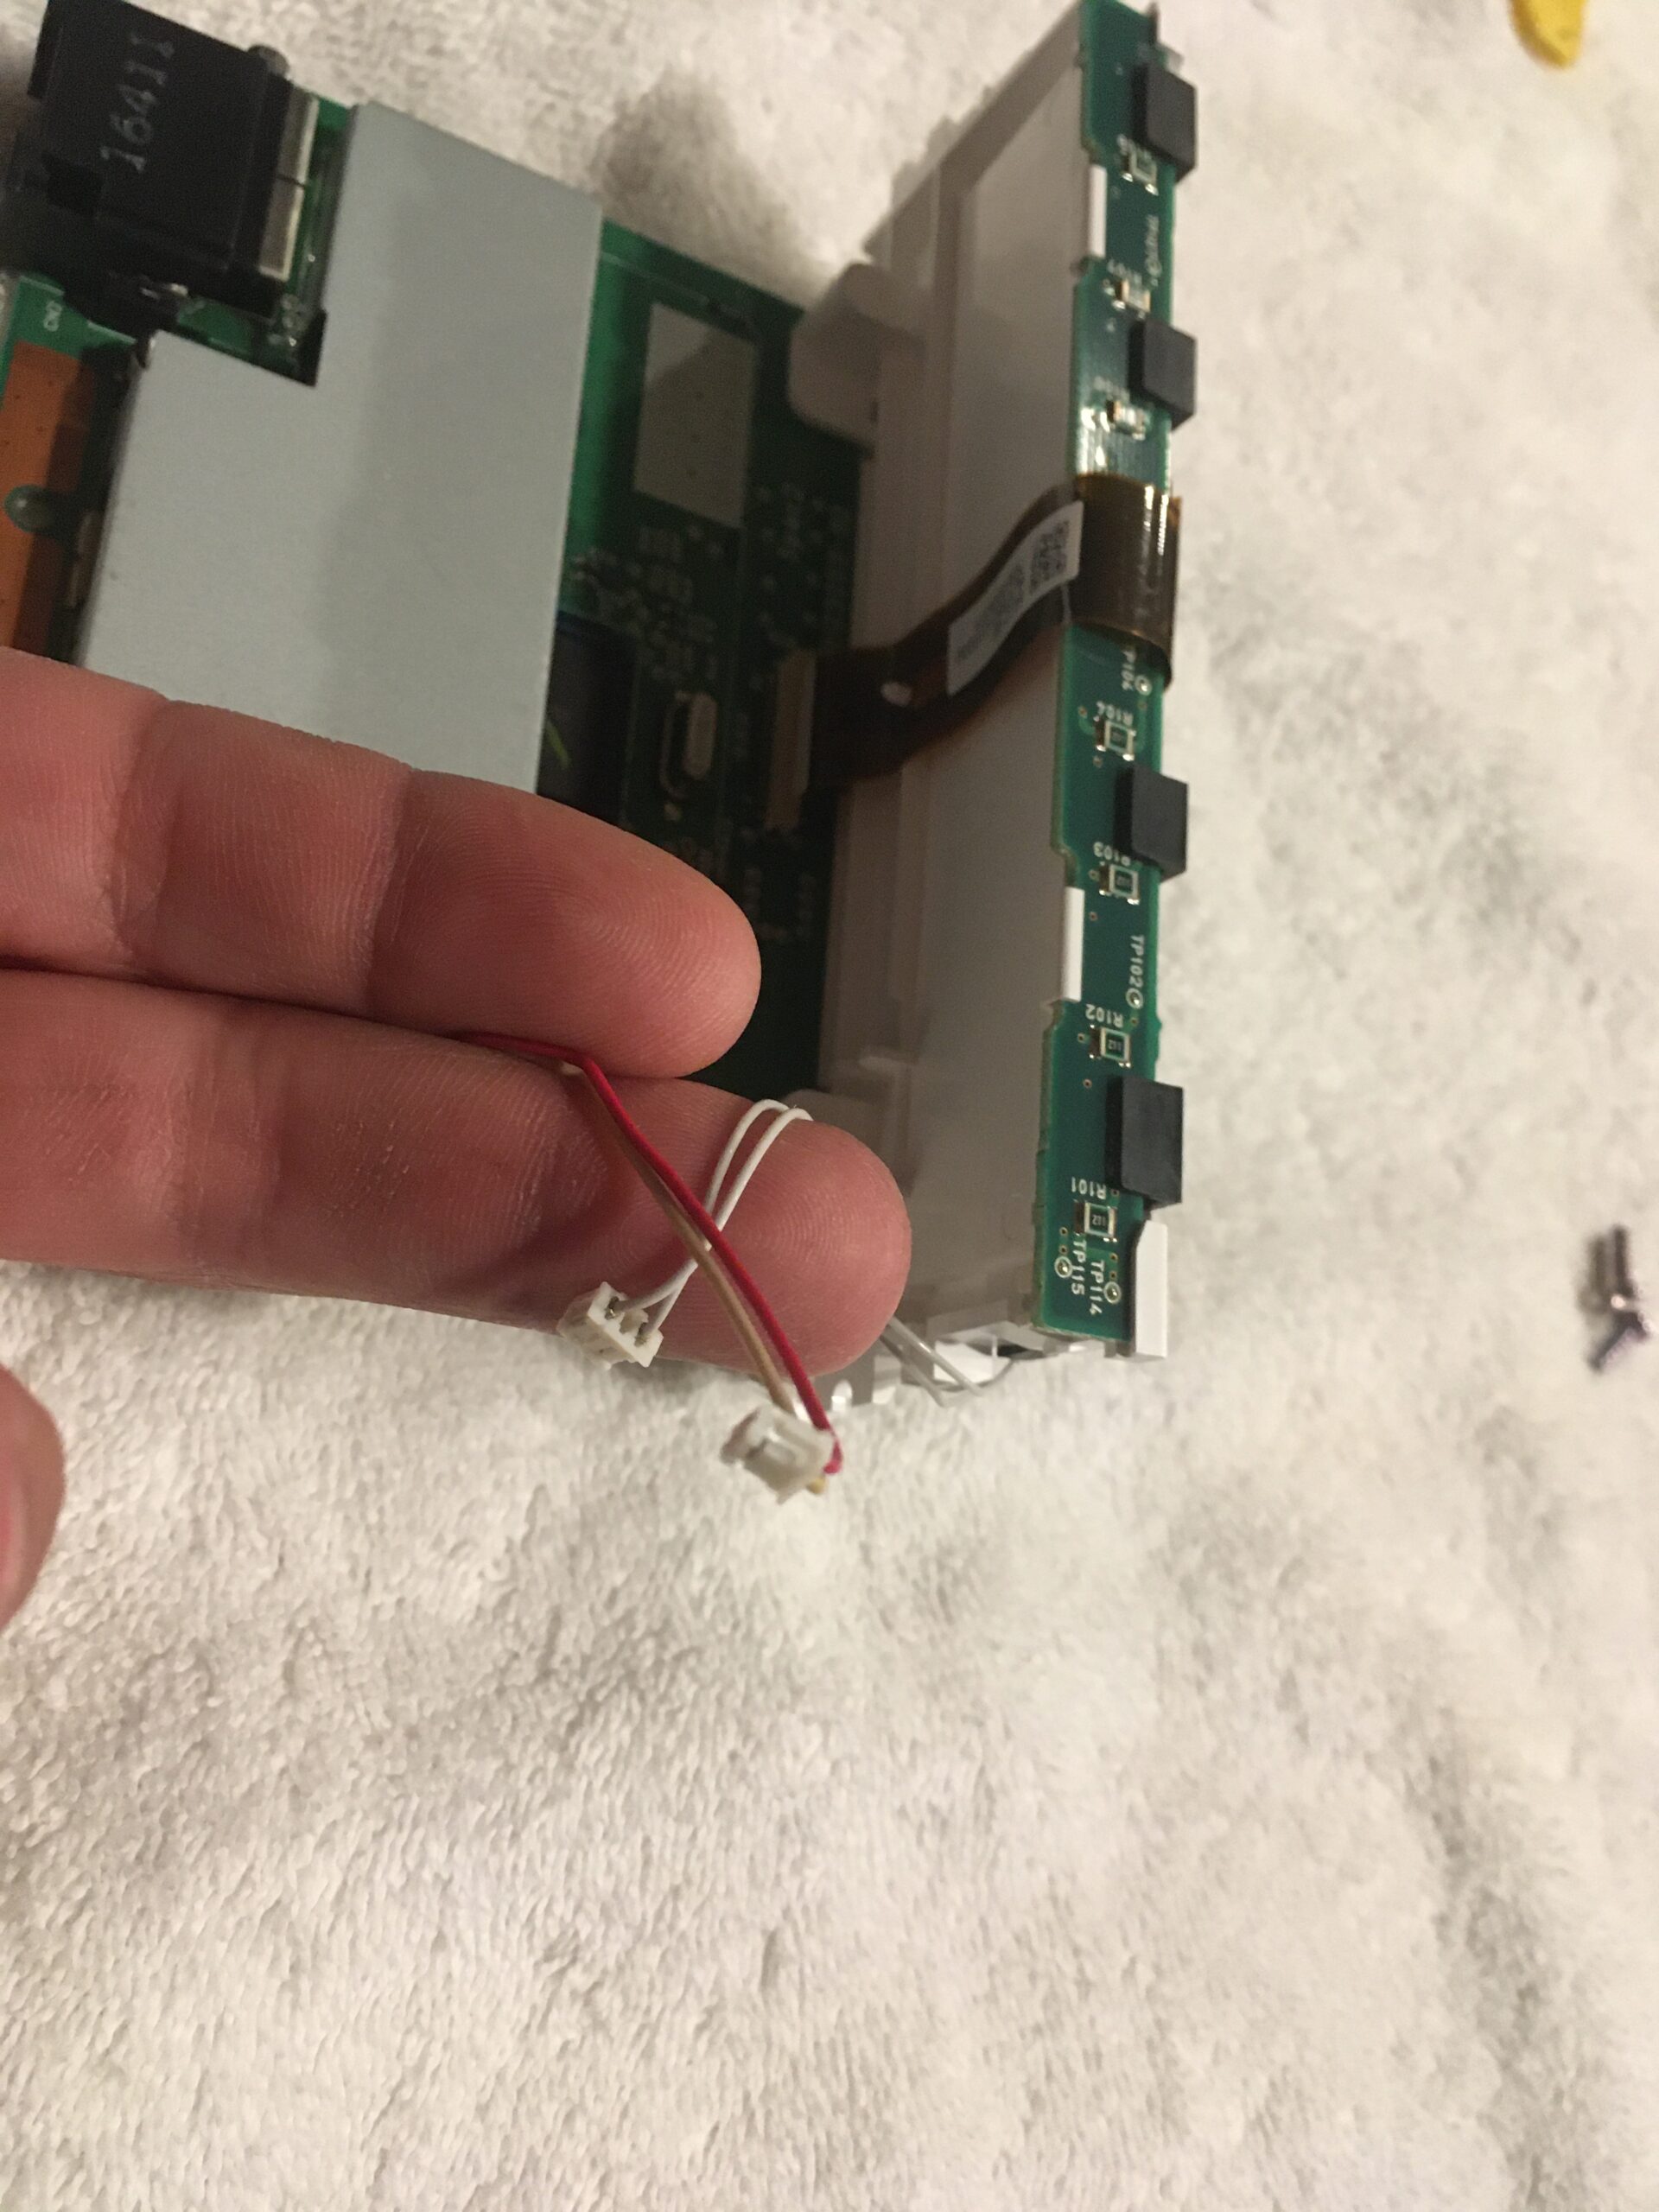
Now, look at the screen and you will see a rubber grommet/border holding the glass screen and acting as shock absorber on the screen. The glass screen sits on it, and it, sits on the housing.
Pry it lose and screen will come free, folding down but be carful, the ribbon cable is still connected. Let the screen fold down and leave it flat on your work station. From now of try not to move the assembly too much to avoid any issues with the ribbon cable.
Remove the rubber border by just plucking it out, and set it aside.
This is a good time to wash your hands or put gloves on if you forgot to do it earlier when we told you to. We are touching the internals now, and the last thing you want is a greezy finger print on your final product.
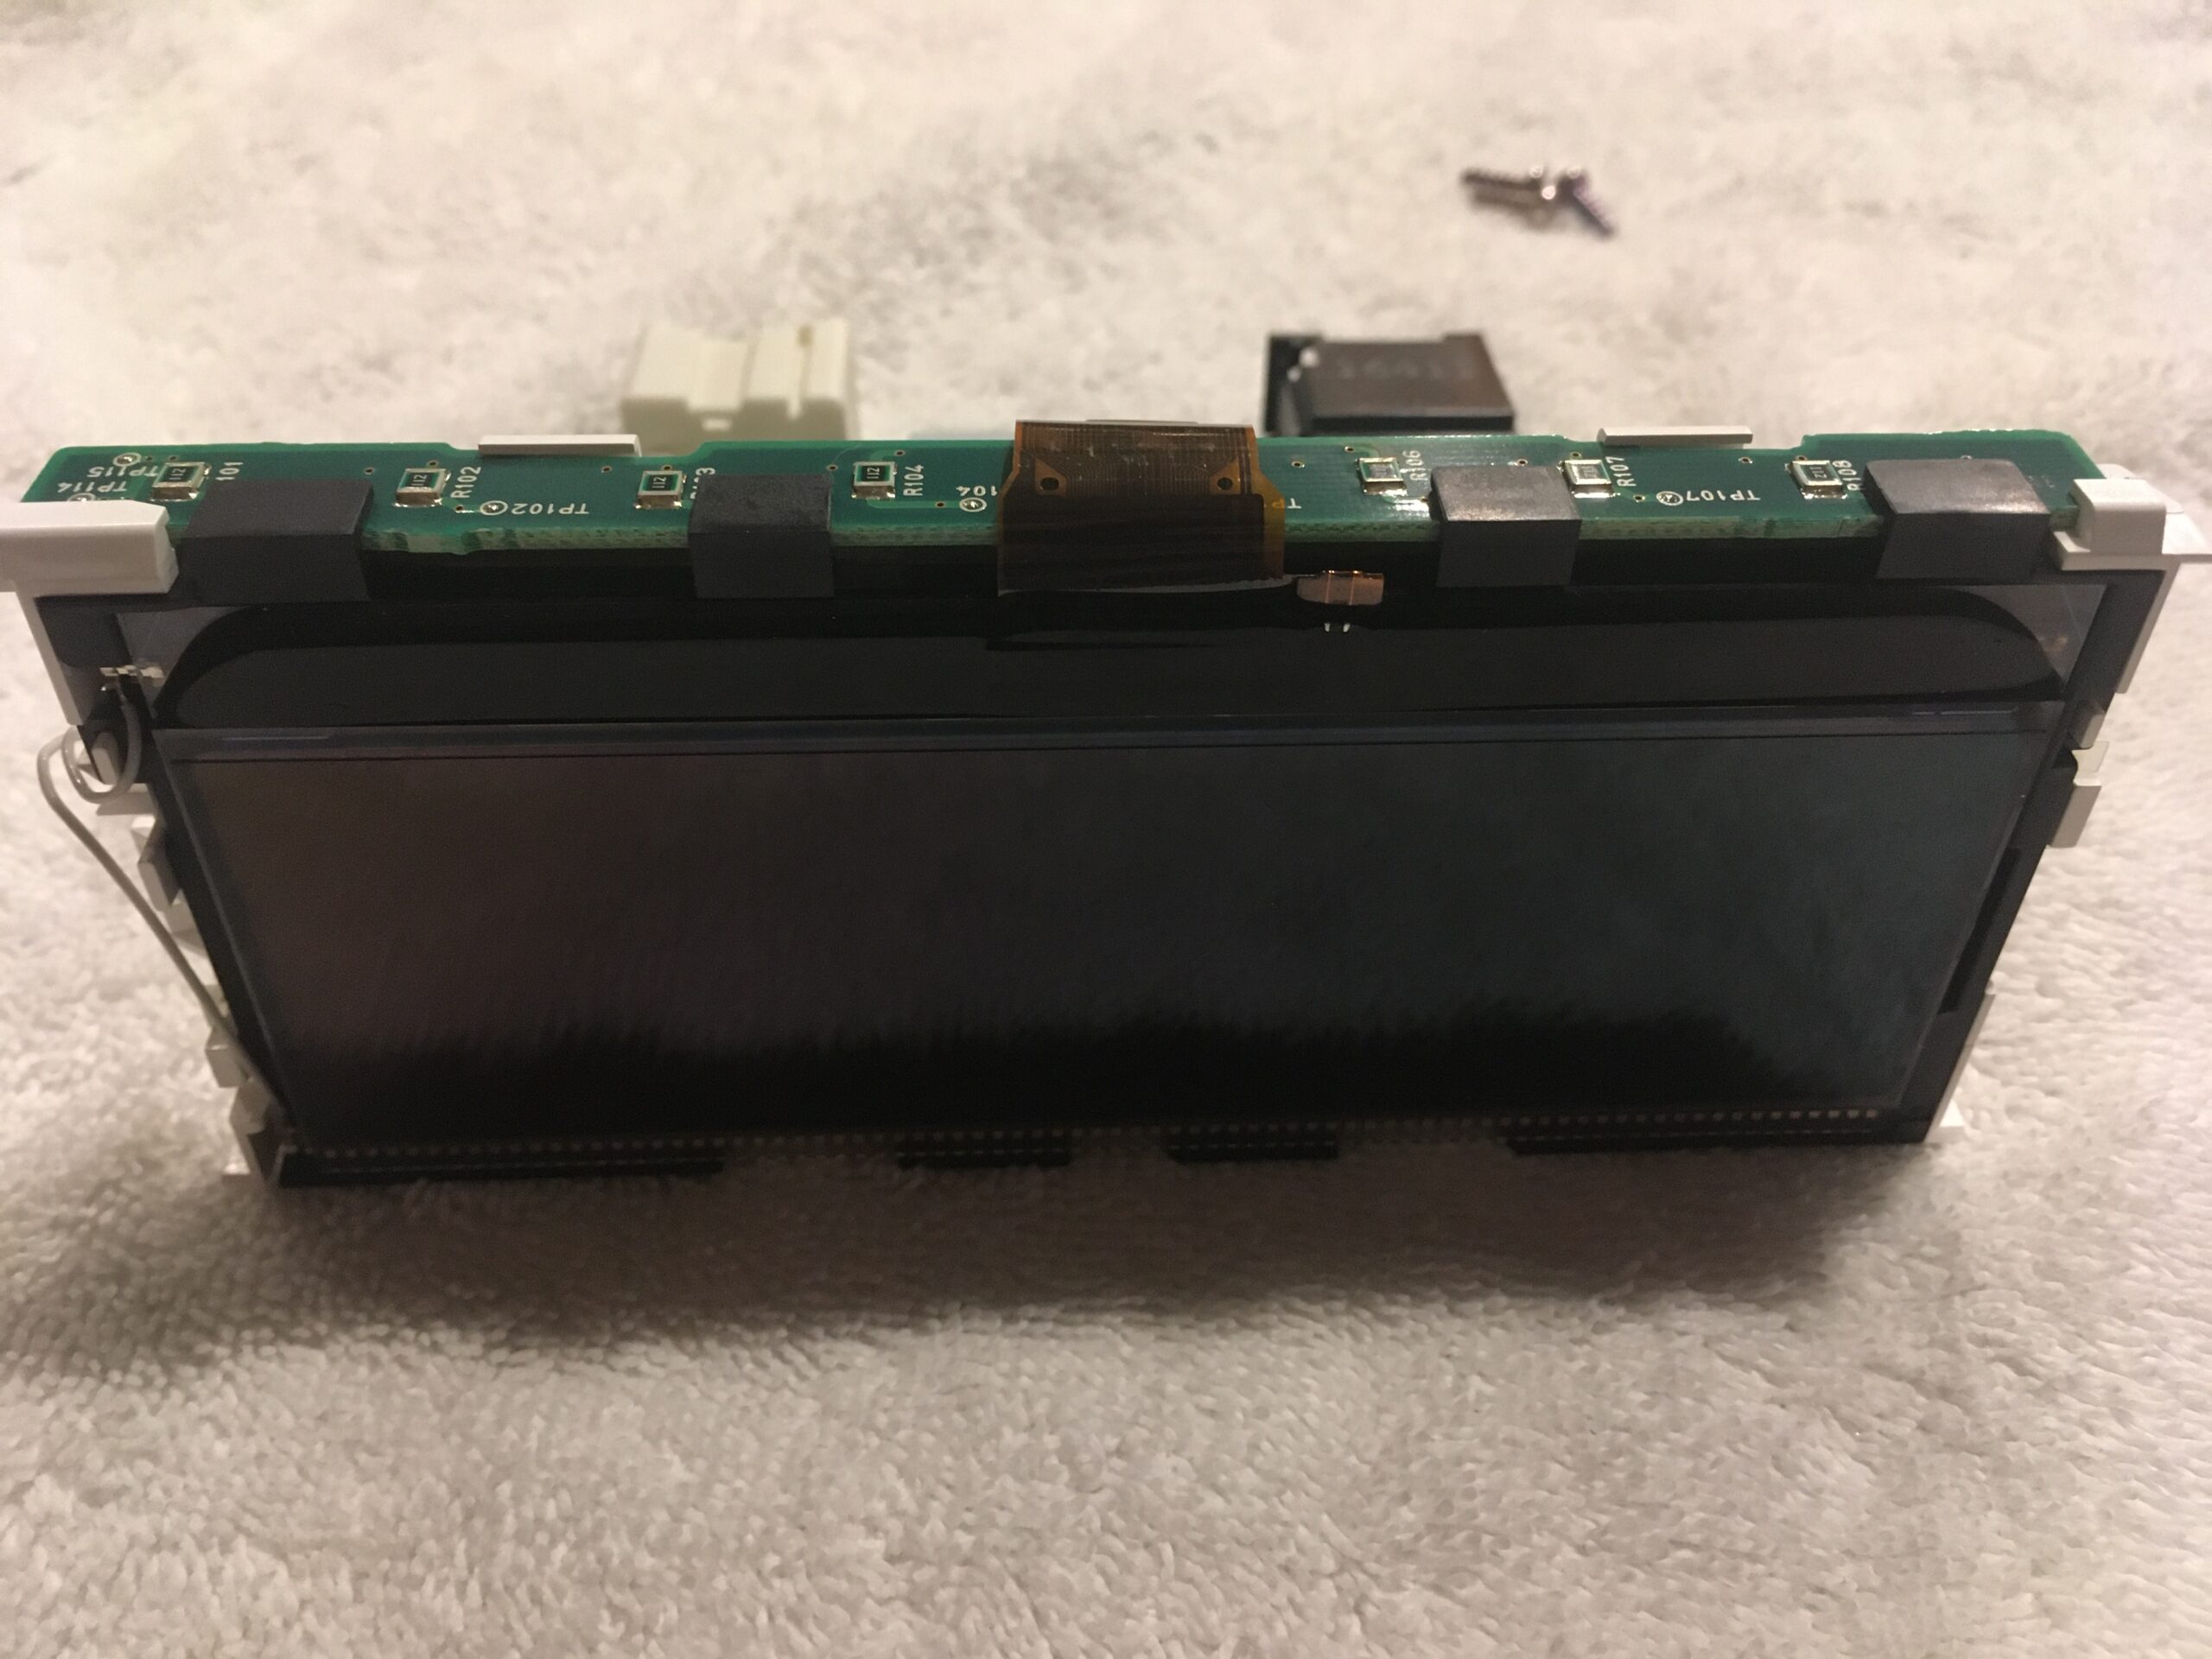
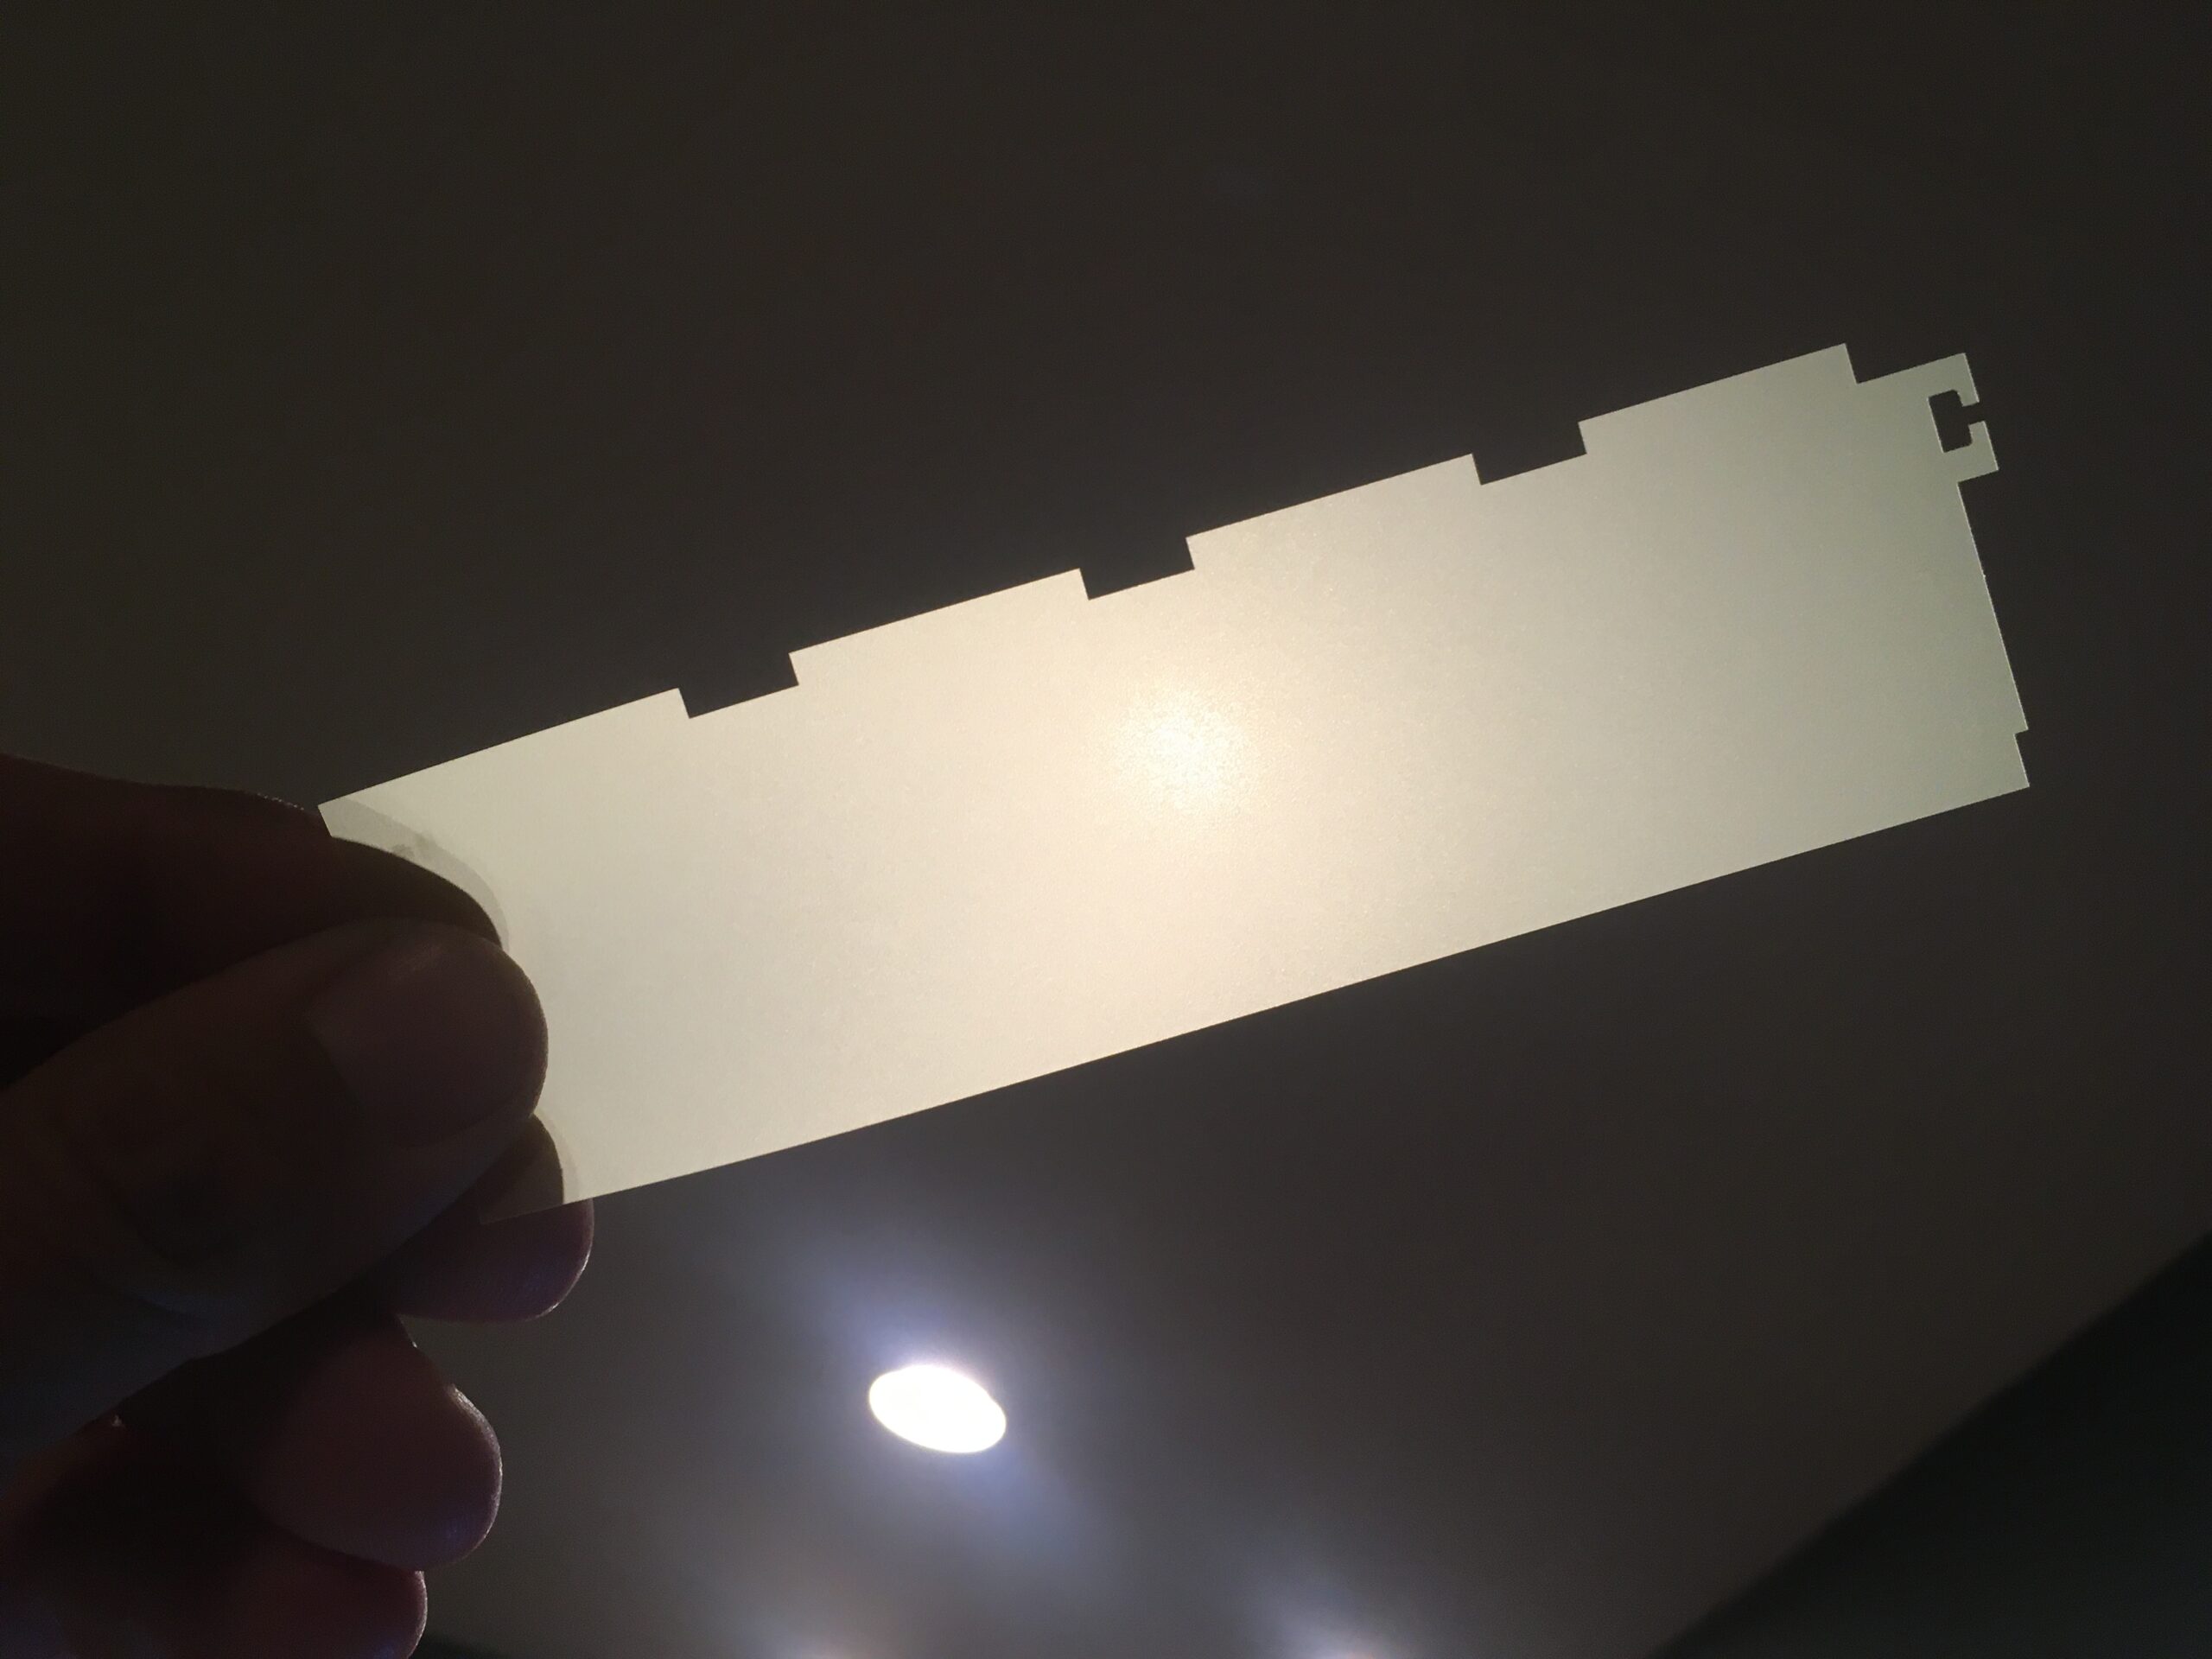
Next you will see a shinny filter/plastic piece spanning over the green filter. Remove it with your fingernail or flathead. It pops right off. Be sure to pay attention to the orientation so that you can put it back the same way… but if you pay attention to the cut groves on the top and side, it will only go back one way.
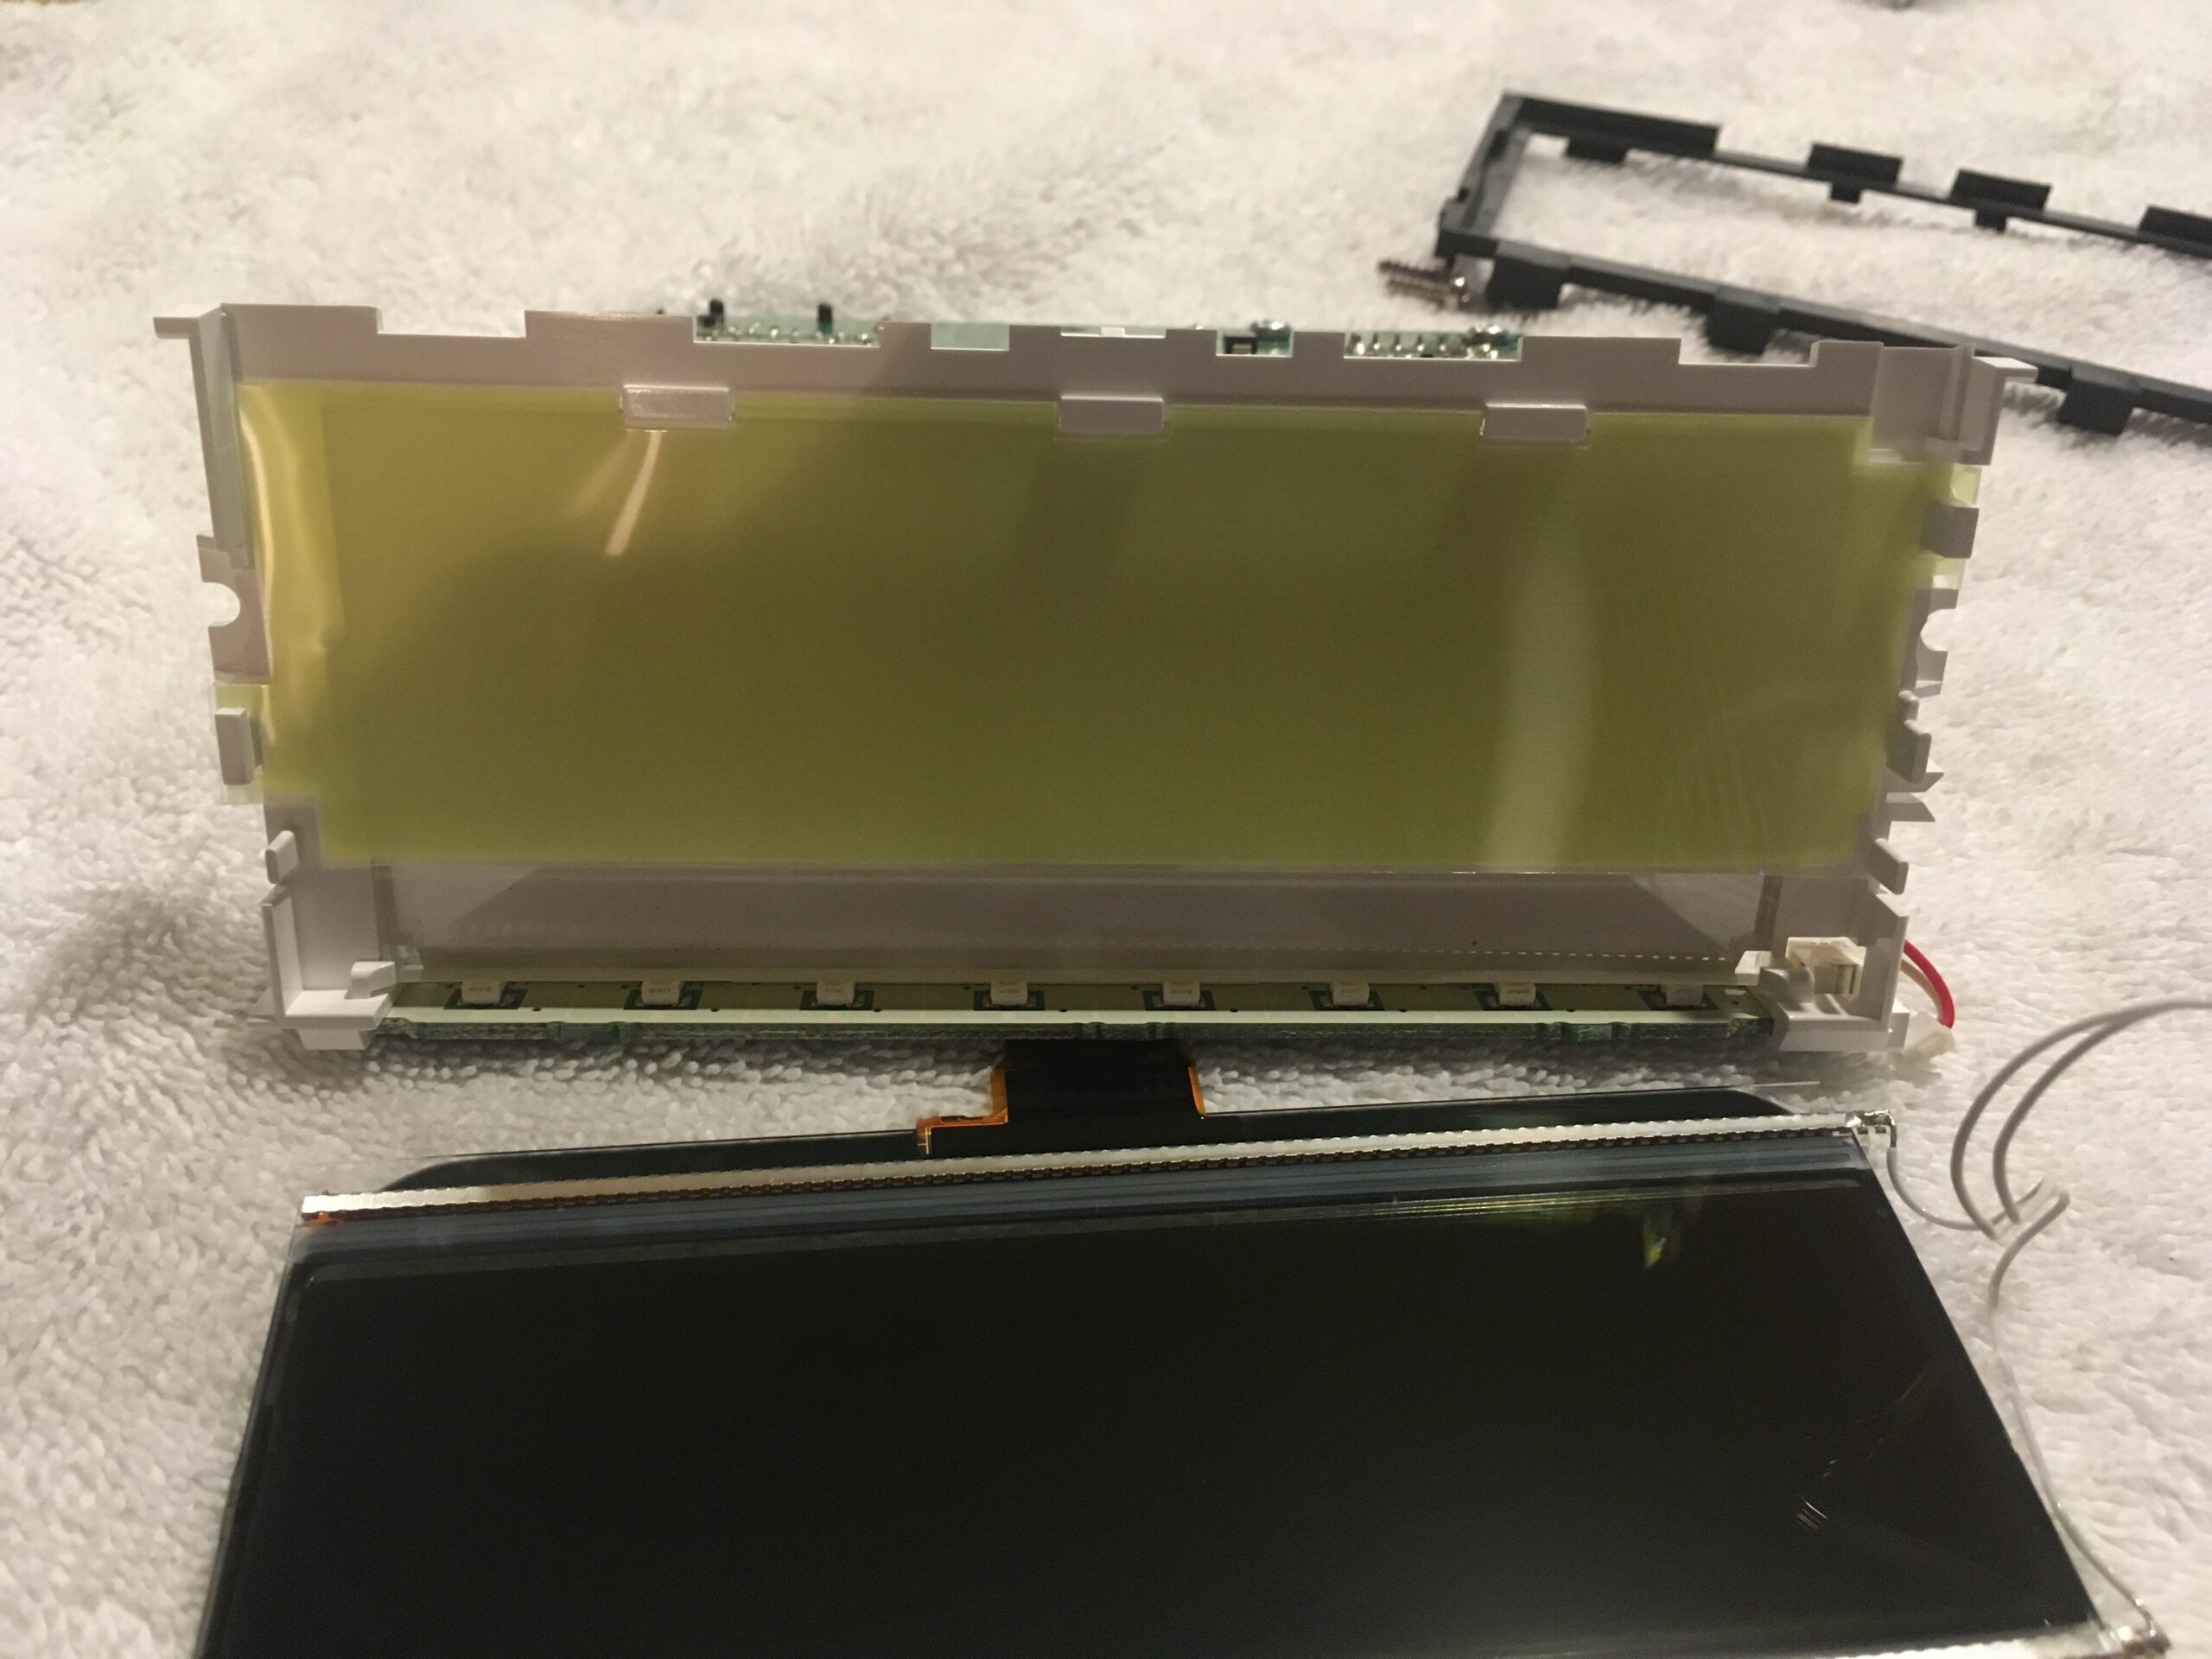
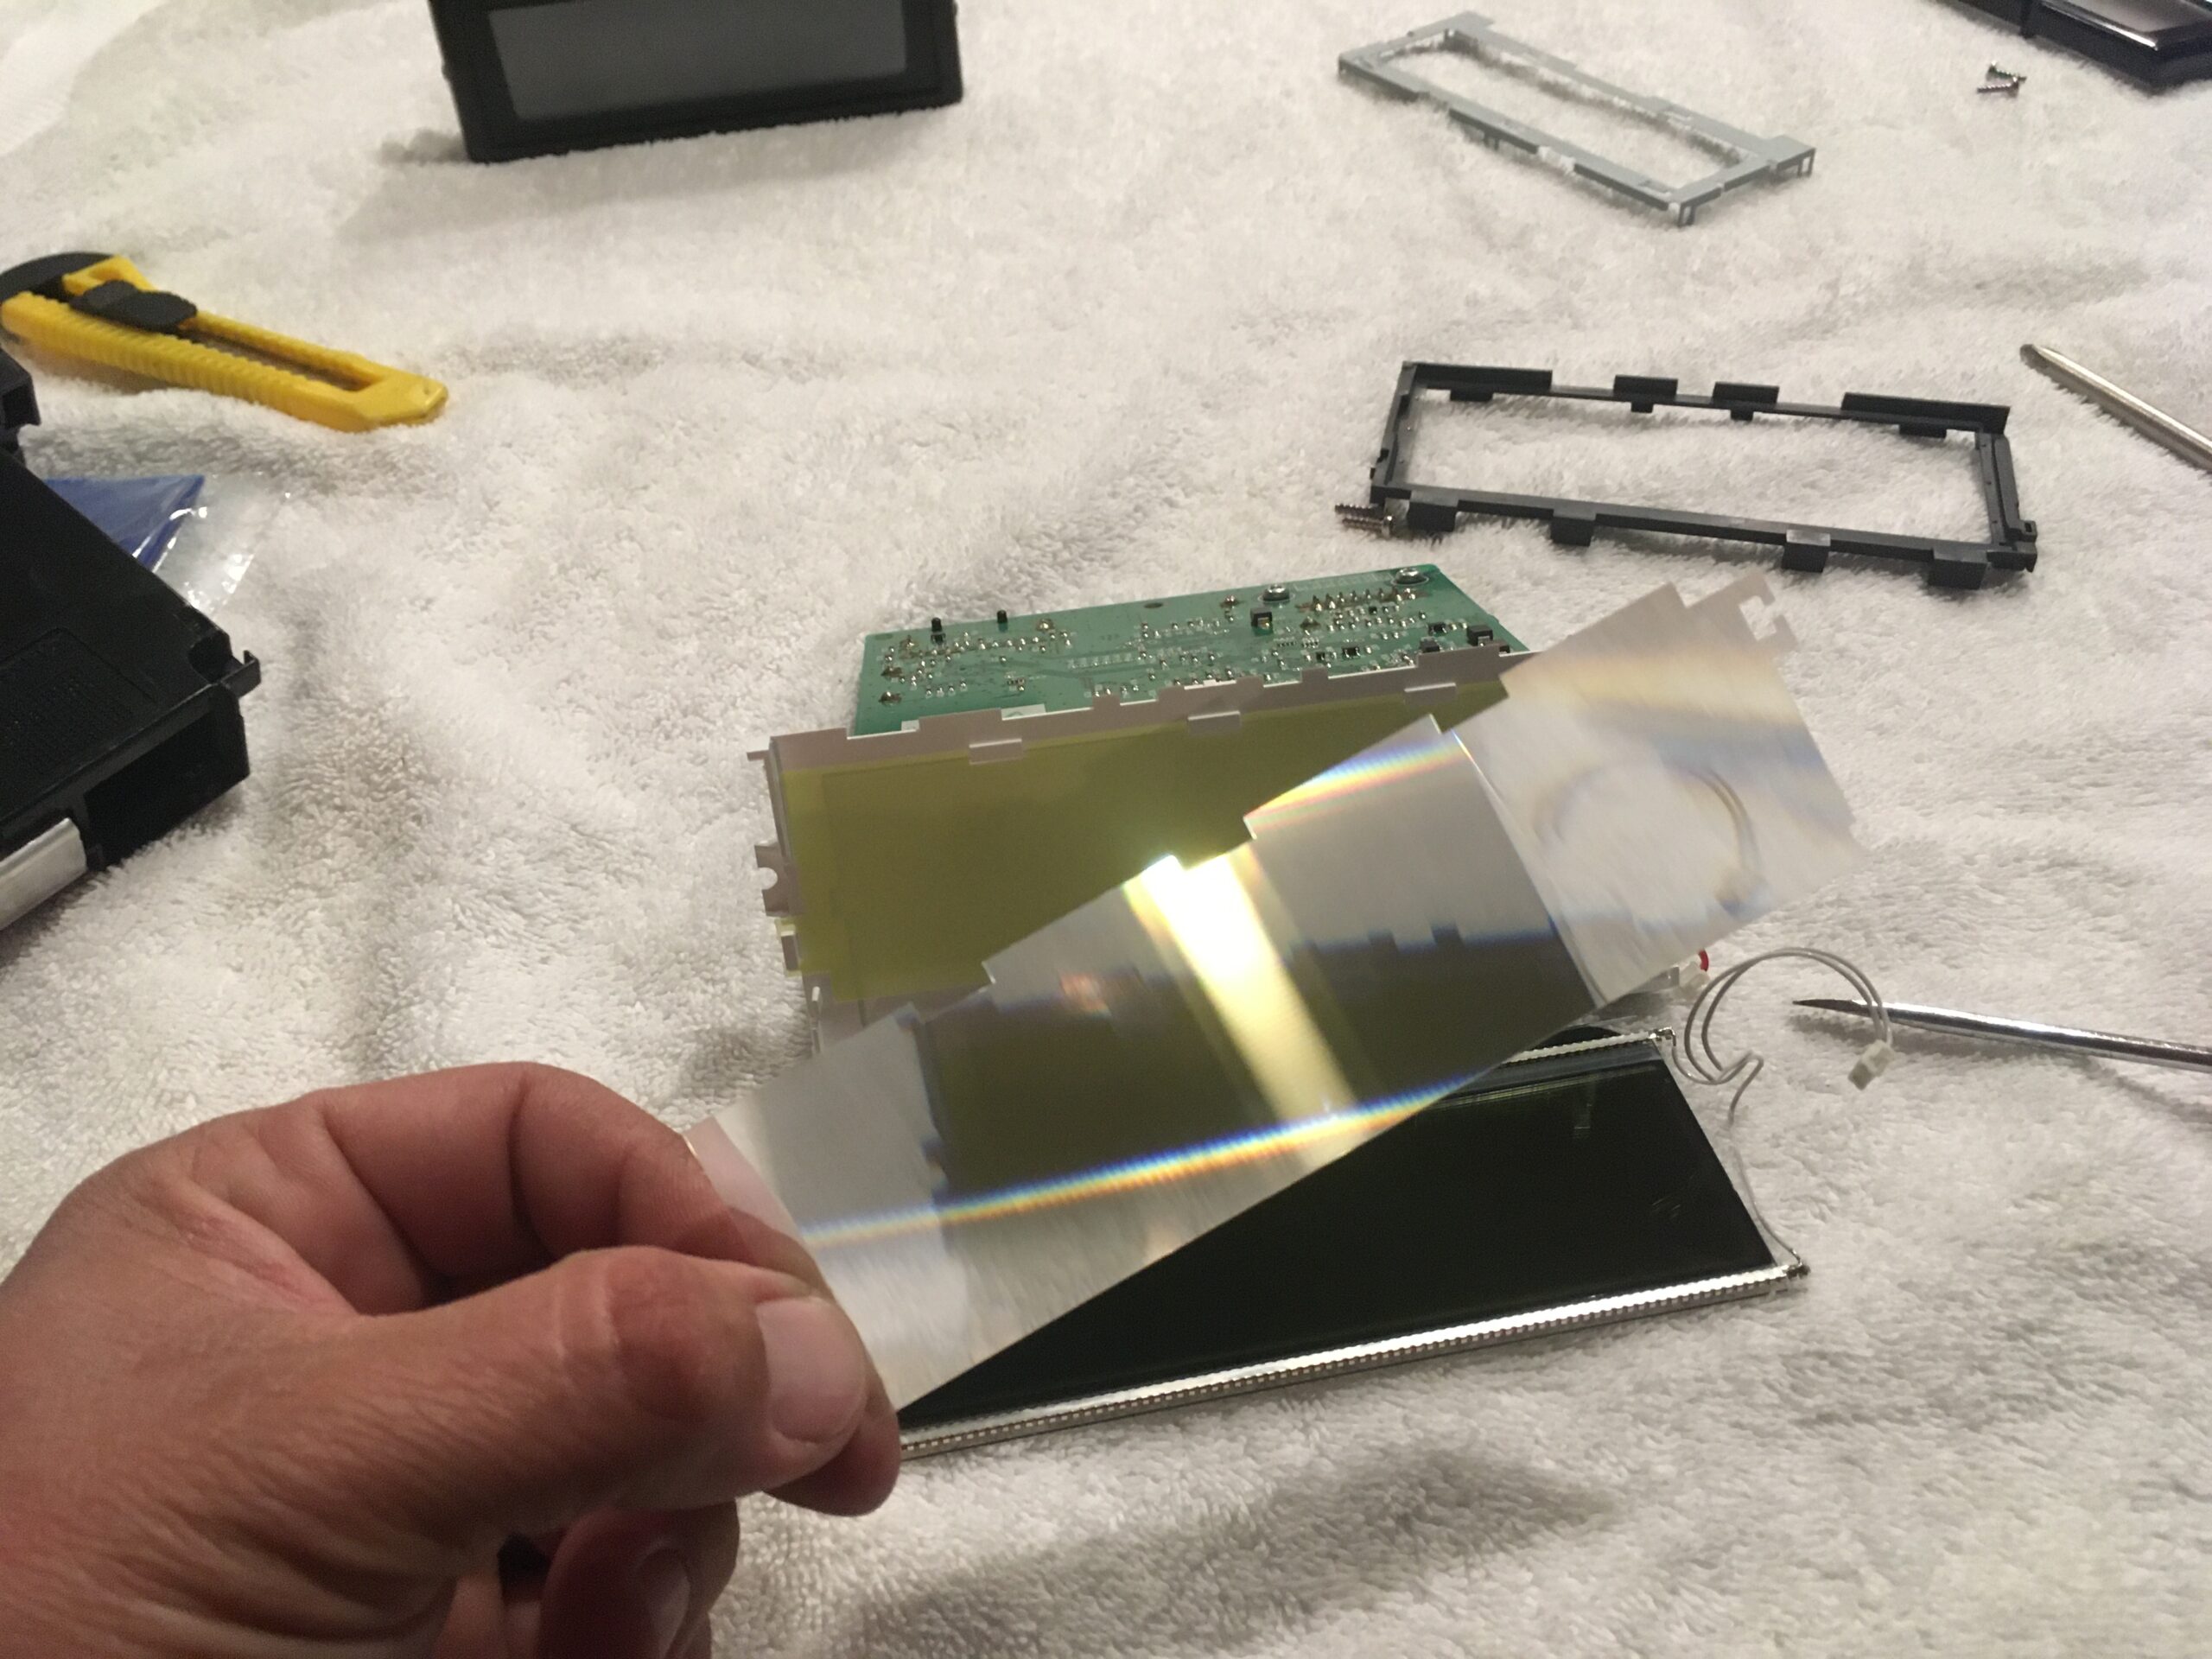
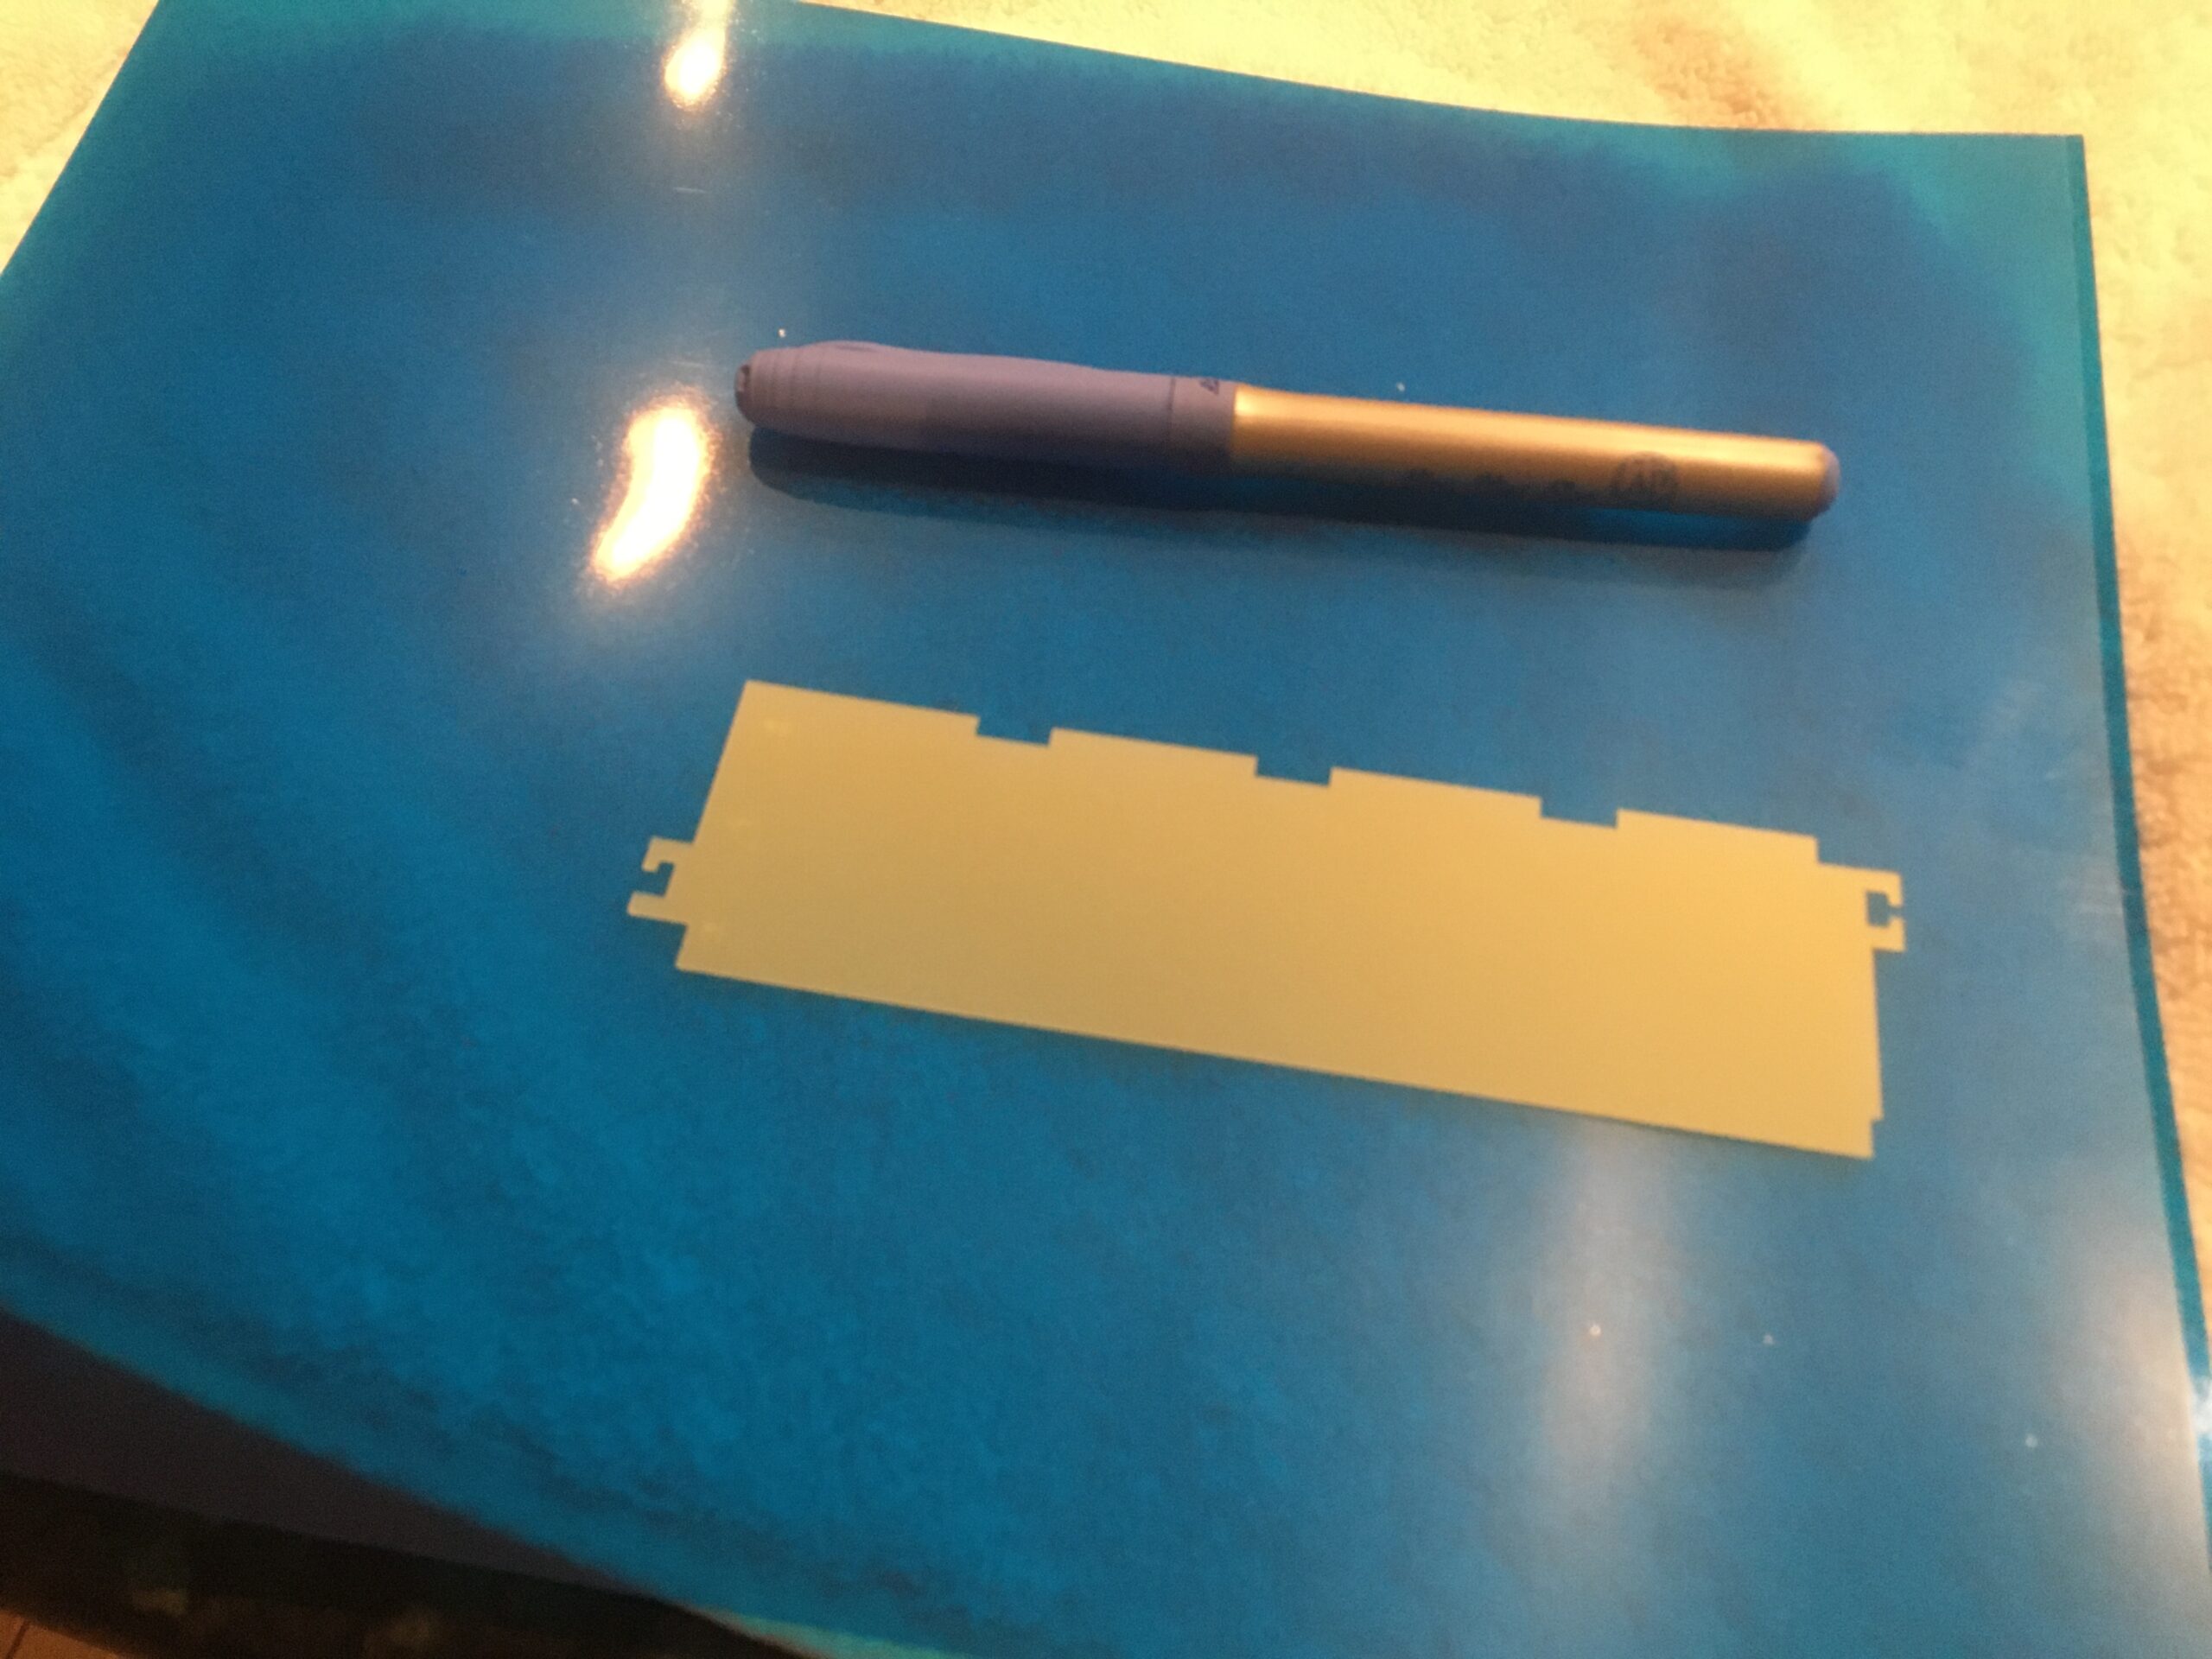
Now what we’ve all been waiting for. You will see the green filter that lays on the light displacement panel. Look close and you will see there are a few LEDs on the top of the unit that send light down this entire clear plastic piece. It serves to displace the light evenly. The green filter simply converts the white LED lights to Volvo’s signature green. Remove the filter by pulling it outward and set it aside.
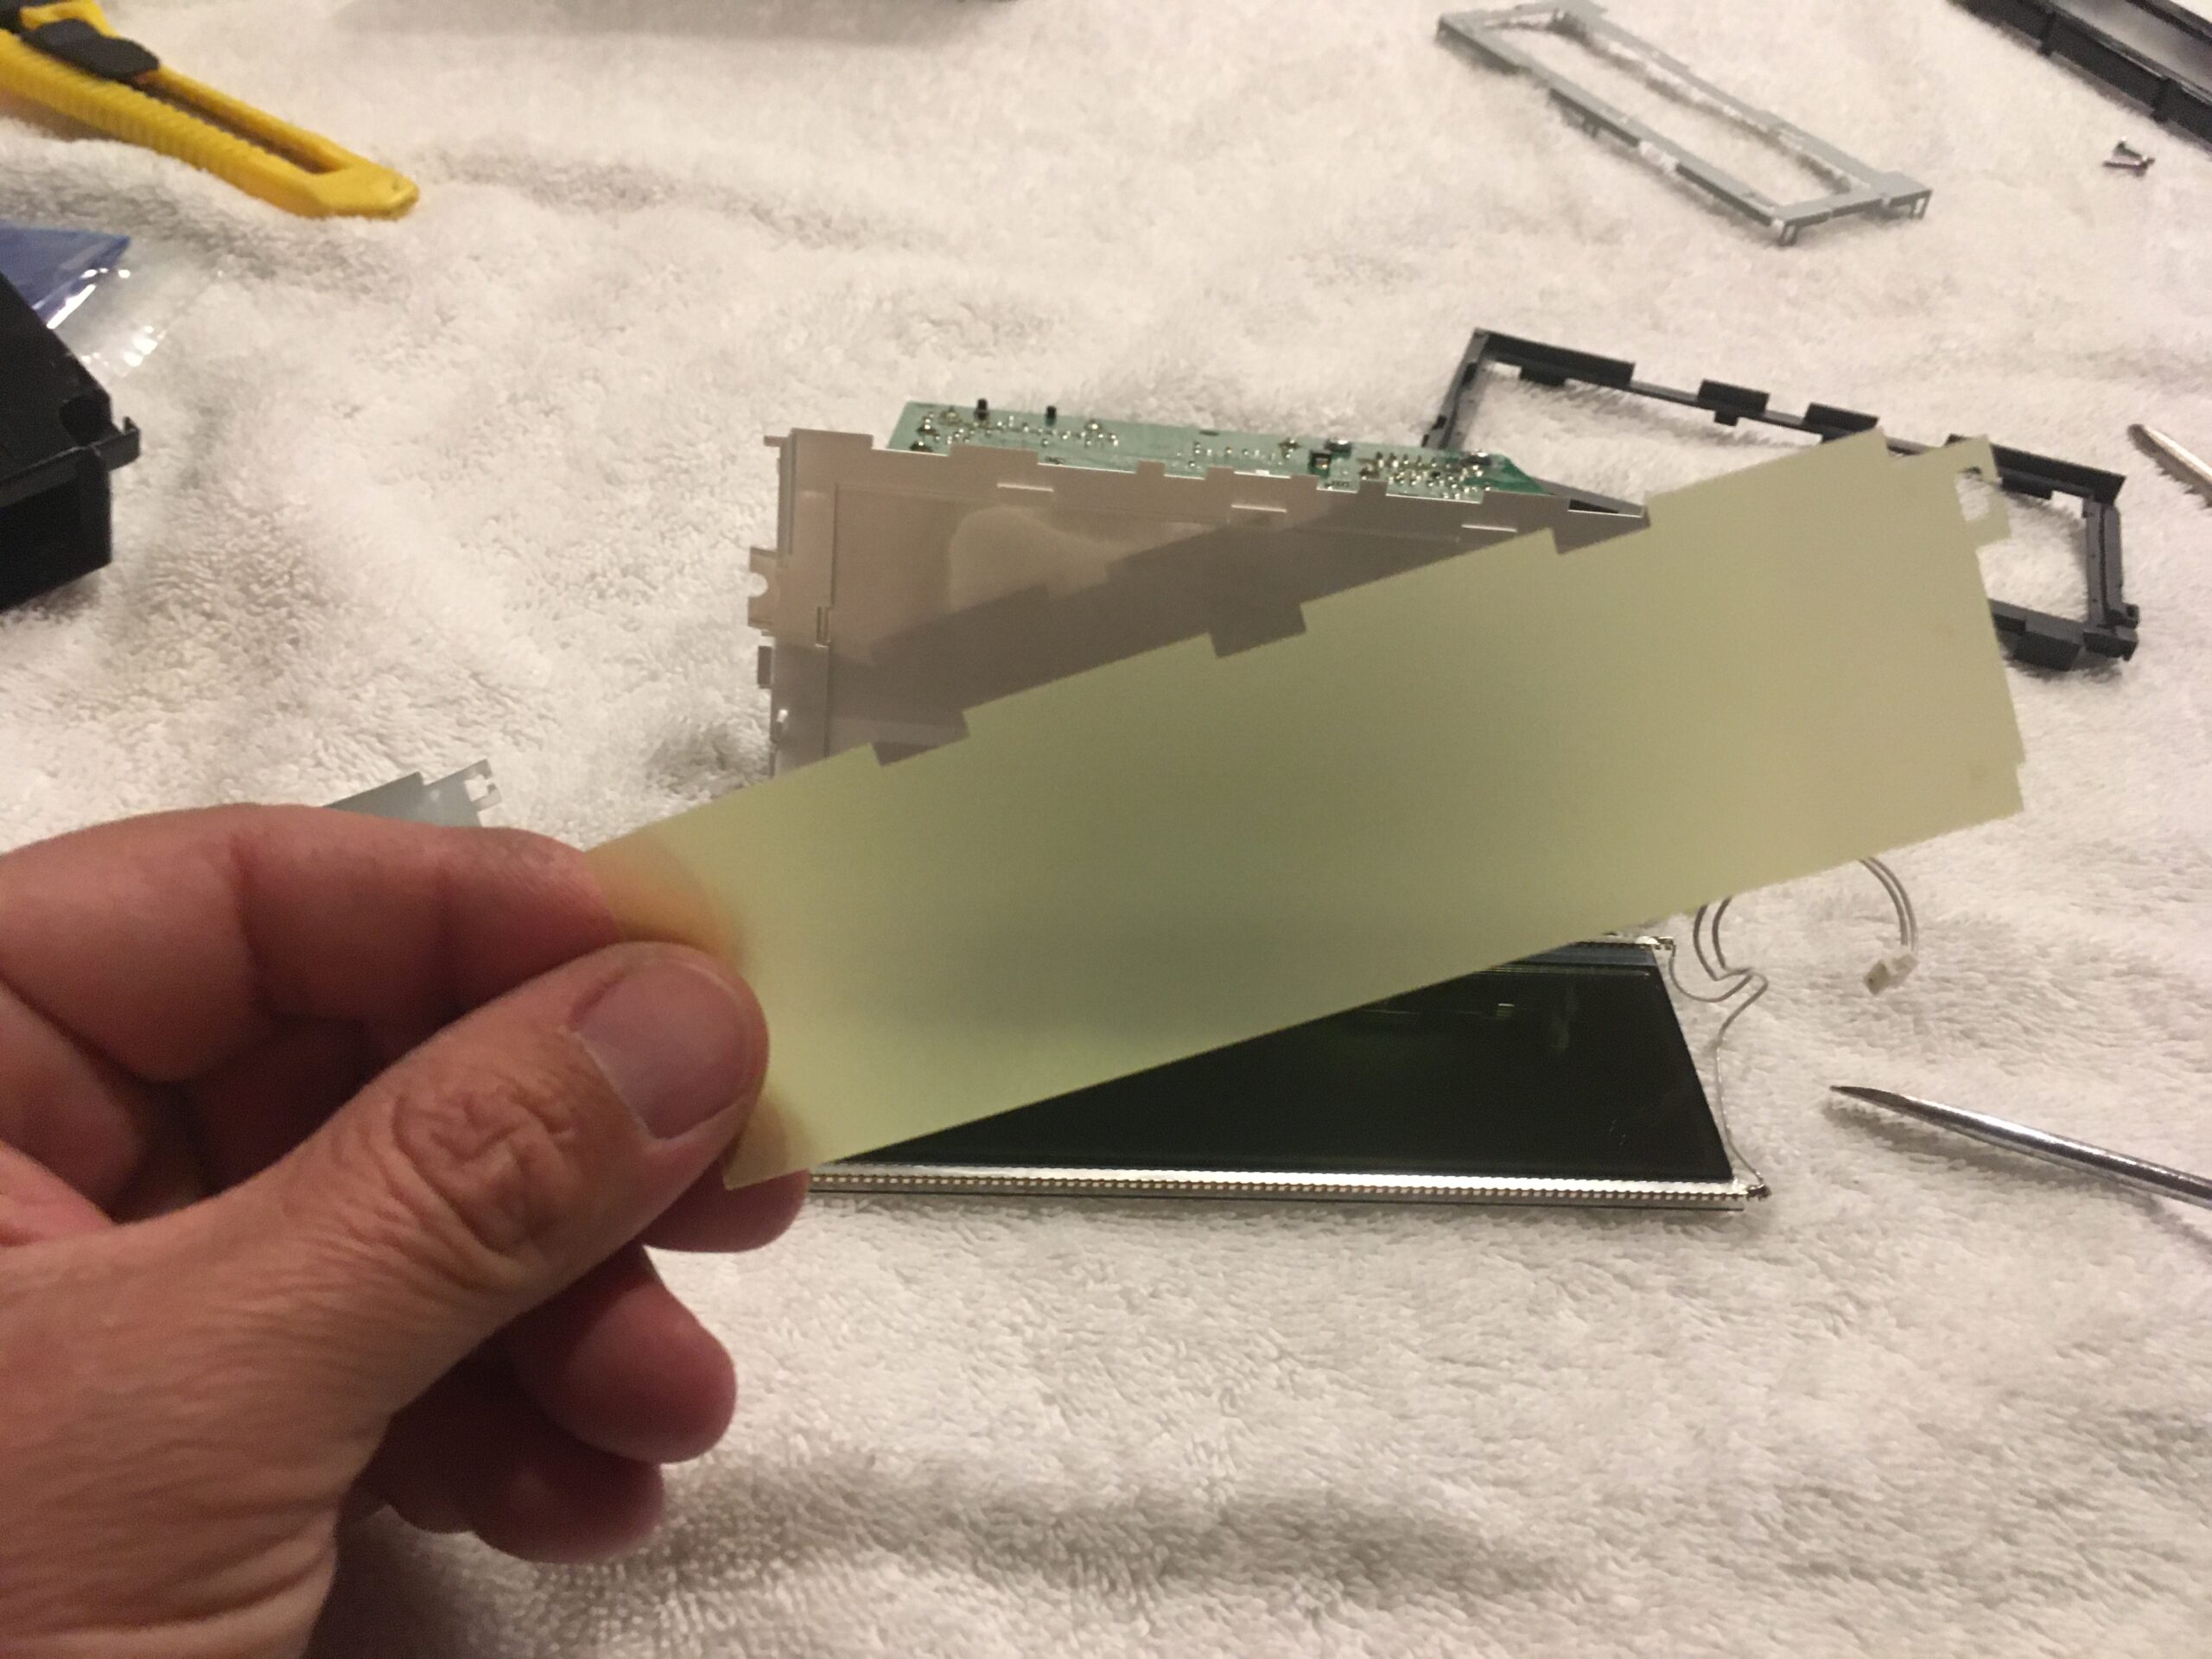
Holding it up to the light, you can see exactly how those bright white LEDs are converted to that boring and dull green.
If you want a hyper/ice white screen display, just reassemble in reverse order leaving out the filter and you’re done. Scroll down to the bottom of this article to see the display without the filter…not bad at all…but we be going BLUE FTW.
For those of us who want to completely color change our interior, the next bit is what you’re looking for.
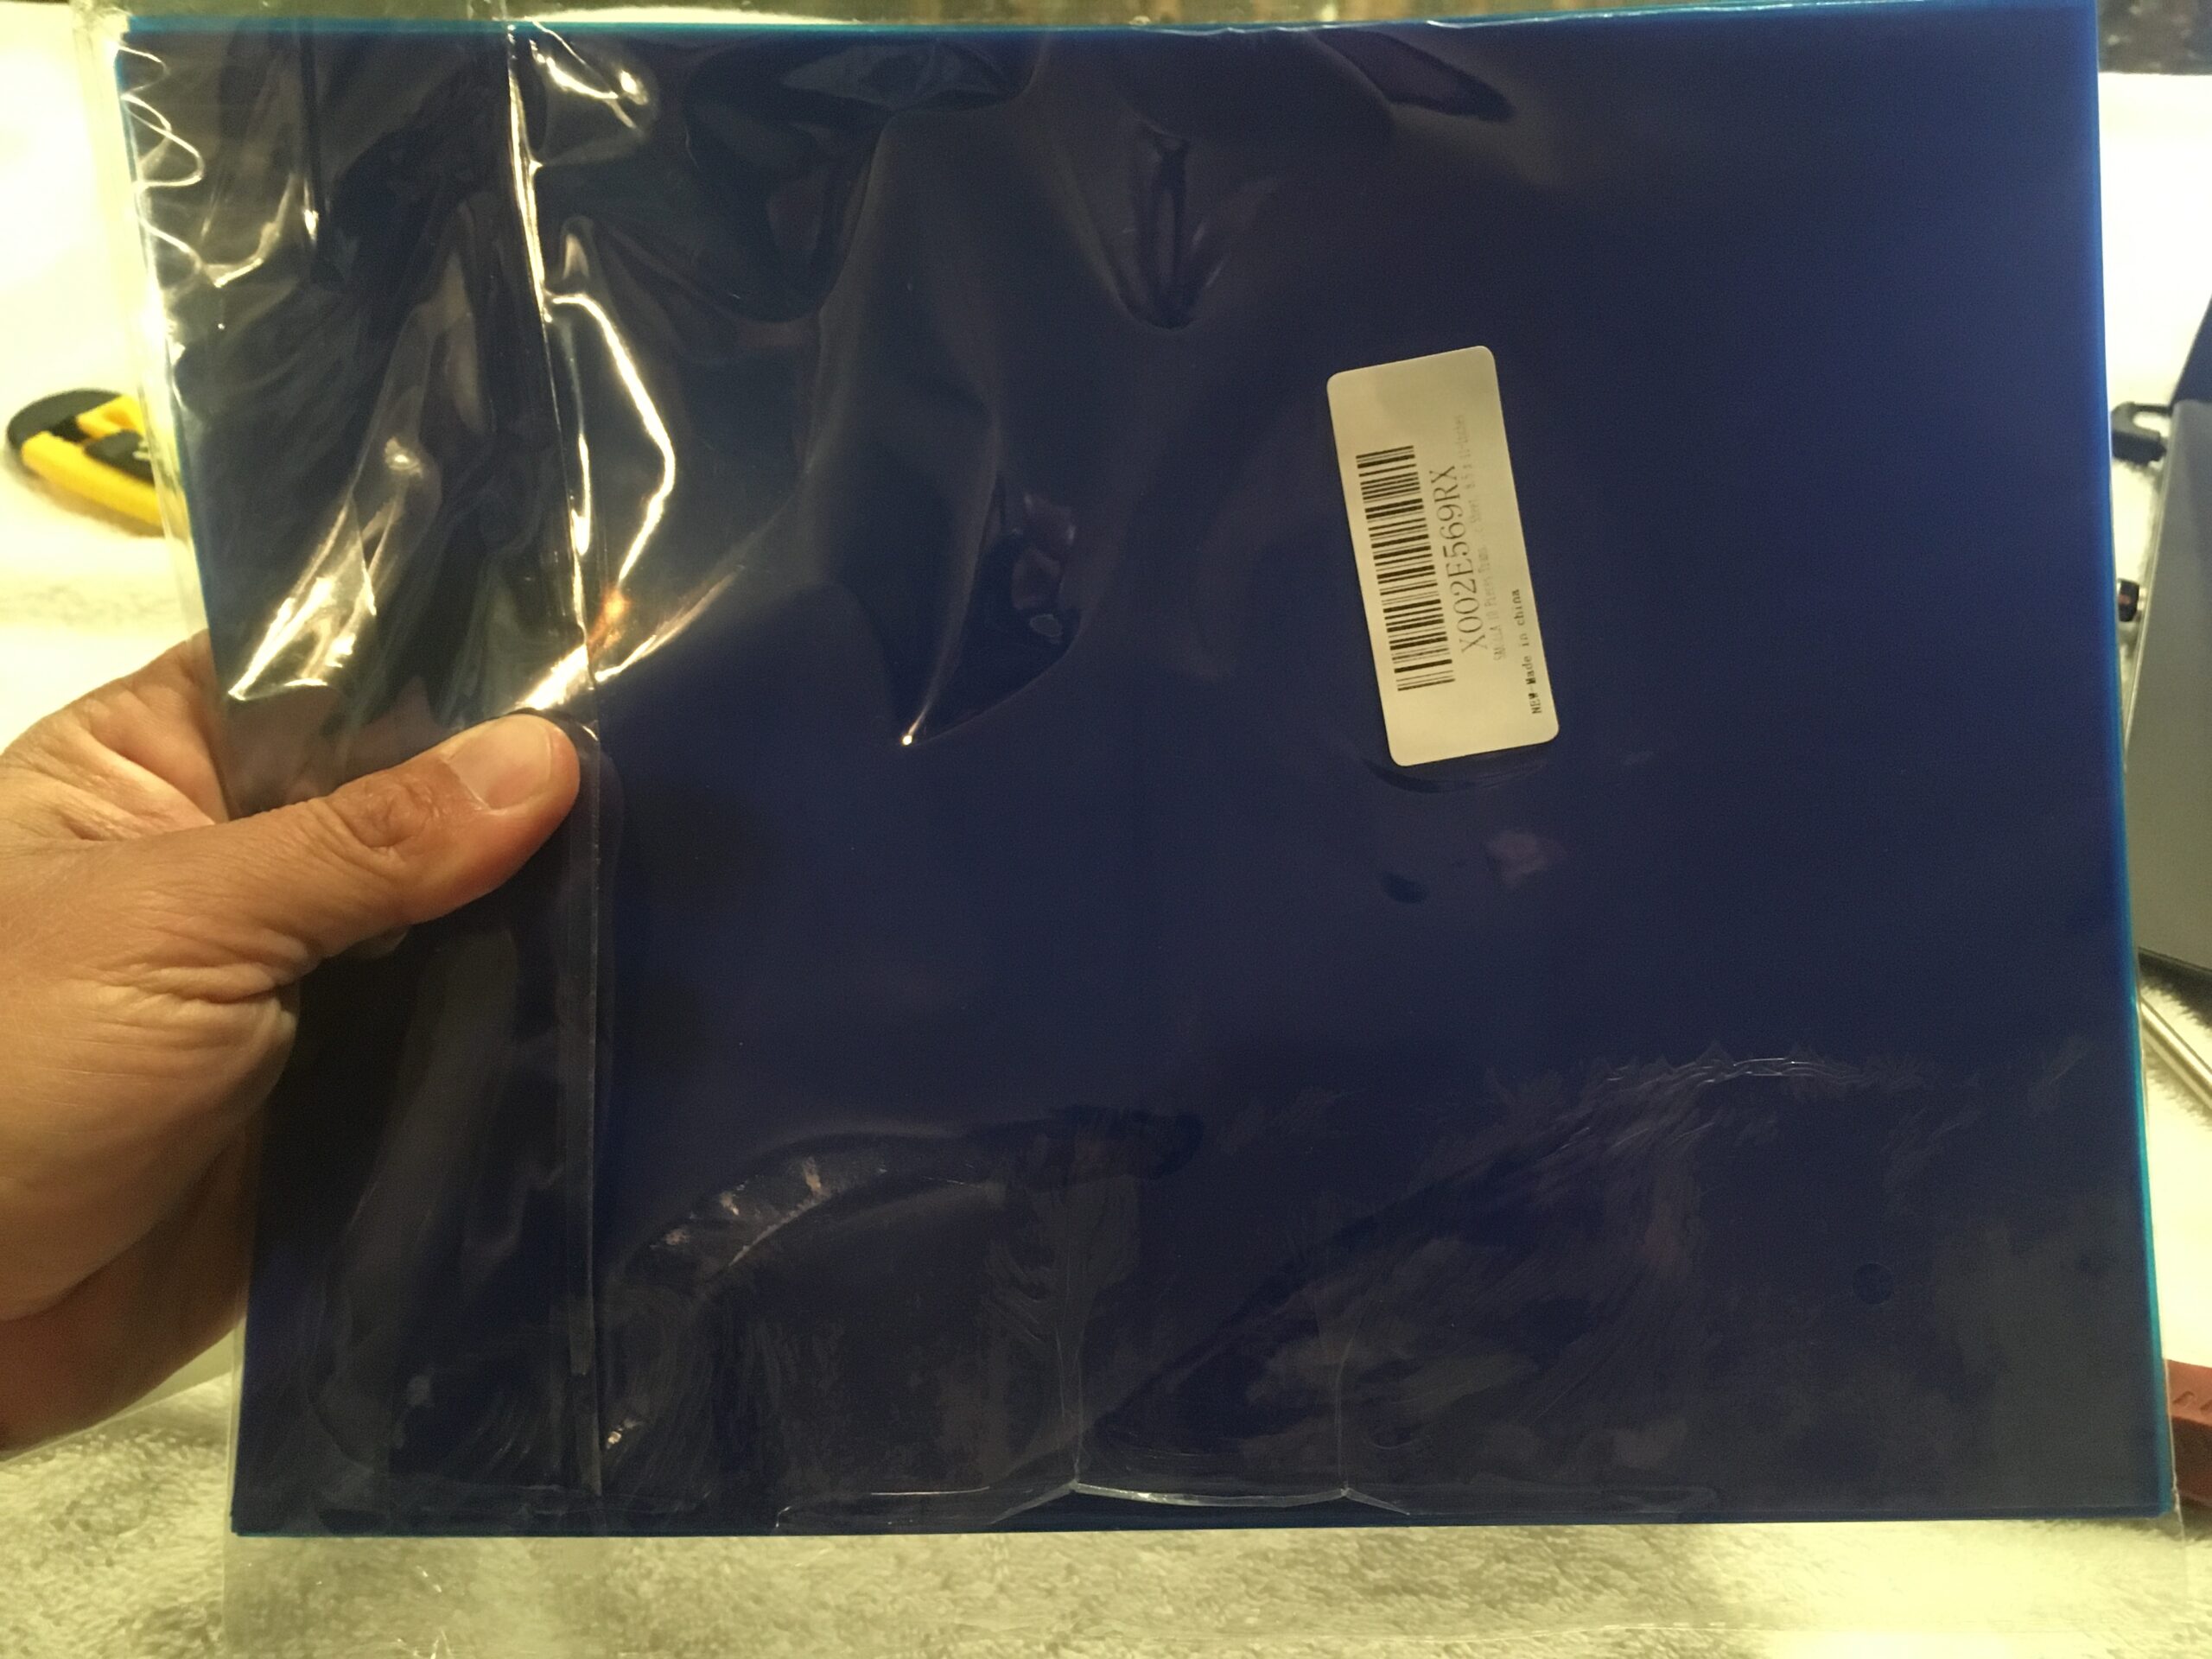
We bought Gel Light Filter Plastic Sheets on amazon, we got blue, 10 sheets for $9 and they came the next day. It is available in pretty much any color you need, and results will come by searching amazon for “light filters”, “reading filters” and more.
We initially tried to trace our filter on the new blue filter sheet with a sharpie, but that failed as the new panel was so smooth the ink was just smearing and running. This wont provide a clean and clear cut edge.
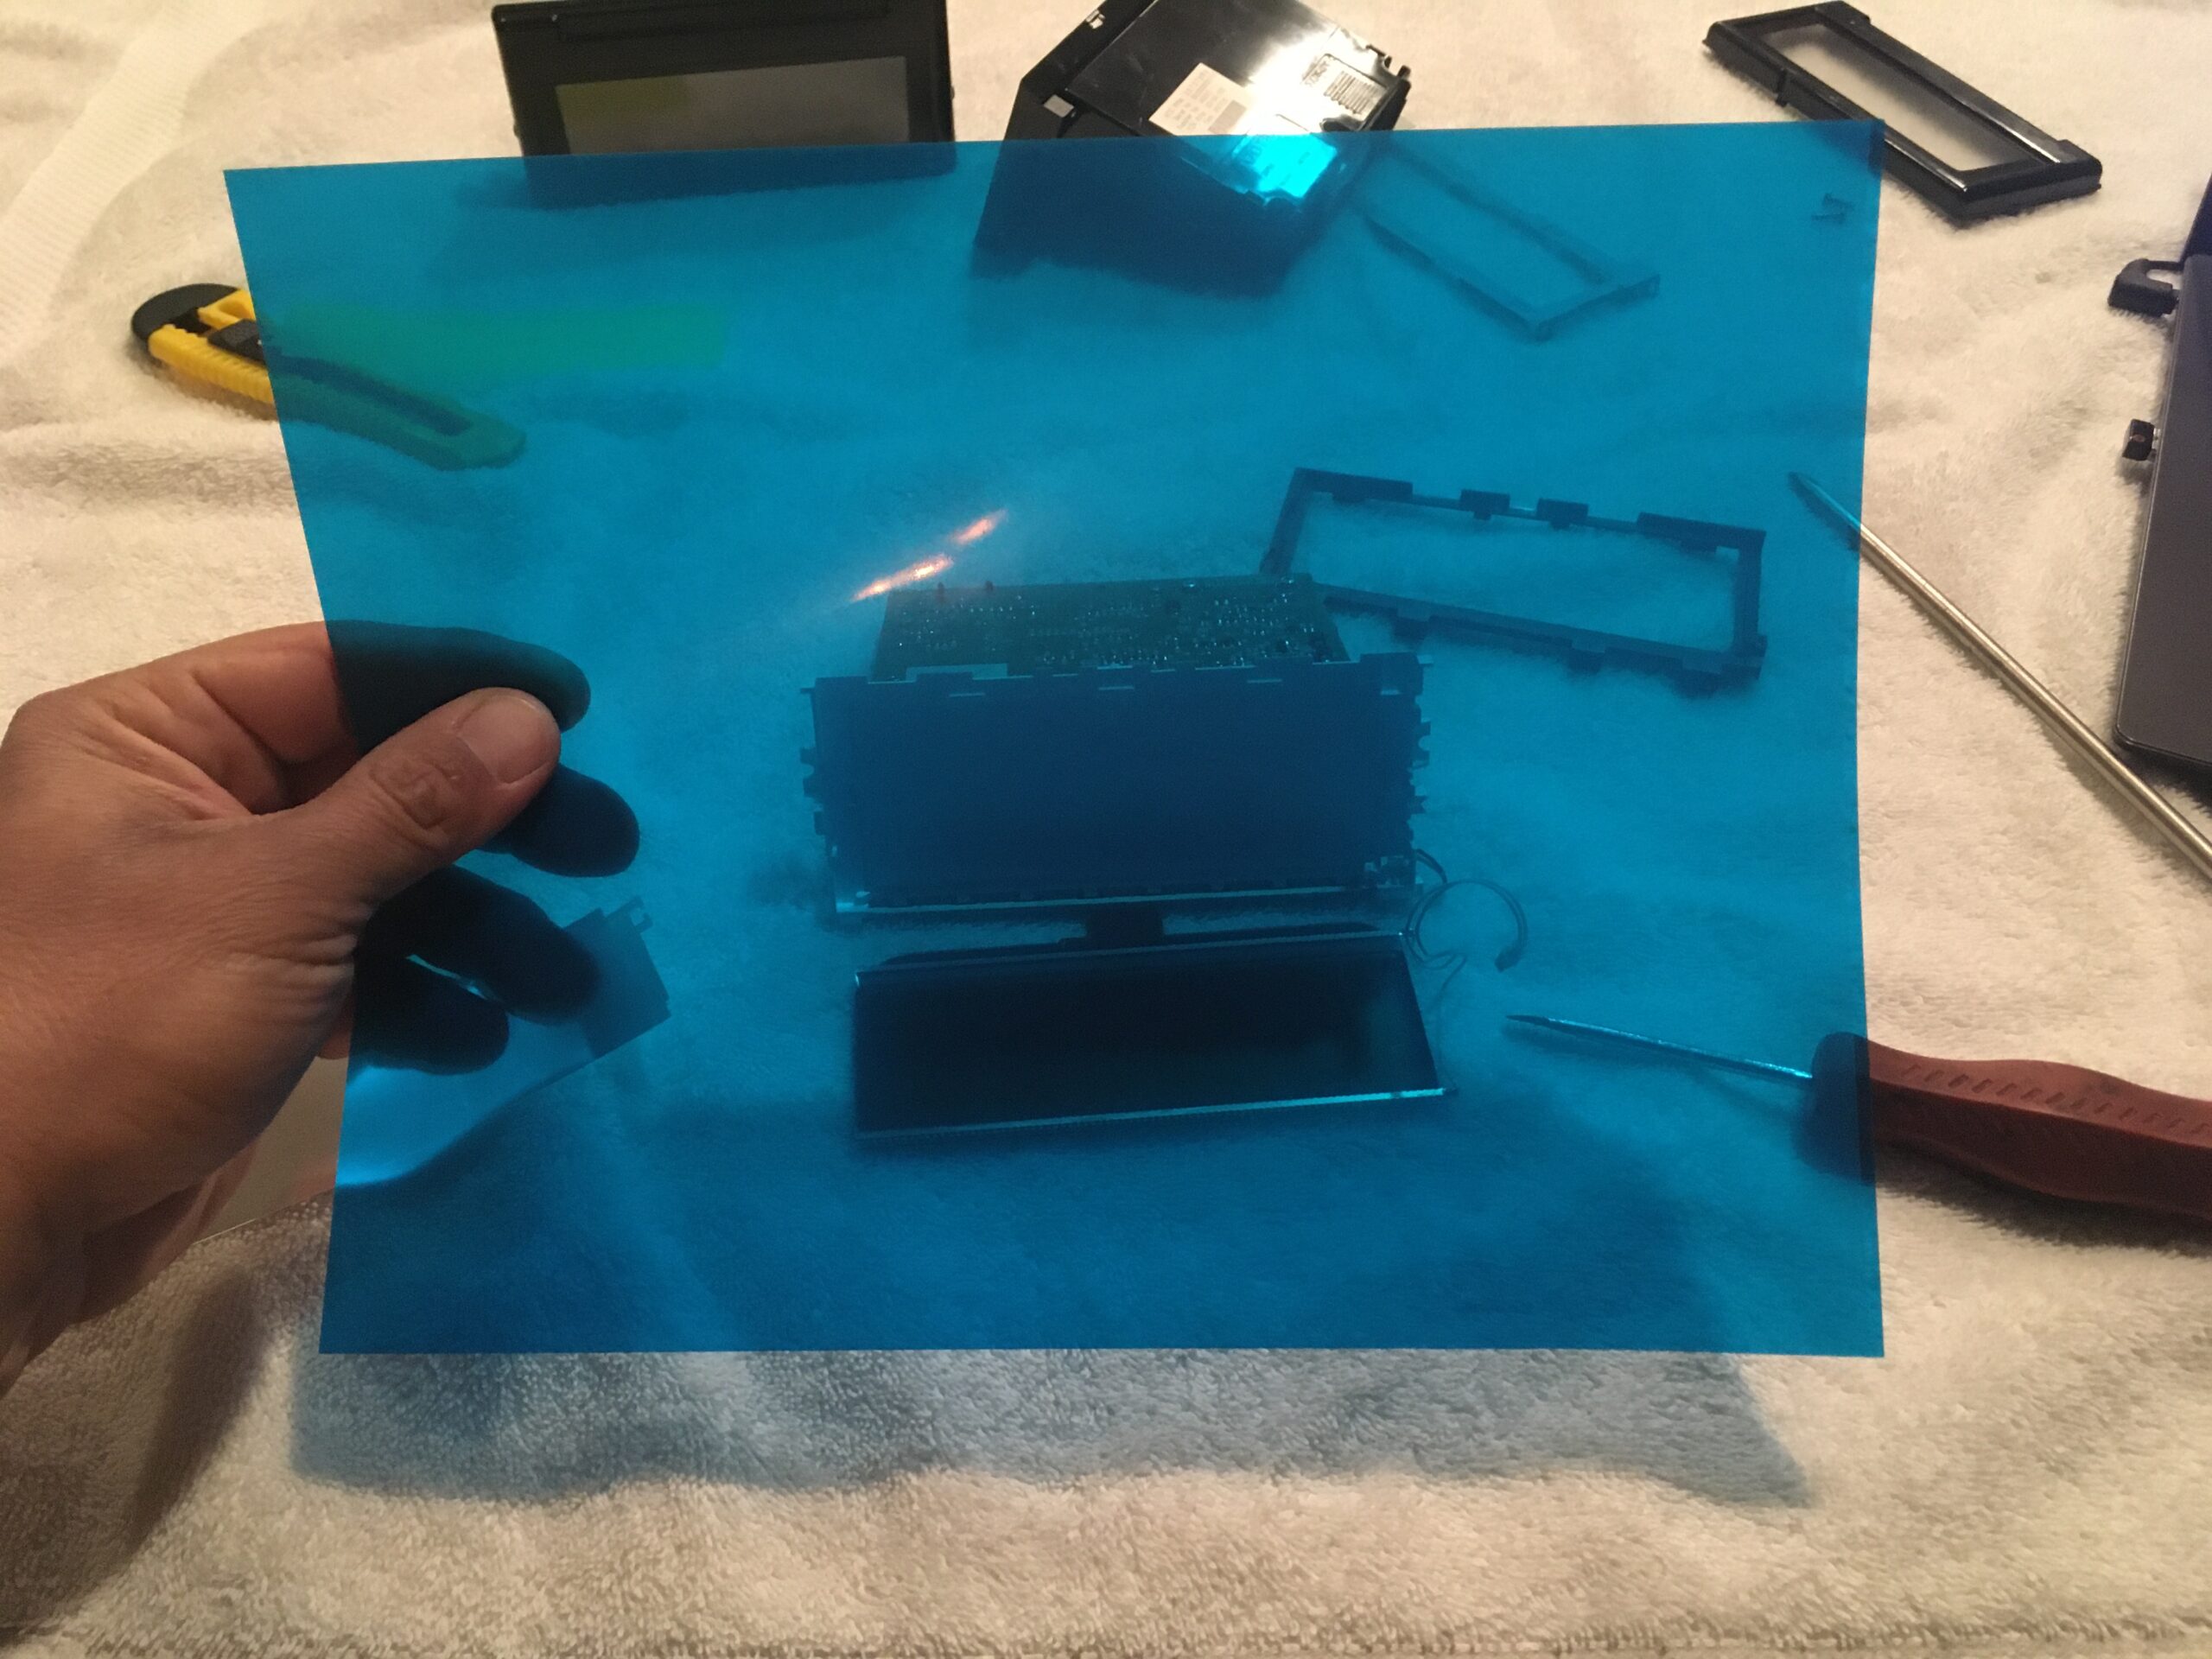
The better solution we found was tapping the filter on top of the new blue sheet. Now we used a straightedge (level), to line up our edges for a clean cut.
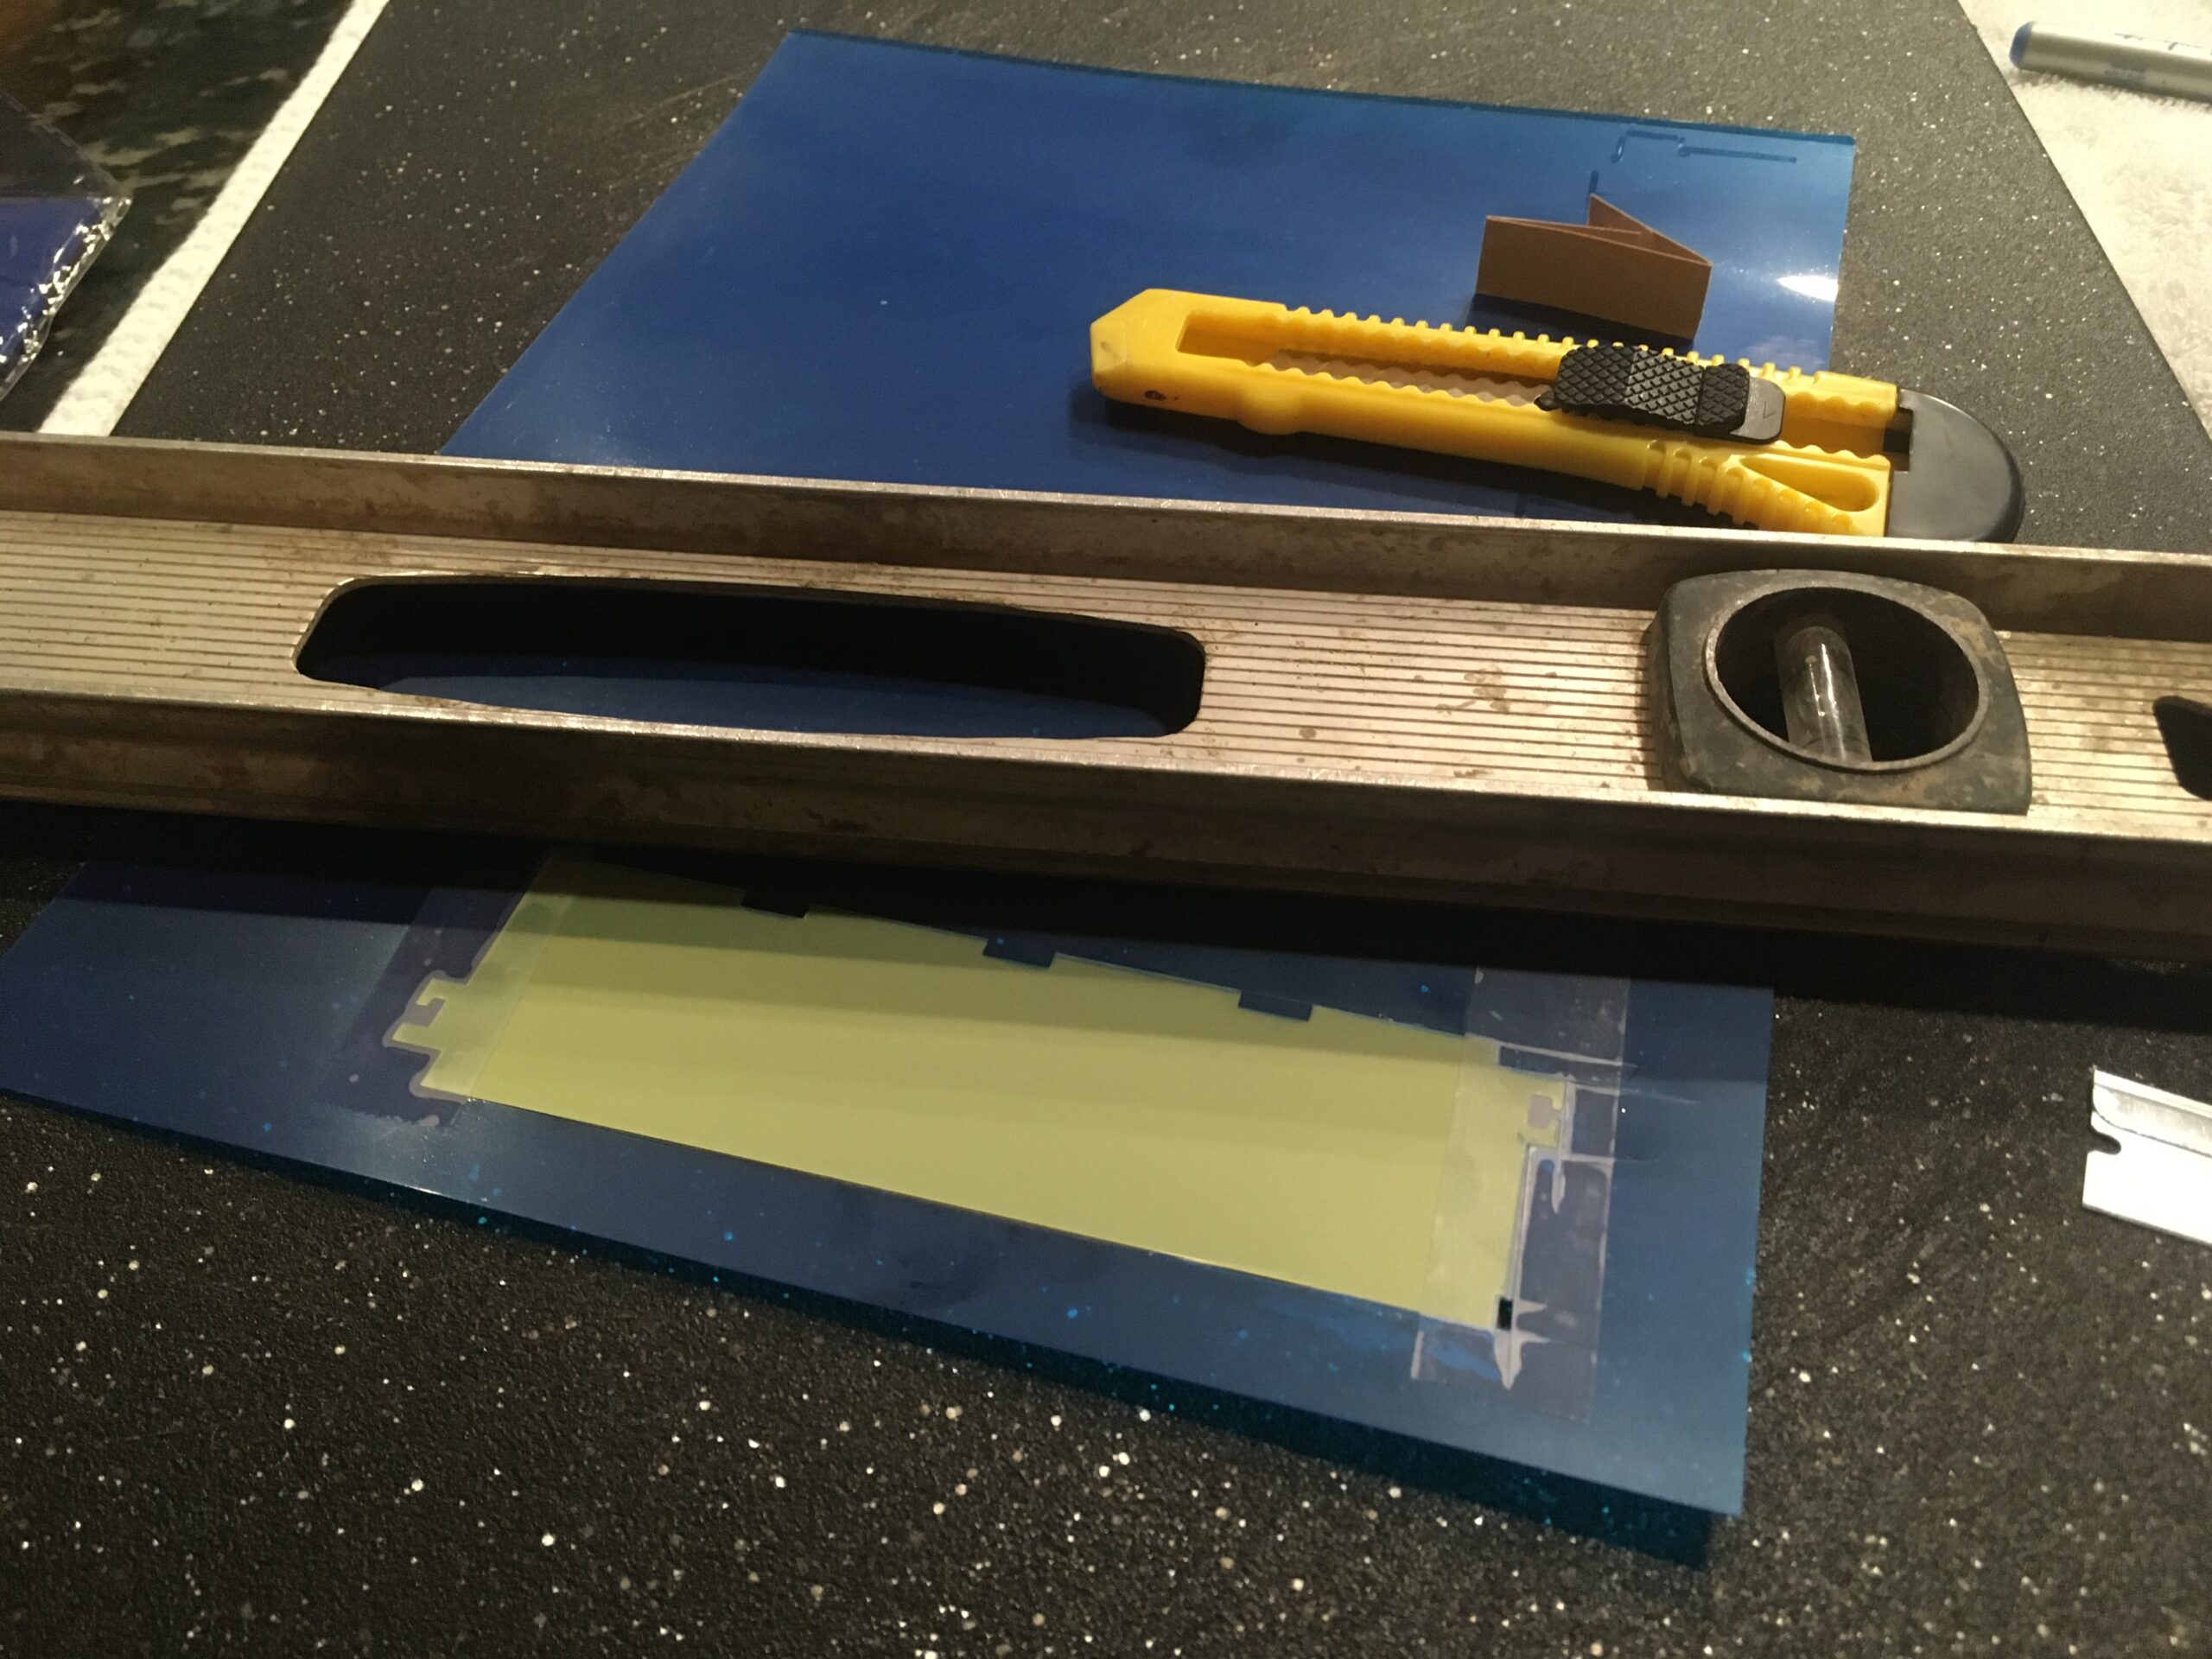
Using a brand new razor, and our primo kitchen cutting board under for stability, we cut out the exact shape of the green filter.

Then we found a bonus with the product we ordered…it came wrapped in protective plastic on both sides, so any finger prints, smudges and scratches peeled right off.

From there, re-install everything in reverse order and plug in your brand new blue (or whatever color) ICM.
Pretty great upgrade for less than a few bucks and an hour, right?
Standard stock Volvo Green Filter
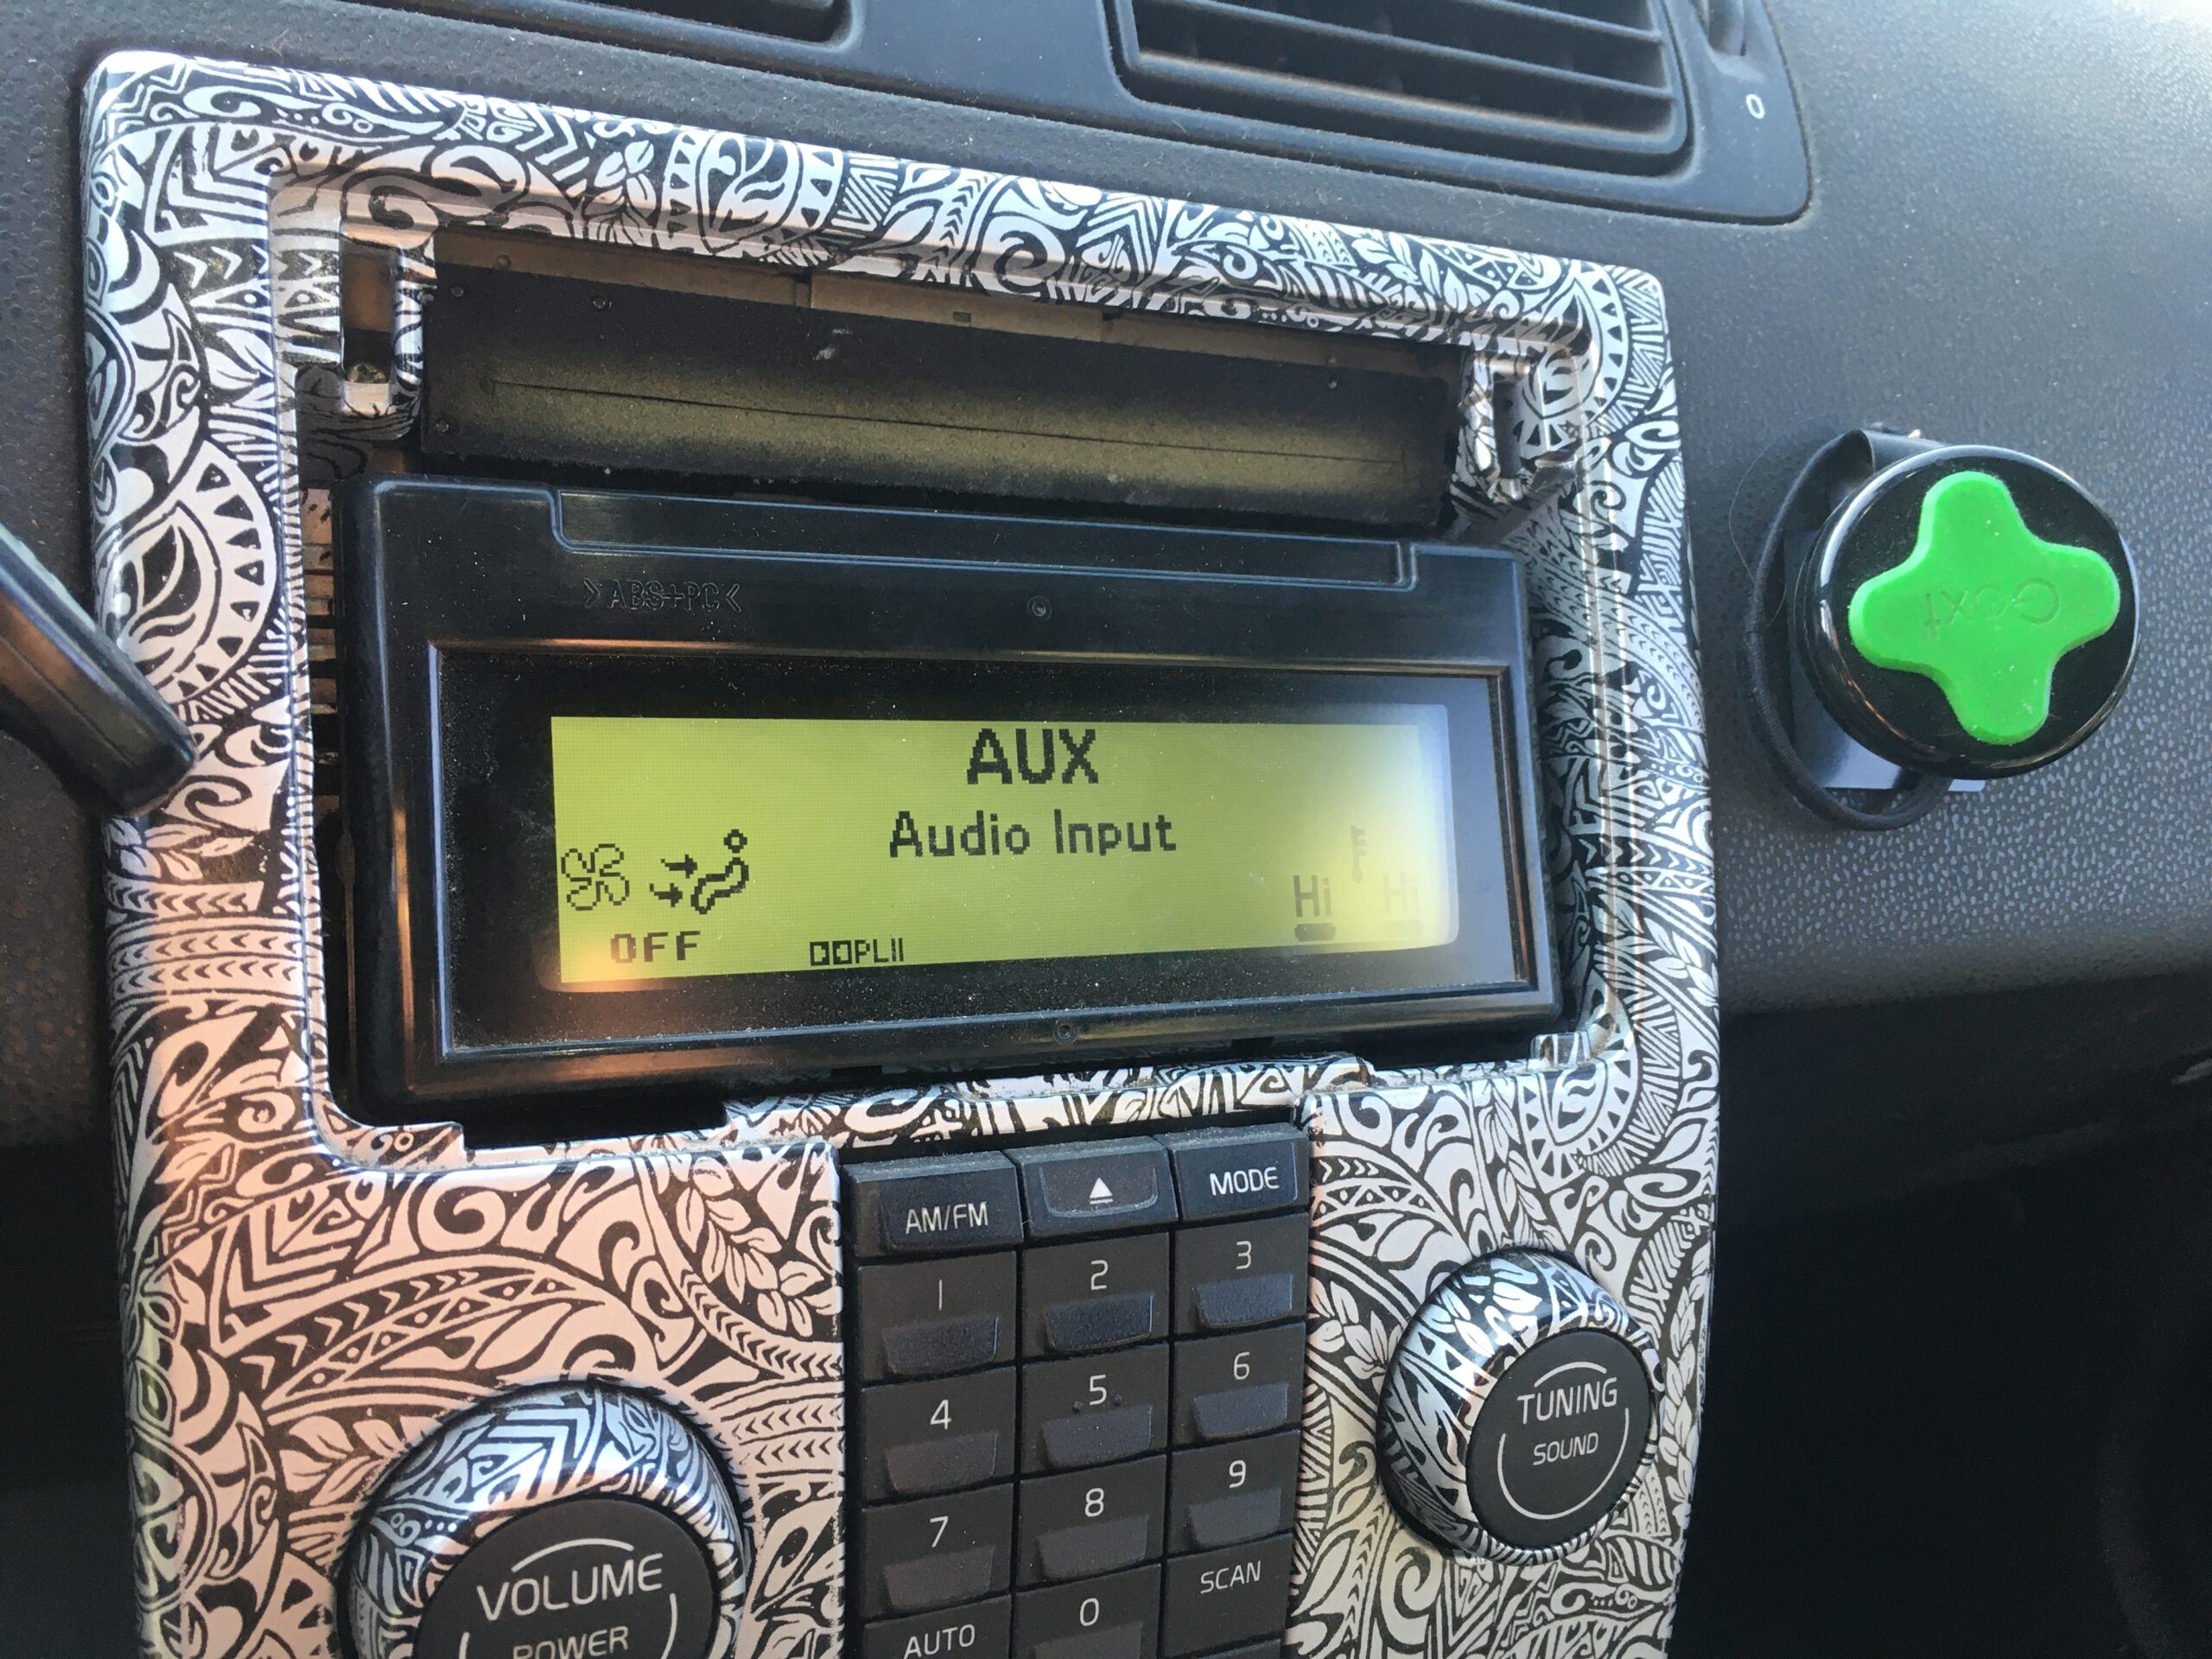
Without any filter: Hyper/Ice White. Ignore the dead screen pixels, we did the white on an extra trash screen we had laying around.
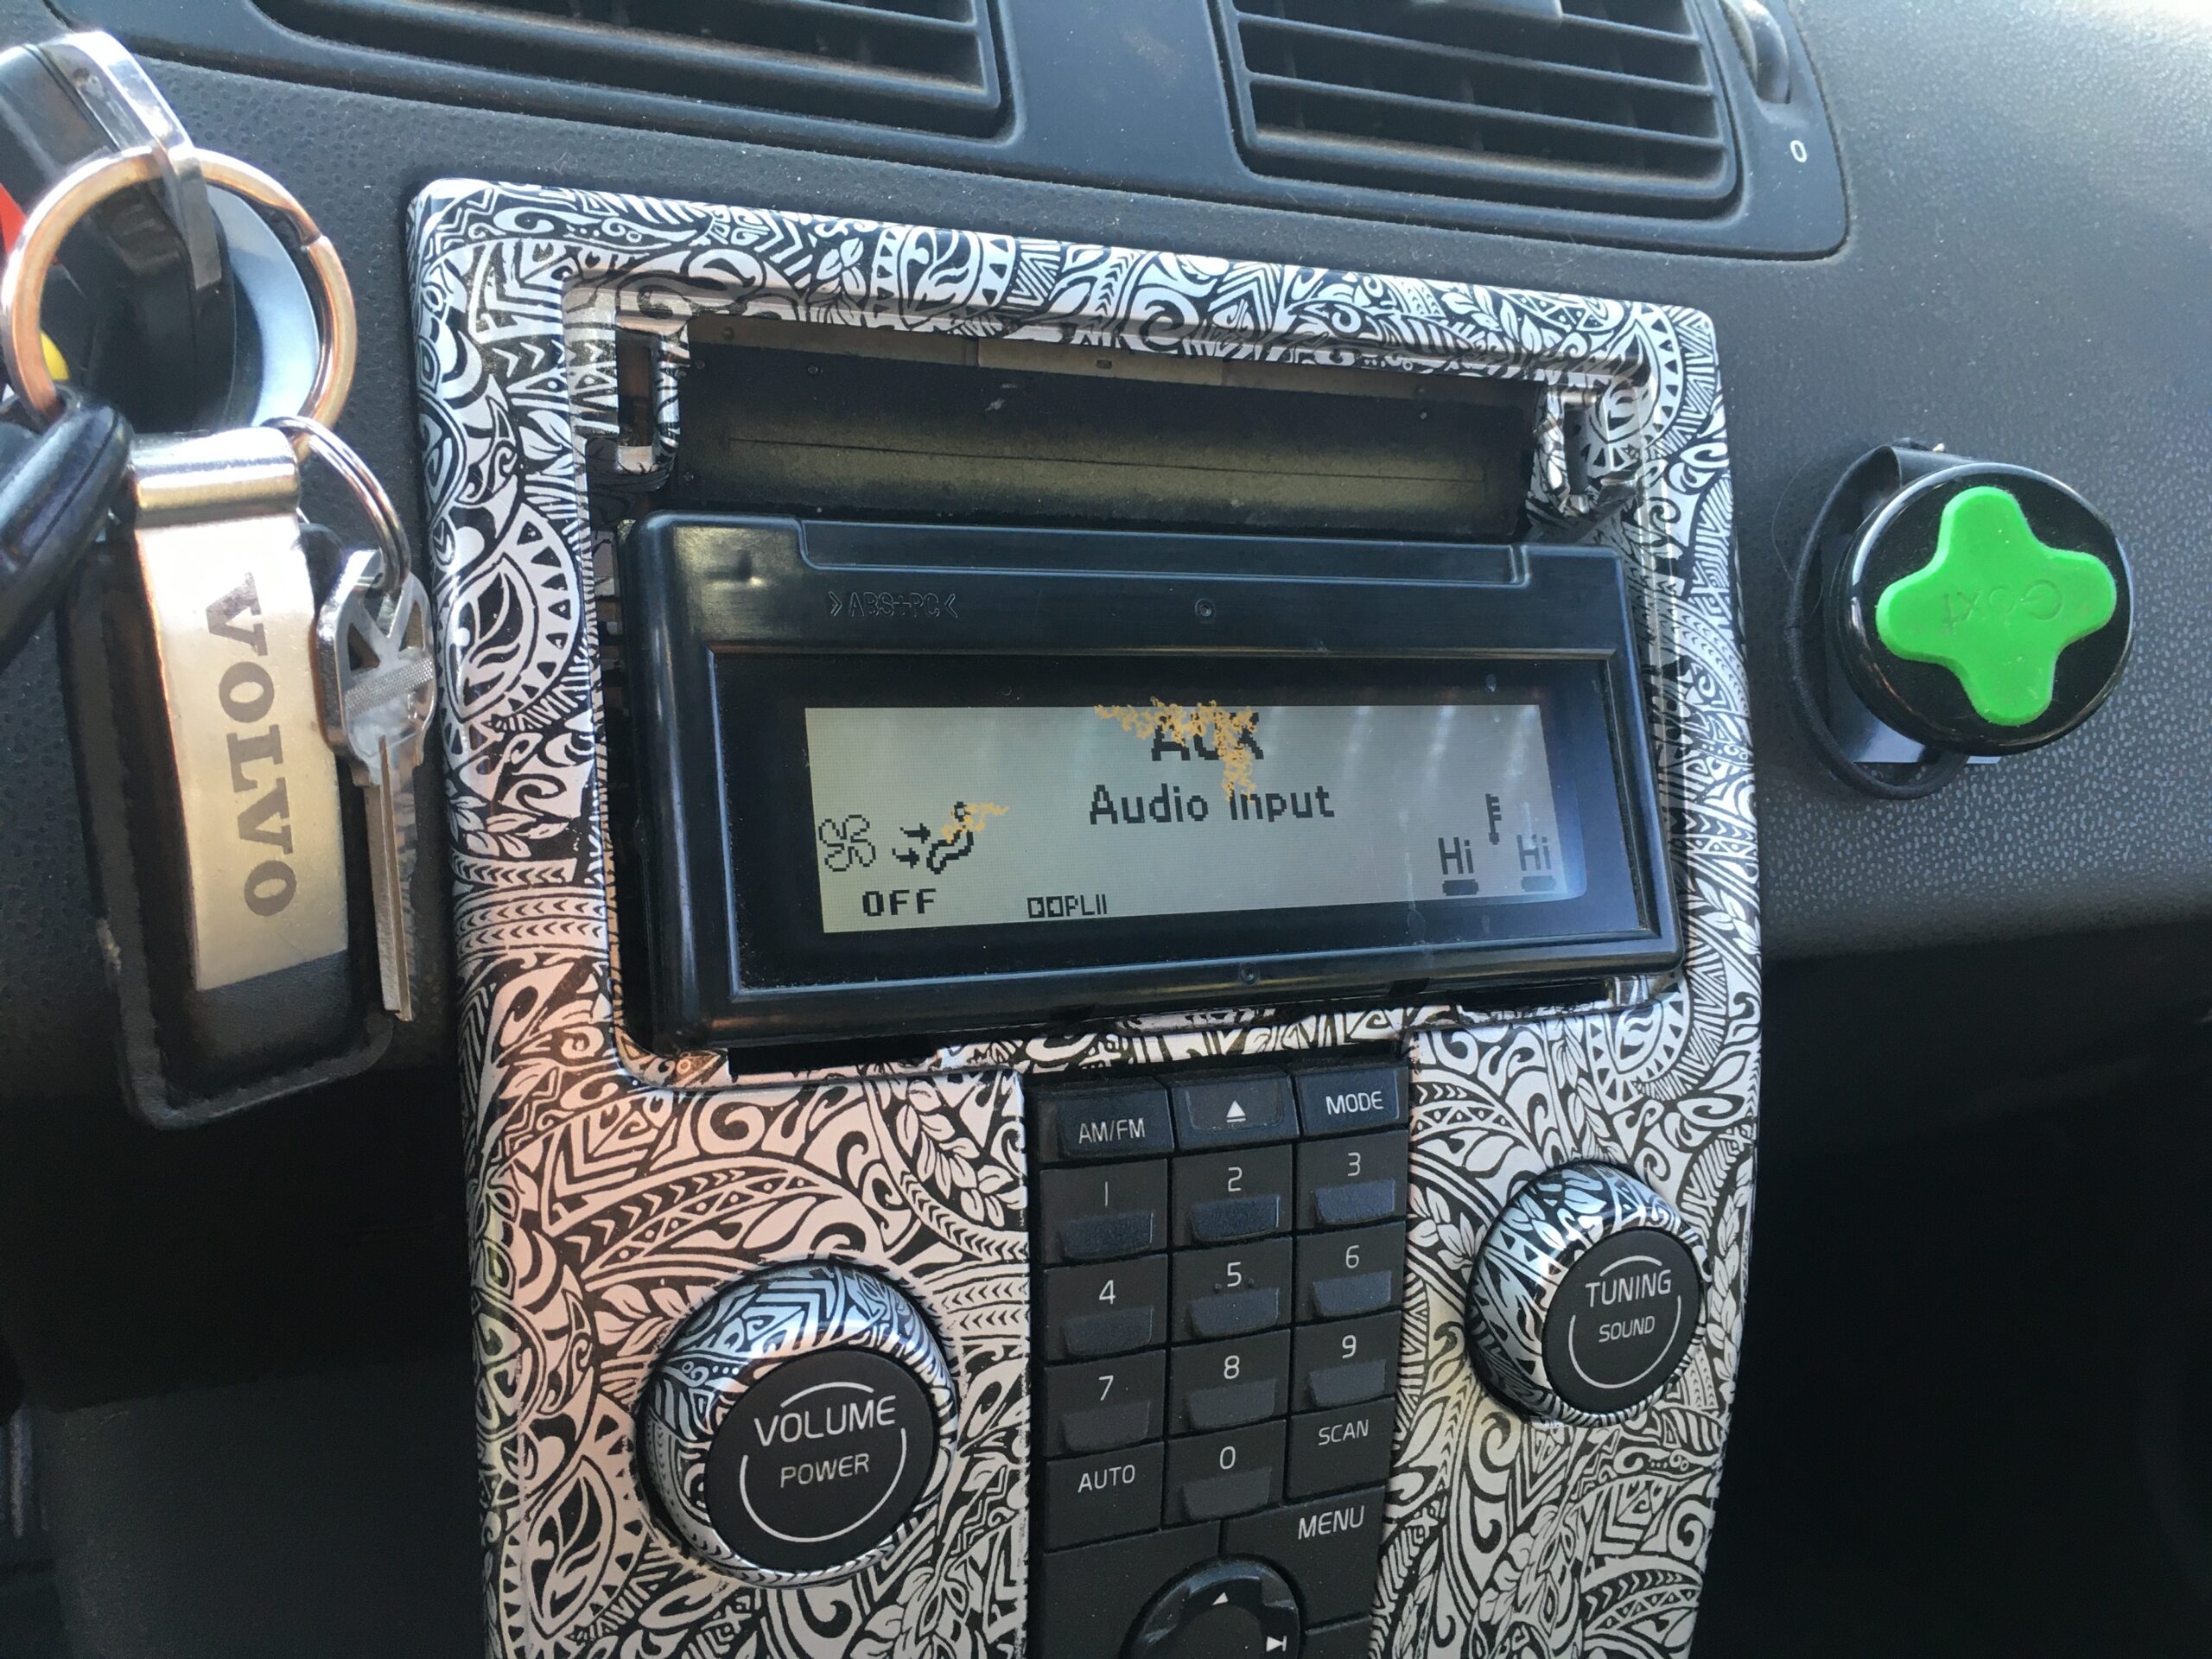
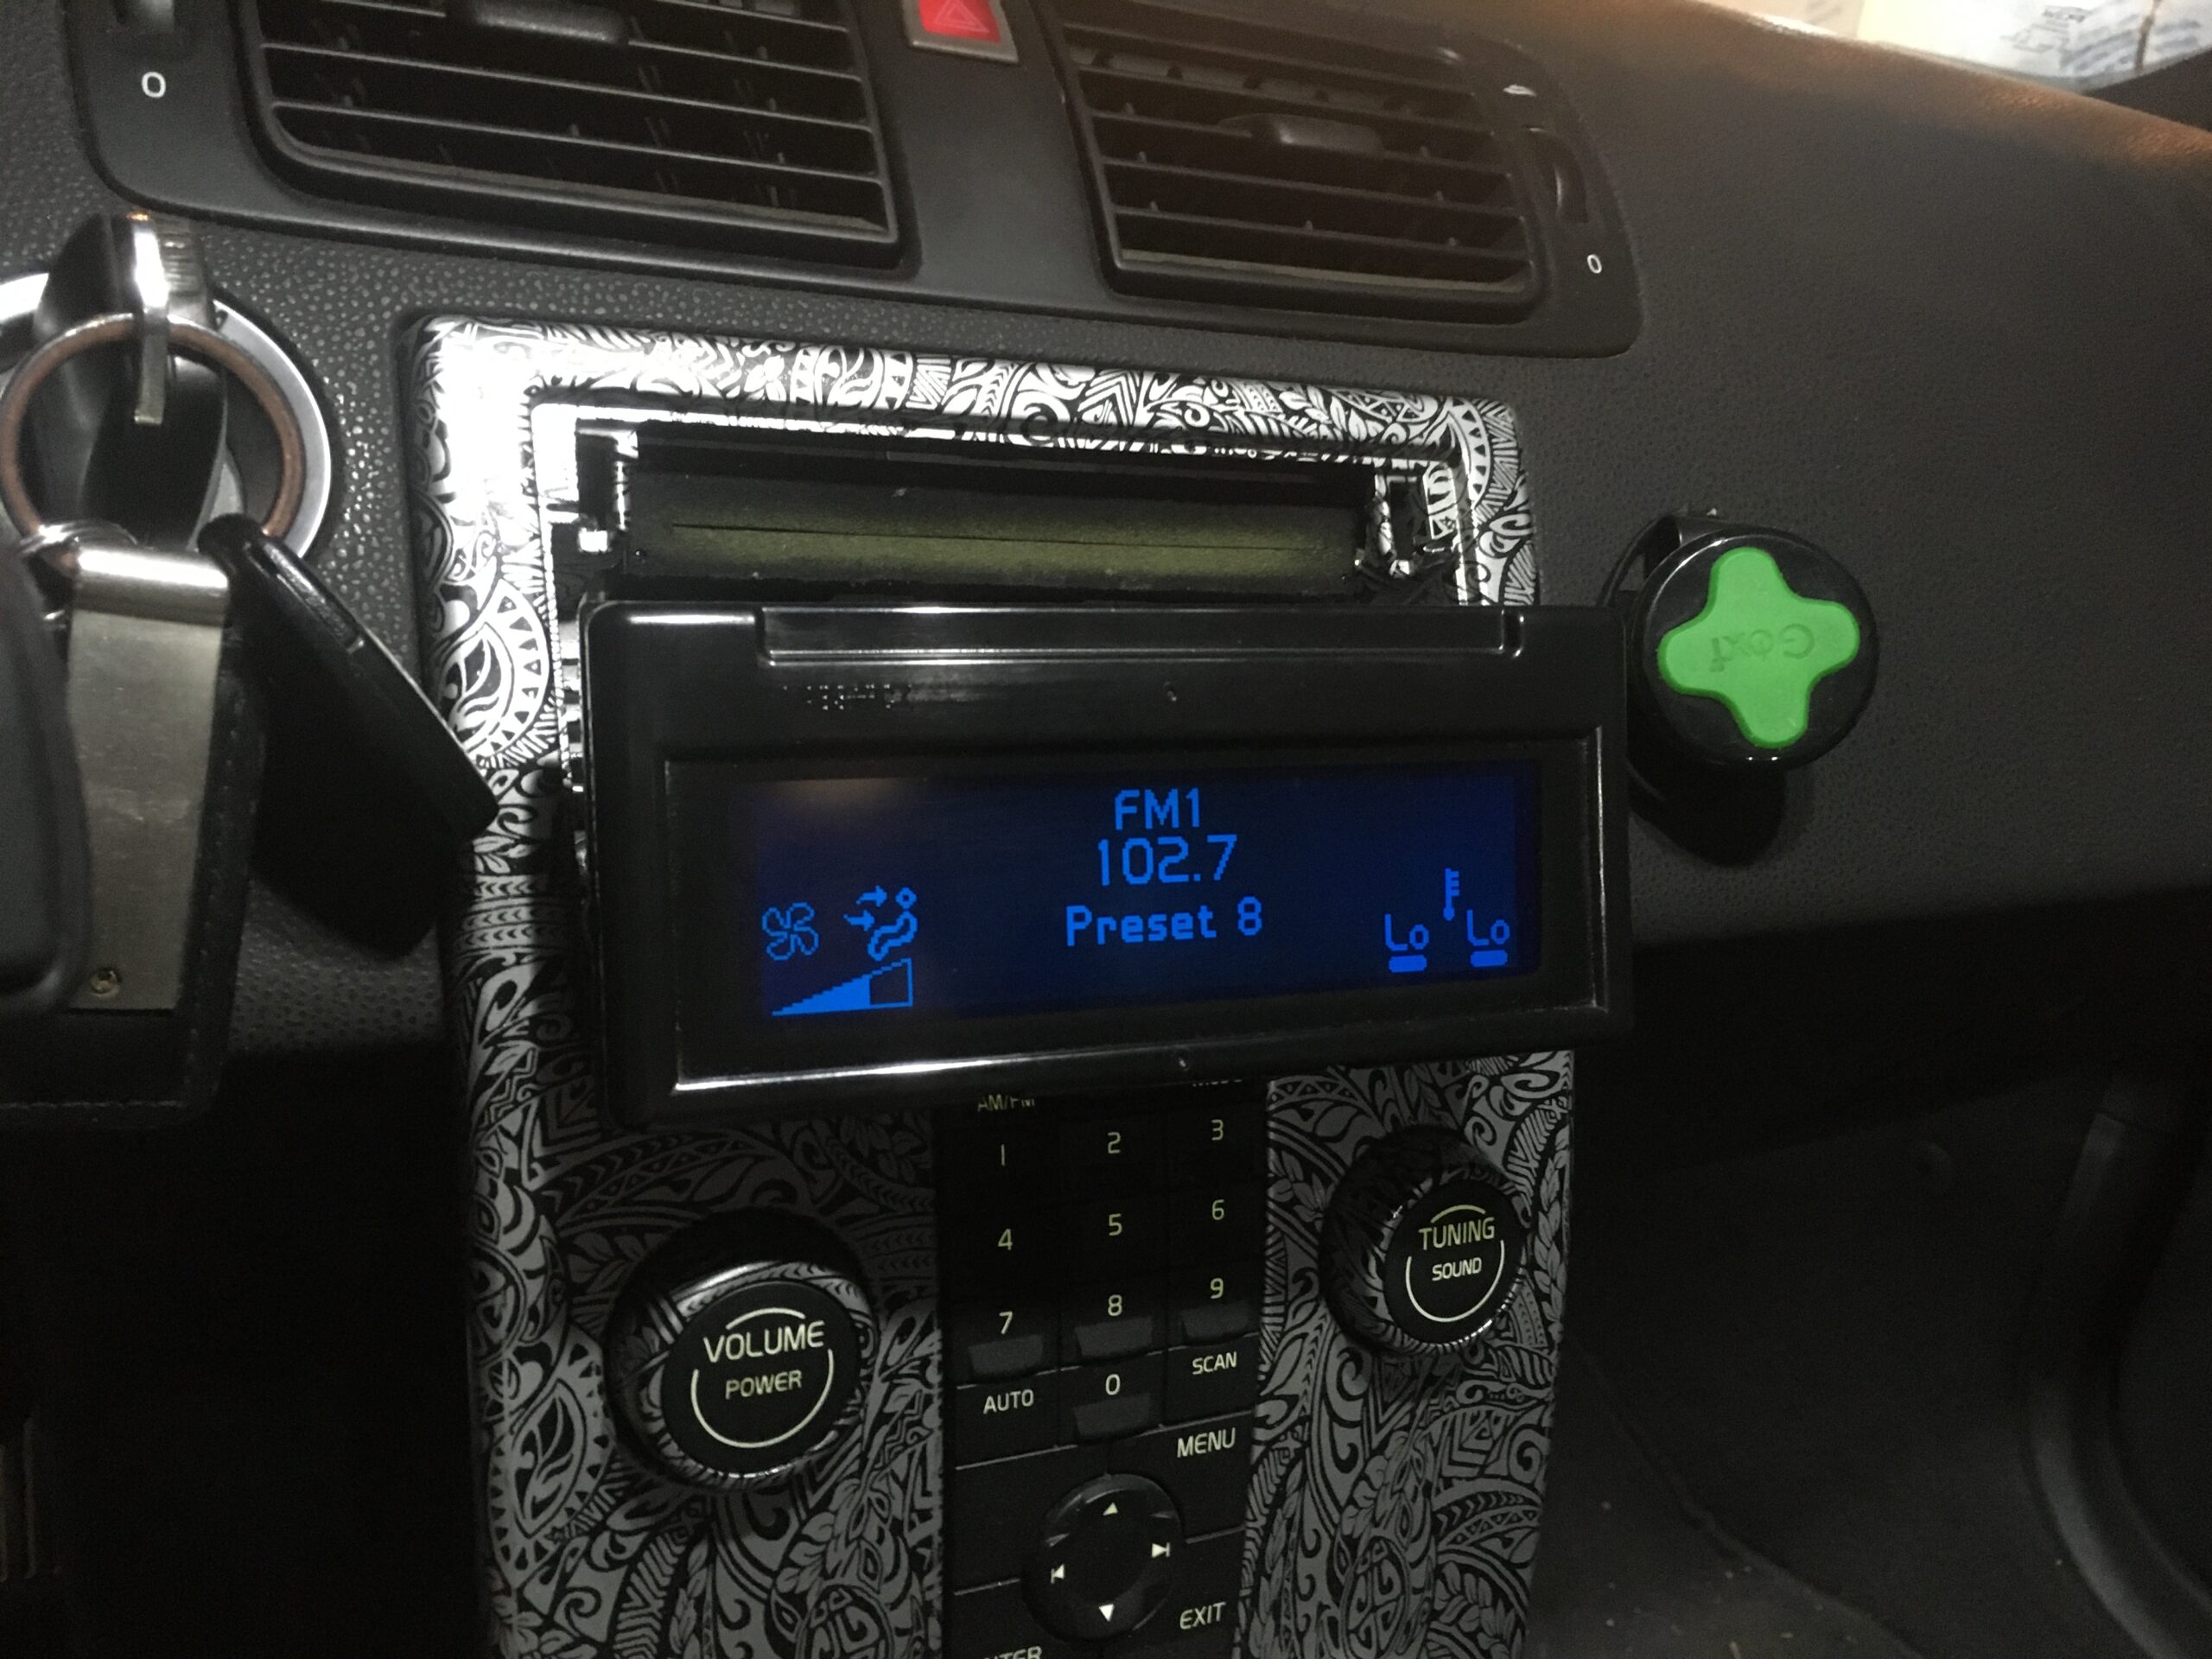
After with the blue filter
What’s next you ask….. well the gauge cluster will be coming out soon for a similar makeover.


