


Stiffening Your Ride with Factory Accessories
Like all other car manufacturers, Volvo offers an extensive line up of factory accessories. The one we will be featuring on this installation write up is the “ENGINE CRADLE BRACE (FRONT). STAY”, more commonly known to us as a front upper sway or strut bar. This little goodie from Volvo is actually a pretty solid piece of metal, and doesn’t break the bank account to buy it from the dealership. Volvo part number is 31329445, and will only set you back $135, shown as product 1 here on Volvo’s parts website.
The one thing to note is that you will need different hardware to attach the bar, aside from what is currently on the car. No big deal because Volvo also sells it, numbered as product 3 & 4 here, for an additional $26…we got the same exact nuts and bolts at our local Ace Hardware for $6.
Tools Required:
1/2 Drive Ratchet & Extension
13mm Deep Socket
20mm Deep Socket
Parts Needed:
1 Volvo Strut Bar: PN 31329445: FCPEuro has it for $130
4 “Screw with Pin” bolts: PN 987509: Combo with next part on Amazon for $8 each ($32)
4 Flange Nuts: PN 985970: Combo with previous part on Amazon
Time Required: 15 minutes
Experience Needed: Sufficient knowledge of “Righty Tighty, Lefty Loosey”
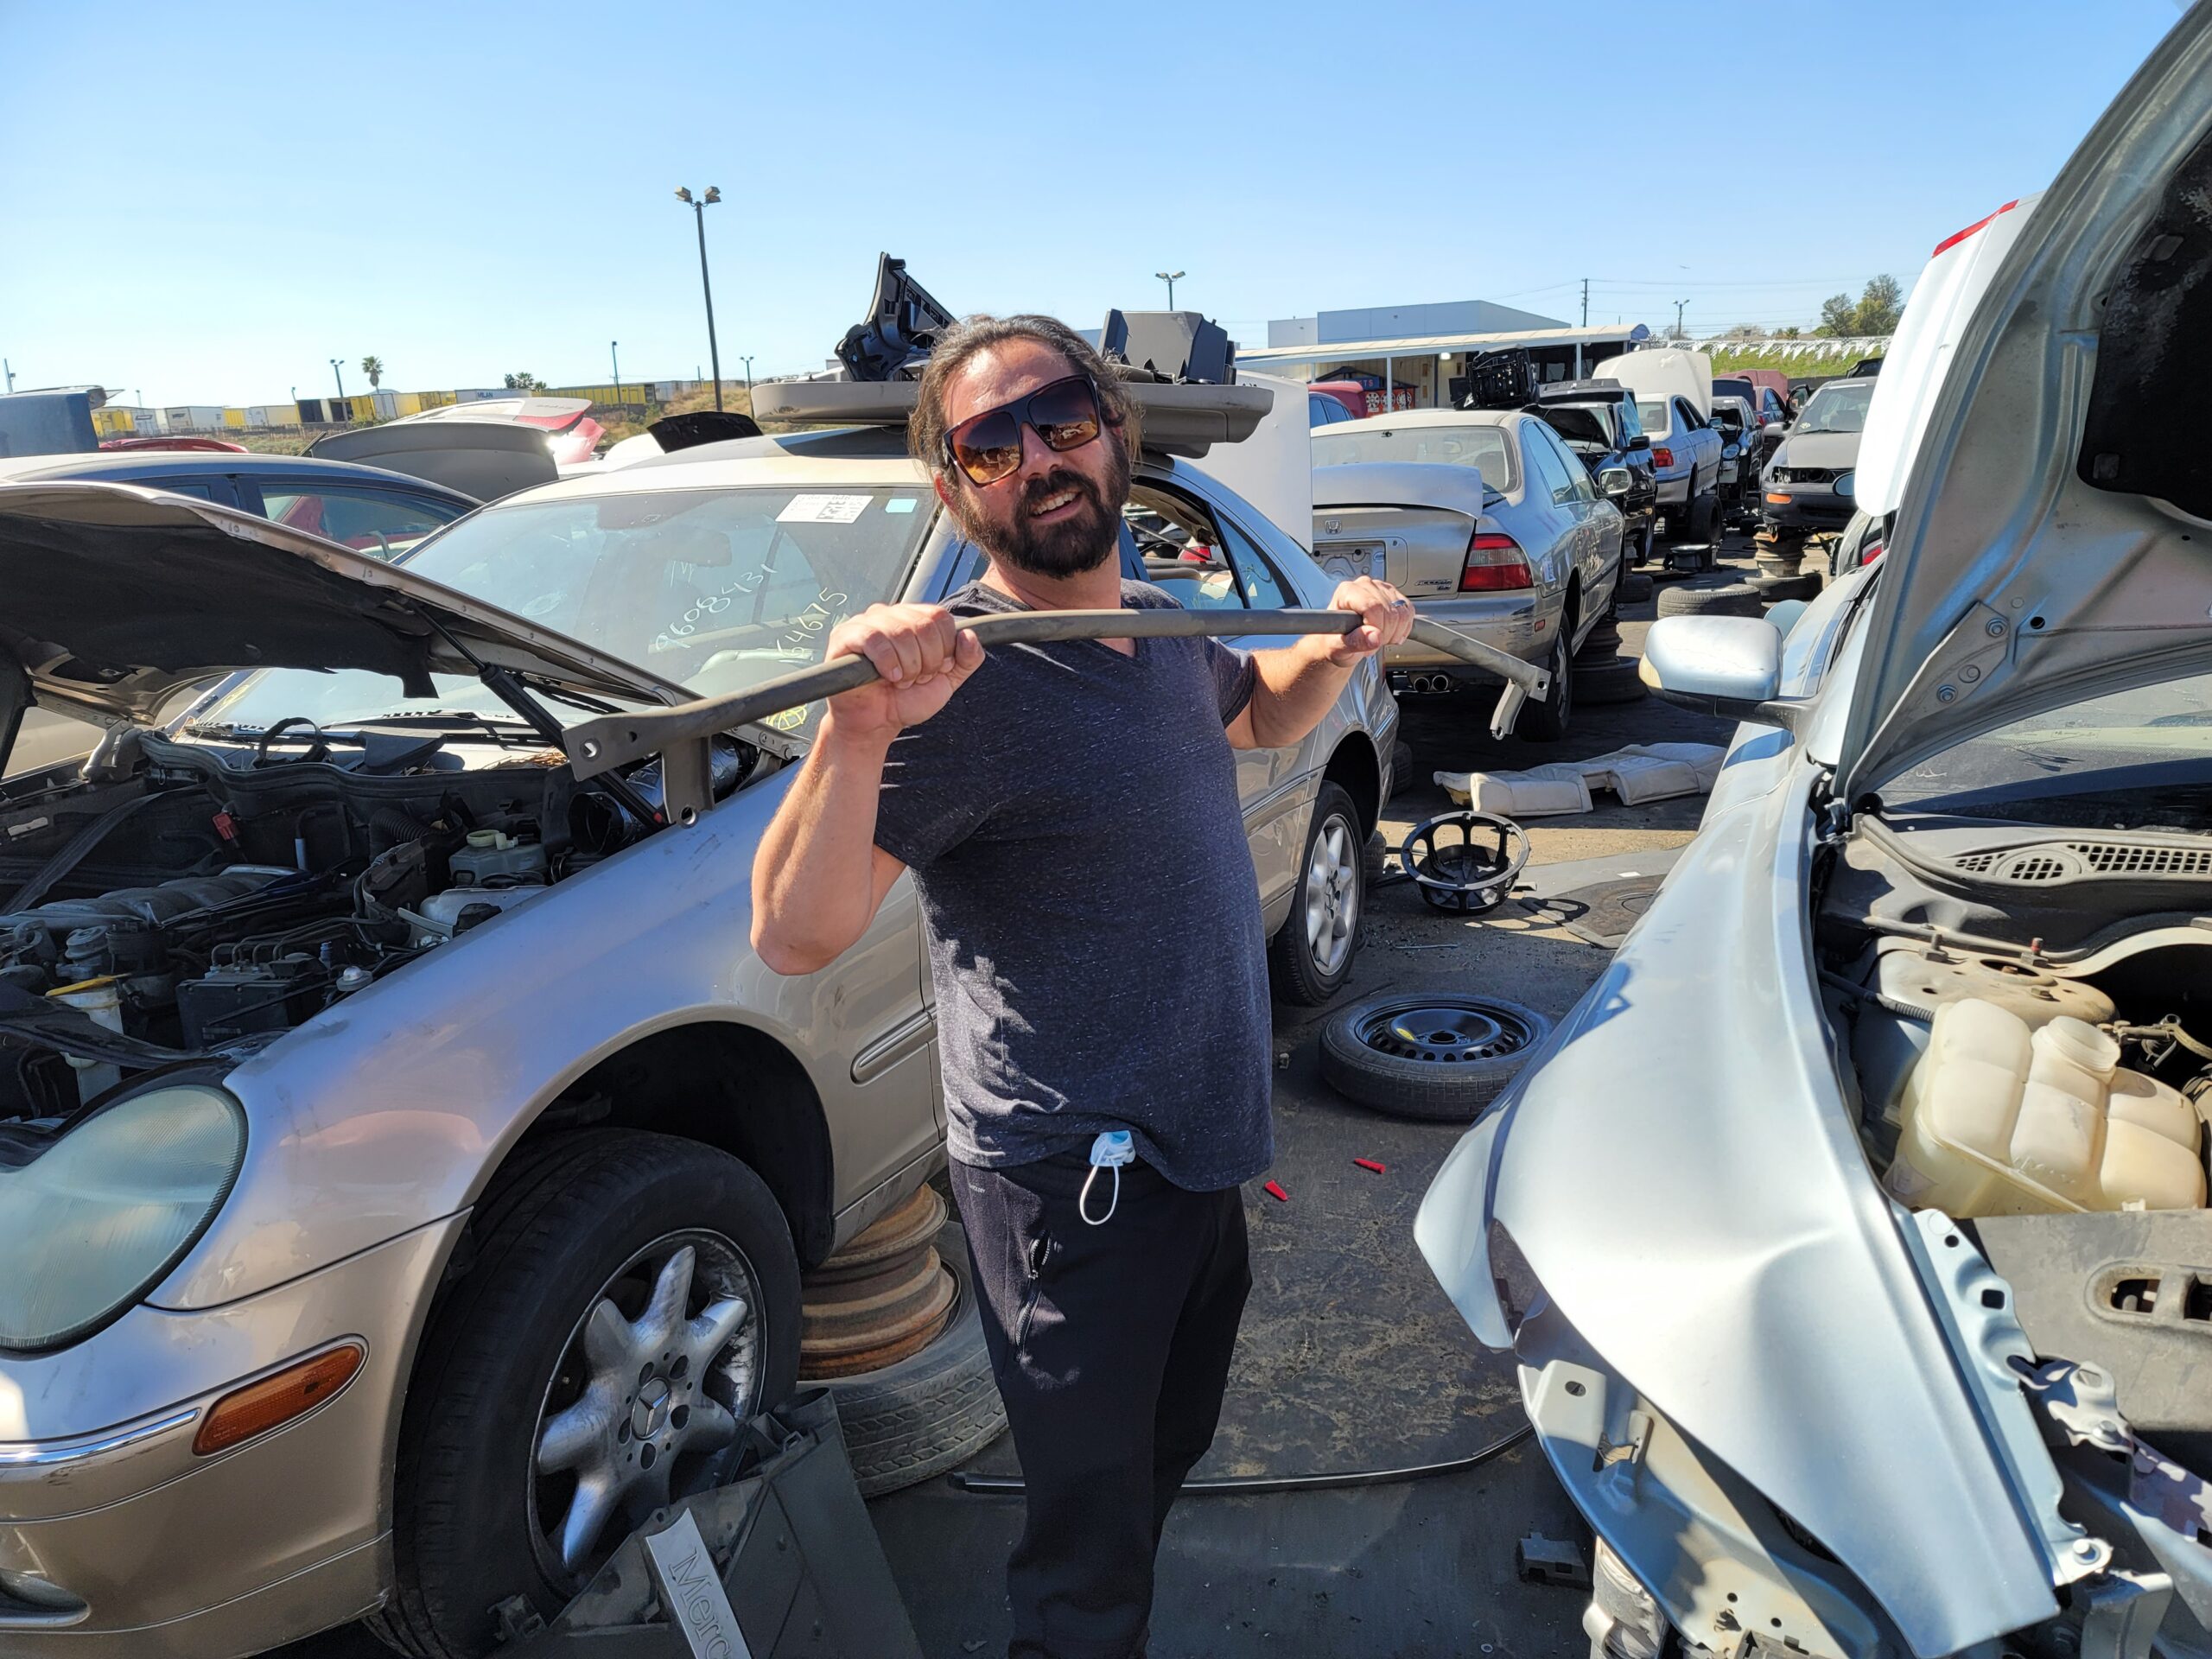
So after you add up the prices, you will notice that all in (shipping & tax) your are going to be just south of $200. We wouldn’t have hit this mod so soon for that price, but the junkyard was good to us and we picked this bad boy up off a P1 C70 for $8!!! With the 4 new nuts, we’re all in less than $10. You can see more about our pick and how to find your own parts in this epic junkyard write up we did.
Getting Started
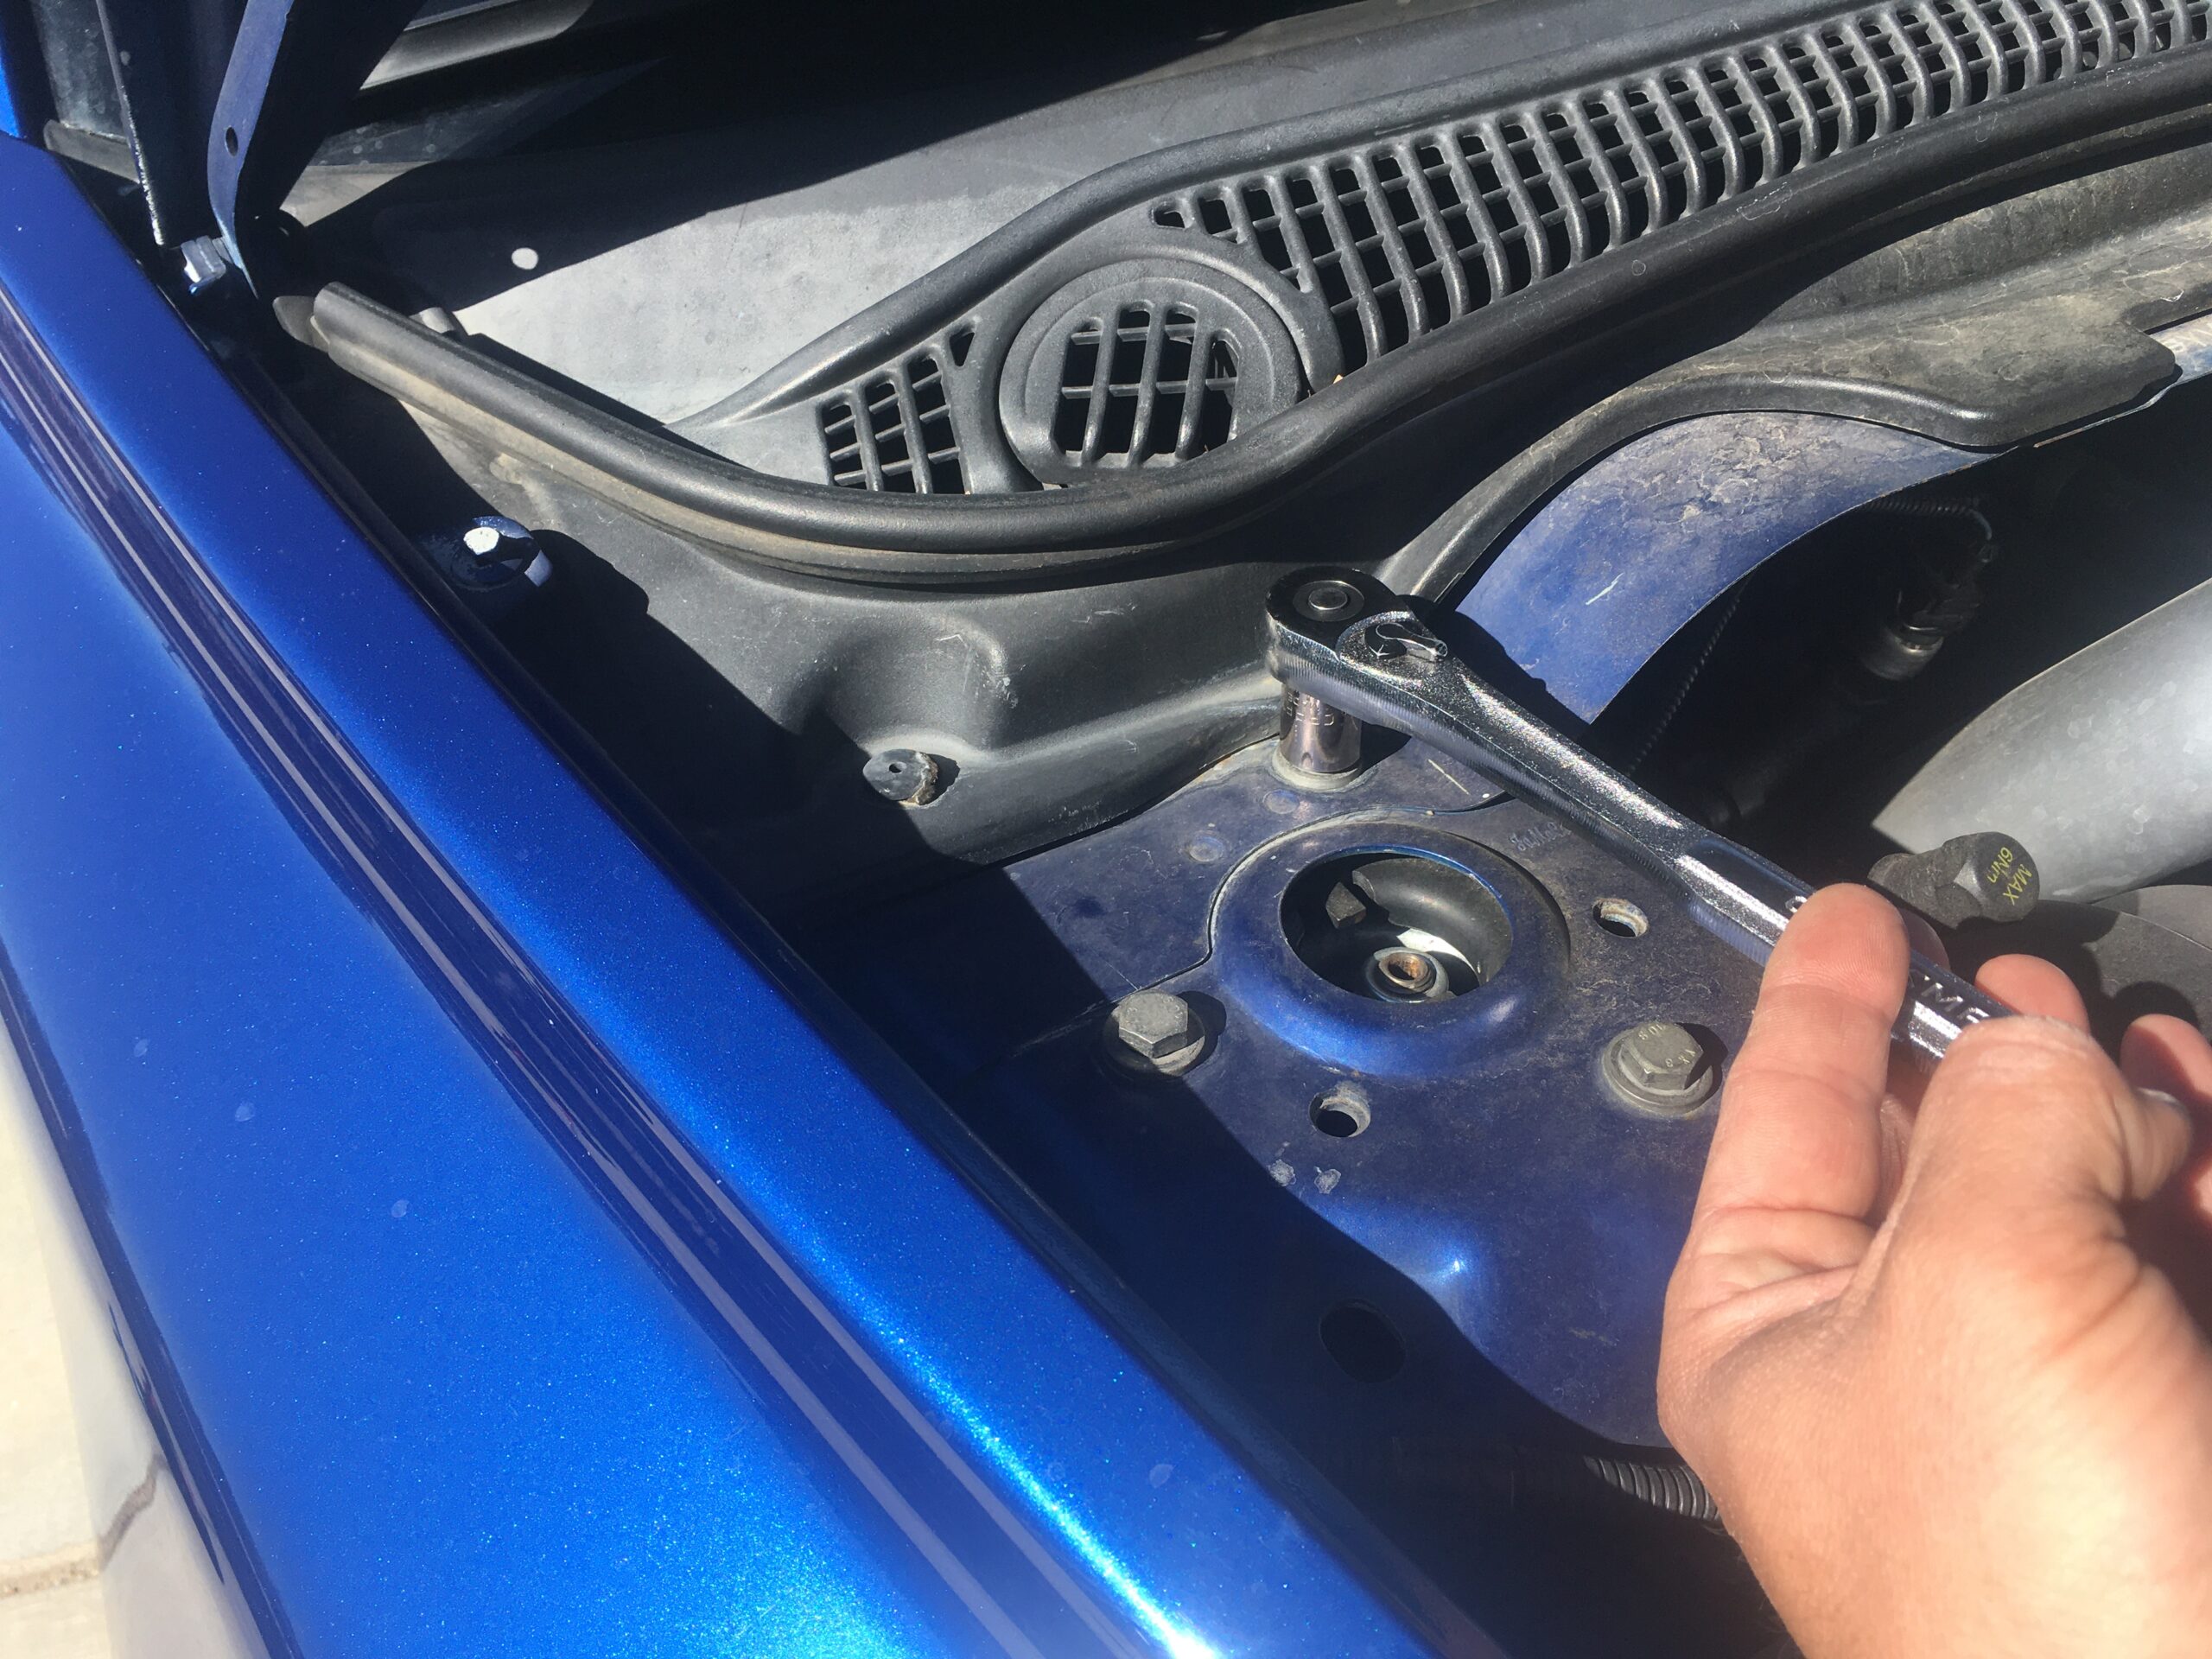
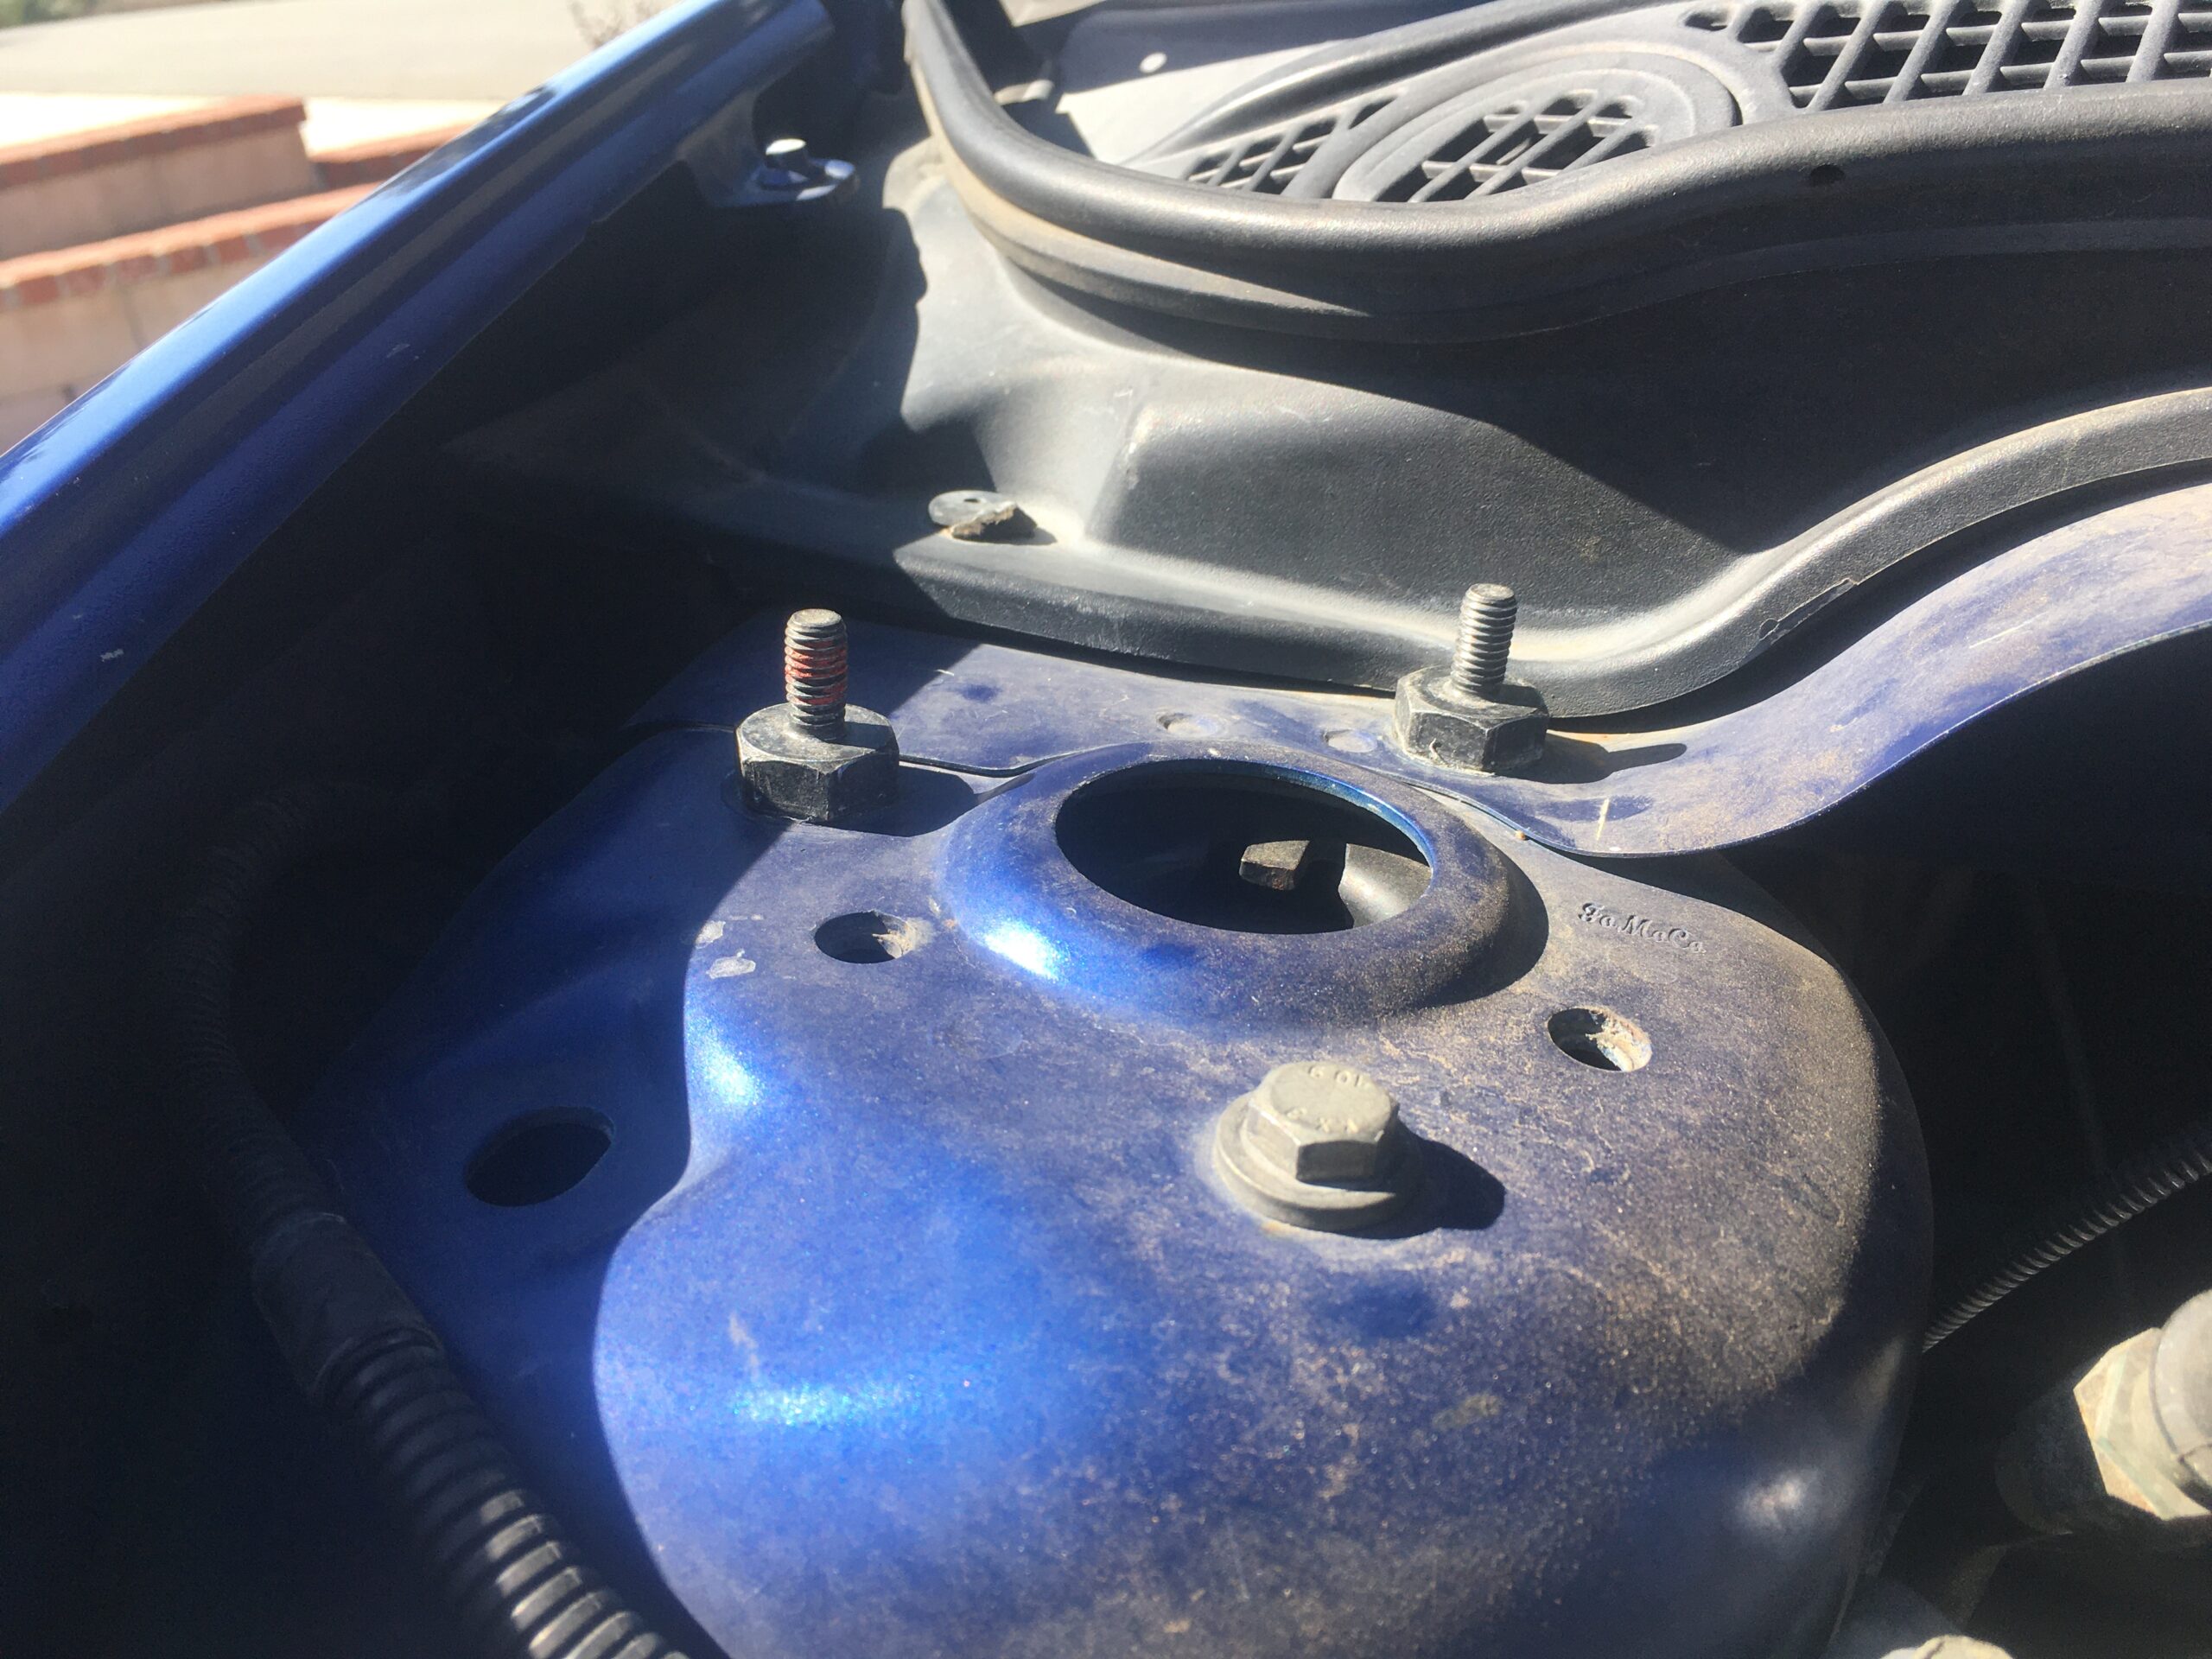
Open your hood and find your top strut mount bolts towards the rear of the engine compartment. We did one side of the car at a time. The car stayed on the ground, as we didn’t want to remove 65% of our top suspension bolts at the same time.
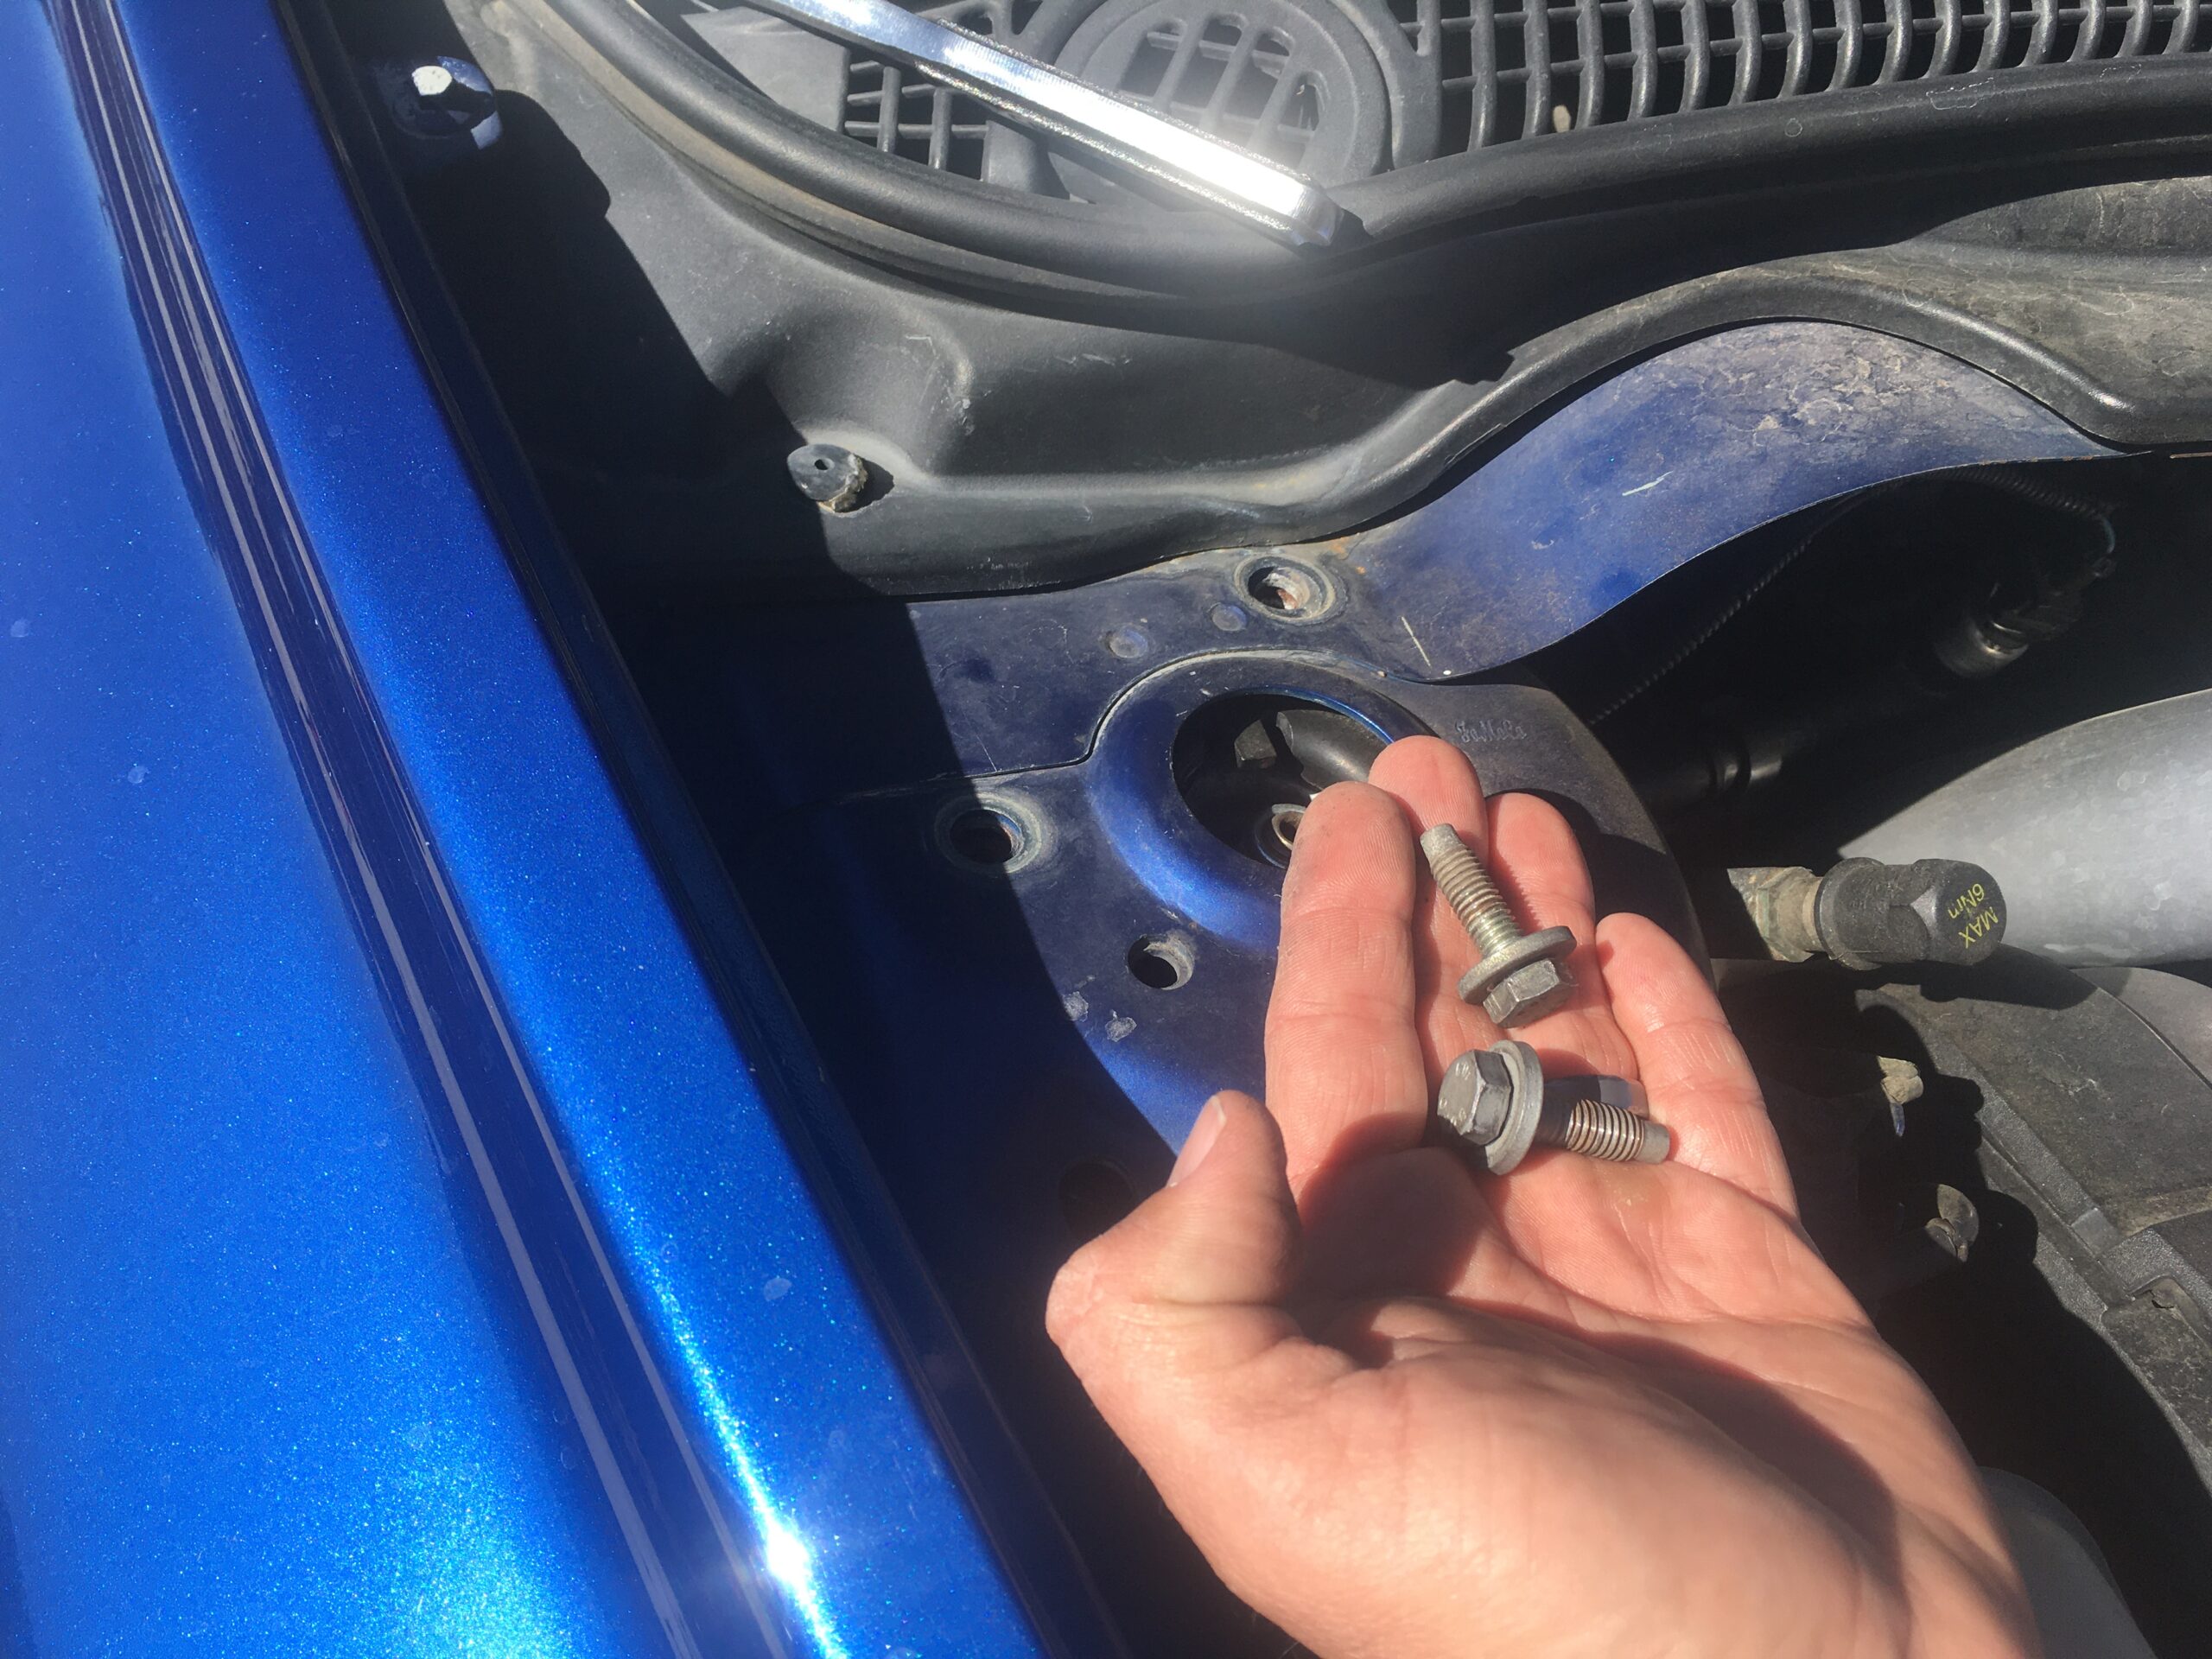
You will see 3 13mm bolts. We are removing only 2 of these, the one furthest towards the windshield and the other furthest towards your fender. Take your 13mm socket and ratchet and give those 2 bolts a good “Lefty Loosey” until you have both bolts out.
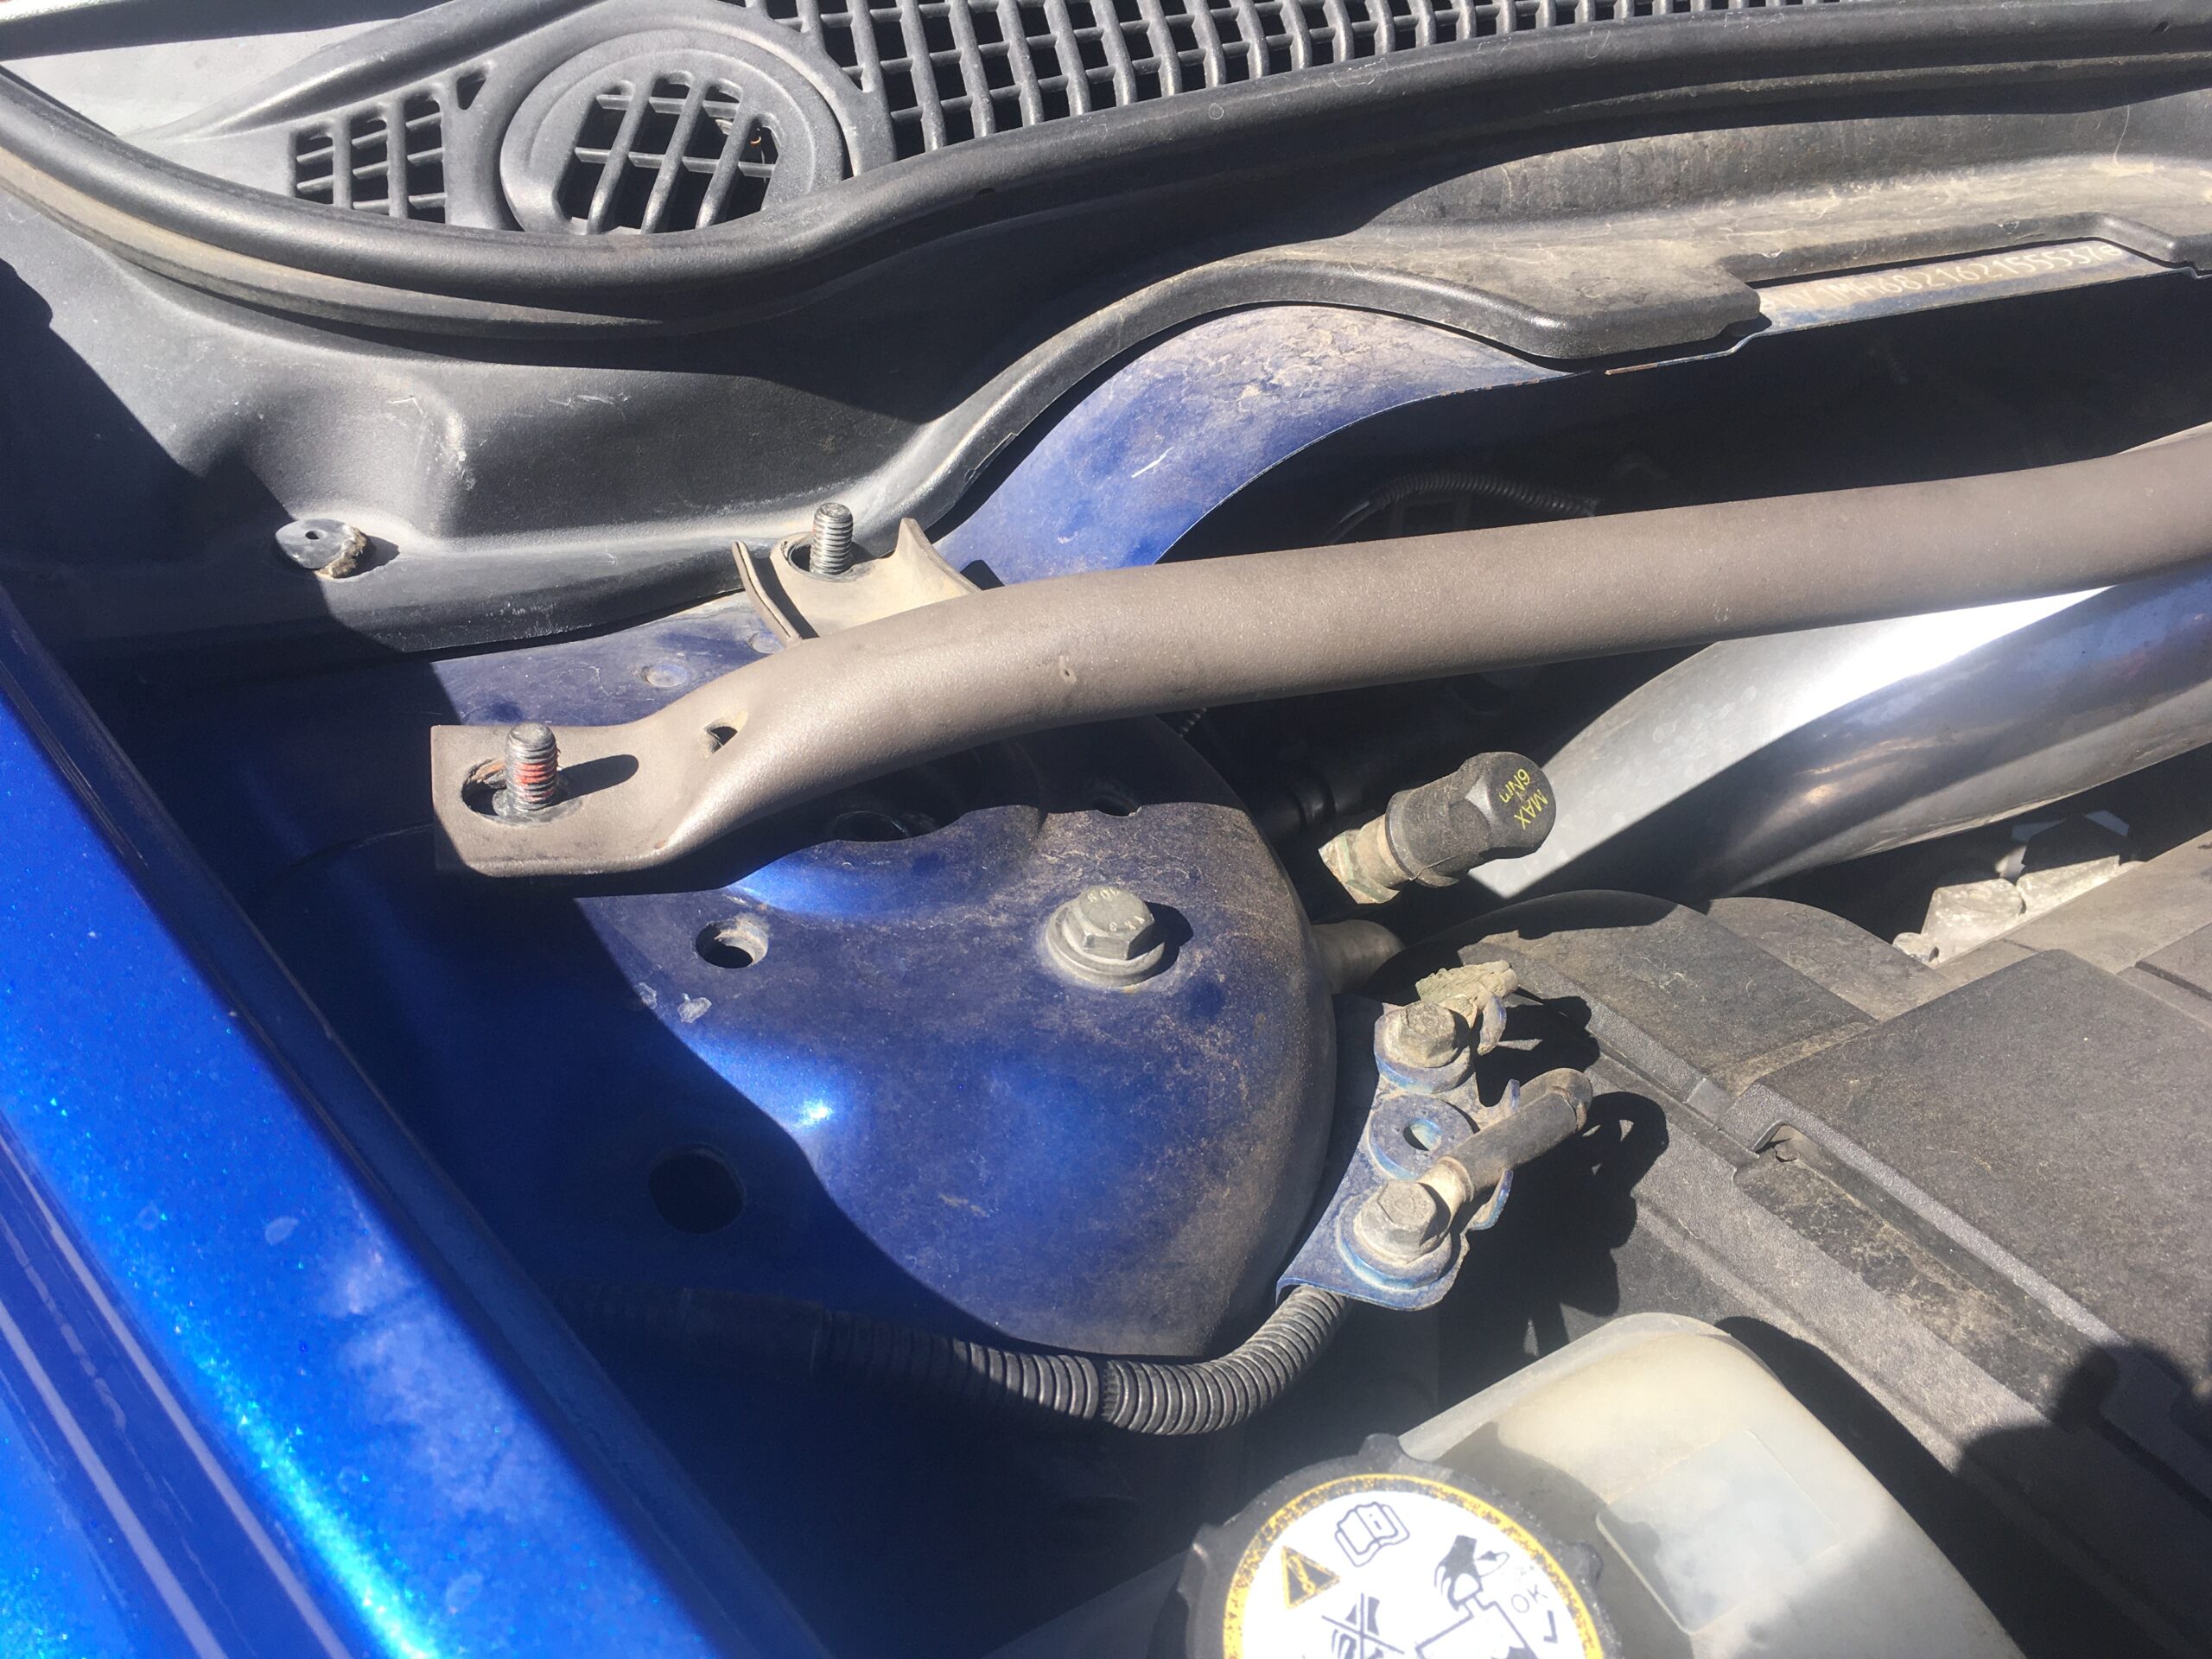
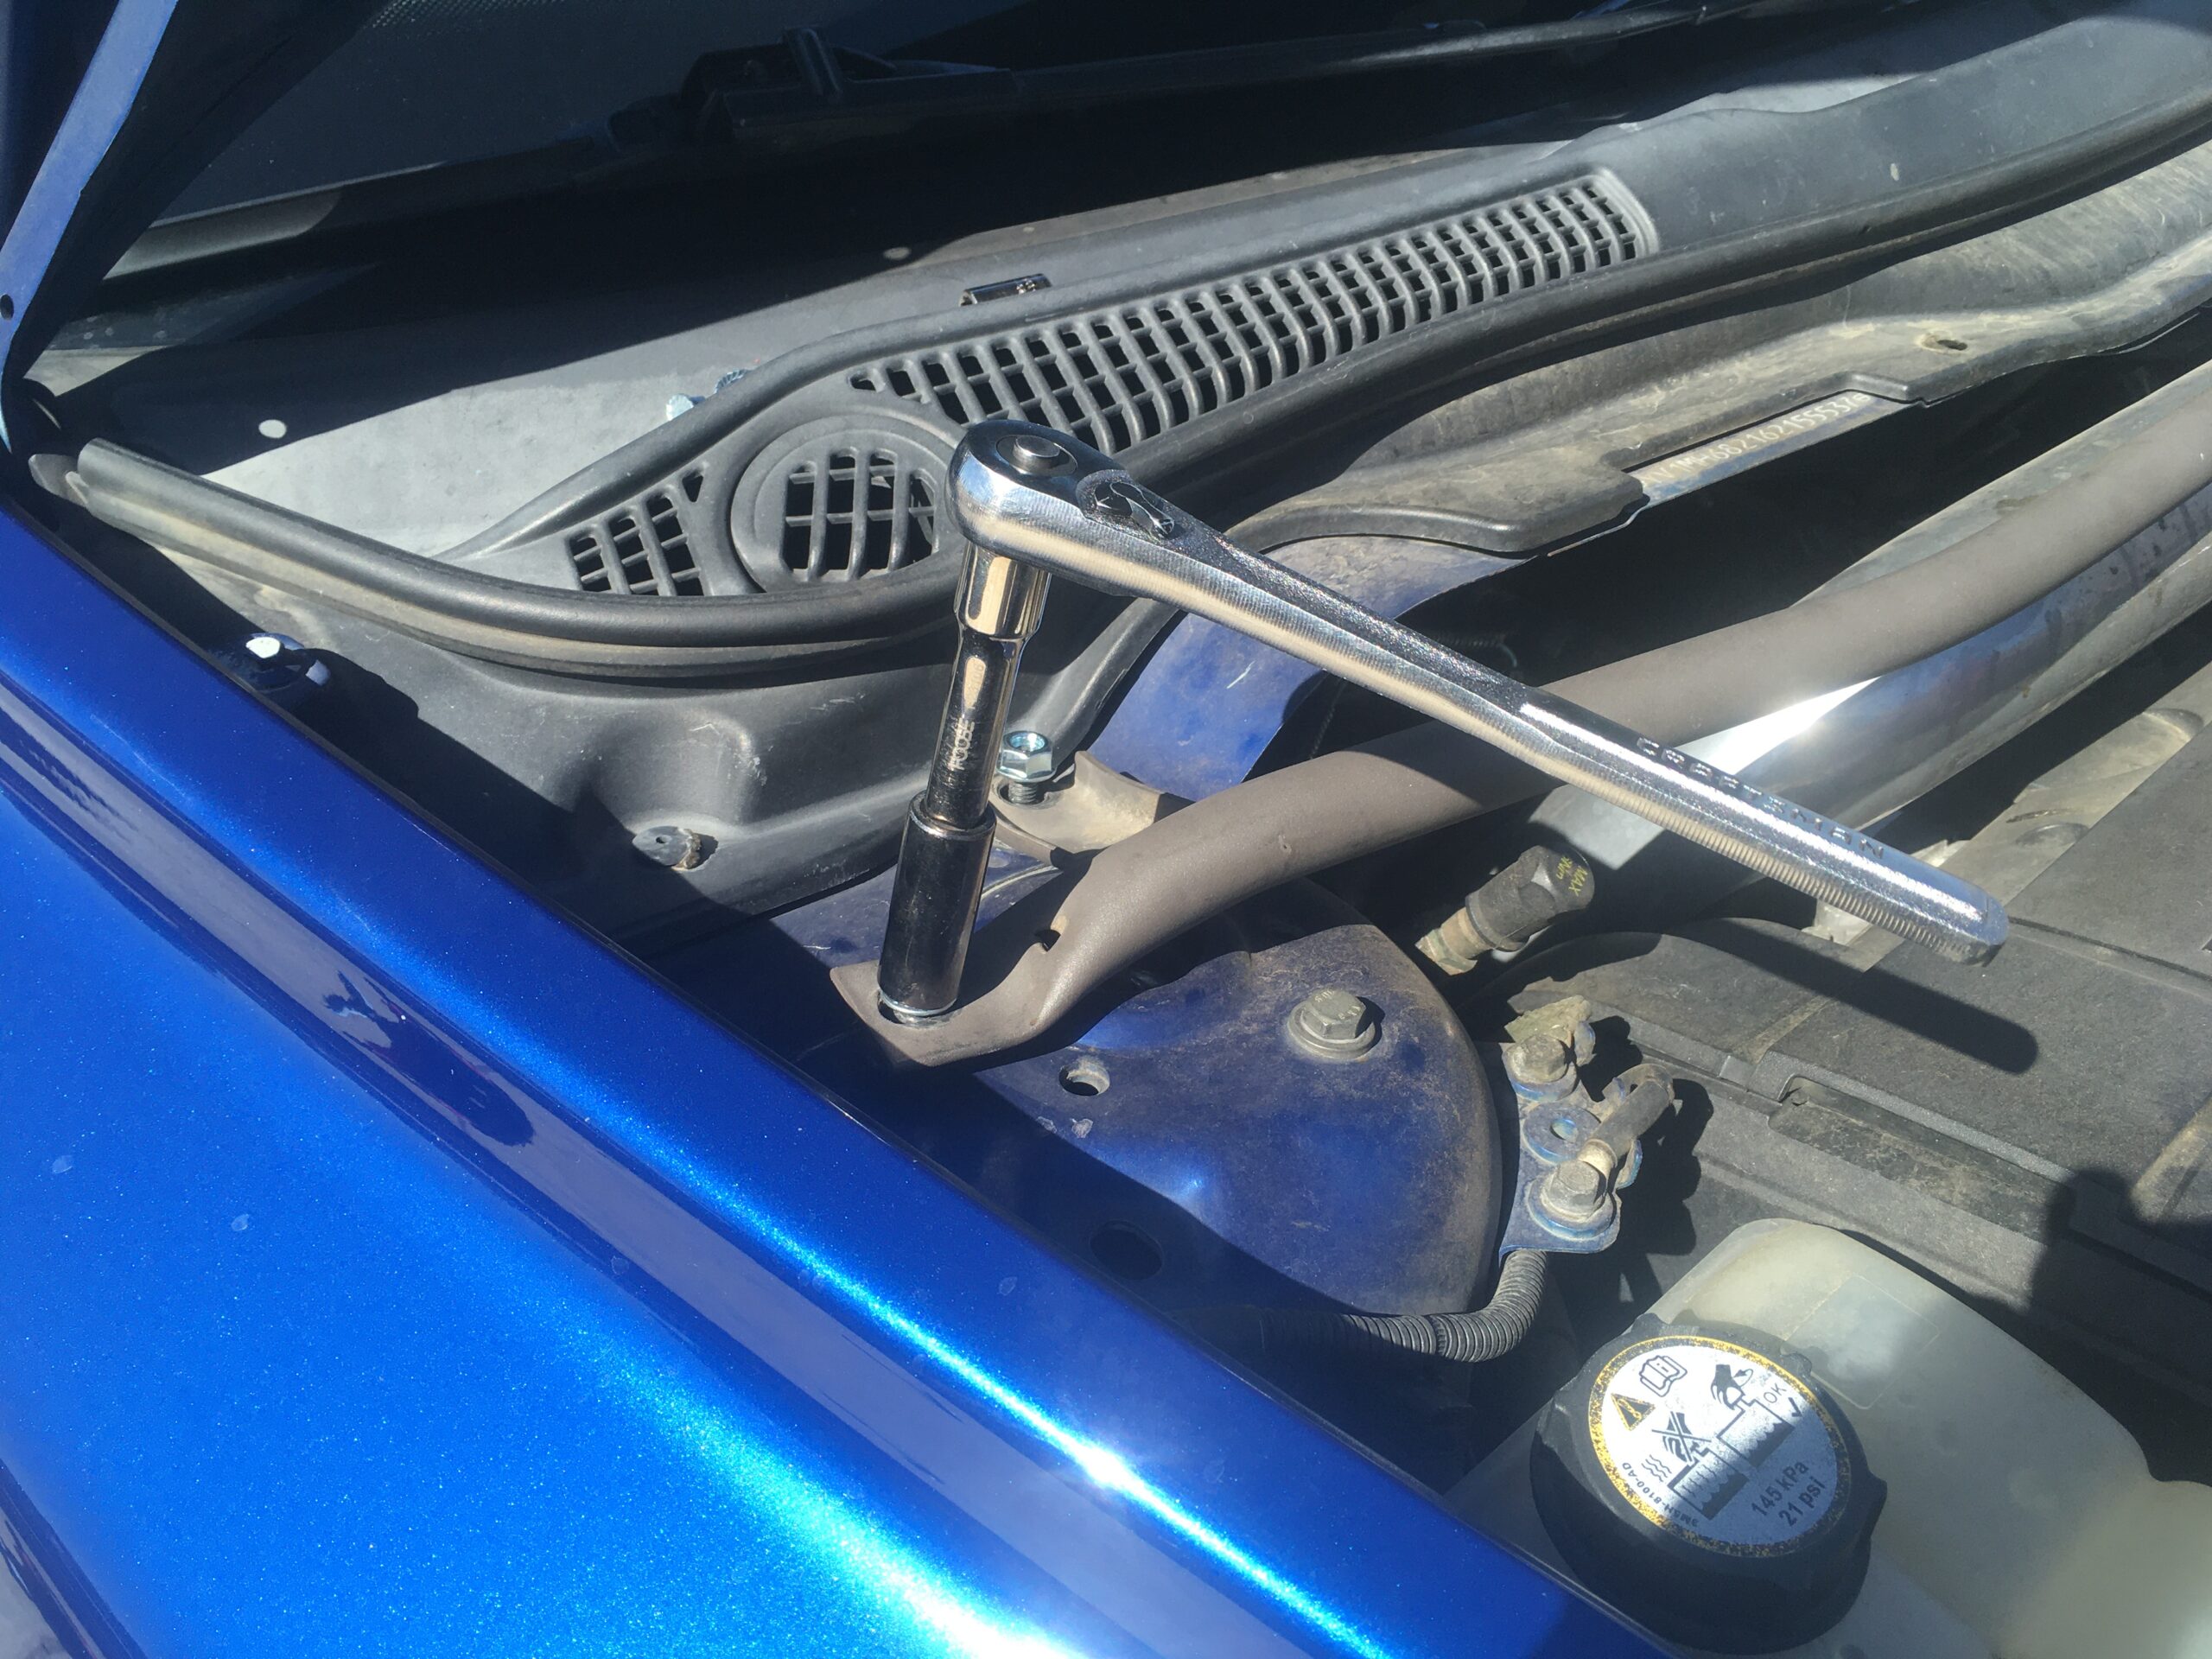
Next you will take your “Screw with Pins” (double sided bolts) and using your 20mm deep socket and ratchet, torque those two guys down to 18ft-lb. Make sure the shorter ended side is facing up, the longer side goes down into the strut bracket.
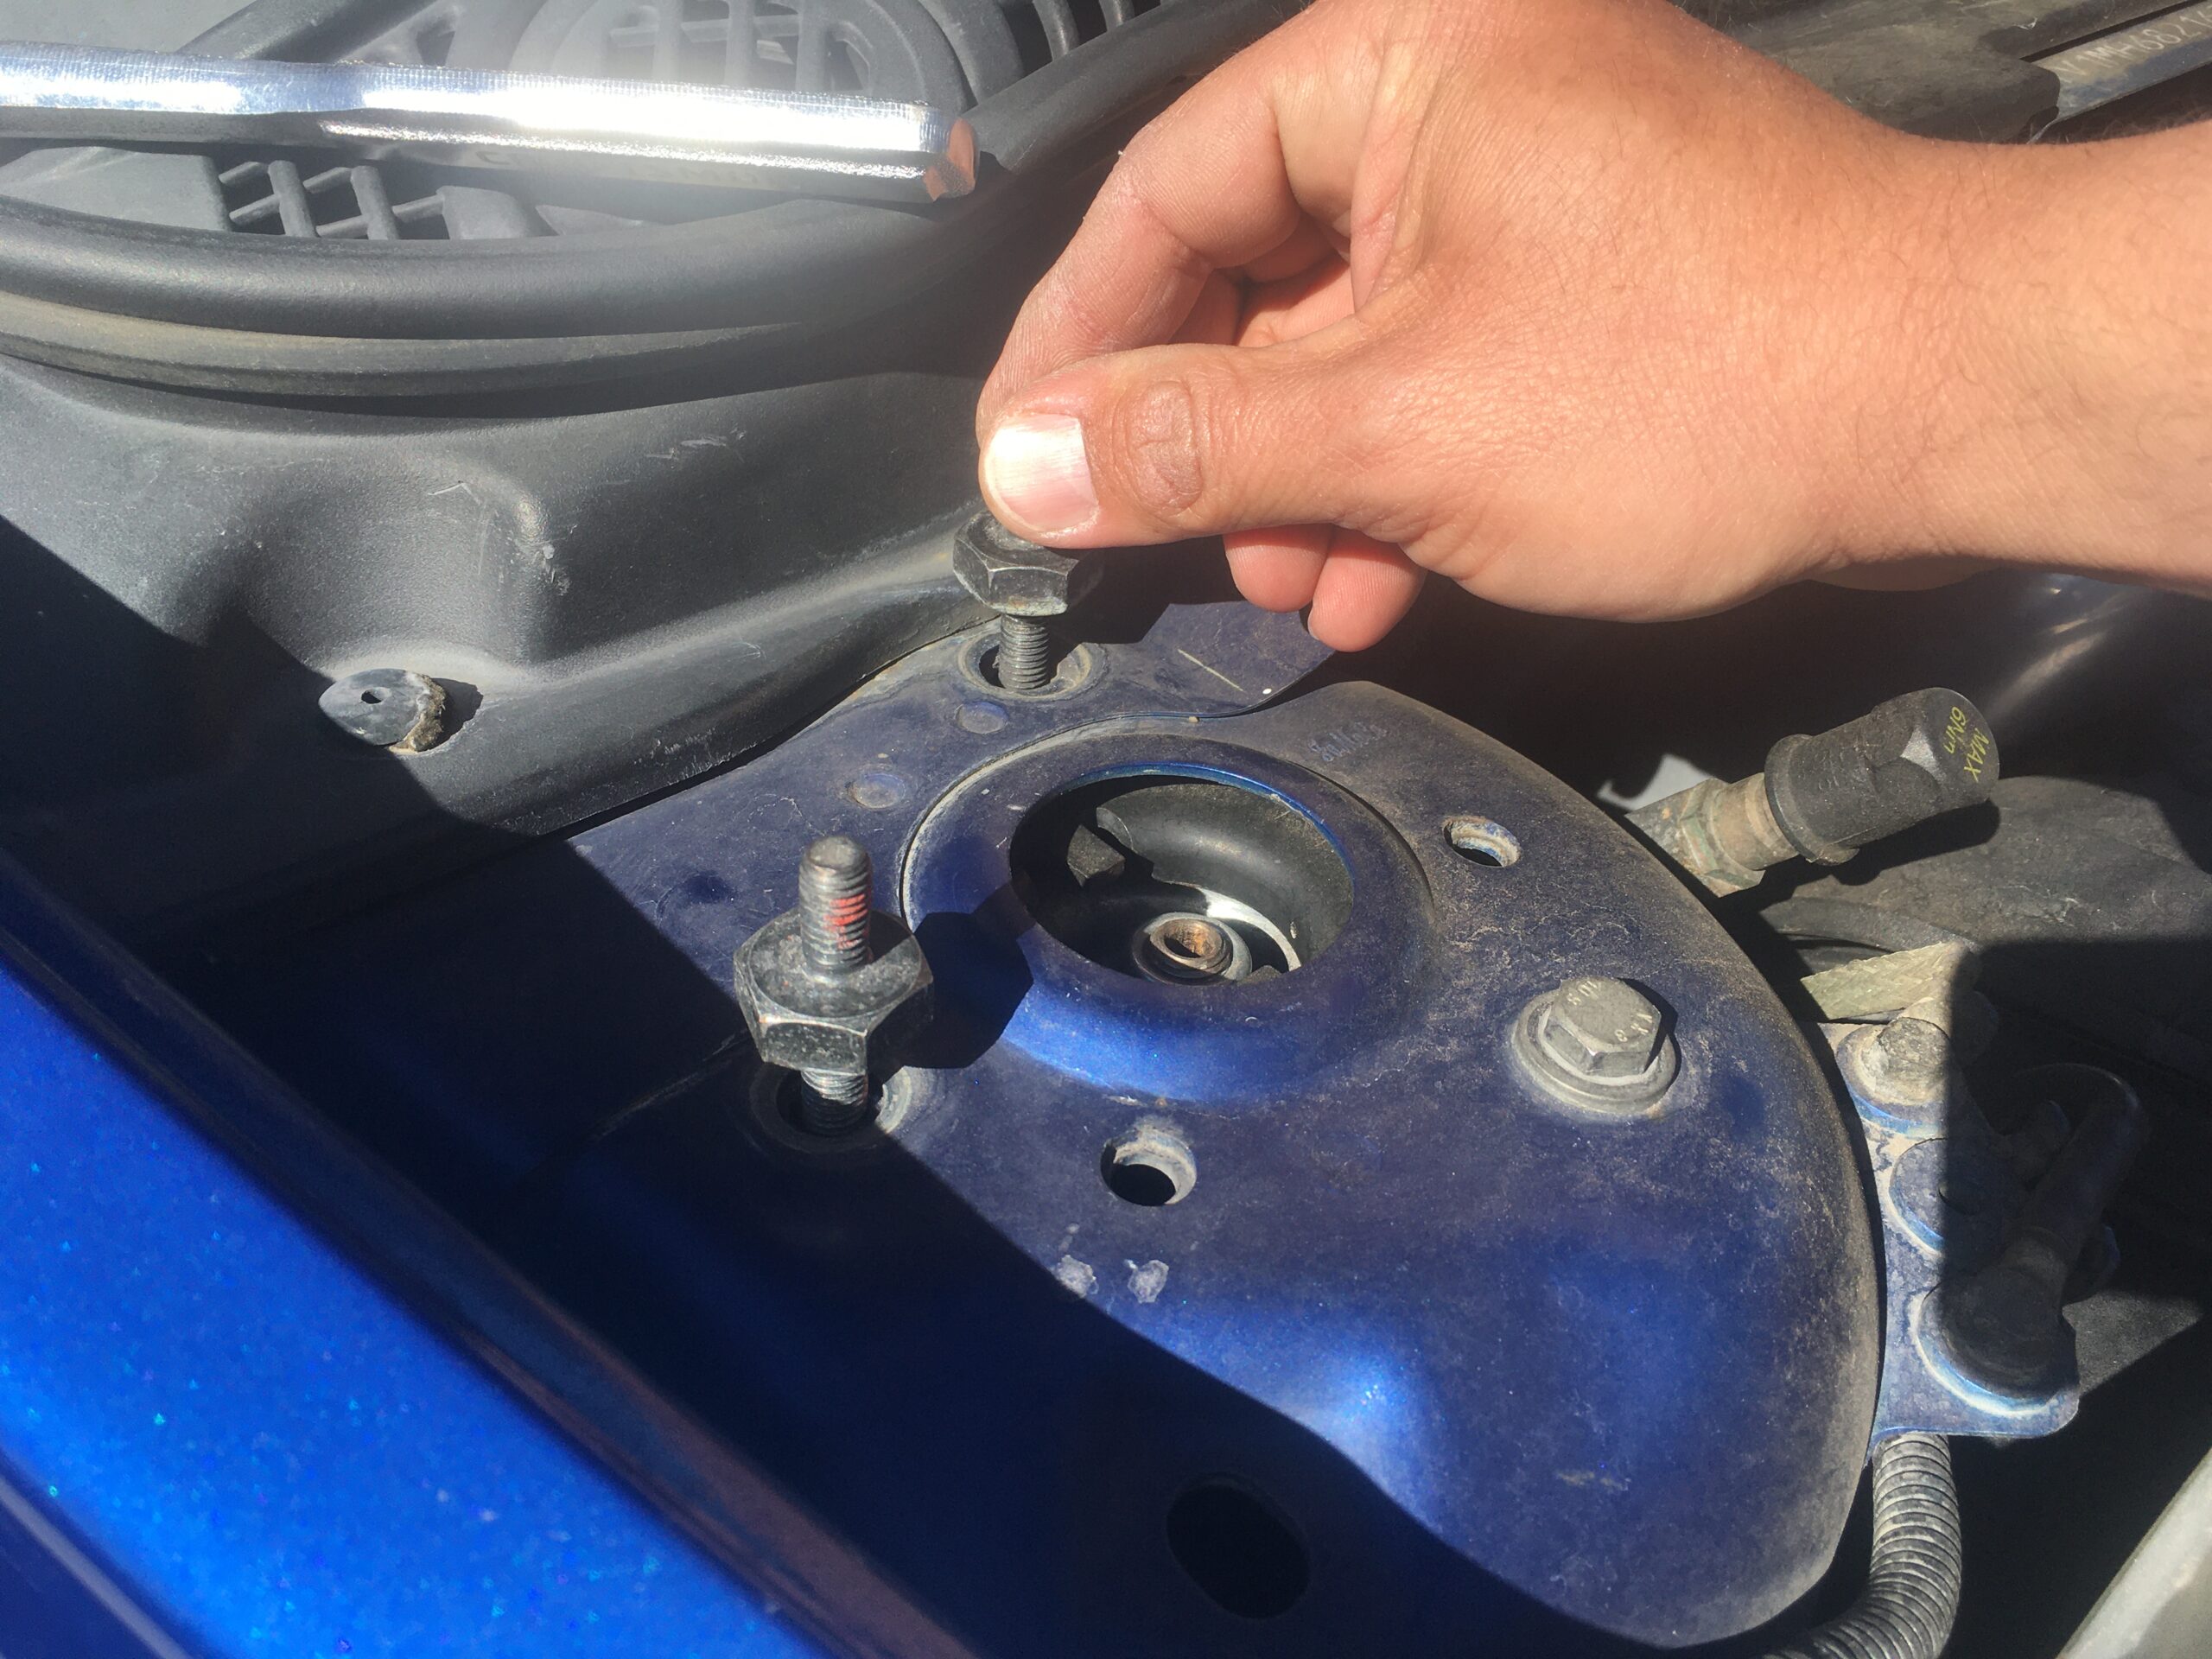
Now your strut is secured back to the car, and you now have your mounting points in place for the strut bar. Repeat above steps on the other side of the car.
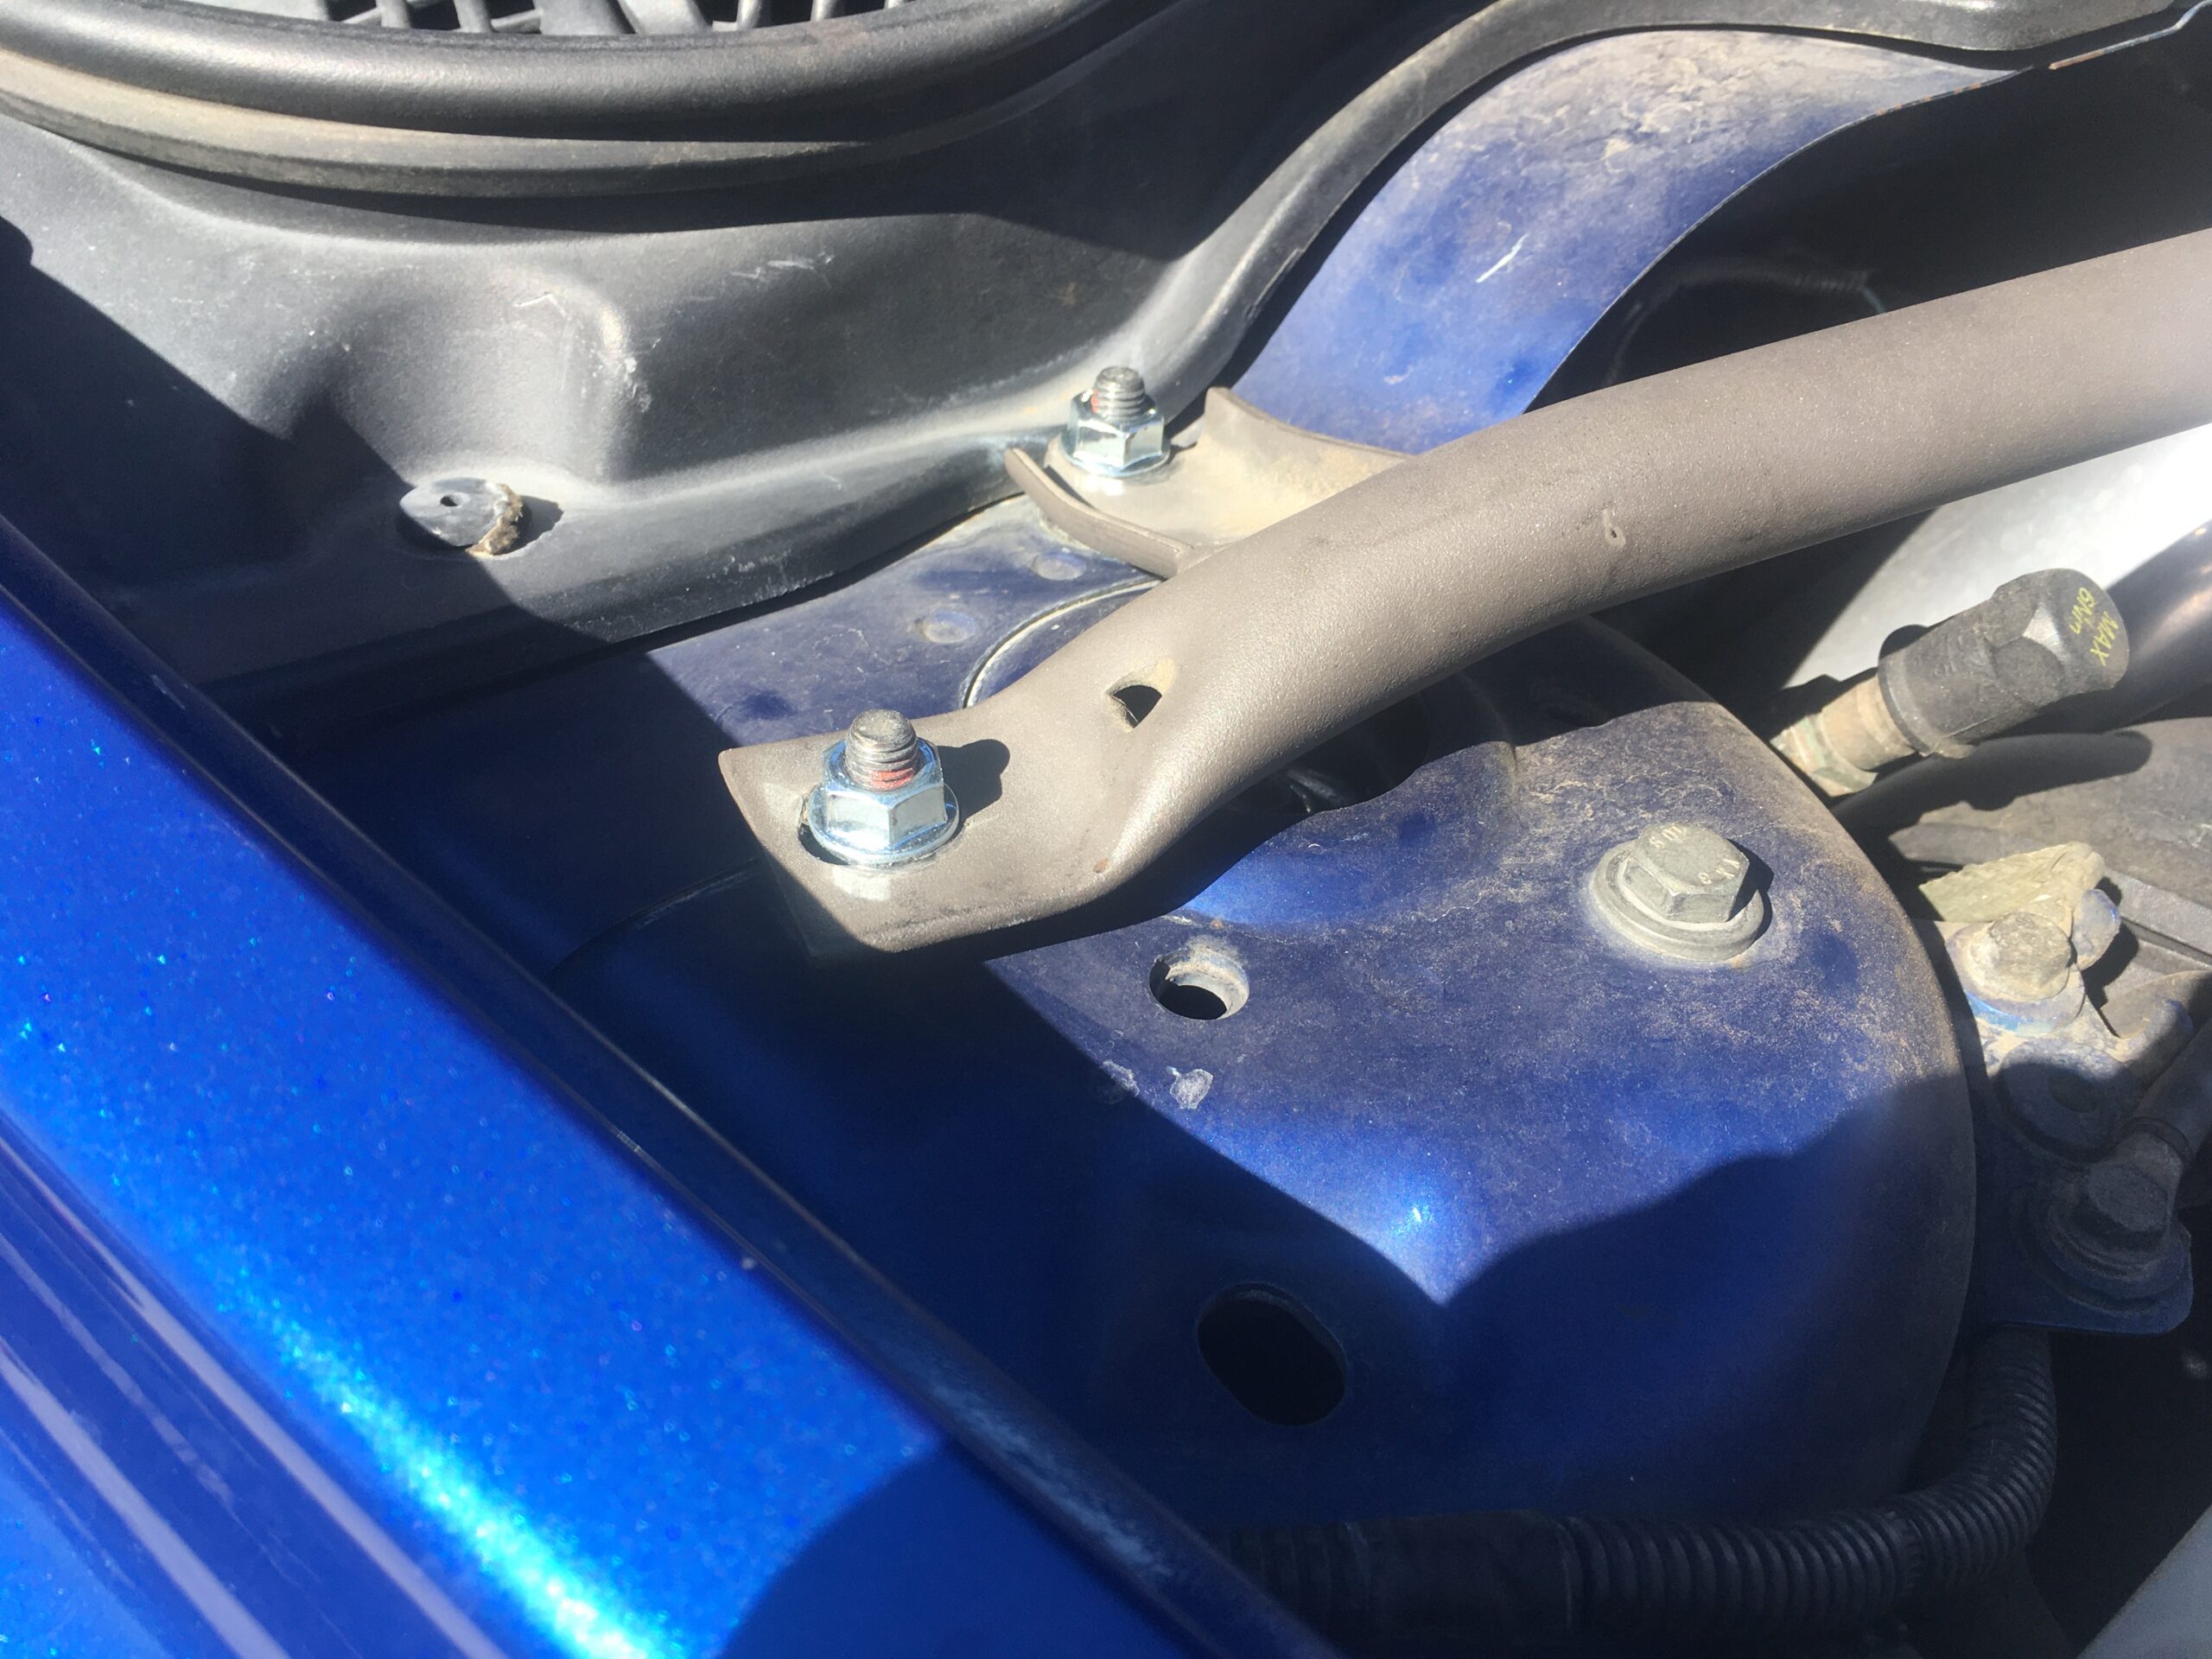
Now you simply set your strut bar onto those mounting bolts.
Put your 13mm nuts on the two bolts, and using your 13mm deep socket and ratchet torque them down to 18ft-lb.
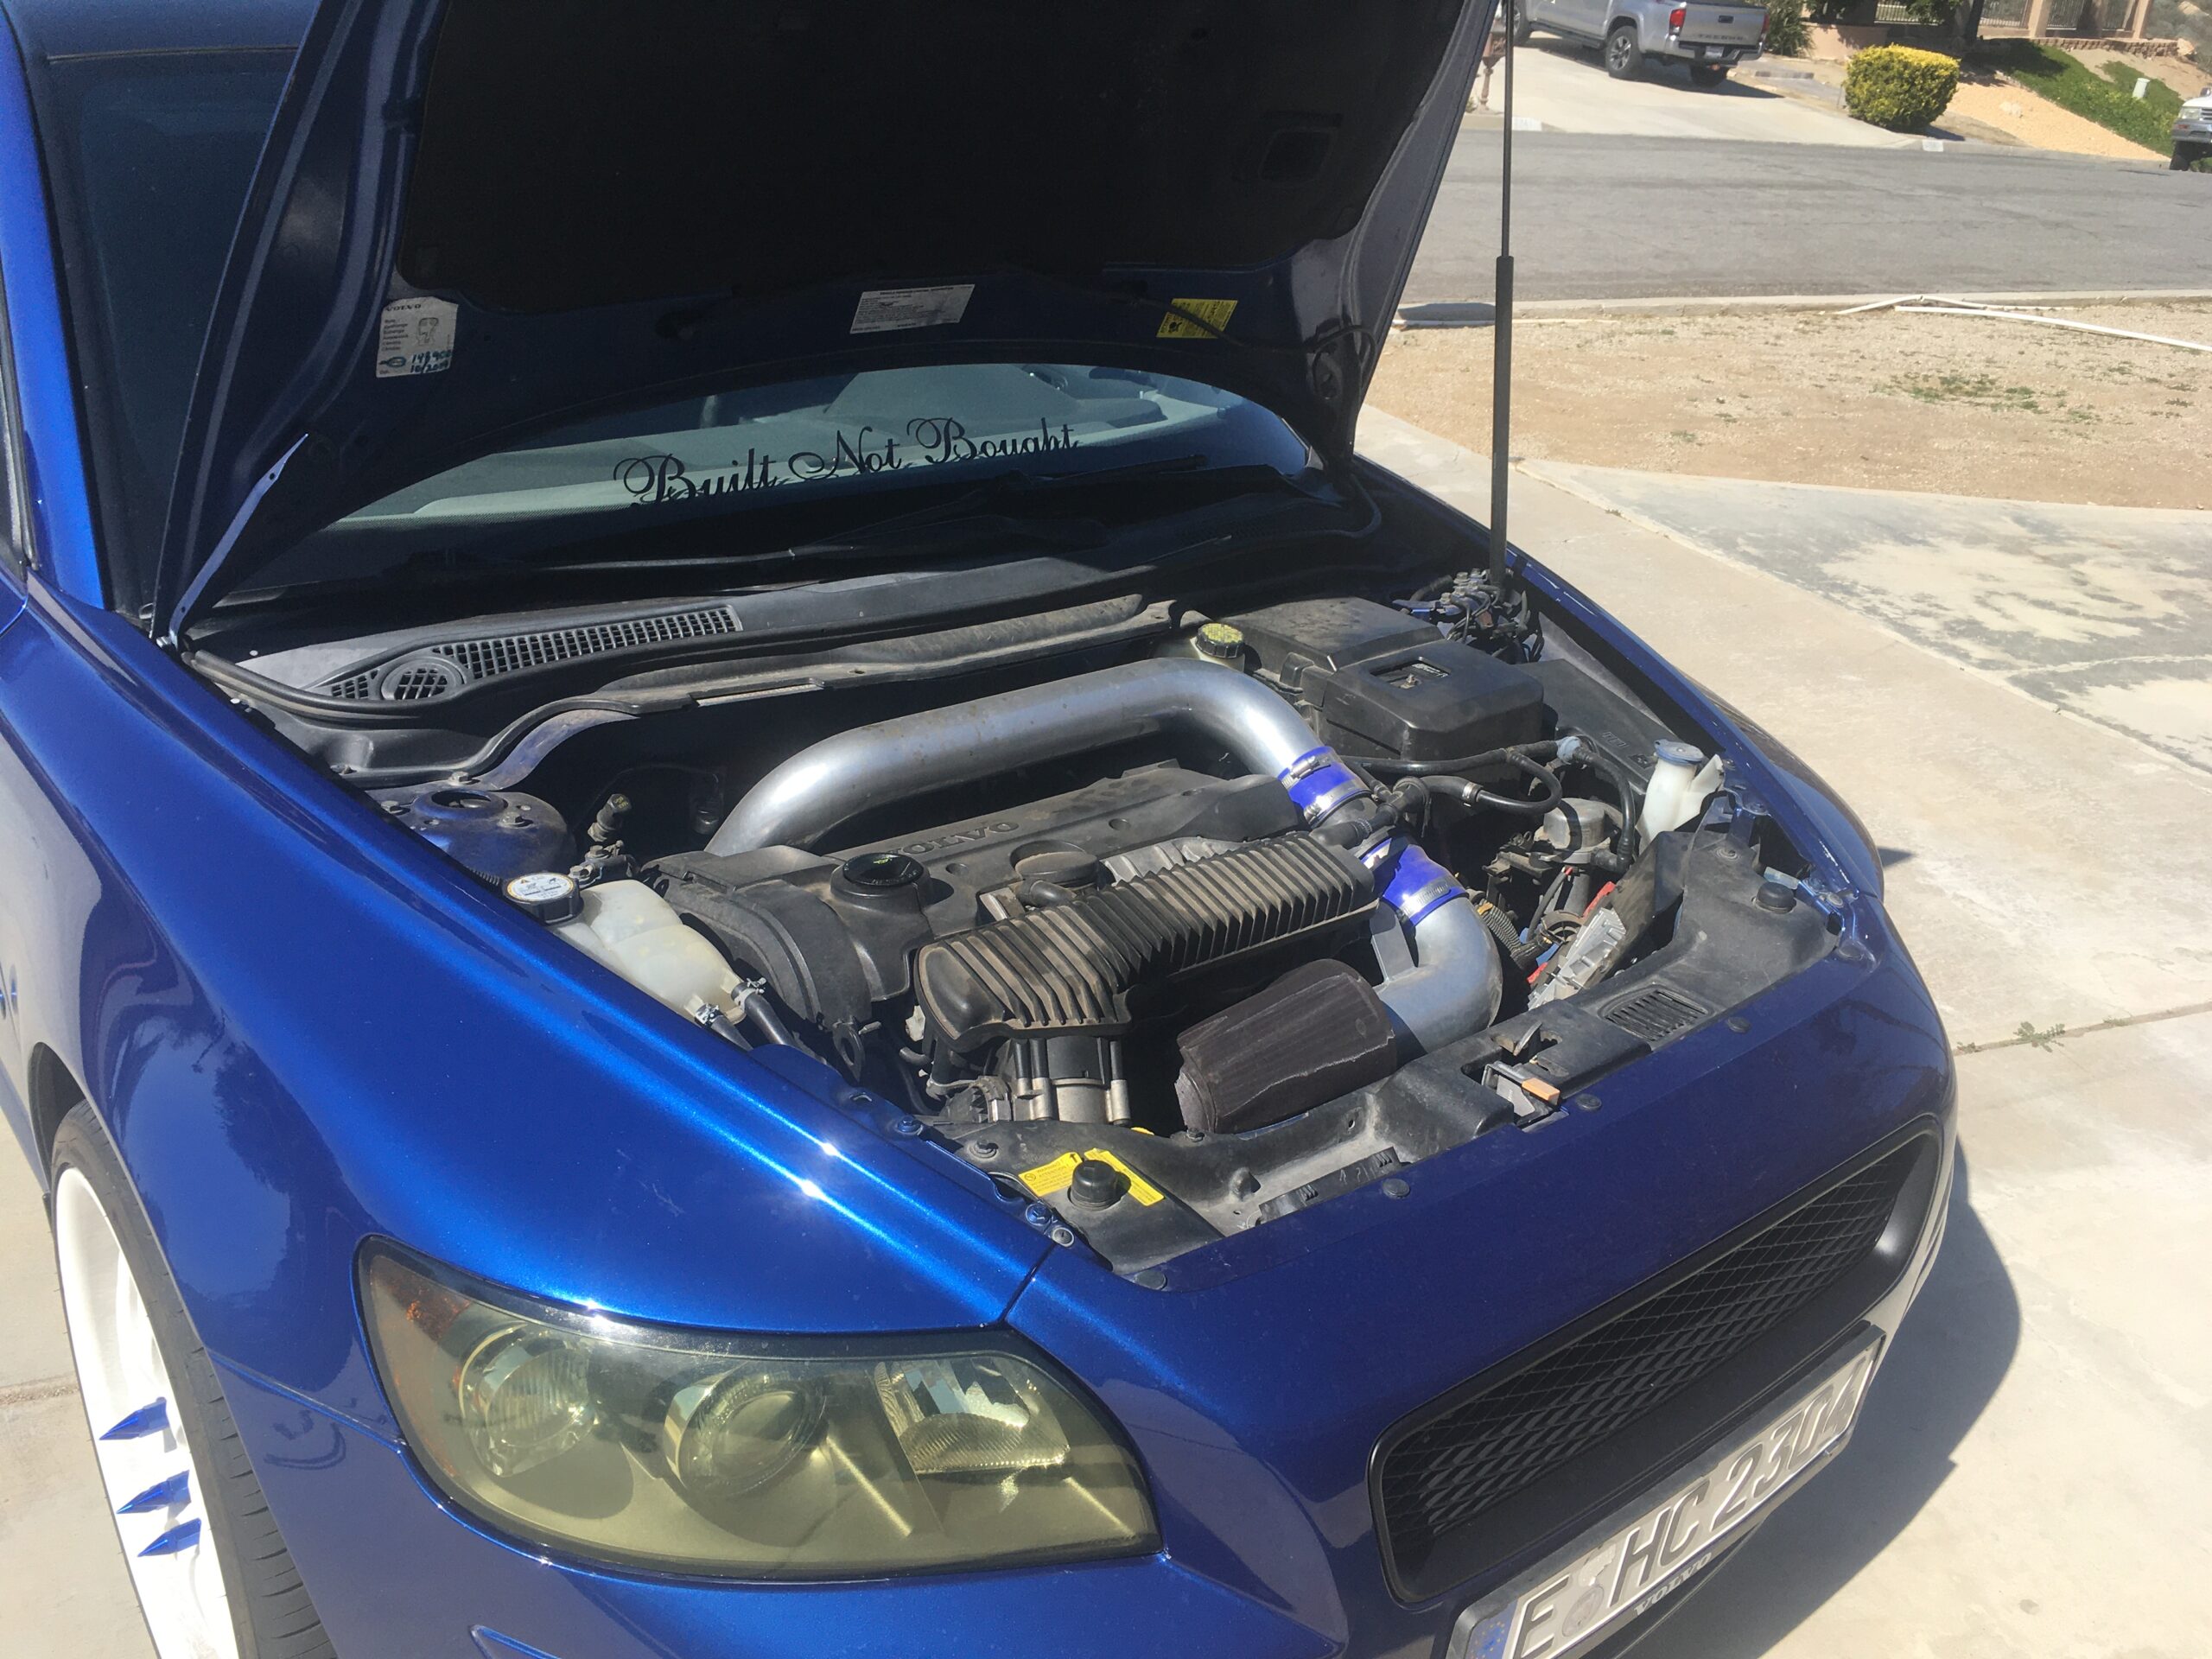
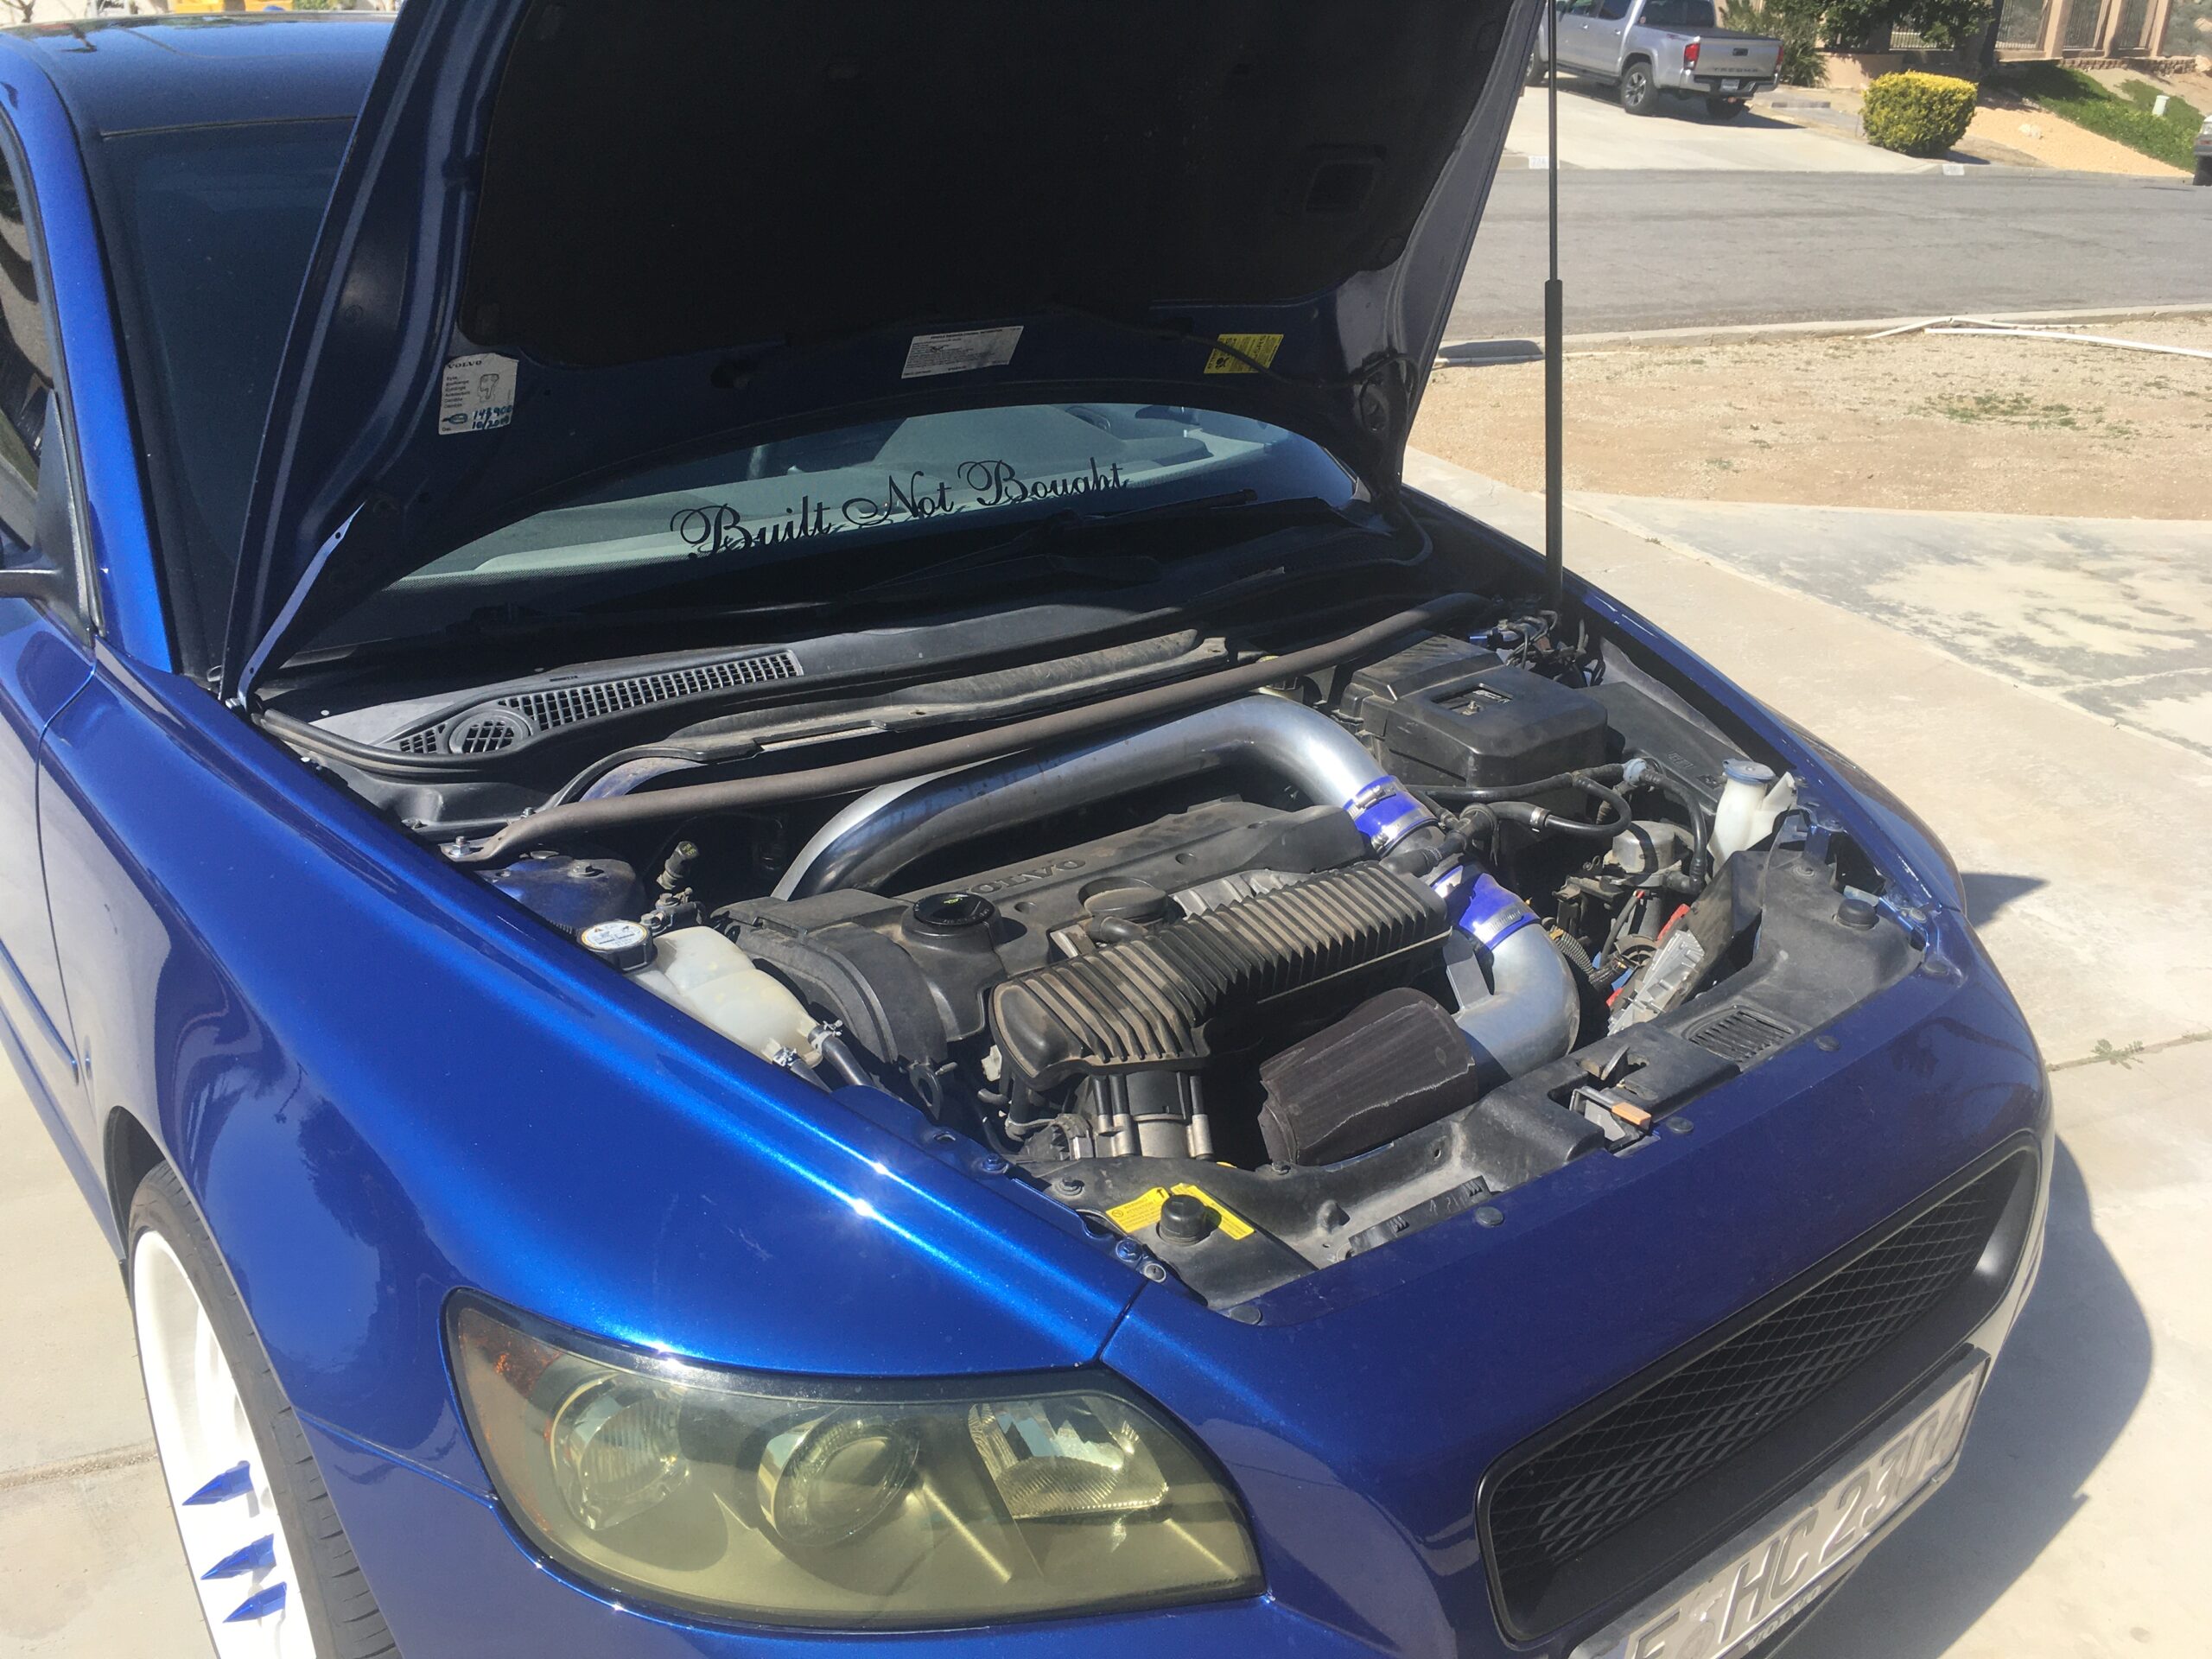
Repeat on other side of the car. Step back and enjoy…or enjoy our before and after pics below. Not bad for $10 we must say.
Before
After


