


Stop Buying eBay & AutoZone Universal Hood Vents – Invest a Little in True Quality
While we do talk about a specific car part application here, the general idea is to not be limited. Find vents and scoops made for other makes and models, and adapt them to your own build. Typically you will find these OEM or performance parts can be universal, and are higher quality then the junk you see online. Just because your year, make and model isn’t in the description, doesn’t mean you can’t make it work easily.
A while back engine cooling was on our radar over here at the garage. But like the other 35 projects we have on our list, this one quickly fizzled when we did an initial search for some quality hood vents or scoops that A) didn’t look like you bought it on eBay, and B) provided actual engine cooling.
Fast forward in your time machine to a few weeks ago, and we were over on the ElevateCars.com website looking at some other products for our free parts giveaway content and stumble across some hood vents they make for the S60R. While we don’t own a P2R, the body lines of almost every Volvo made in that general timeframe had very similar body lines on the fender and hood. We thought, maybe these can be used as a universal application.
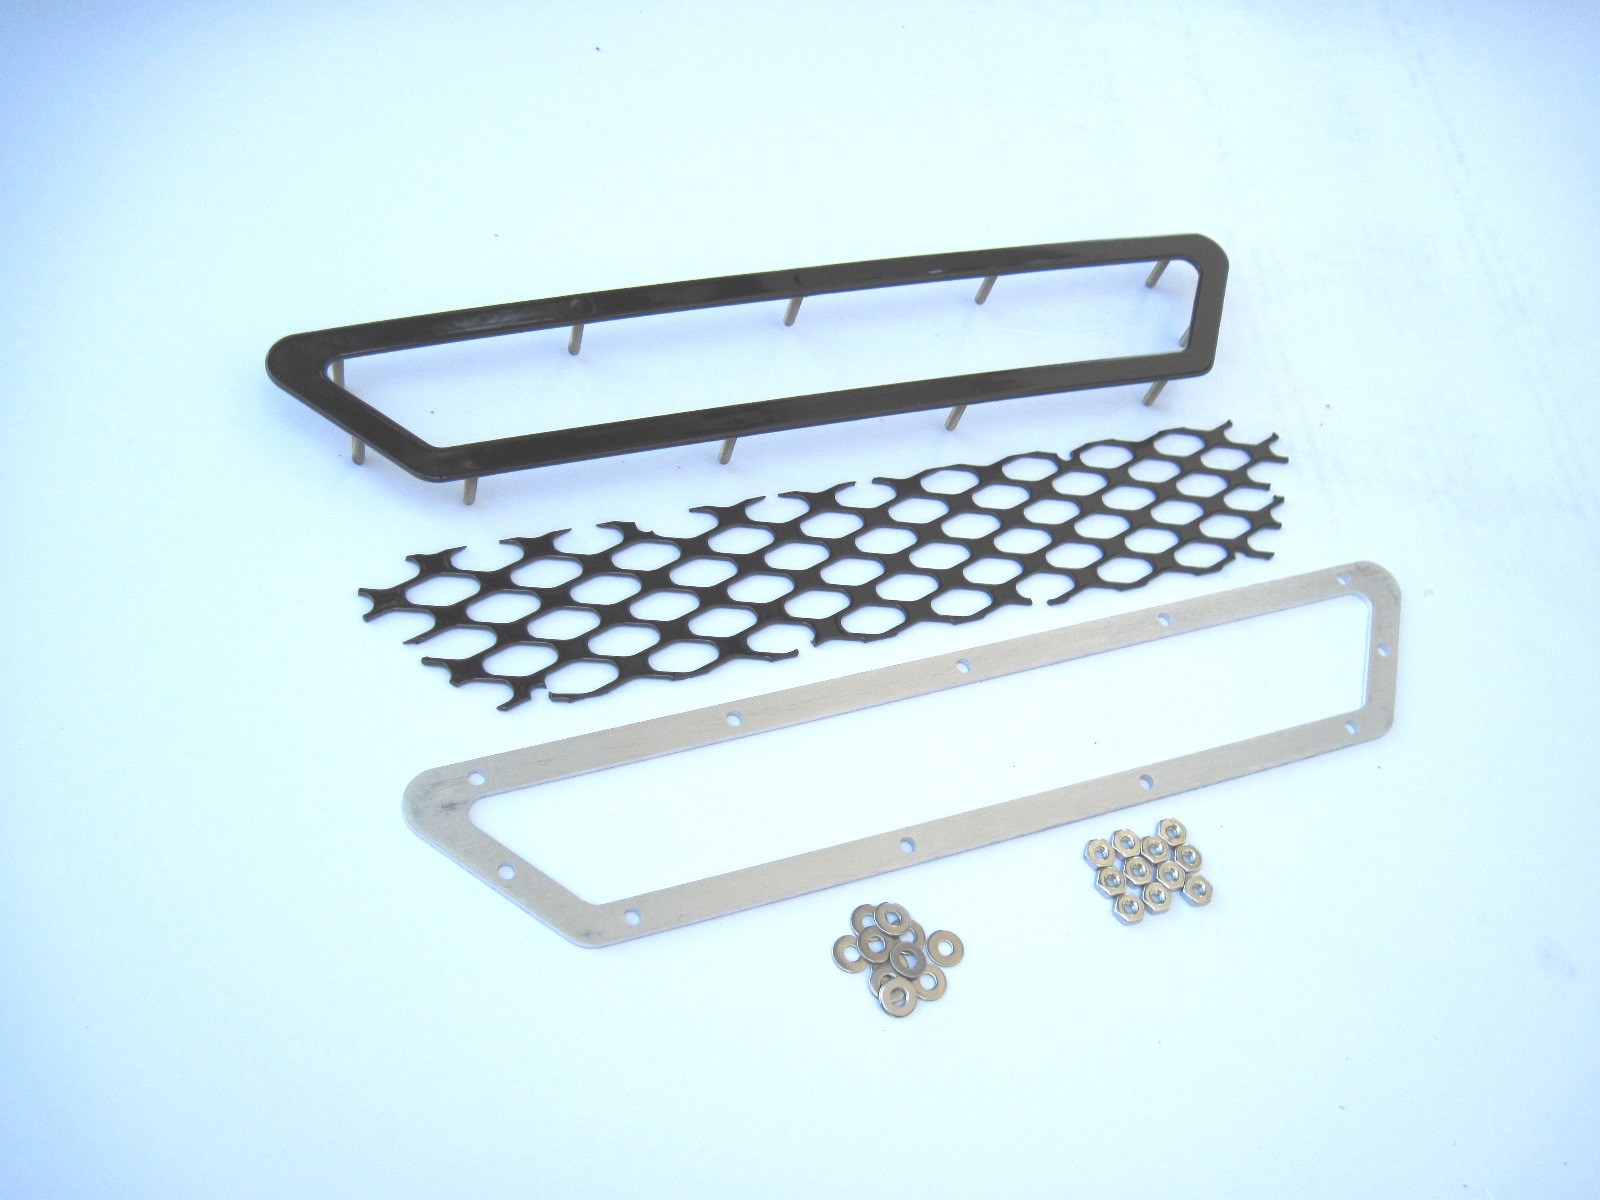
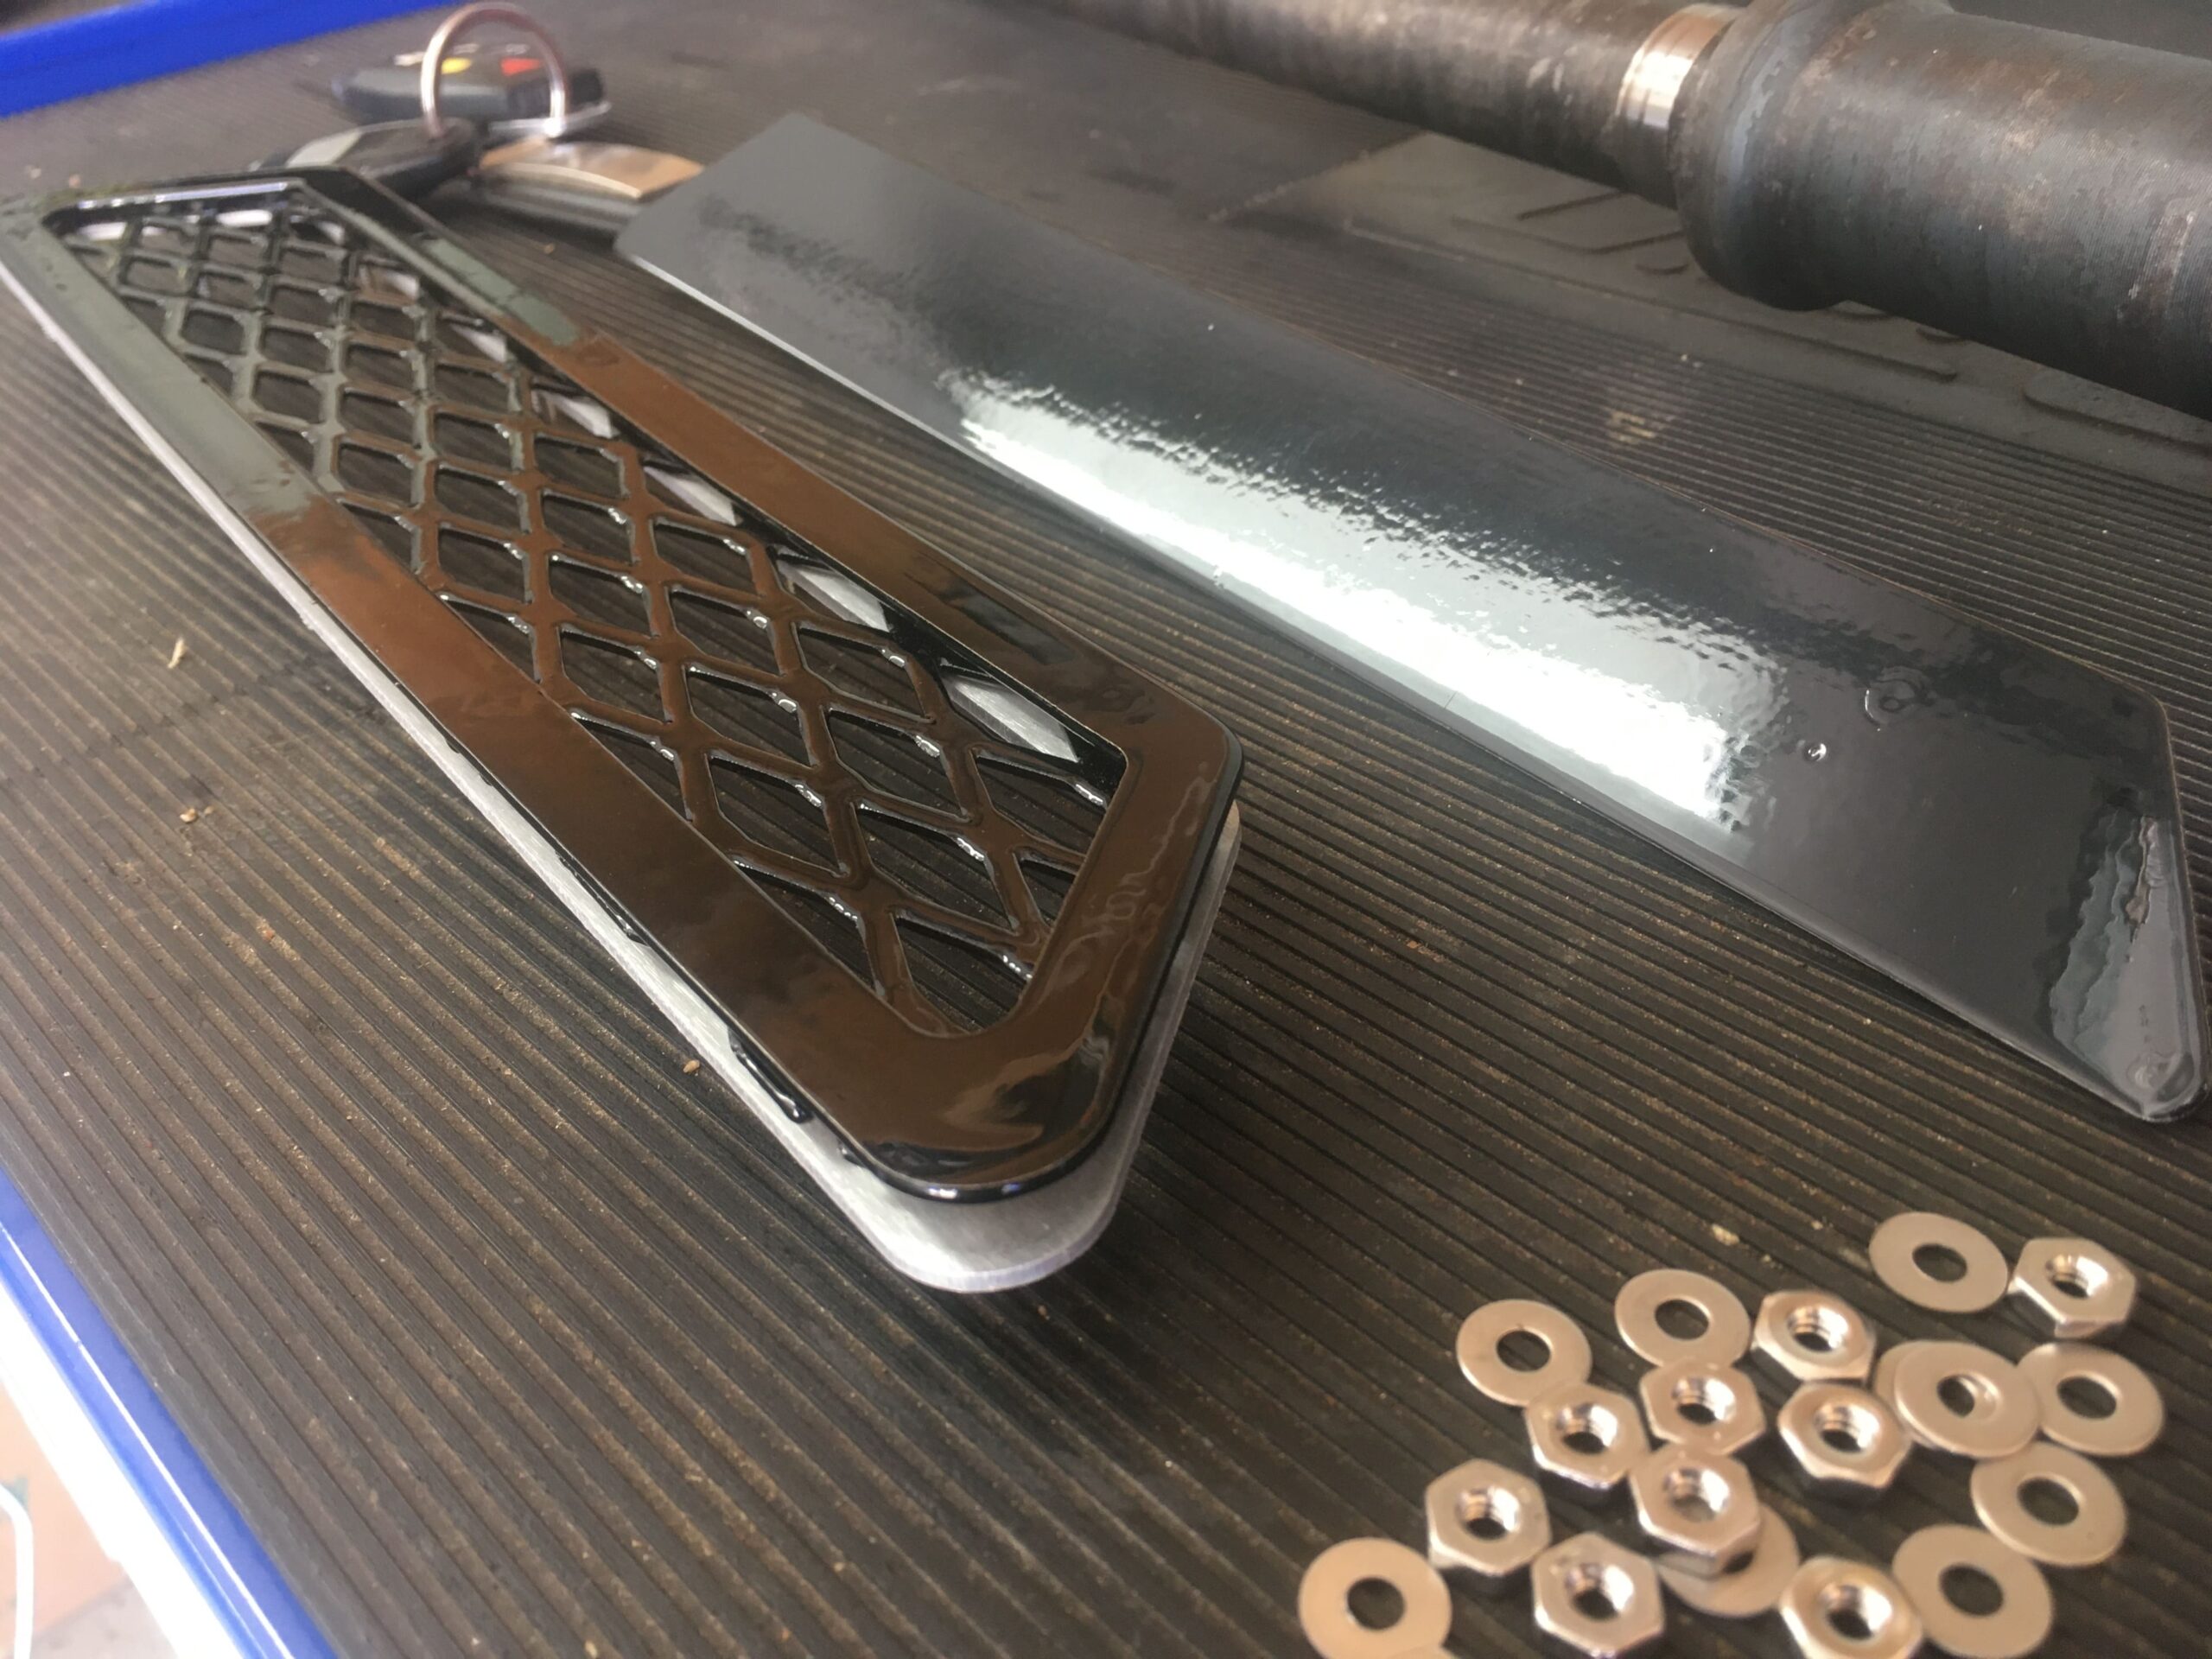
If you follow our Elevate product reviews, or own any of your own Elevate parts, you know the quality is second to none, and that is exactly why we thought about adapting these grilles for the S40. They make a “left” and a “right” side application, which follows the body lines of the S60R fender, and with that, has a small taper. We also even thought that these would work for placement on the hood as well. Long story long, we ordered a single “left” hood grille vent, with the optional “Hood Grille Cover“, for use with inclement weather. I figured we would buy one, test it, and then go all in with the other if we loved it.
To start off, I went down to the local junkyard and grabbed a single Black Sapphire Pearl fender for the car. We have been toying with running black fenders, and this way if we hated the outcome, we didn’t destroy our super rare, and hard to find blue fender. I would have bought both, but the passenger side fender had been replaced and the paint didn’t match. This color is easy to find, so I’ll grab that one when I see it come in again.
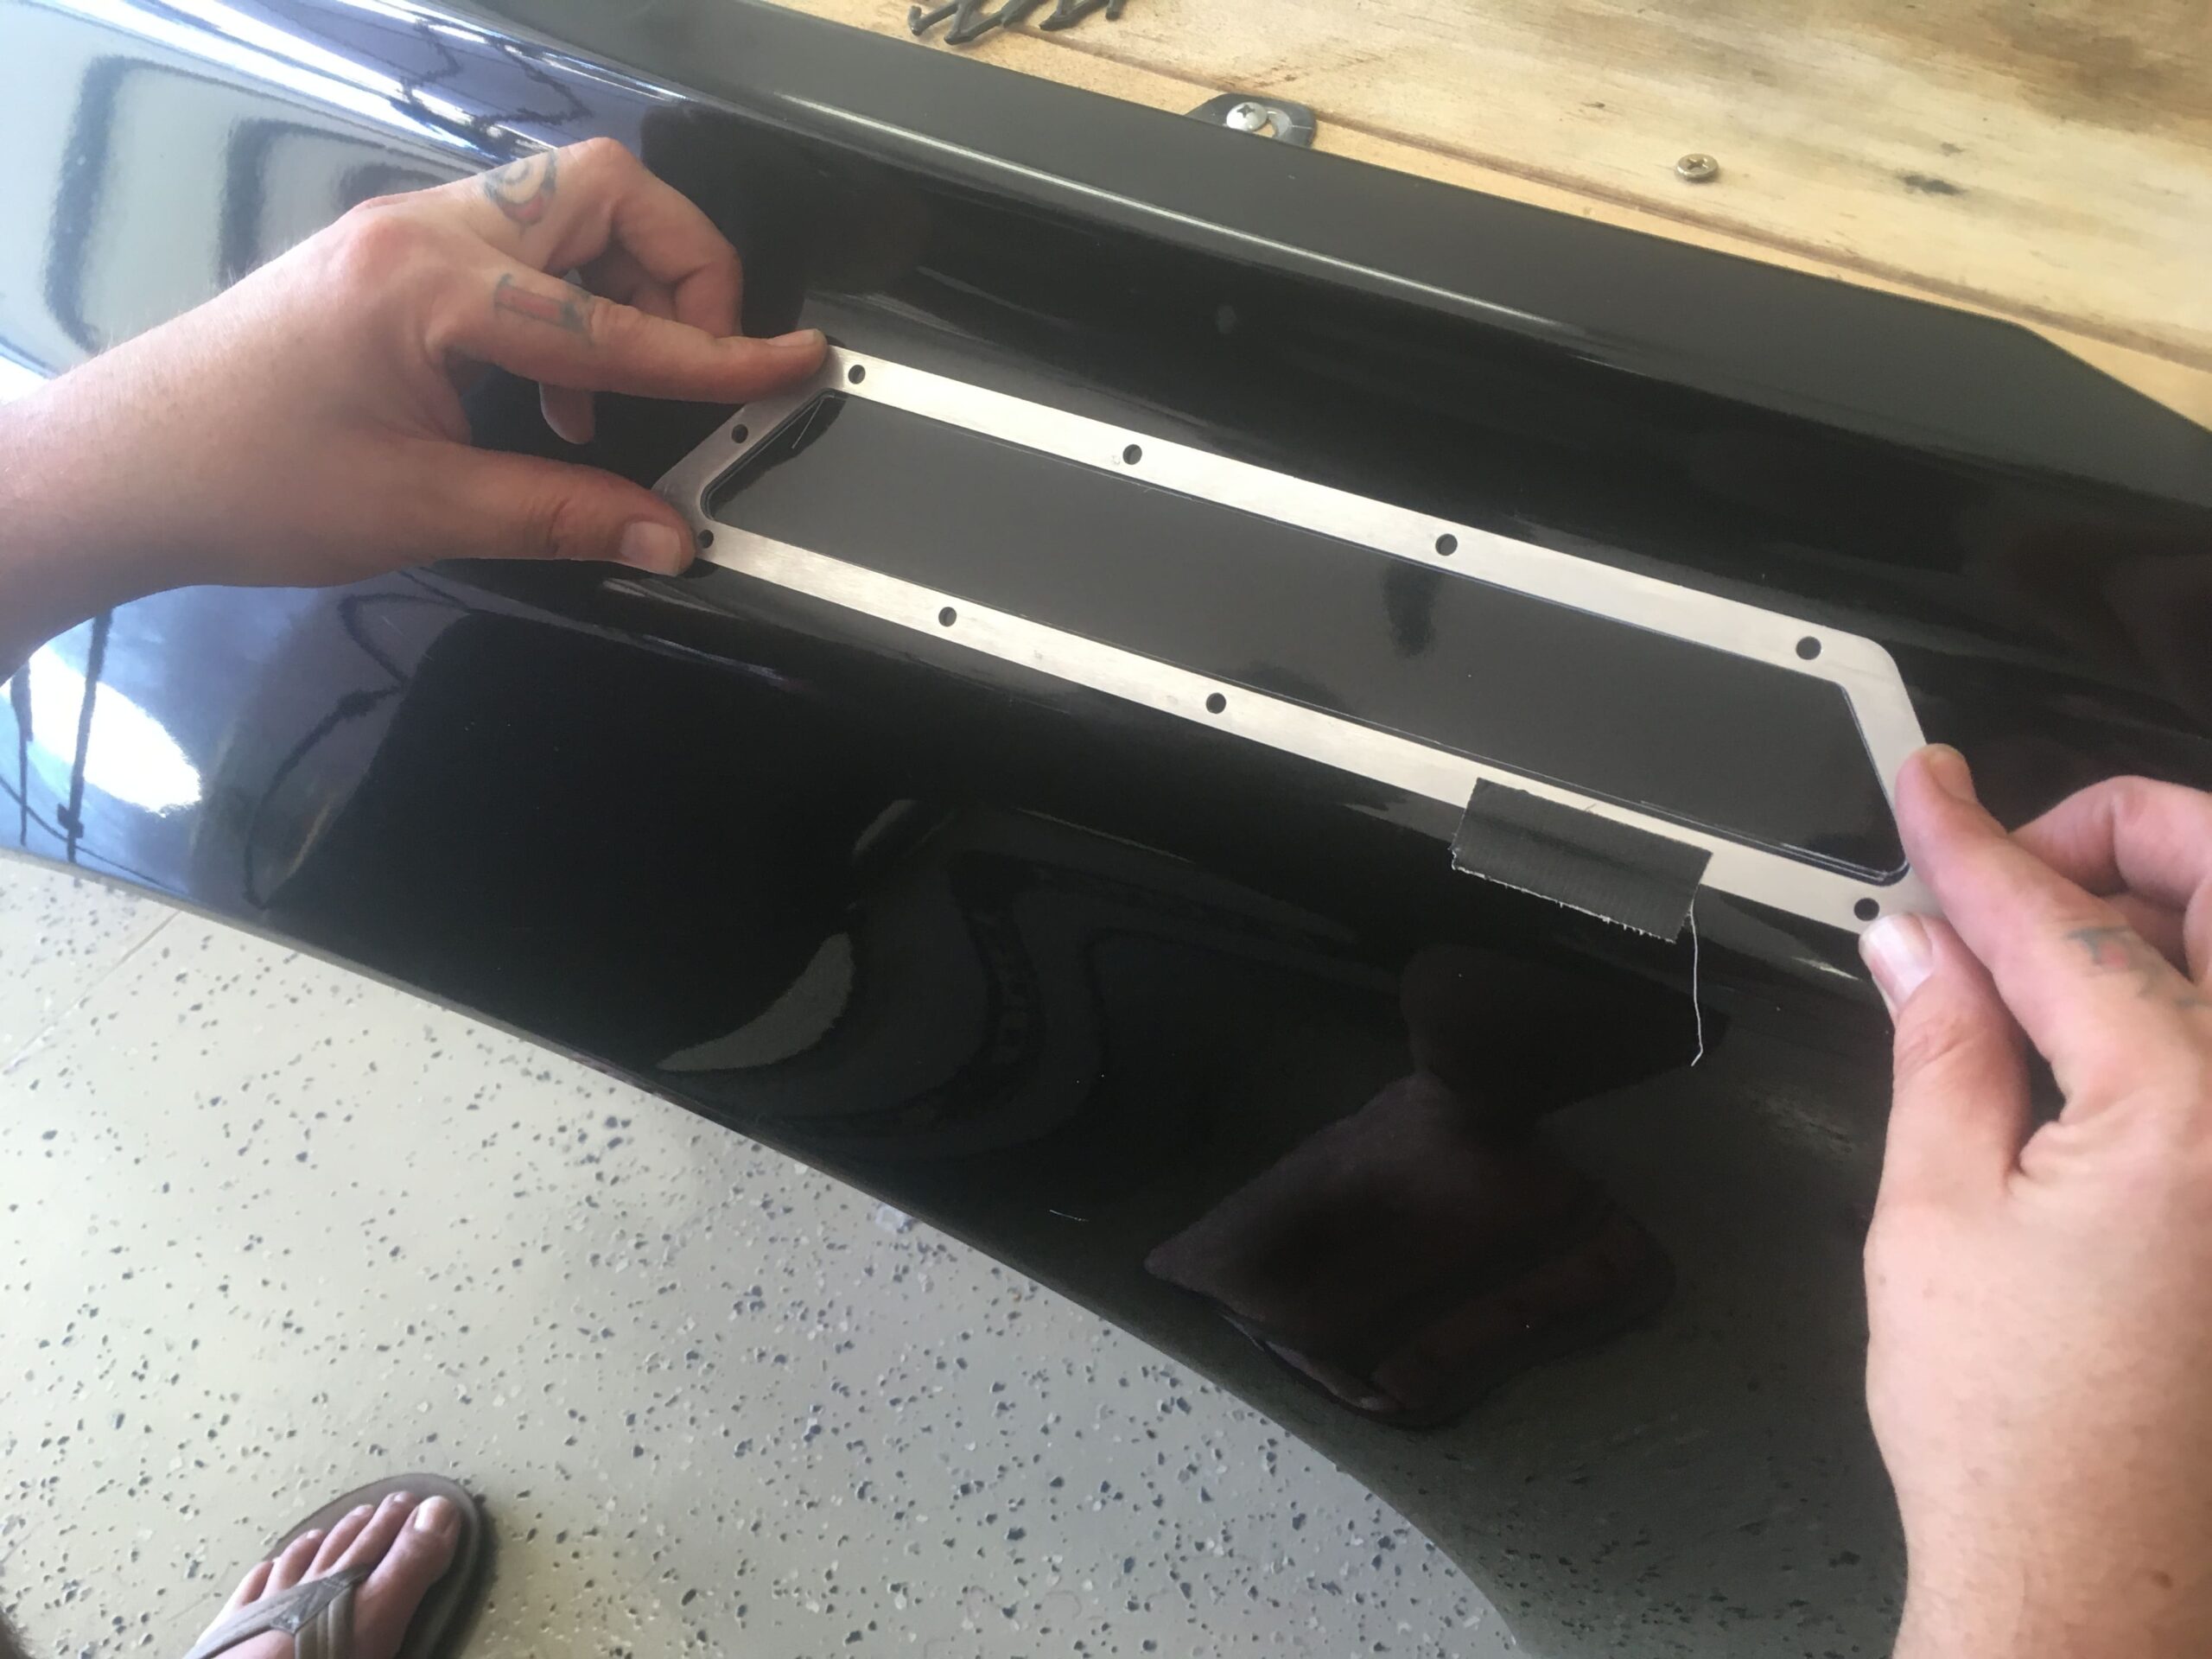
First thing we did was lay the grille out on the fender to see where we wanted to position it. We tried a few spots front to back, upside down, and even on the passenger side too. Remember, you are making it your own, stick it on the roof if you want. We settled for a further back placement. Our fenders are hollow inside so we actually will get a ton of airflow to them, even way back there.

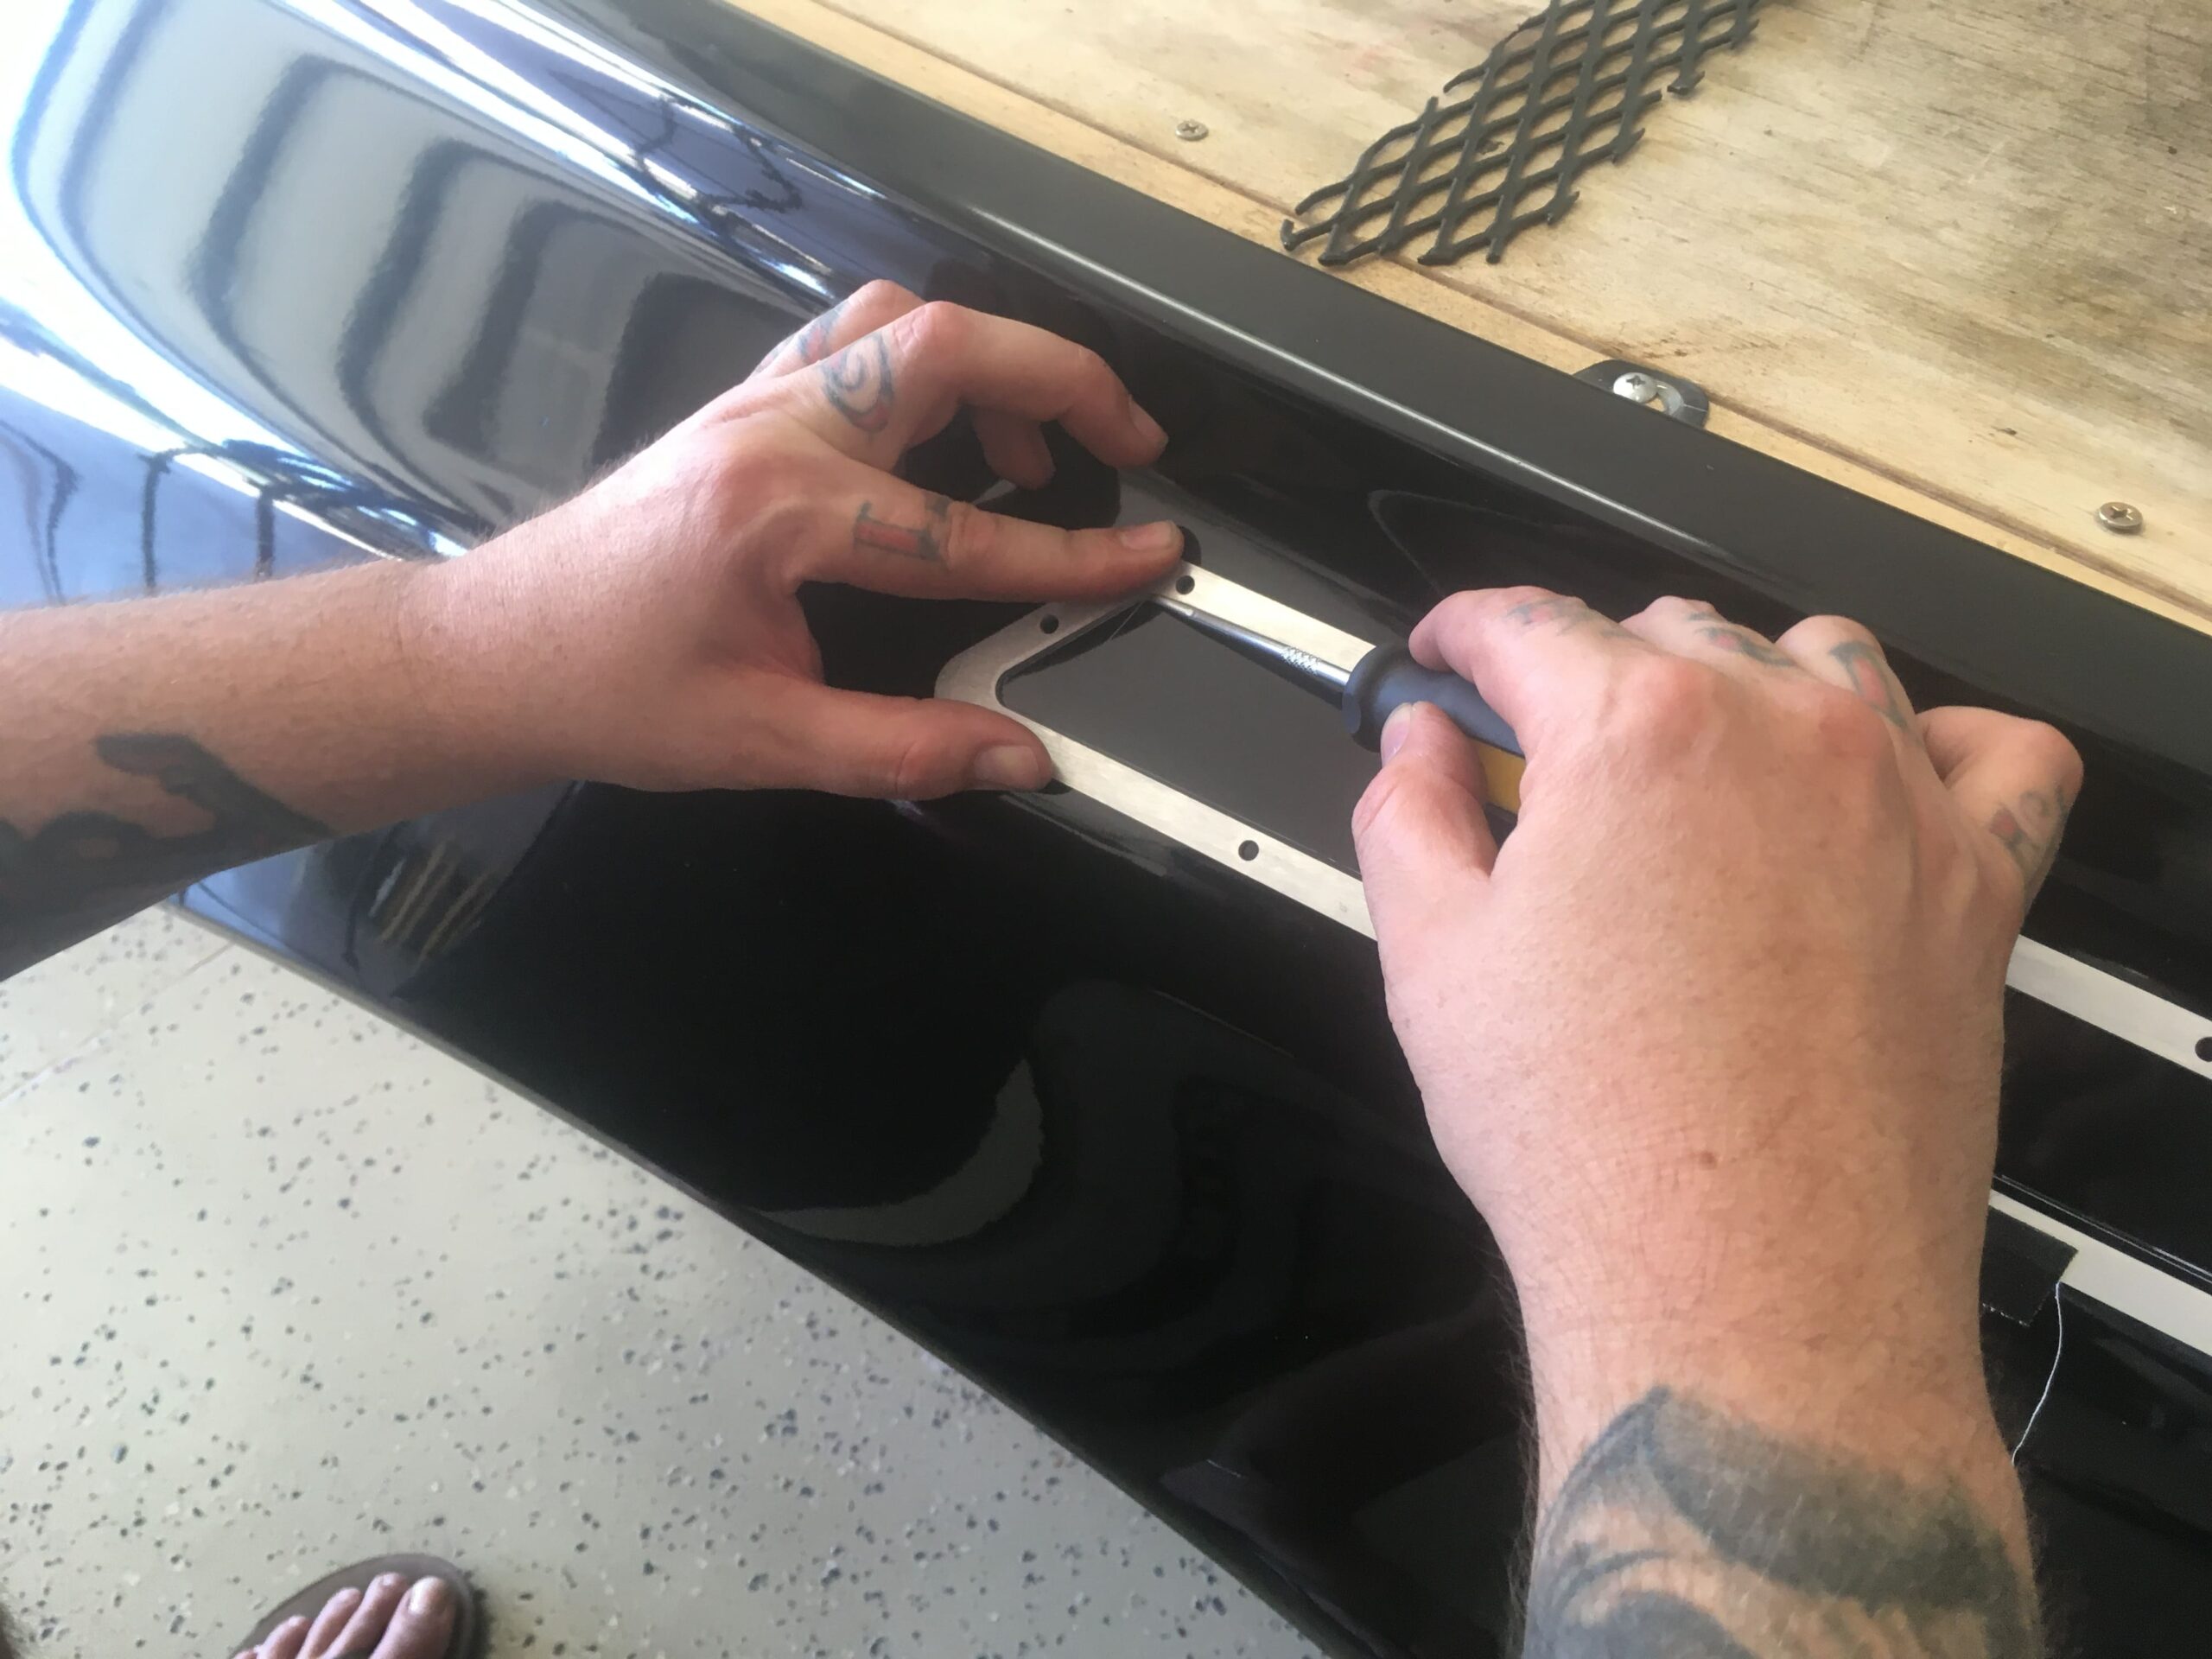
Elevate included some great instructions here, just like they do for anything you purchase from them. These are a great reference for any application with these vents. Initially, we took all elements of the grille apart. The hardware off, the back plate removed, and the grille off. From there we took the back plate and tapped it into place, leveled and eyeballed before we traced our cut line.
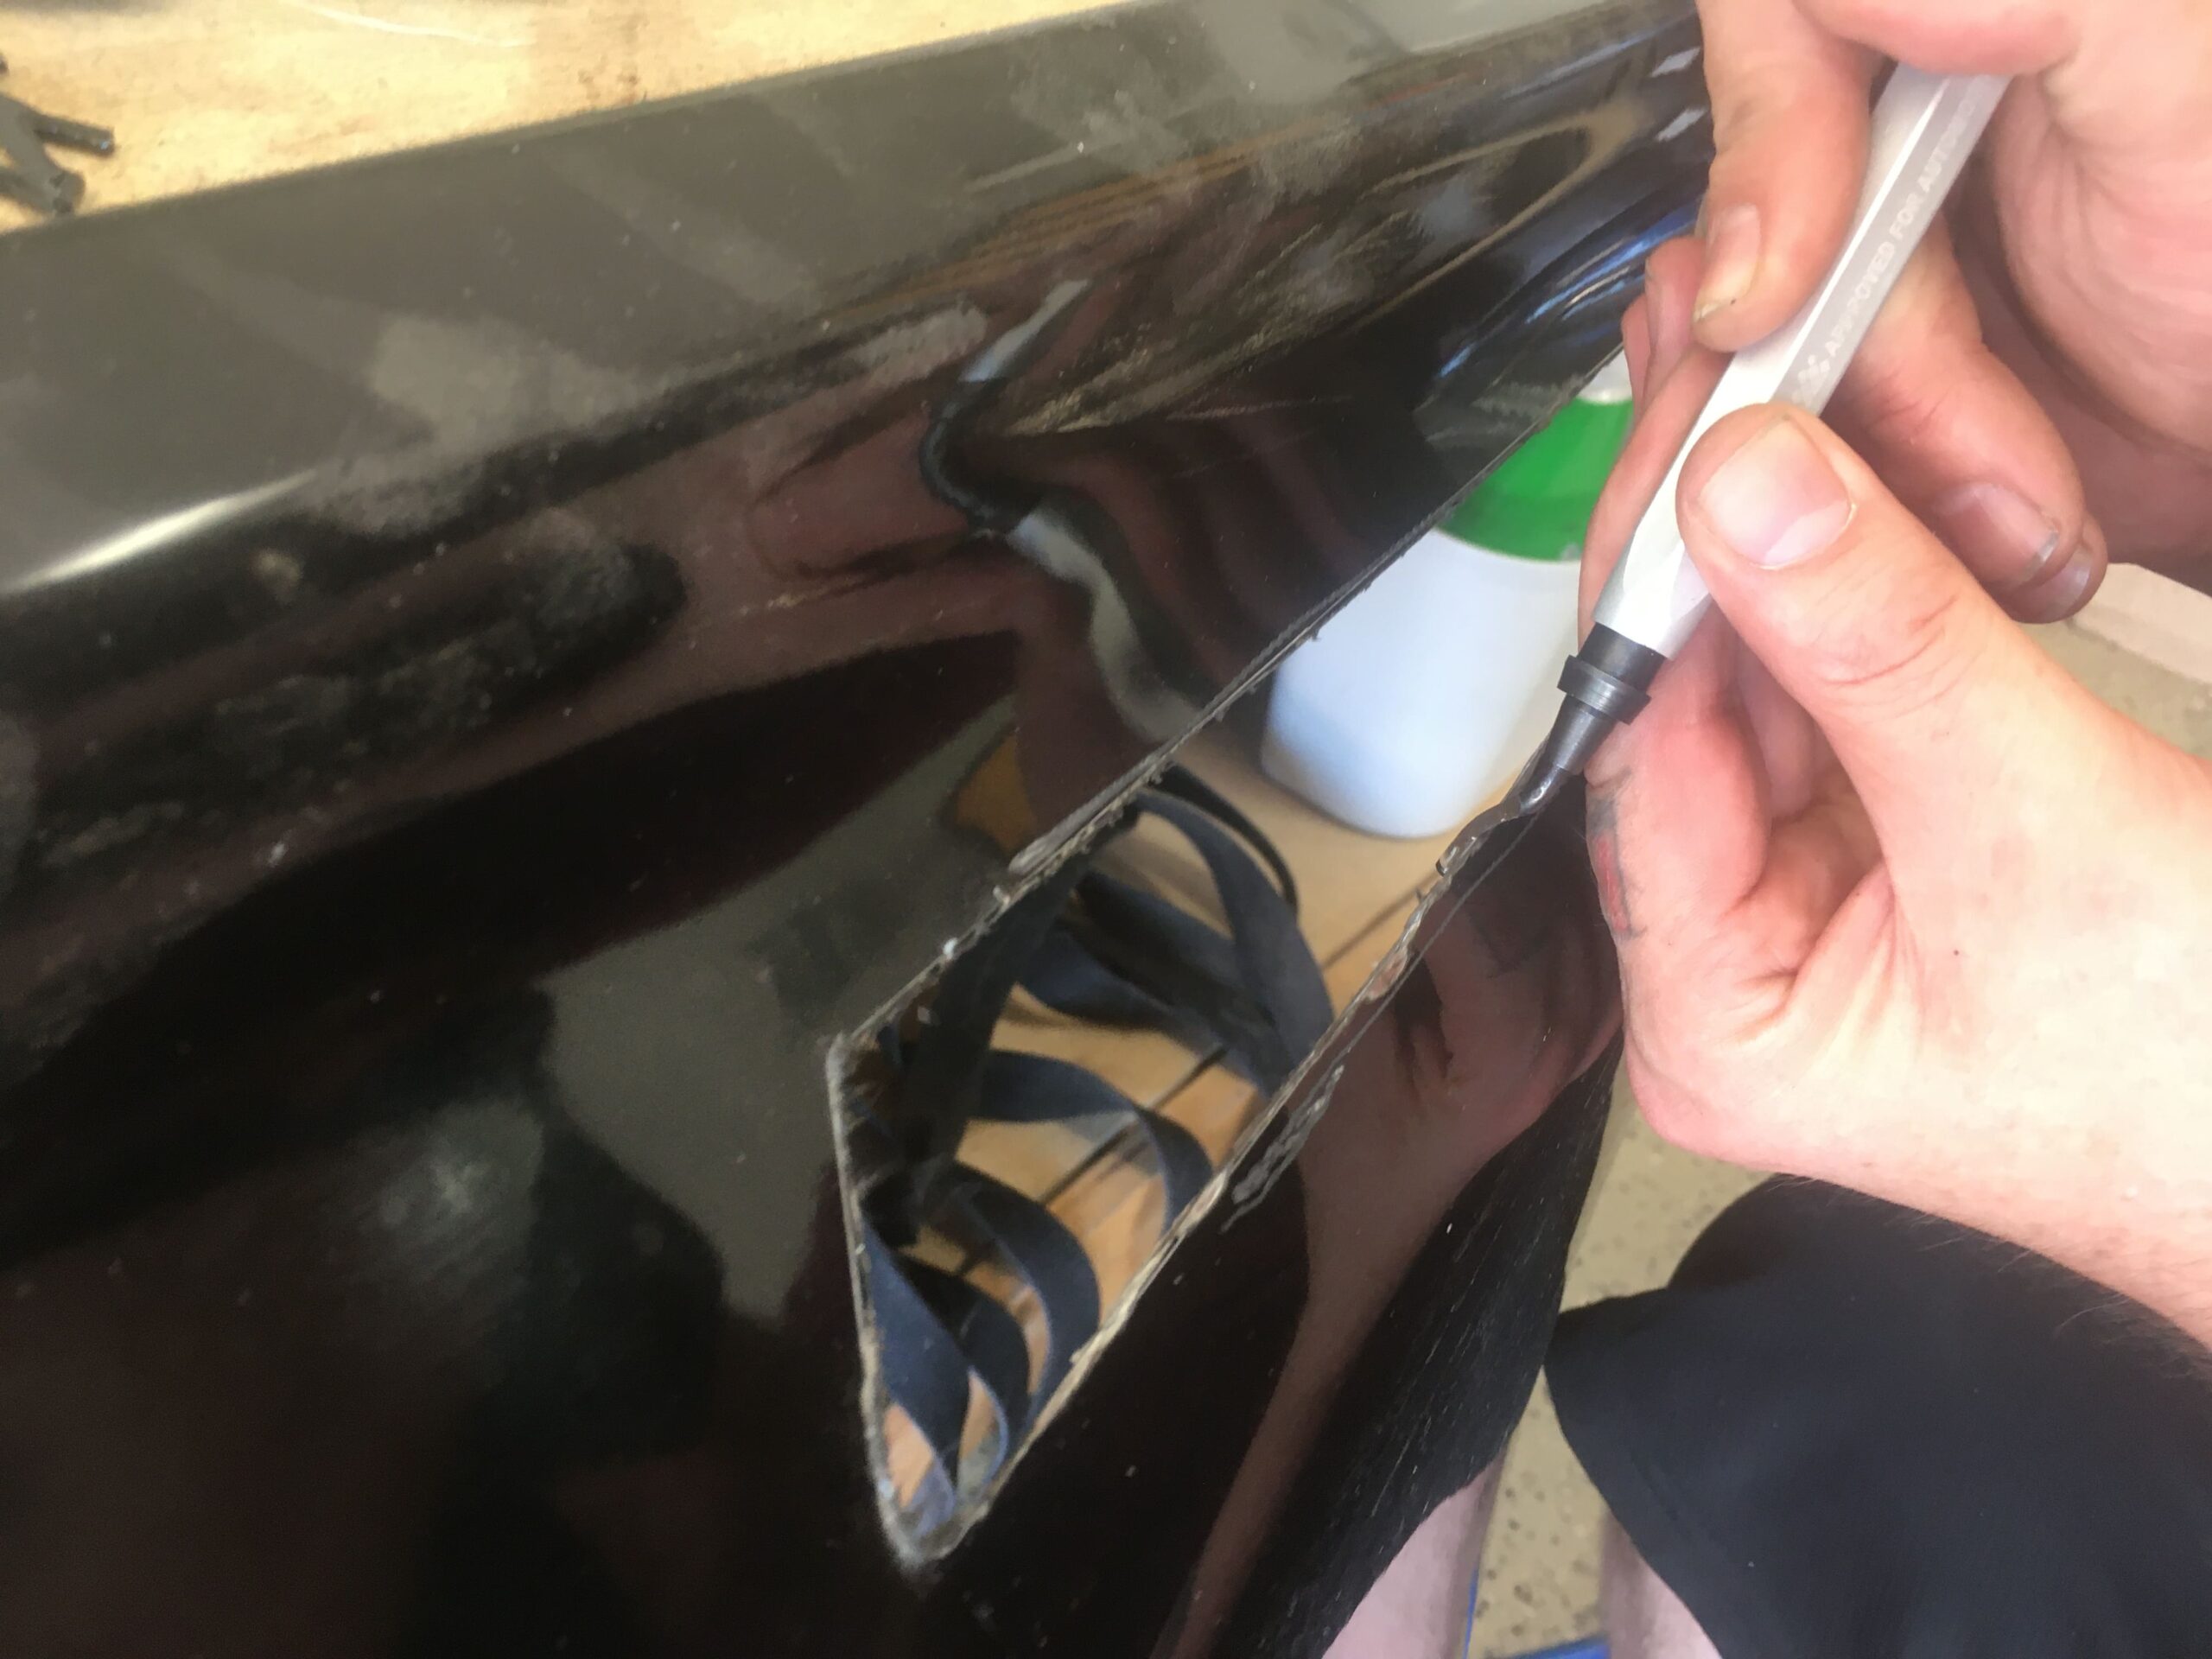
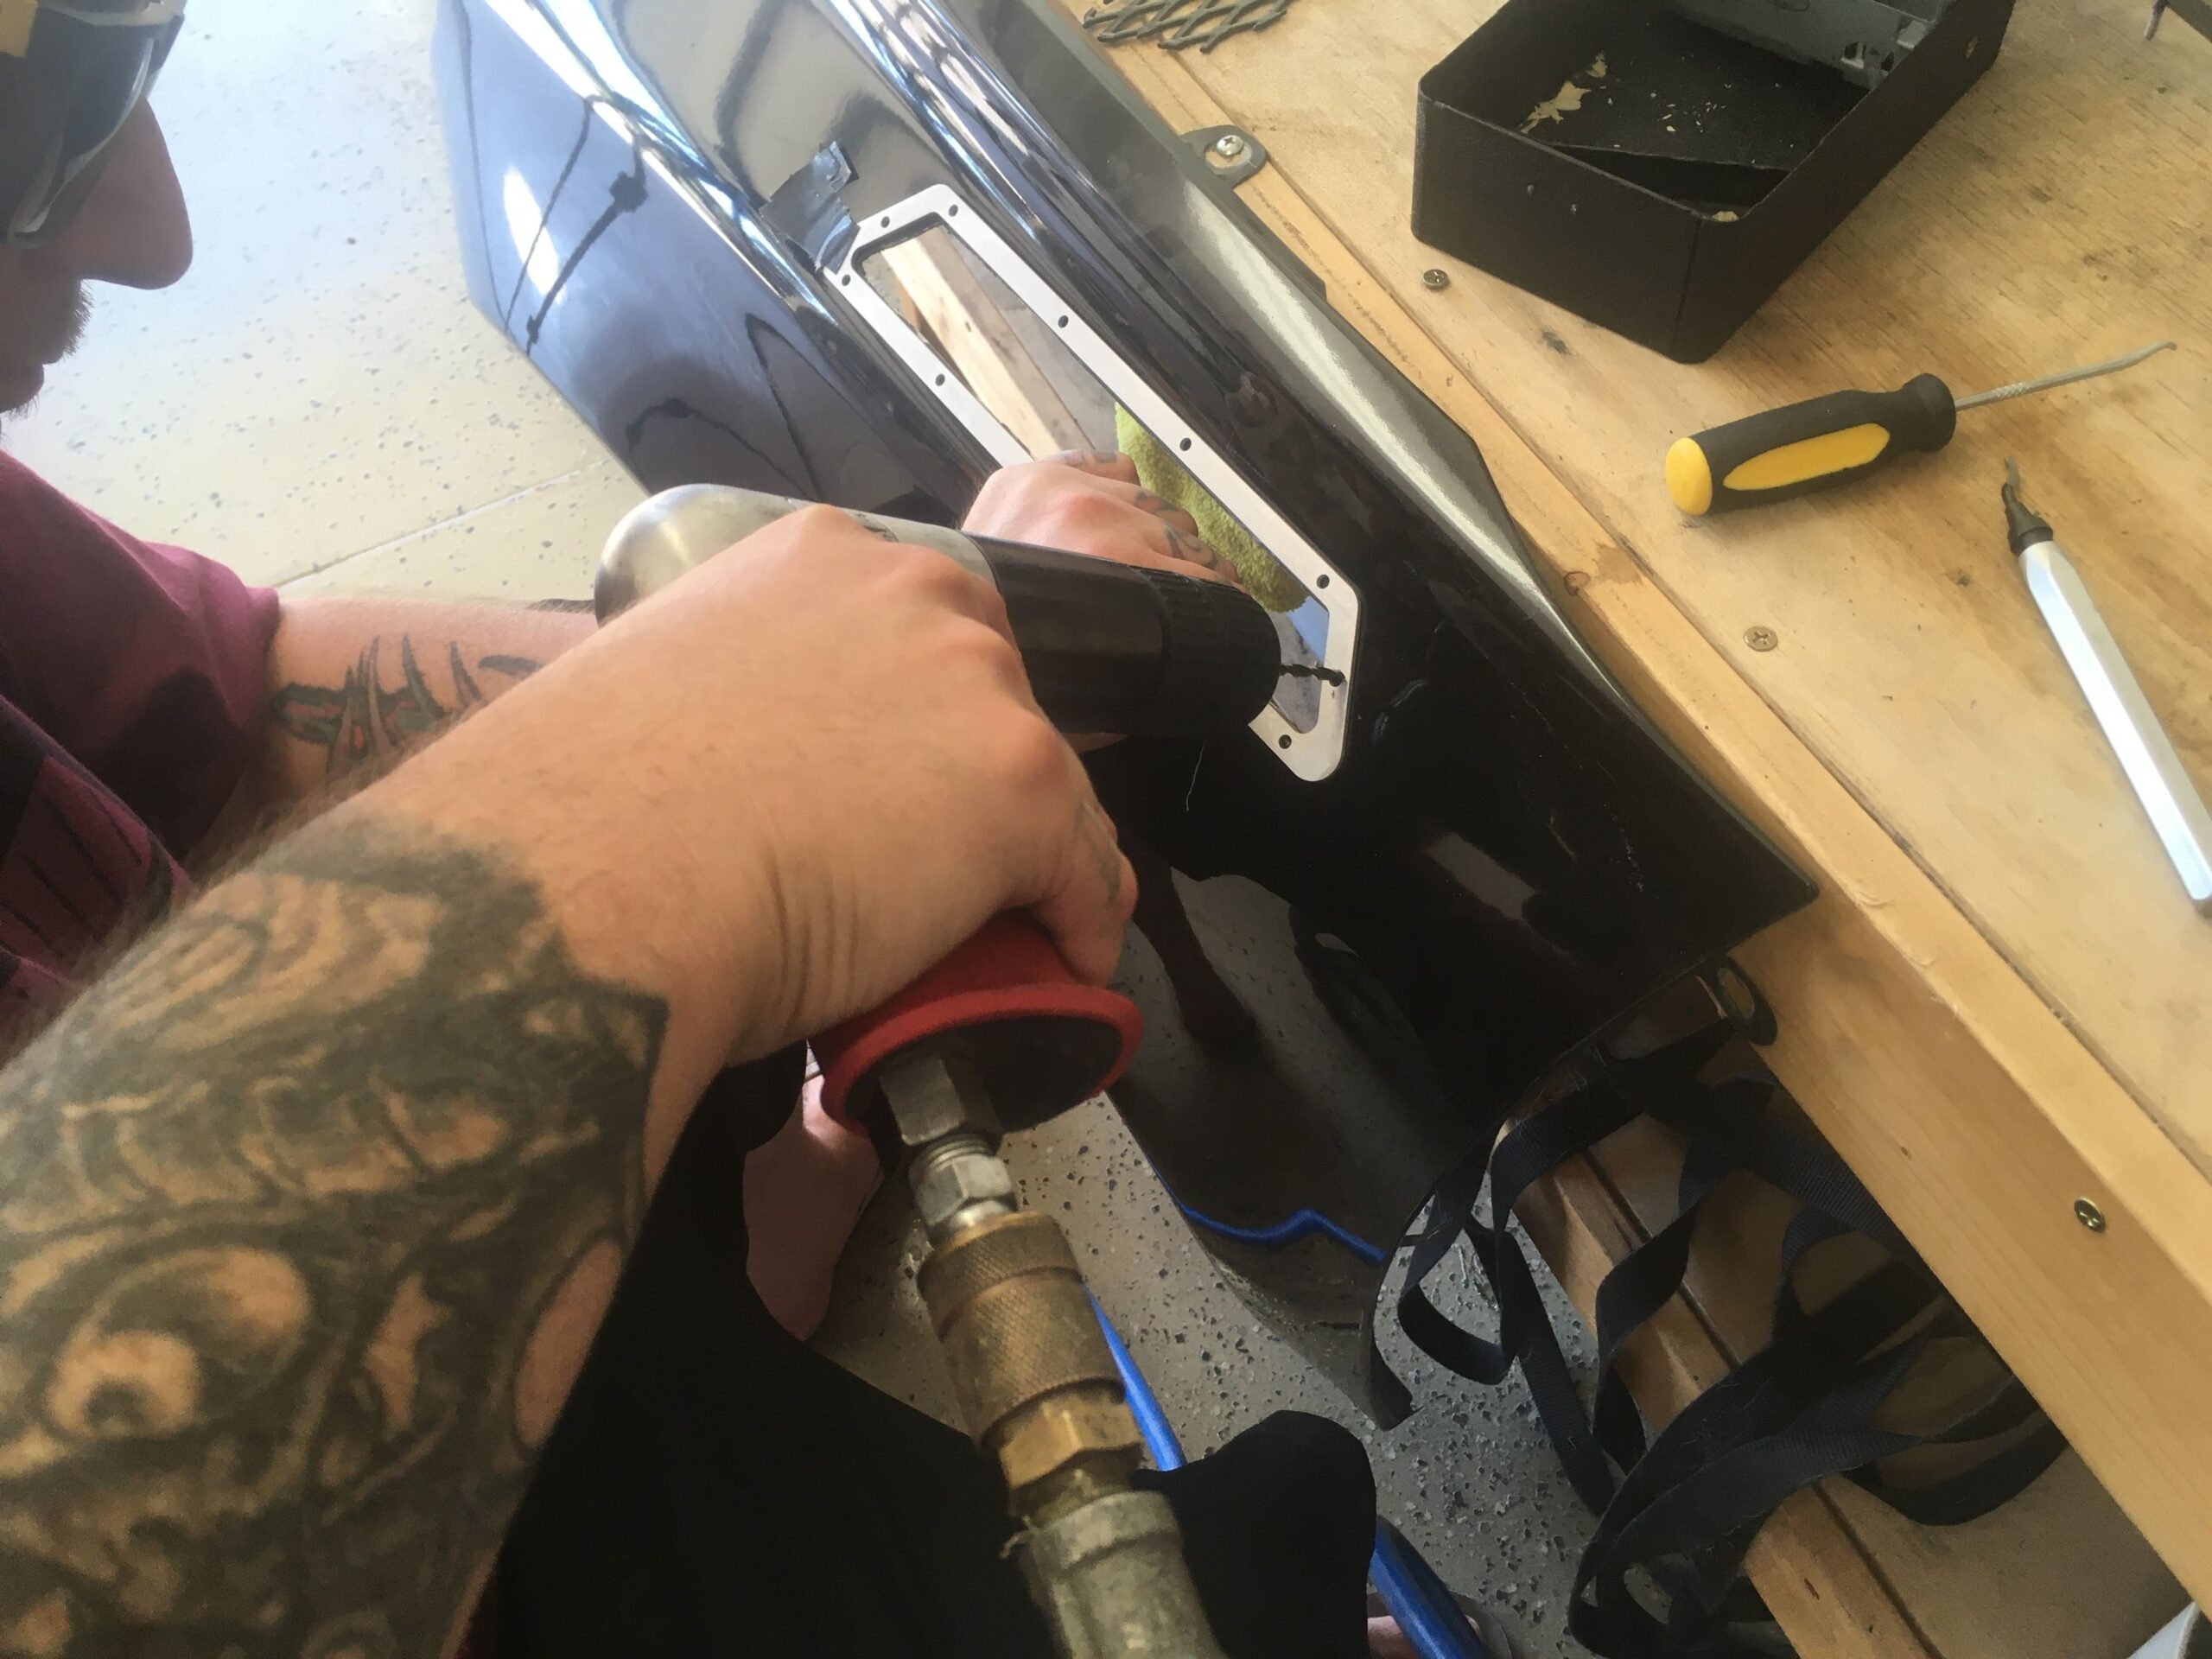
From there we used a super fine bit point driver to trace our line. Be sure to hold the plate in place so it doesn’t move and mess up your line.
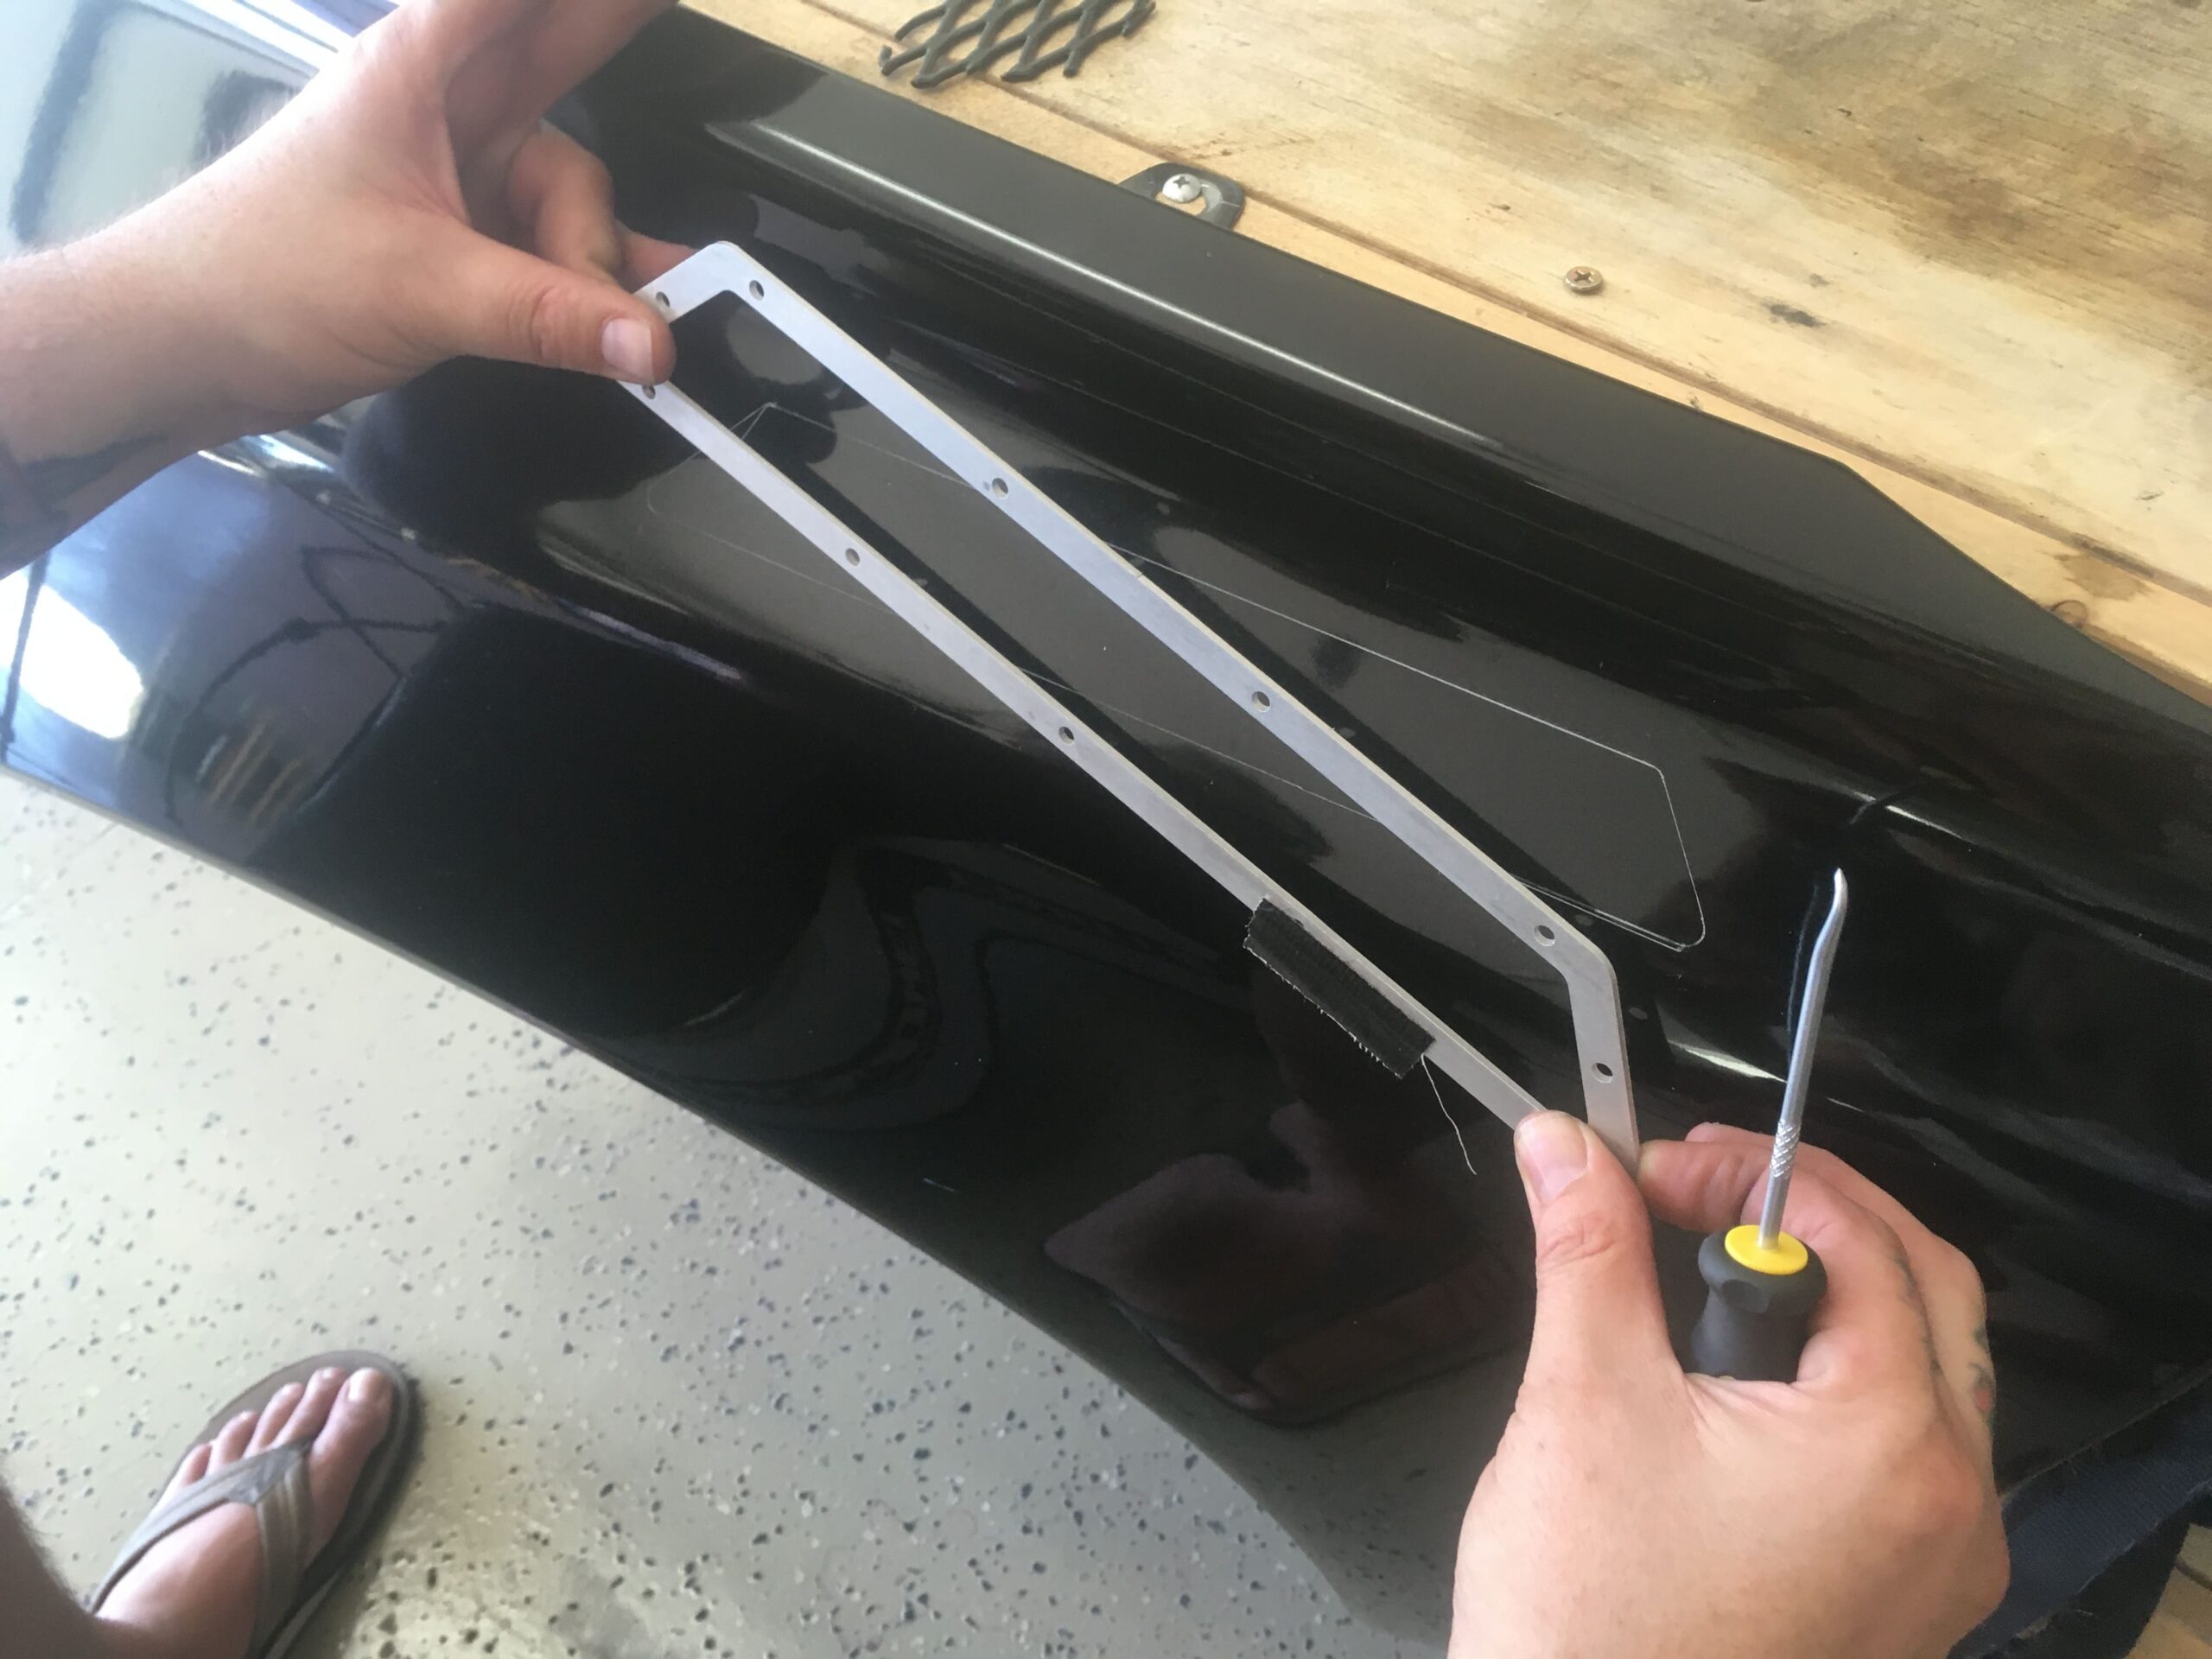
Pull of the plate to make sure you got your line all the way around.
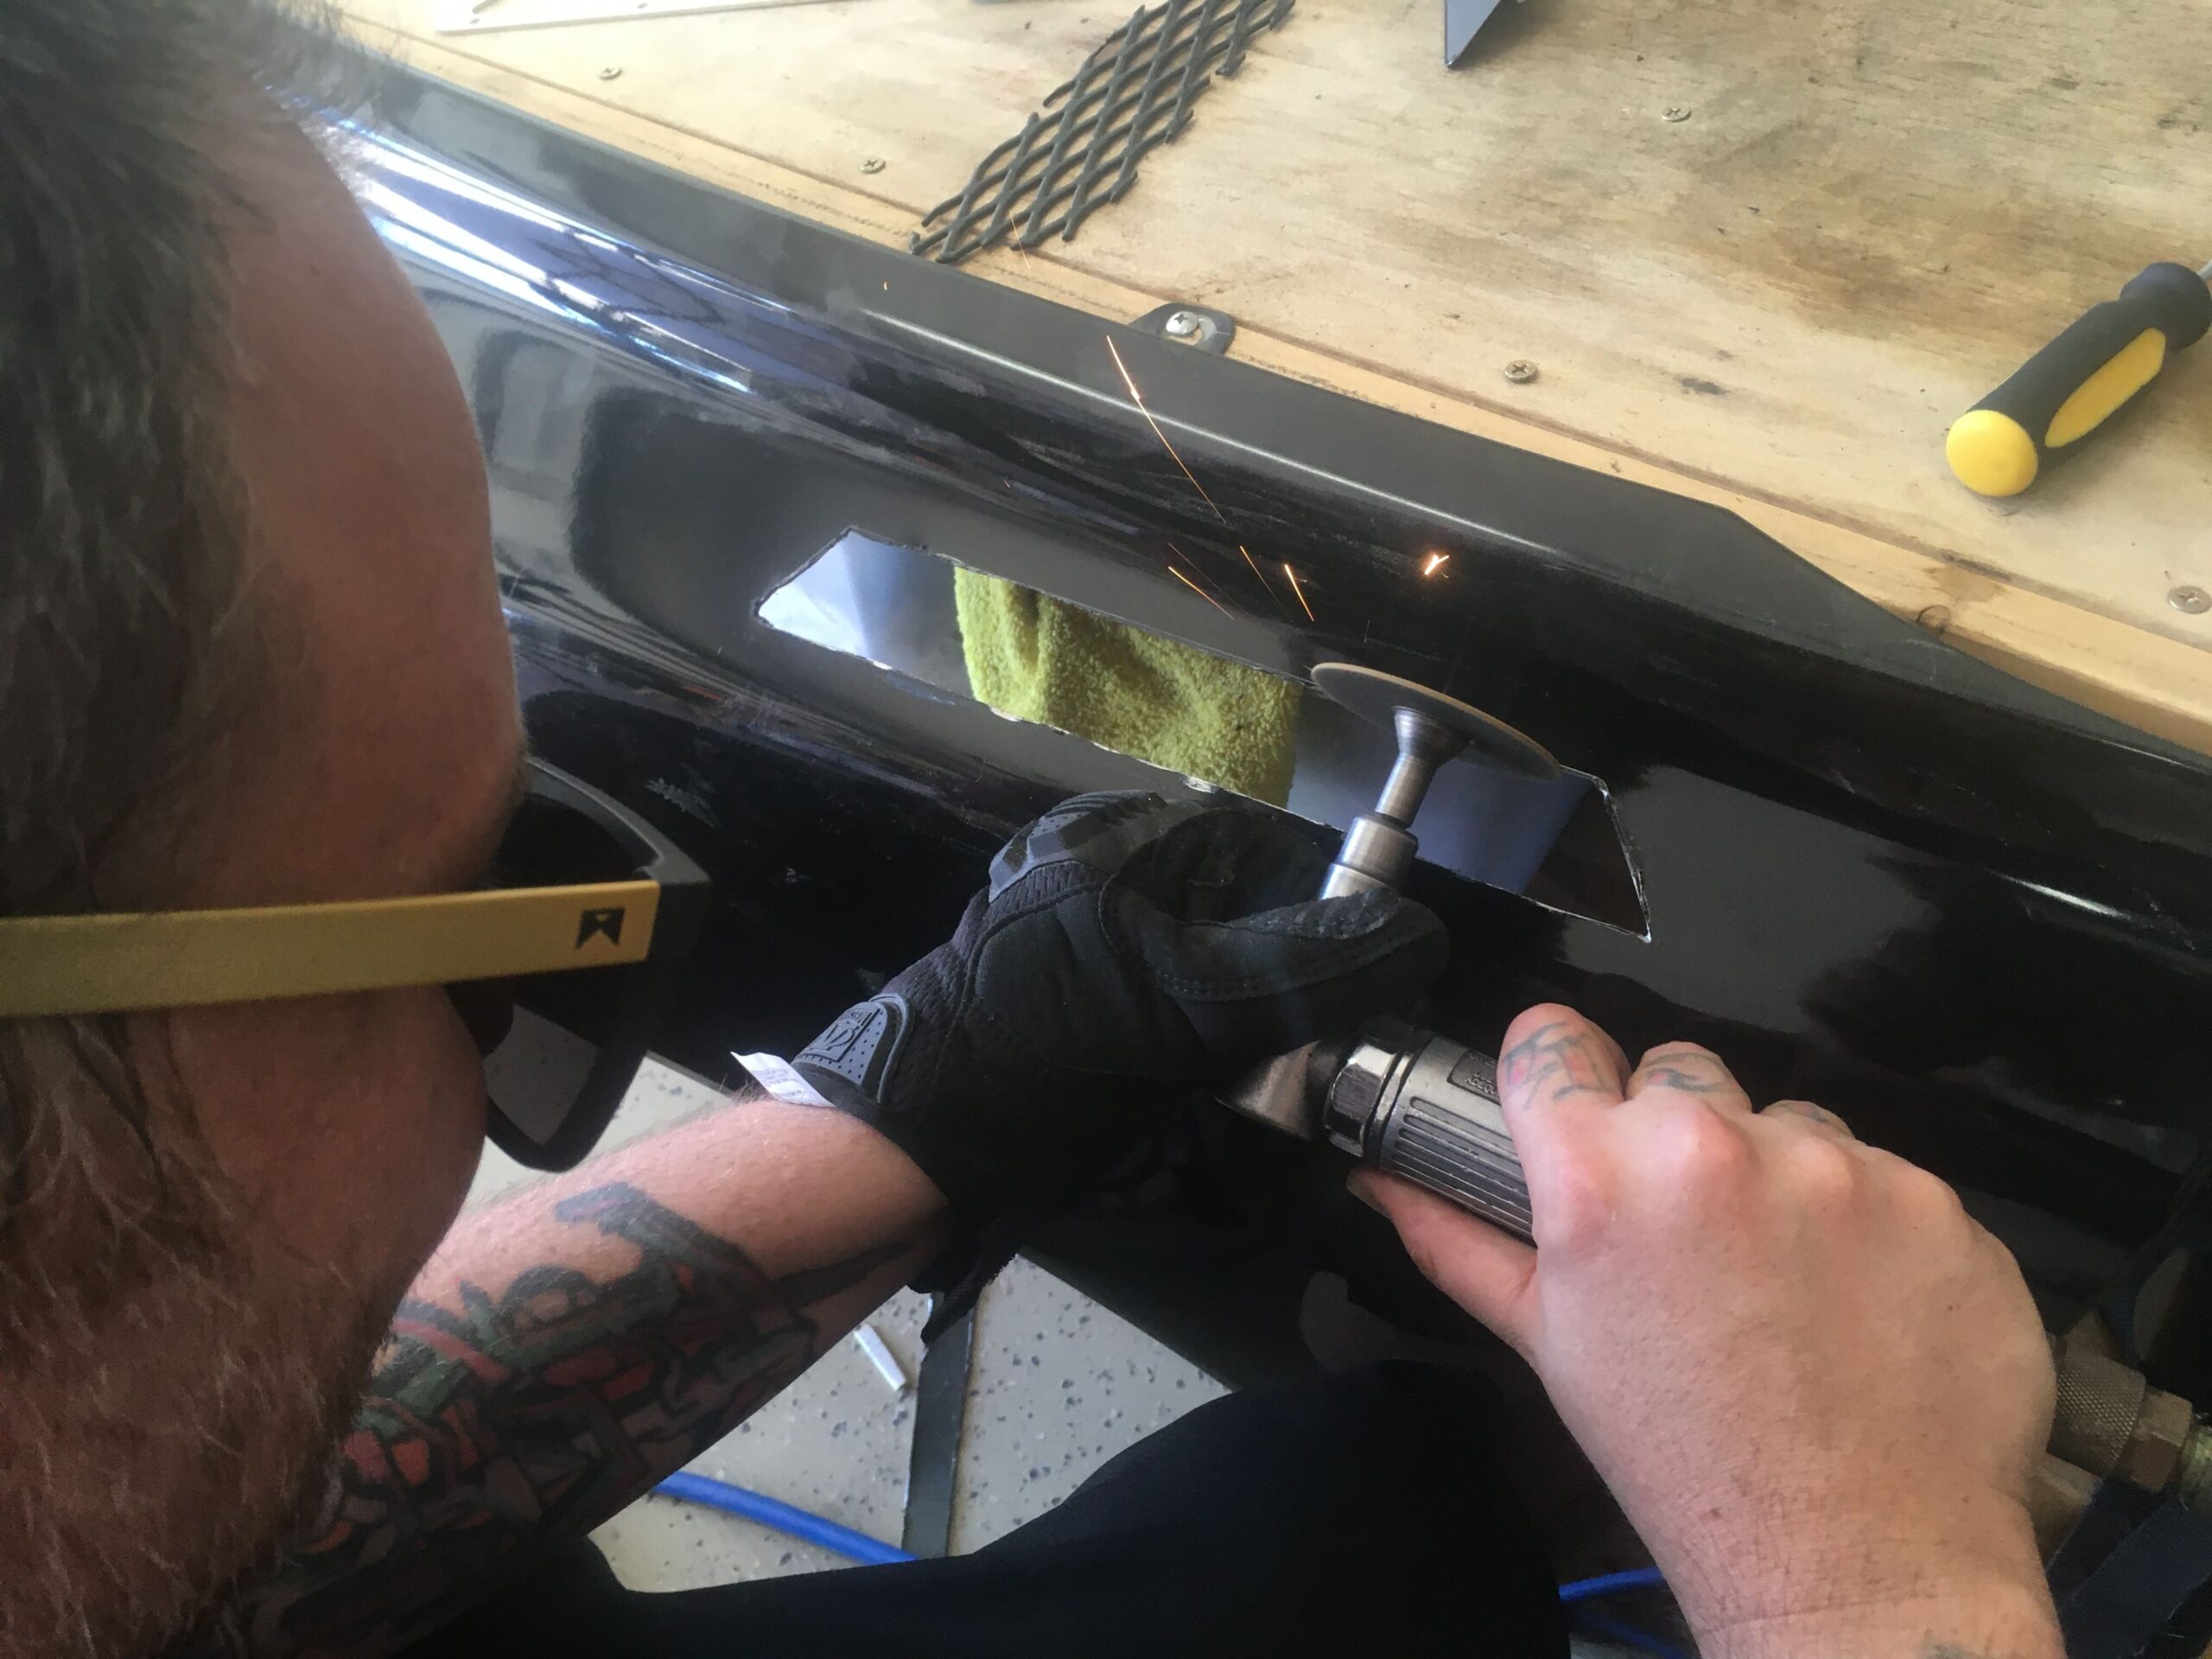
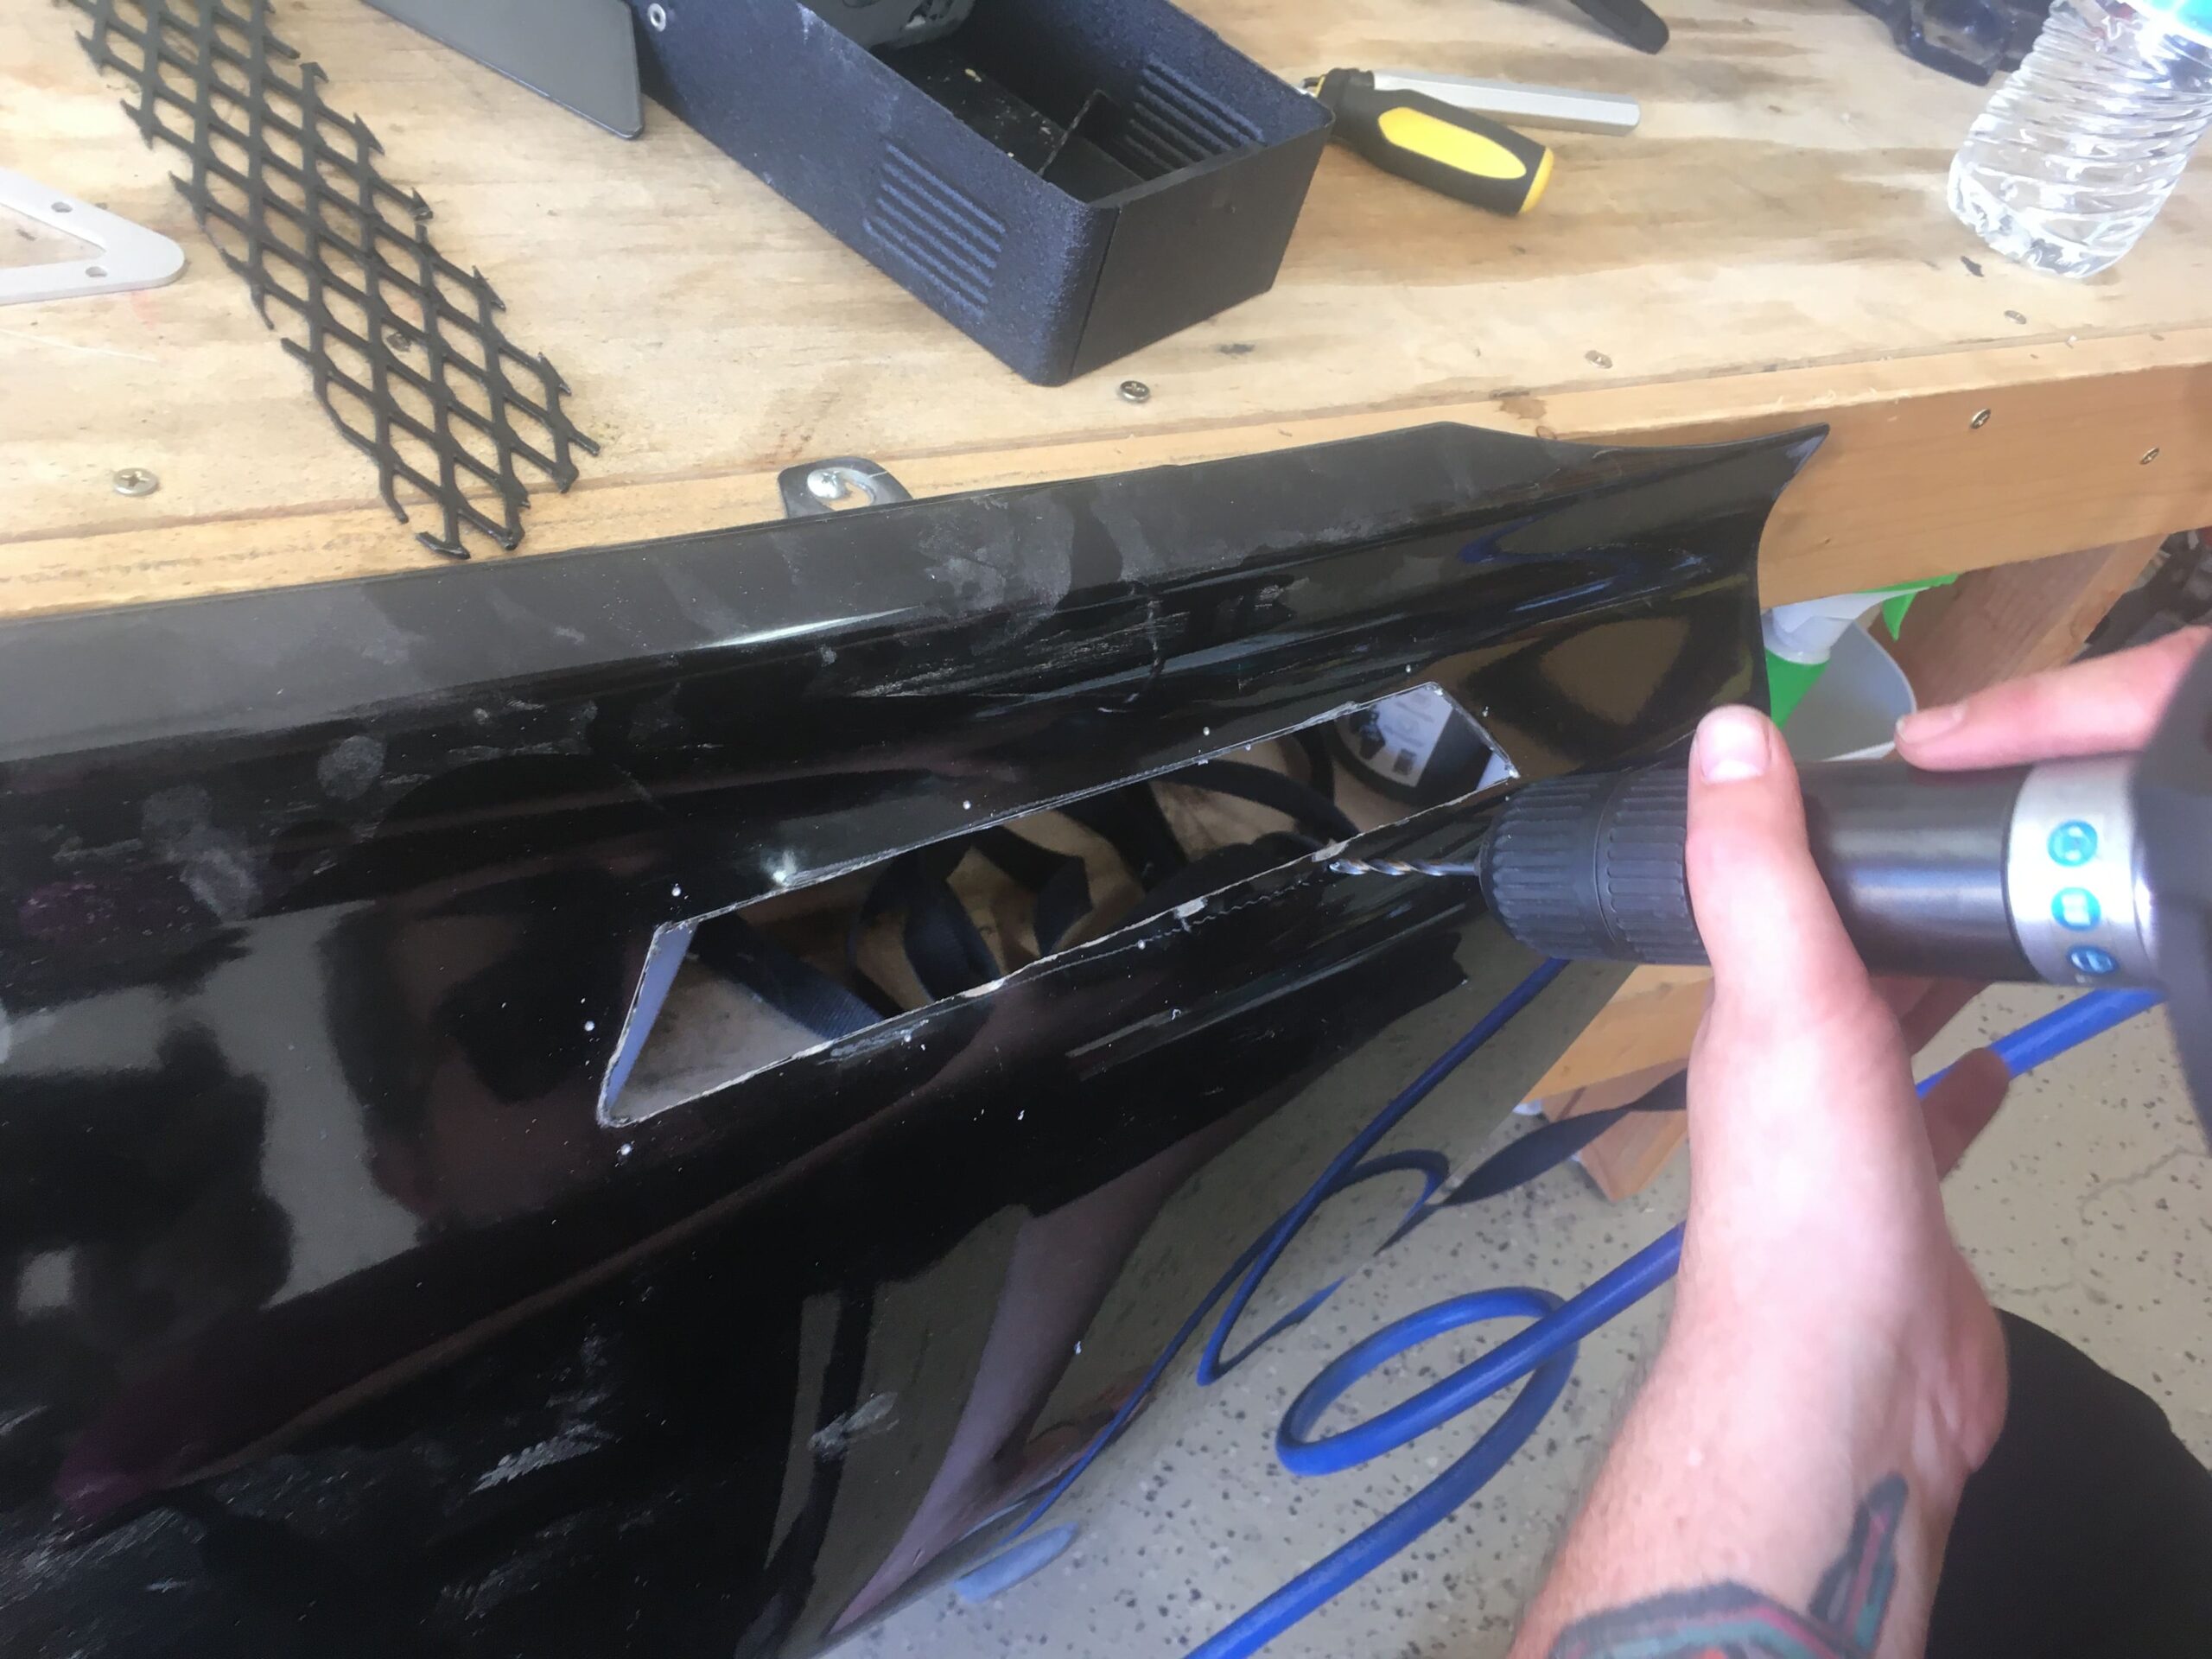
 Time to cut. Initially I was going to hit it with a Dremel, but we then opted for air power and a traditional body shop grinding wheel for speed. Further, not pictured here, it is a good idea to painter’s tape all the surrounding area. We did have a cutter jump and tag the fender, luckily it will be under the top plate, but you can easily let the cutting wheel get away from you and do some damage.
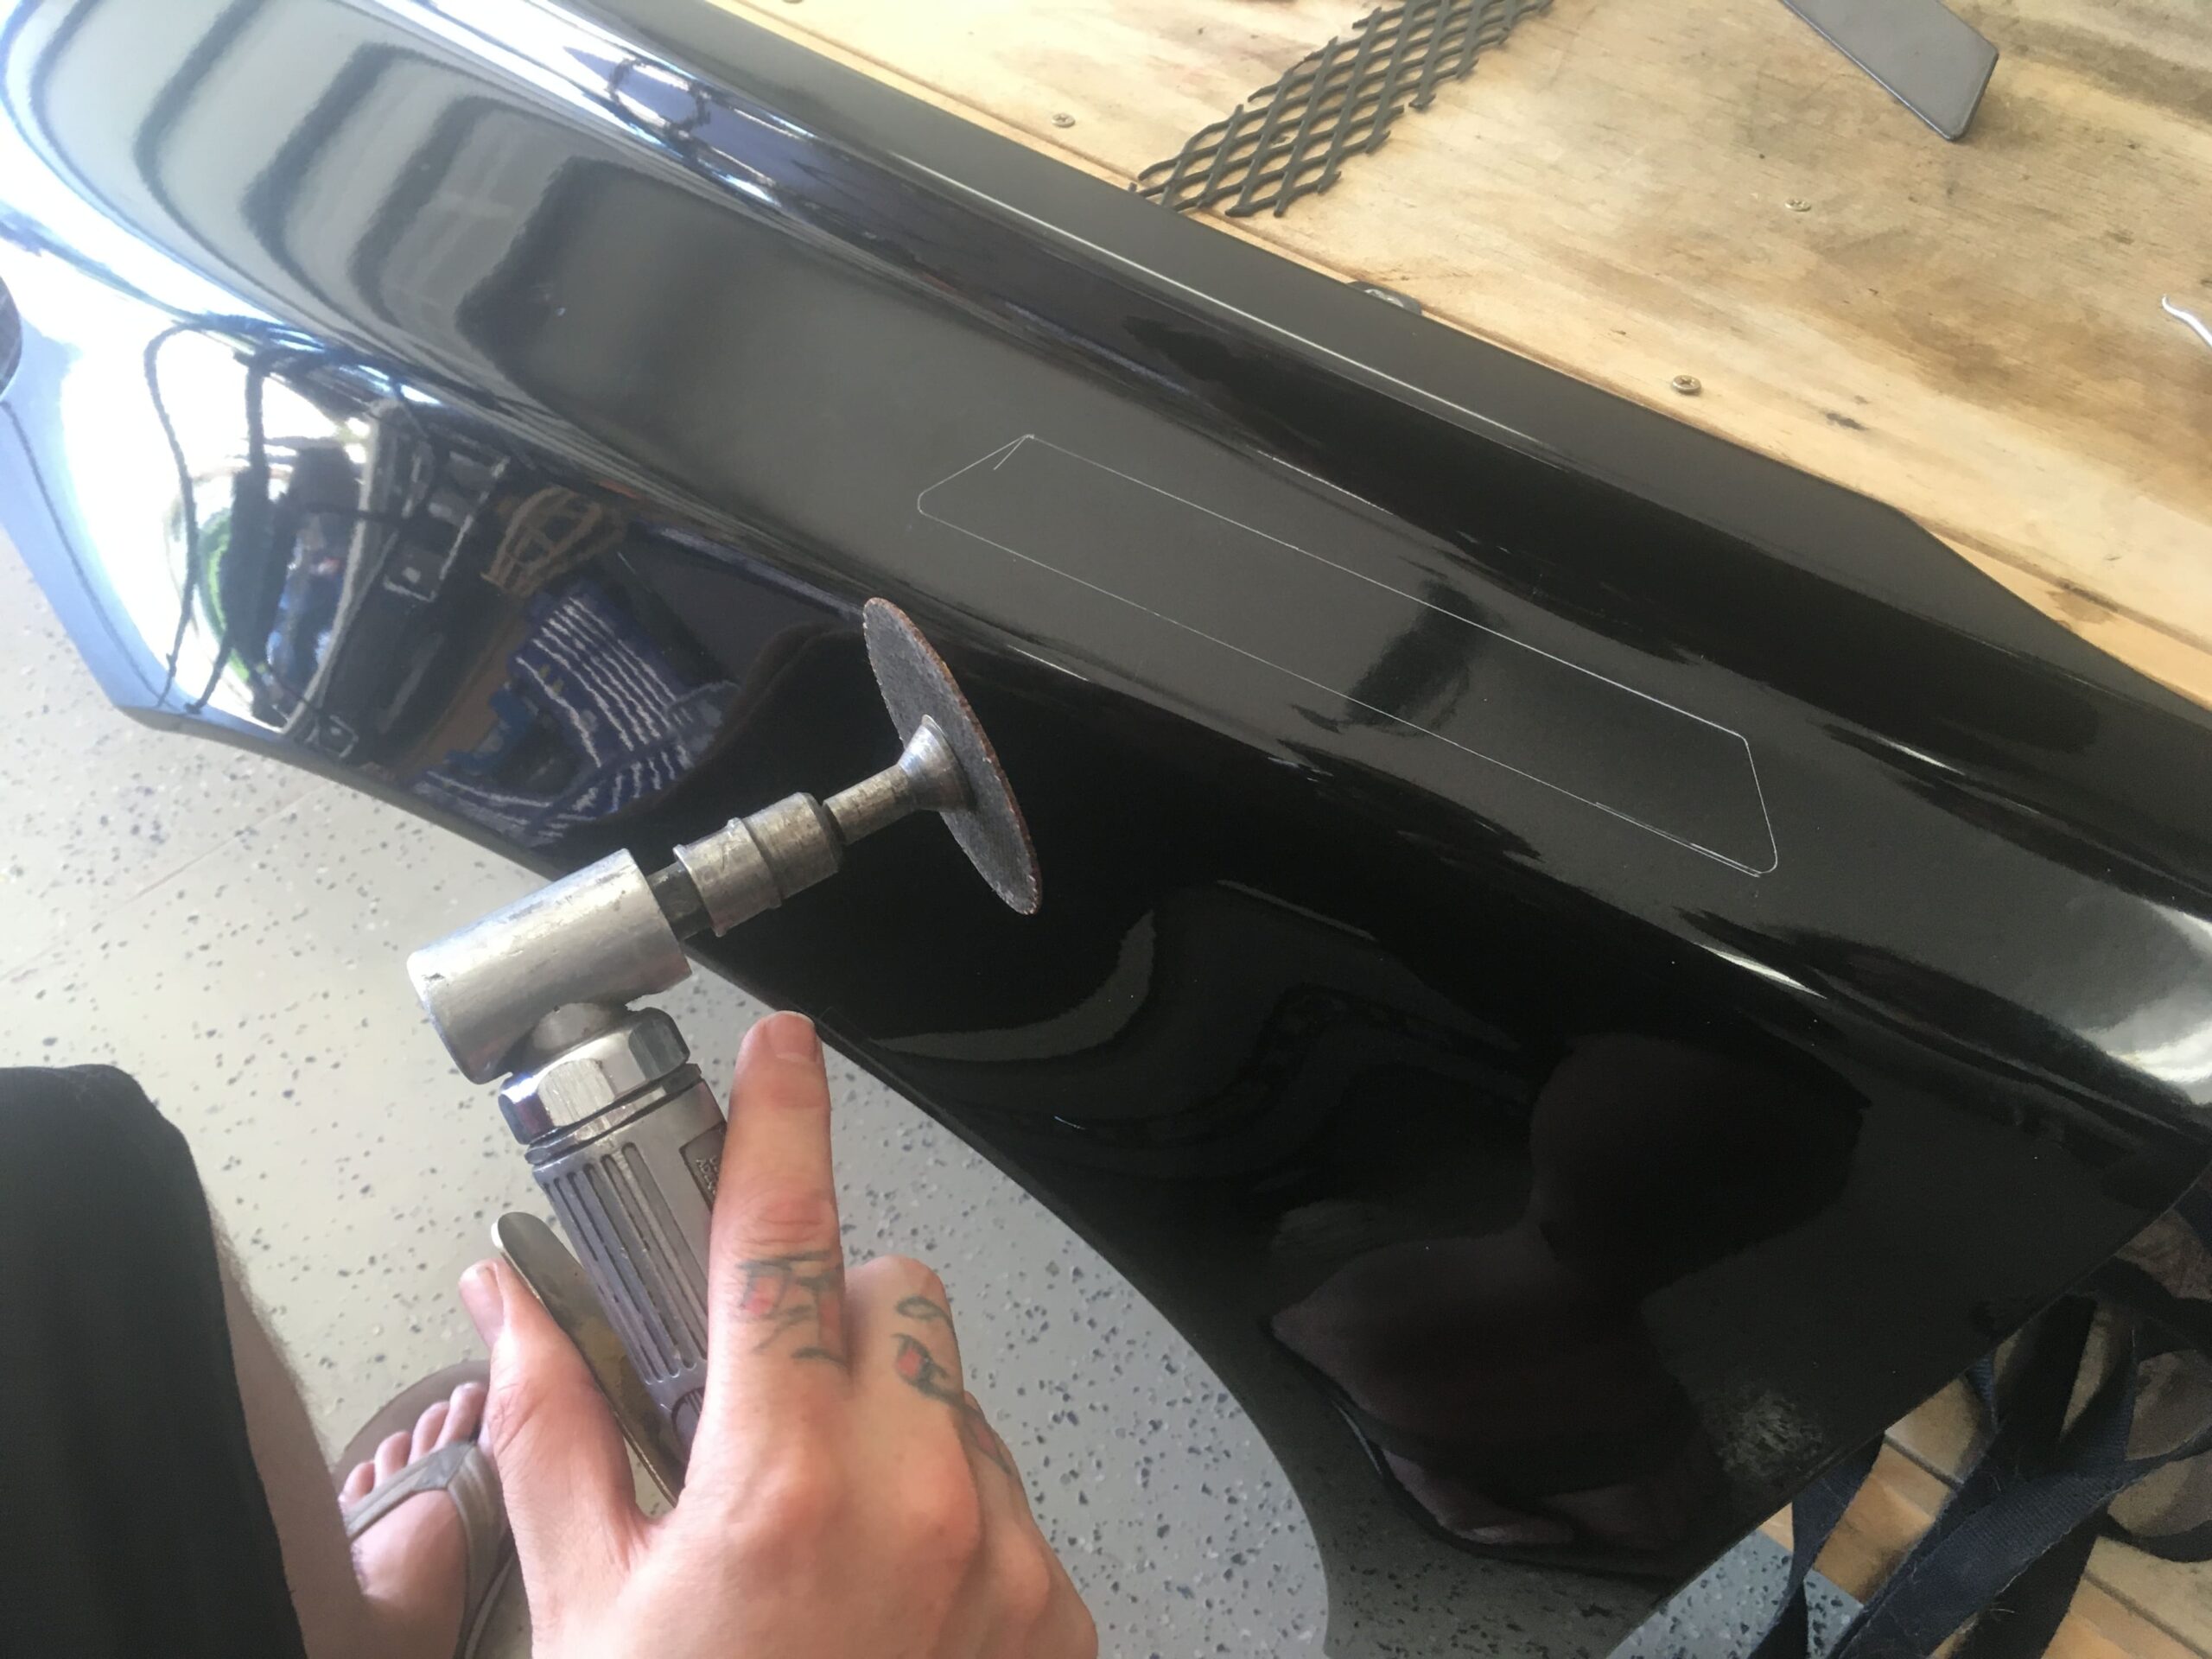
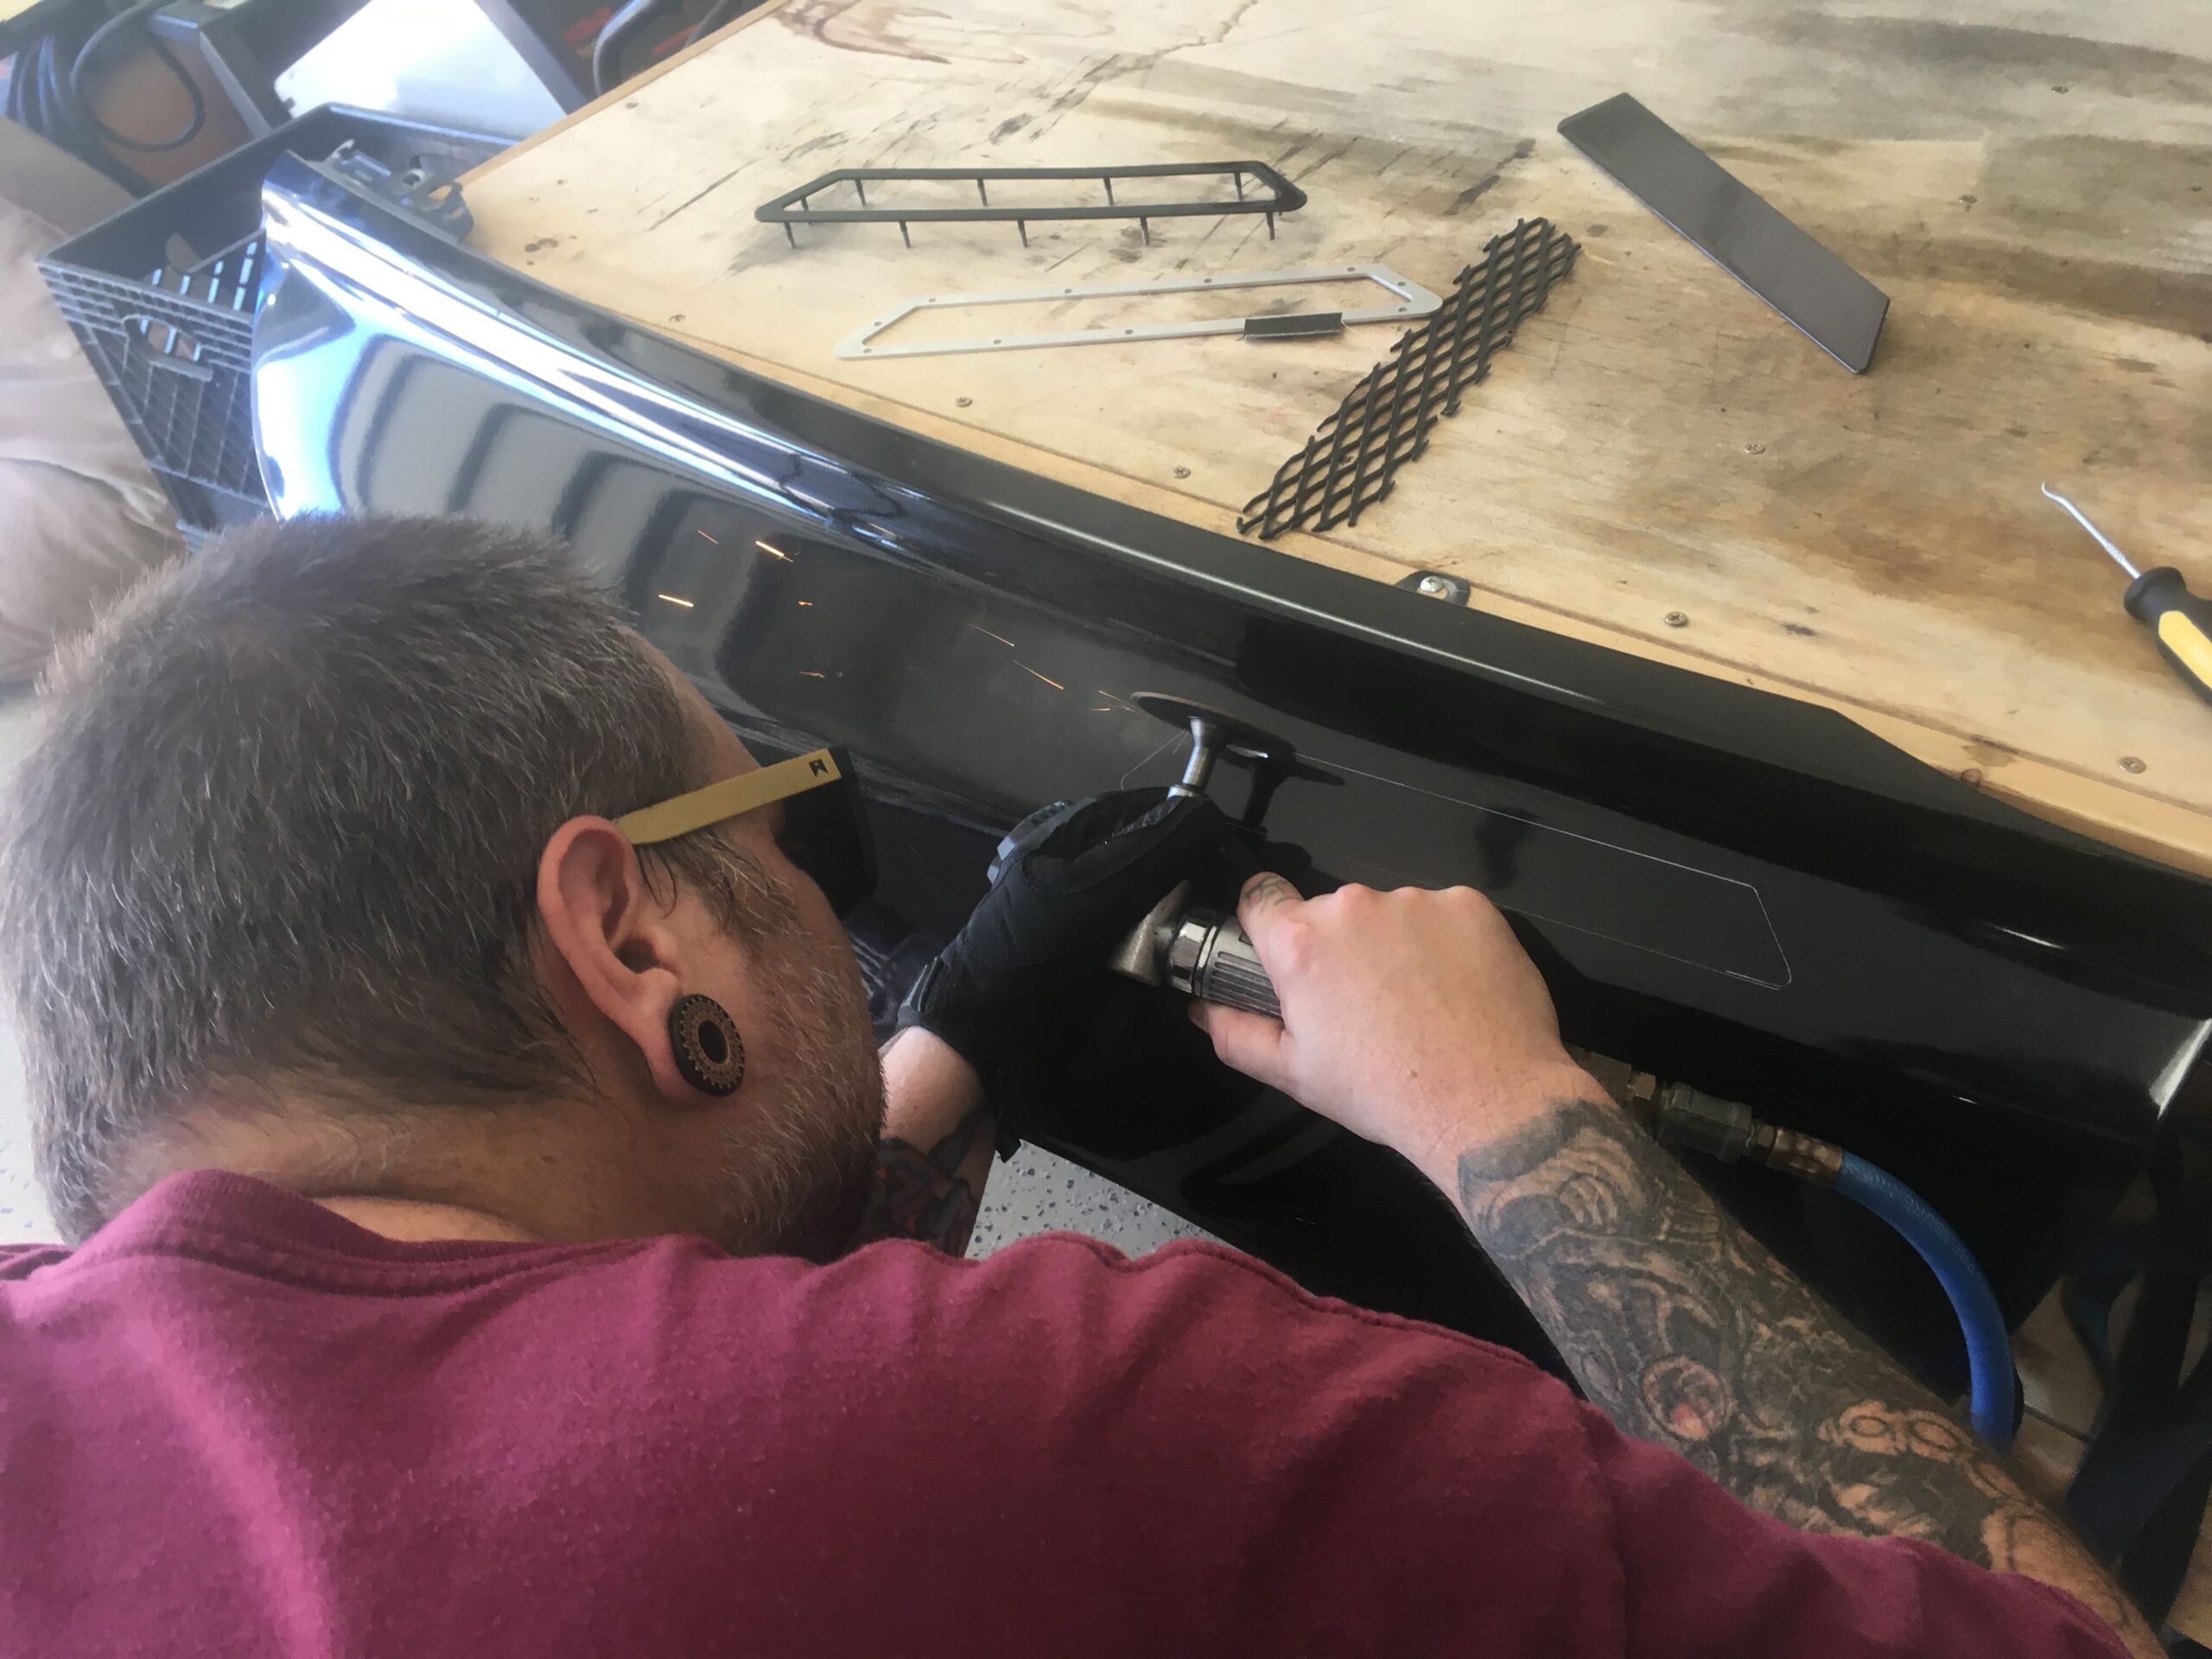
We did a rough initial cut around the perimeter, staying inside the trace line. You can always shave away excess, but you can’t put the metal back on if you go too far.
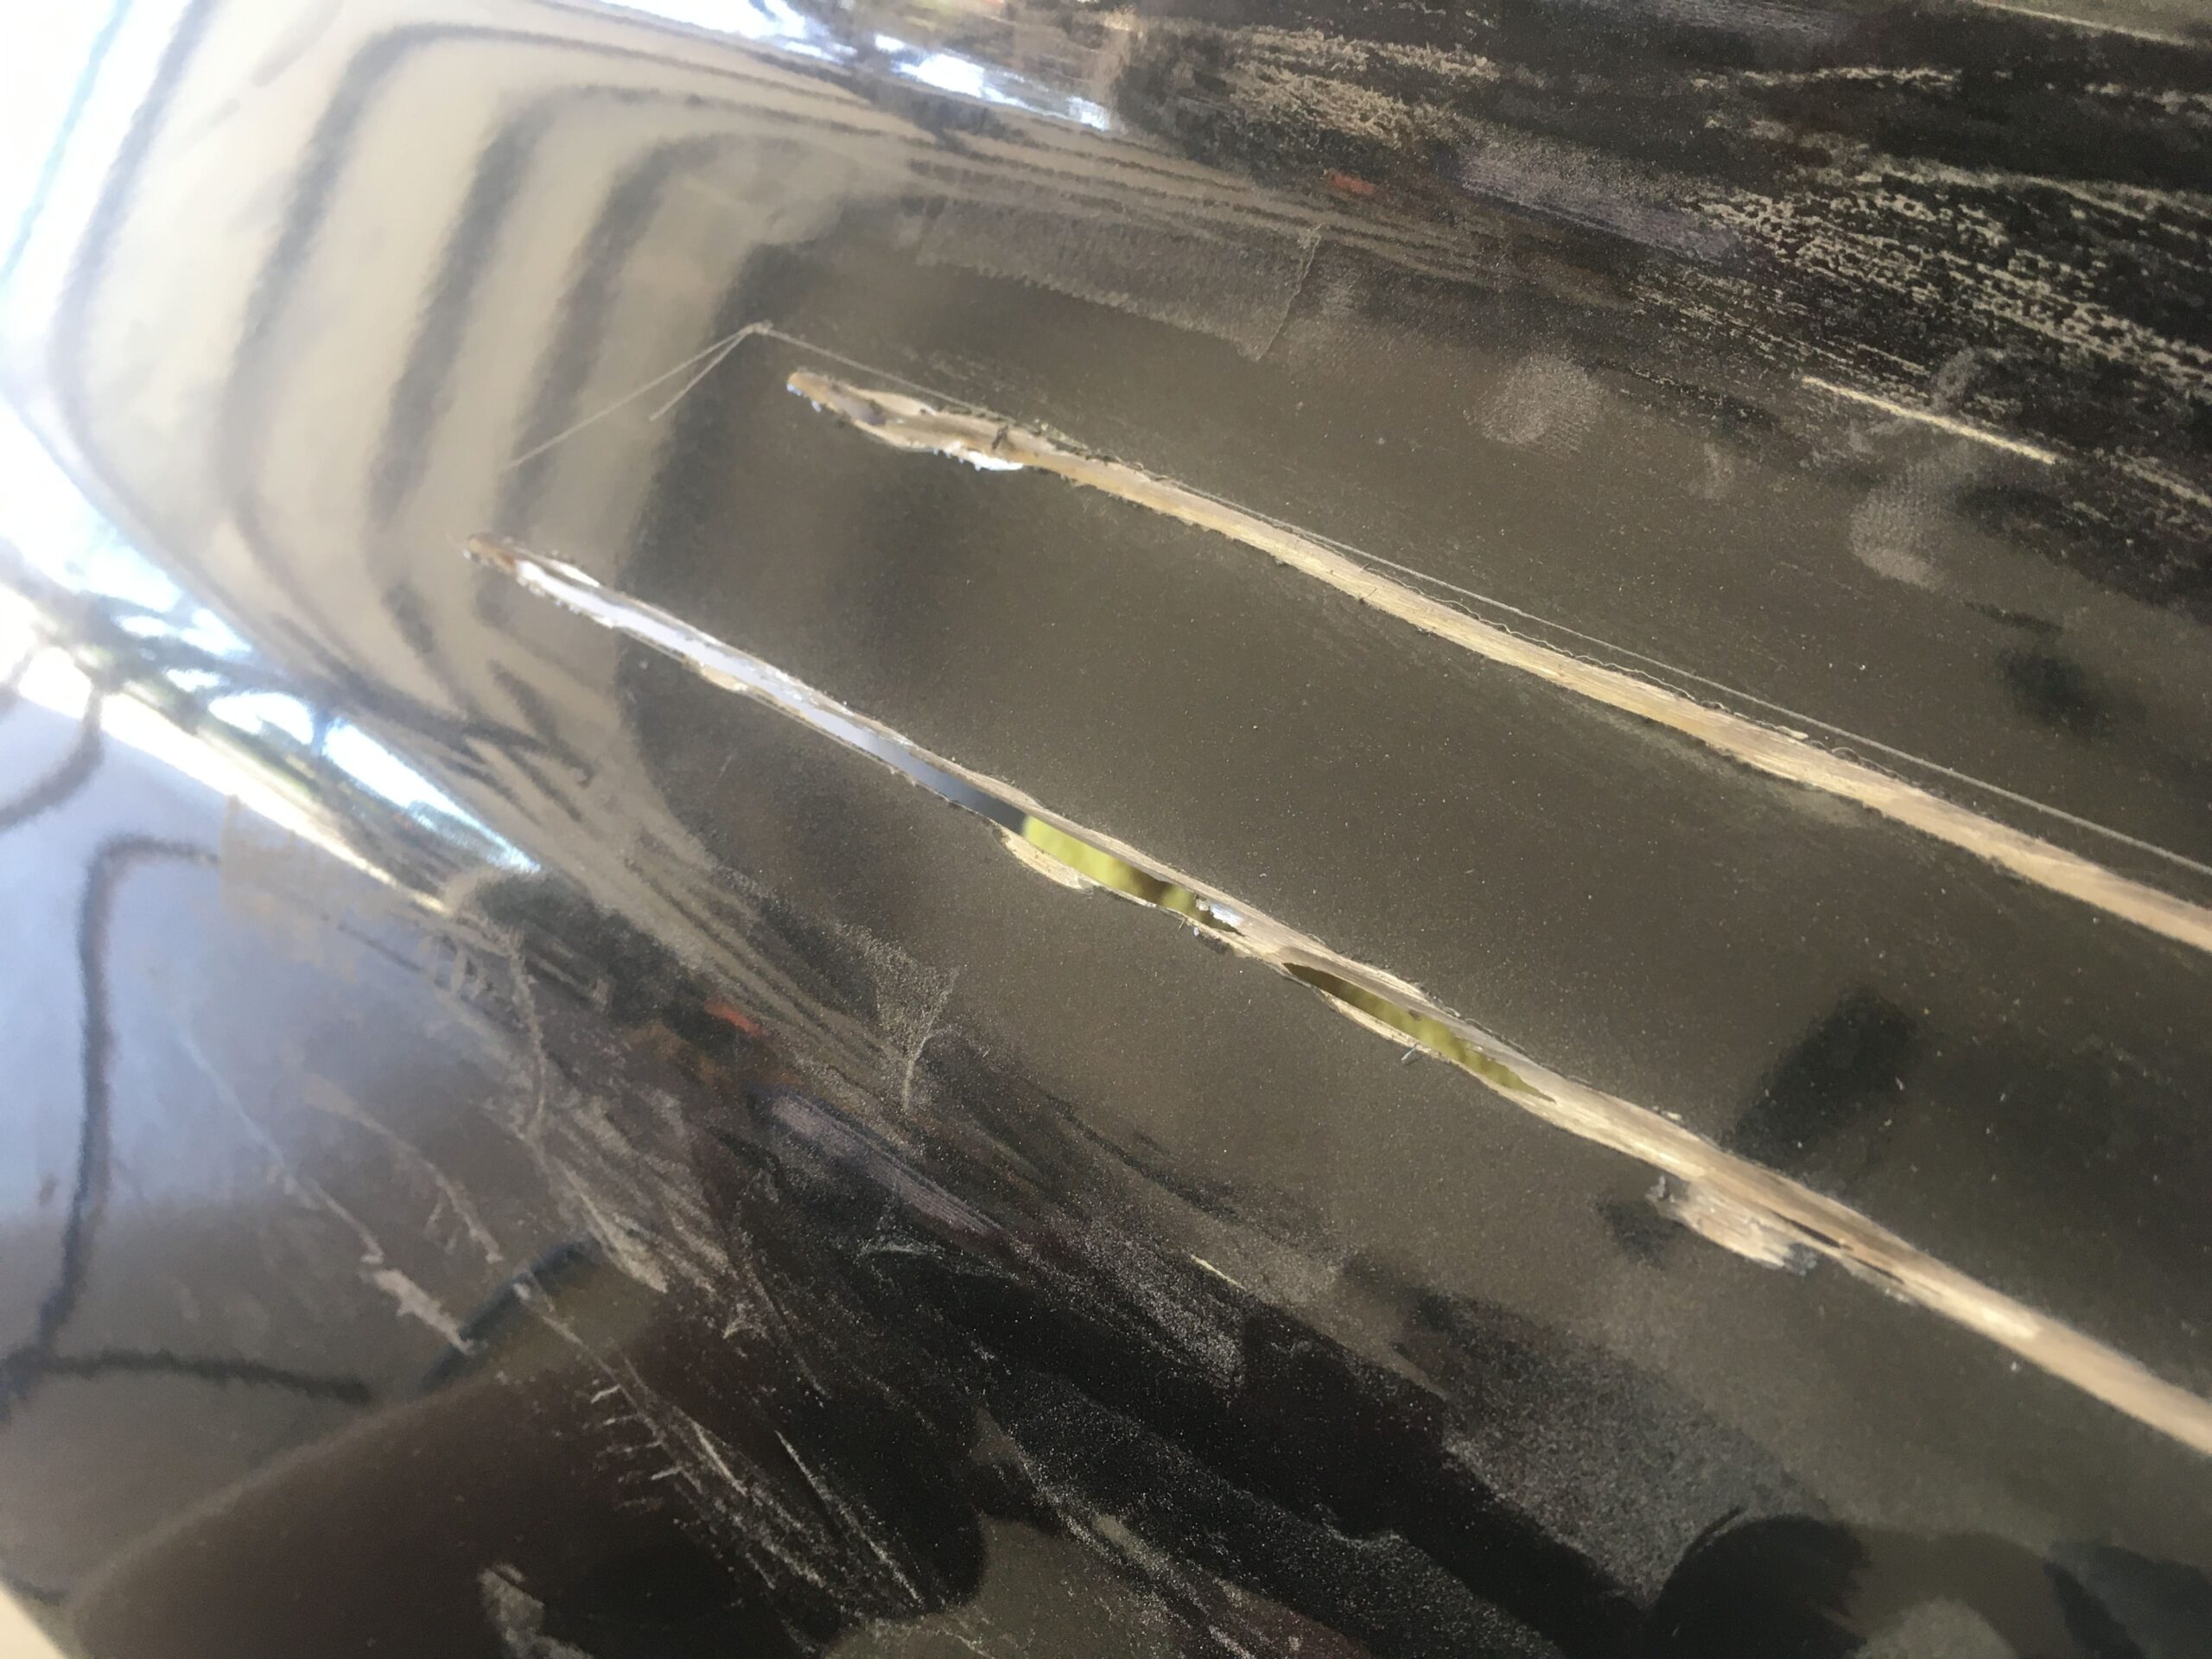
From there we clean up our edges as much as possible.
Next we use a burr remover to scrape away the small imperfections.
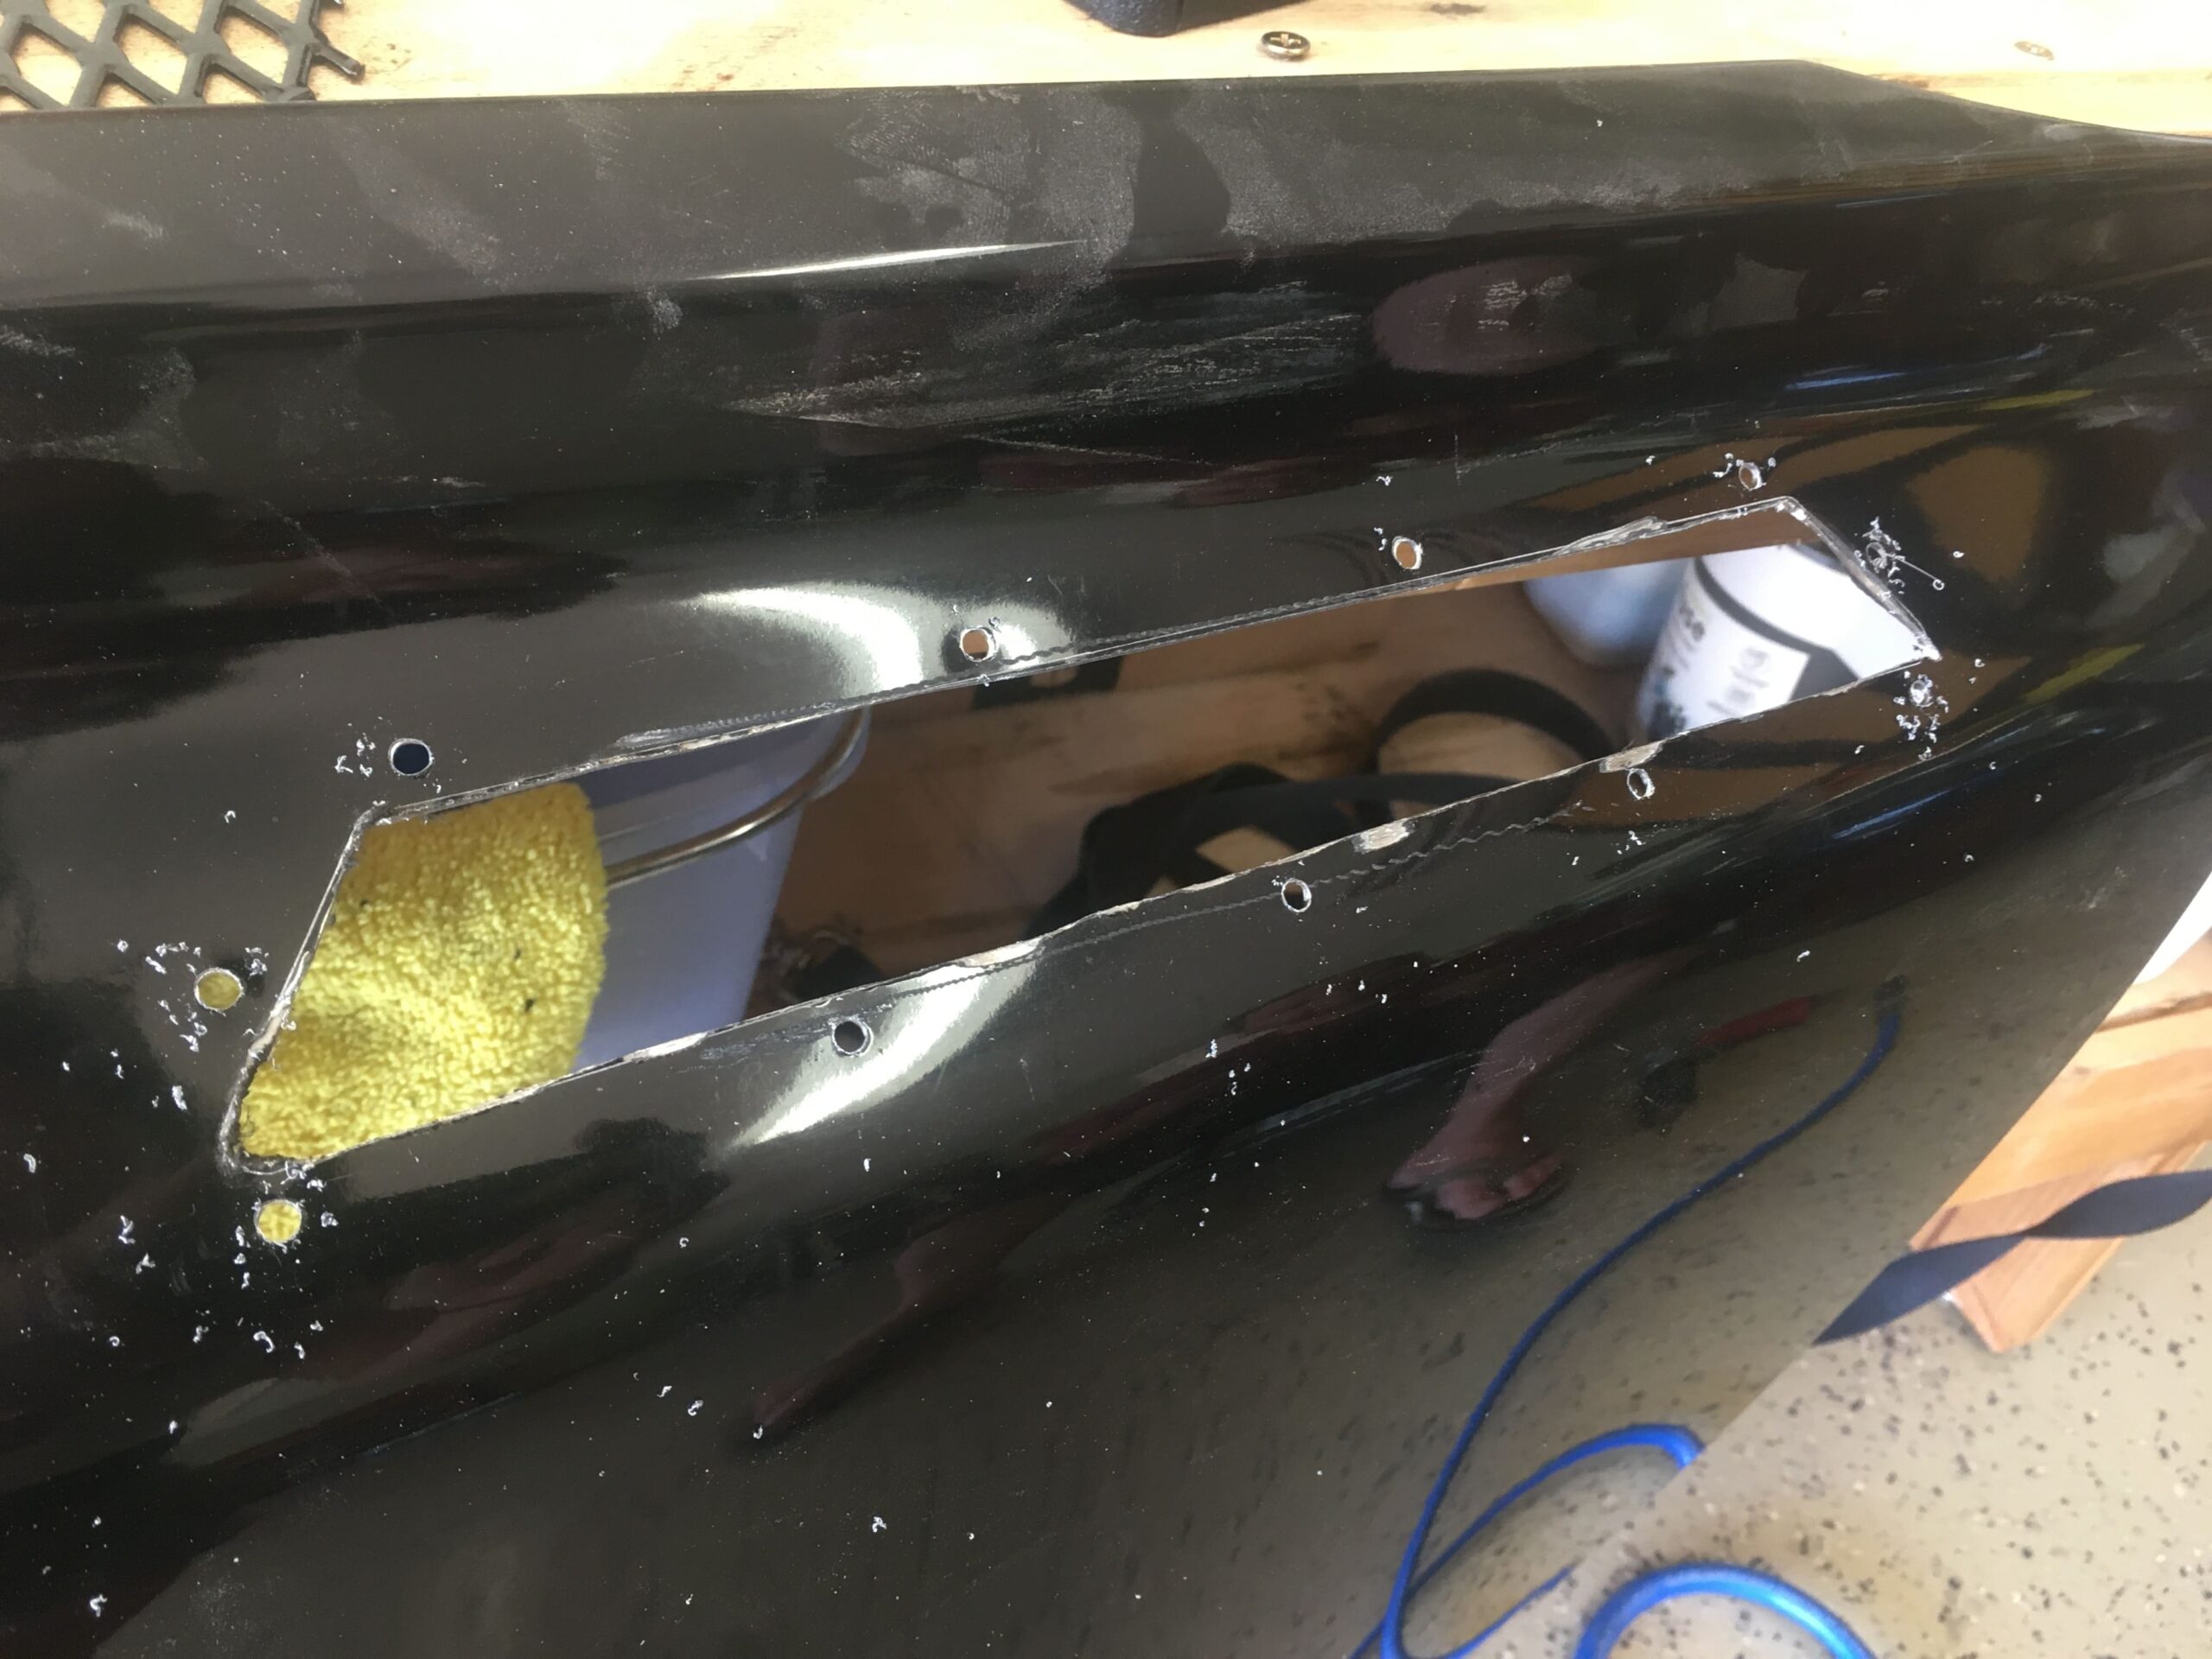
Okay, we have a massive hole on our fender now. Next we line the back plate back up to make sure we got a clean cut, and then tape it back down to mark our hardware holes for drilling. Make sure you are lined up, and you can use a small drill bit to simply mark where you will drill. It is way easier to drill your holes without the plate on there.
Remove the plate, and take your time here. Remember there is a chunk of metal missing, so the exterior wall of the cut is un-supported. Too much pressure from your drill can cause small dimple dents, or even bend the fender all together.
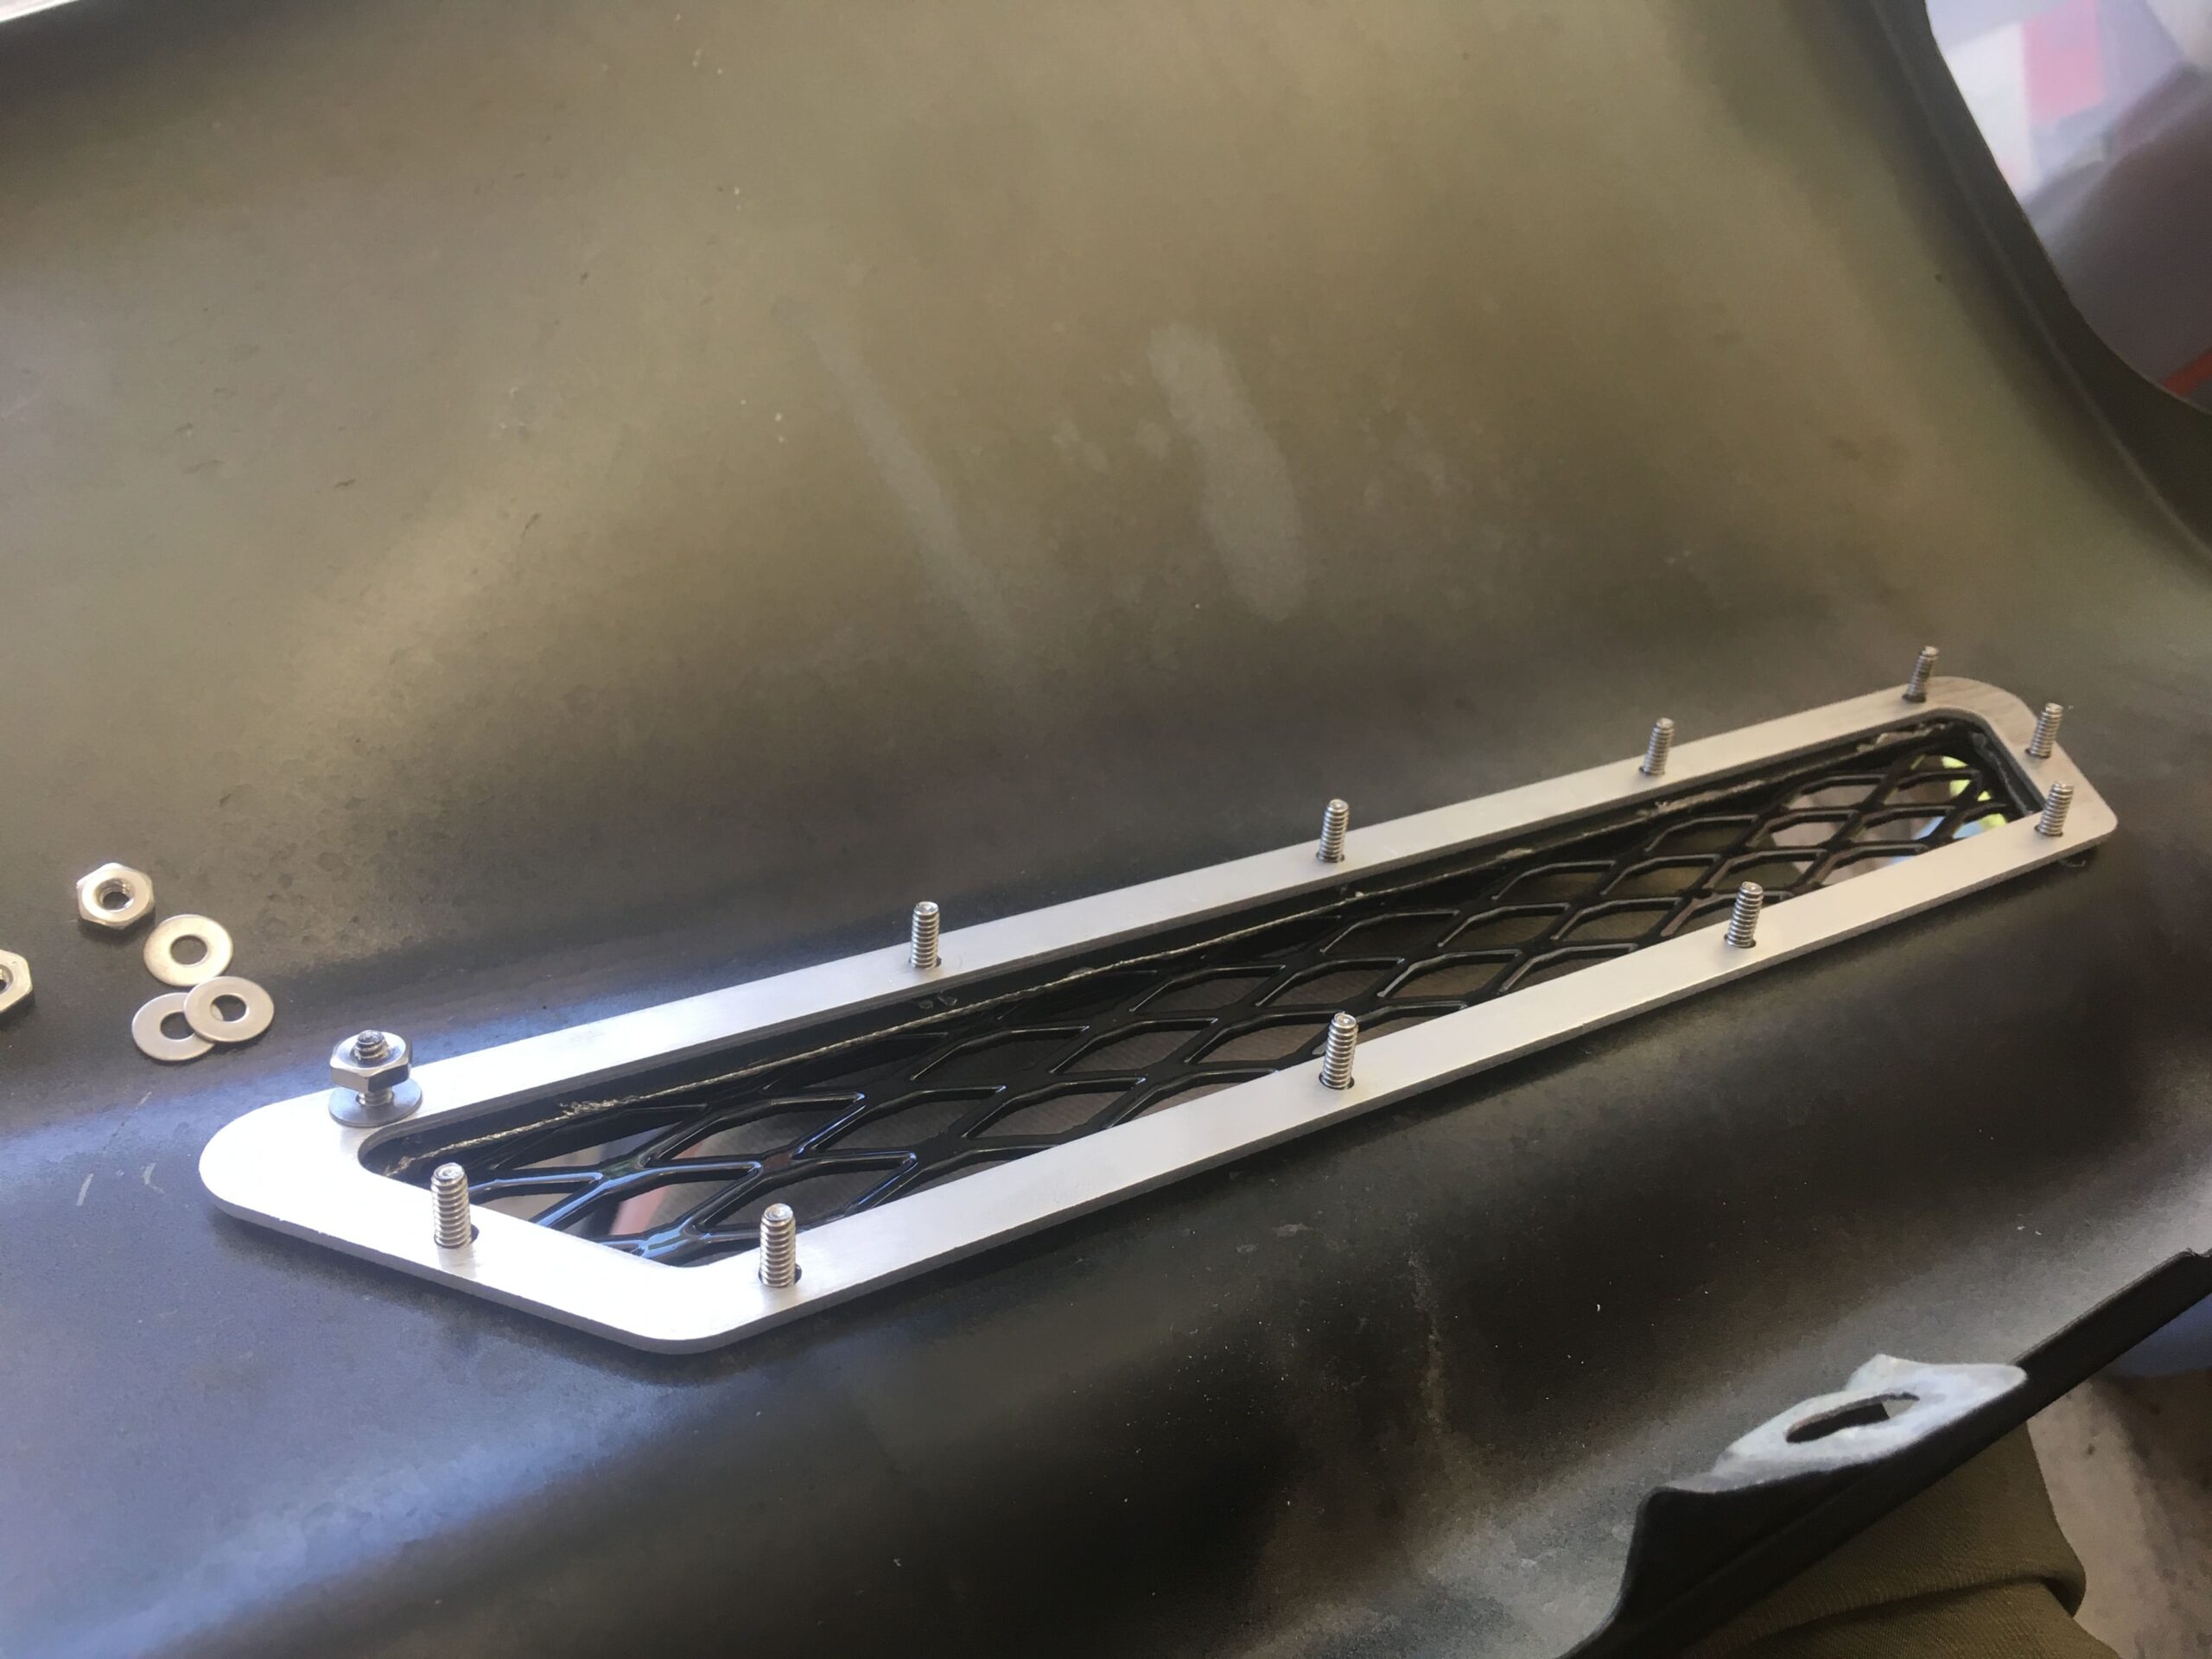
Now you can test fit the top plate. Lay it in to make sure all your bolt posts line up with your holes. If not, like us, we went at the holes again with one size larger bit.
We then pulled it off to insert the metal mesh.
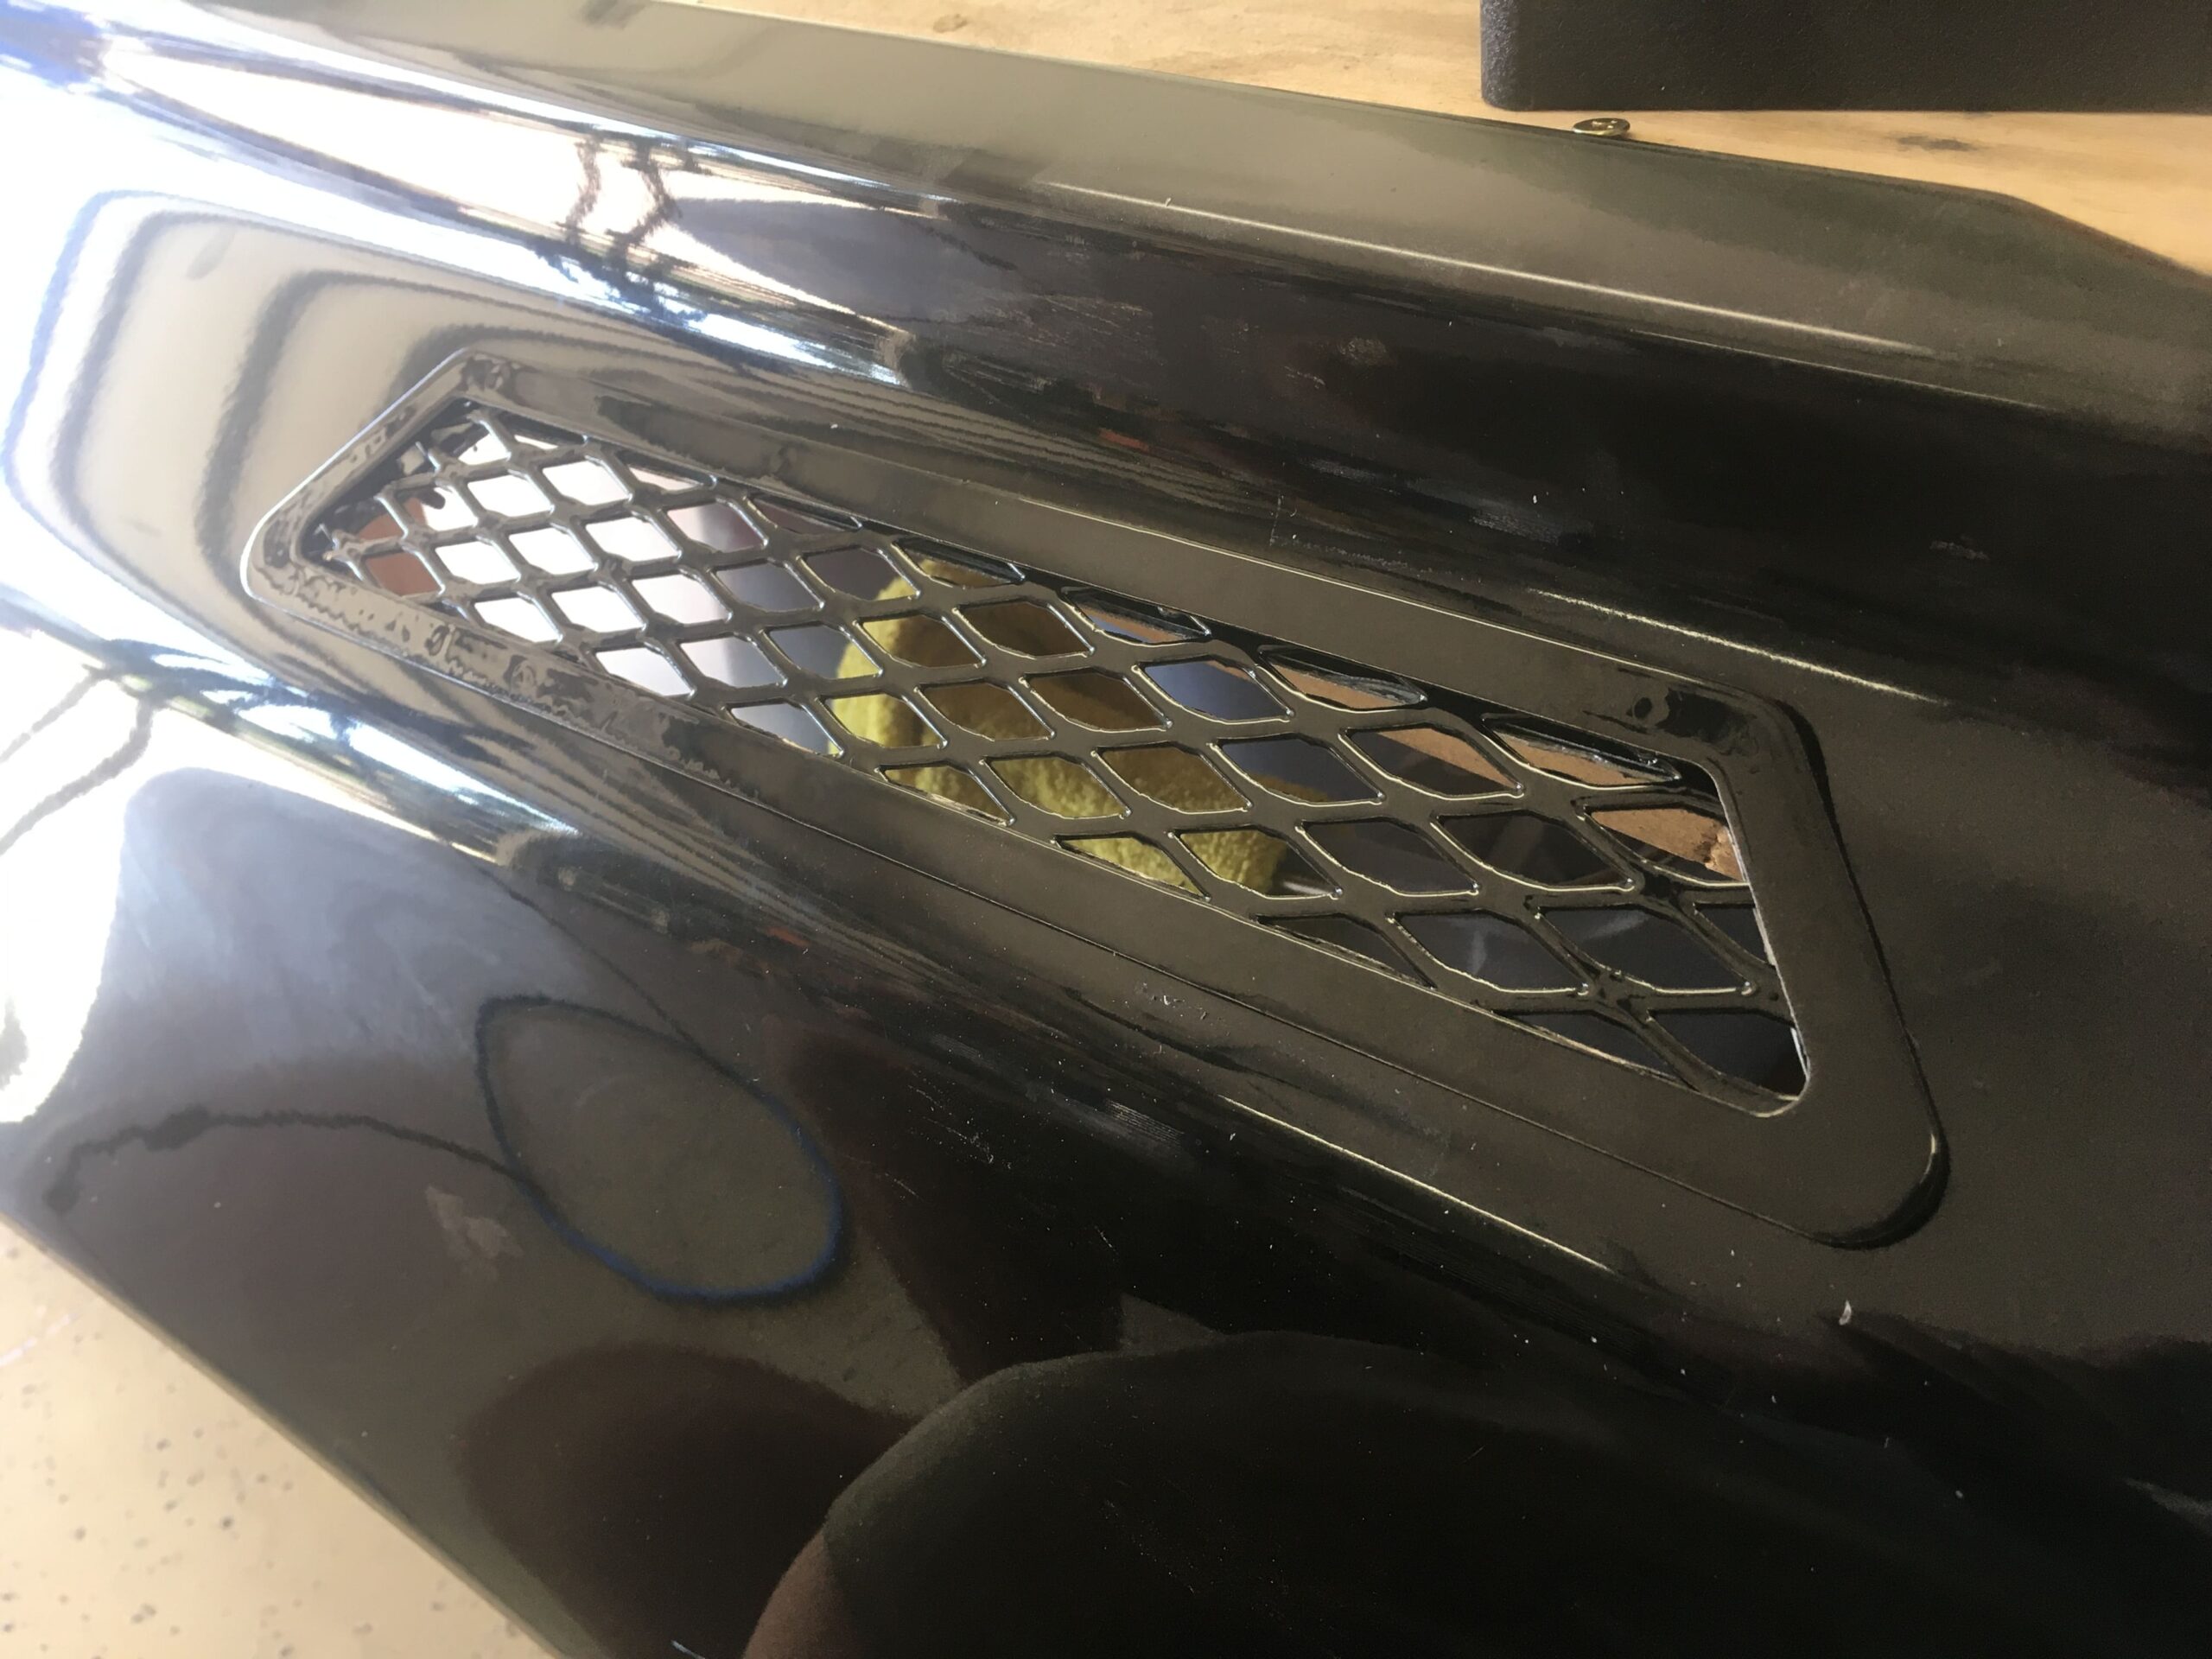
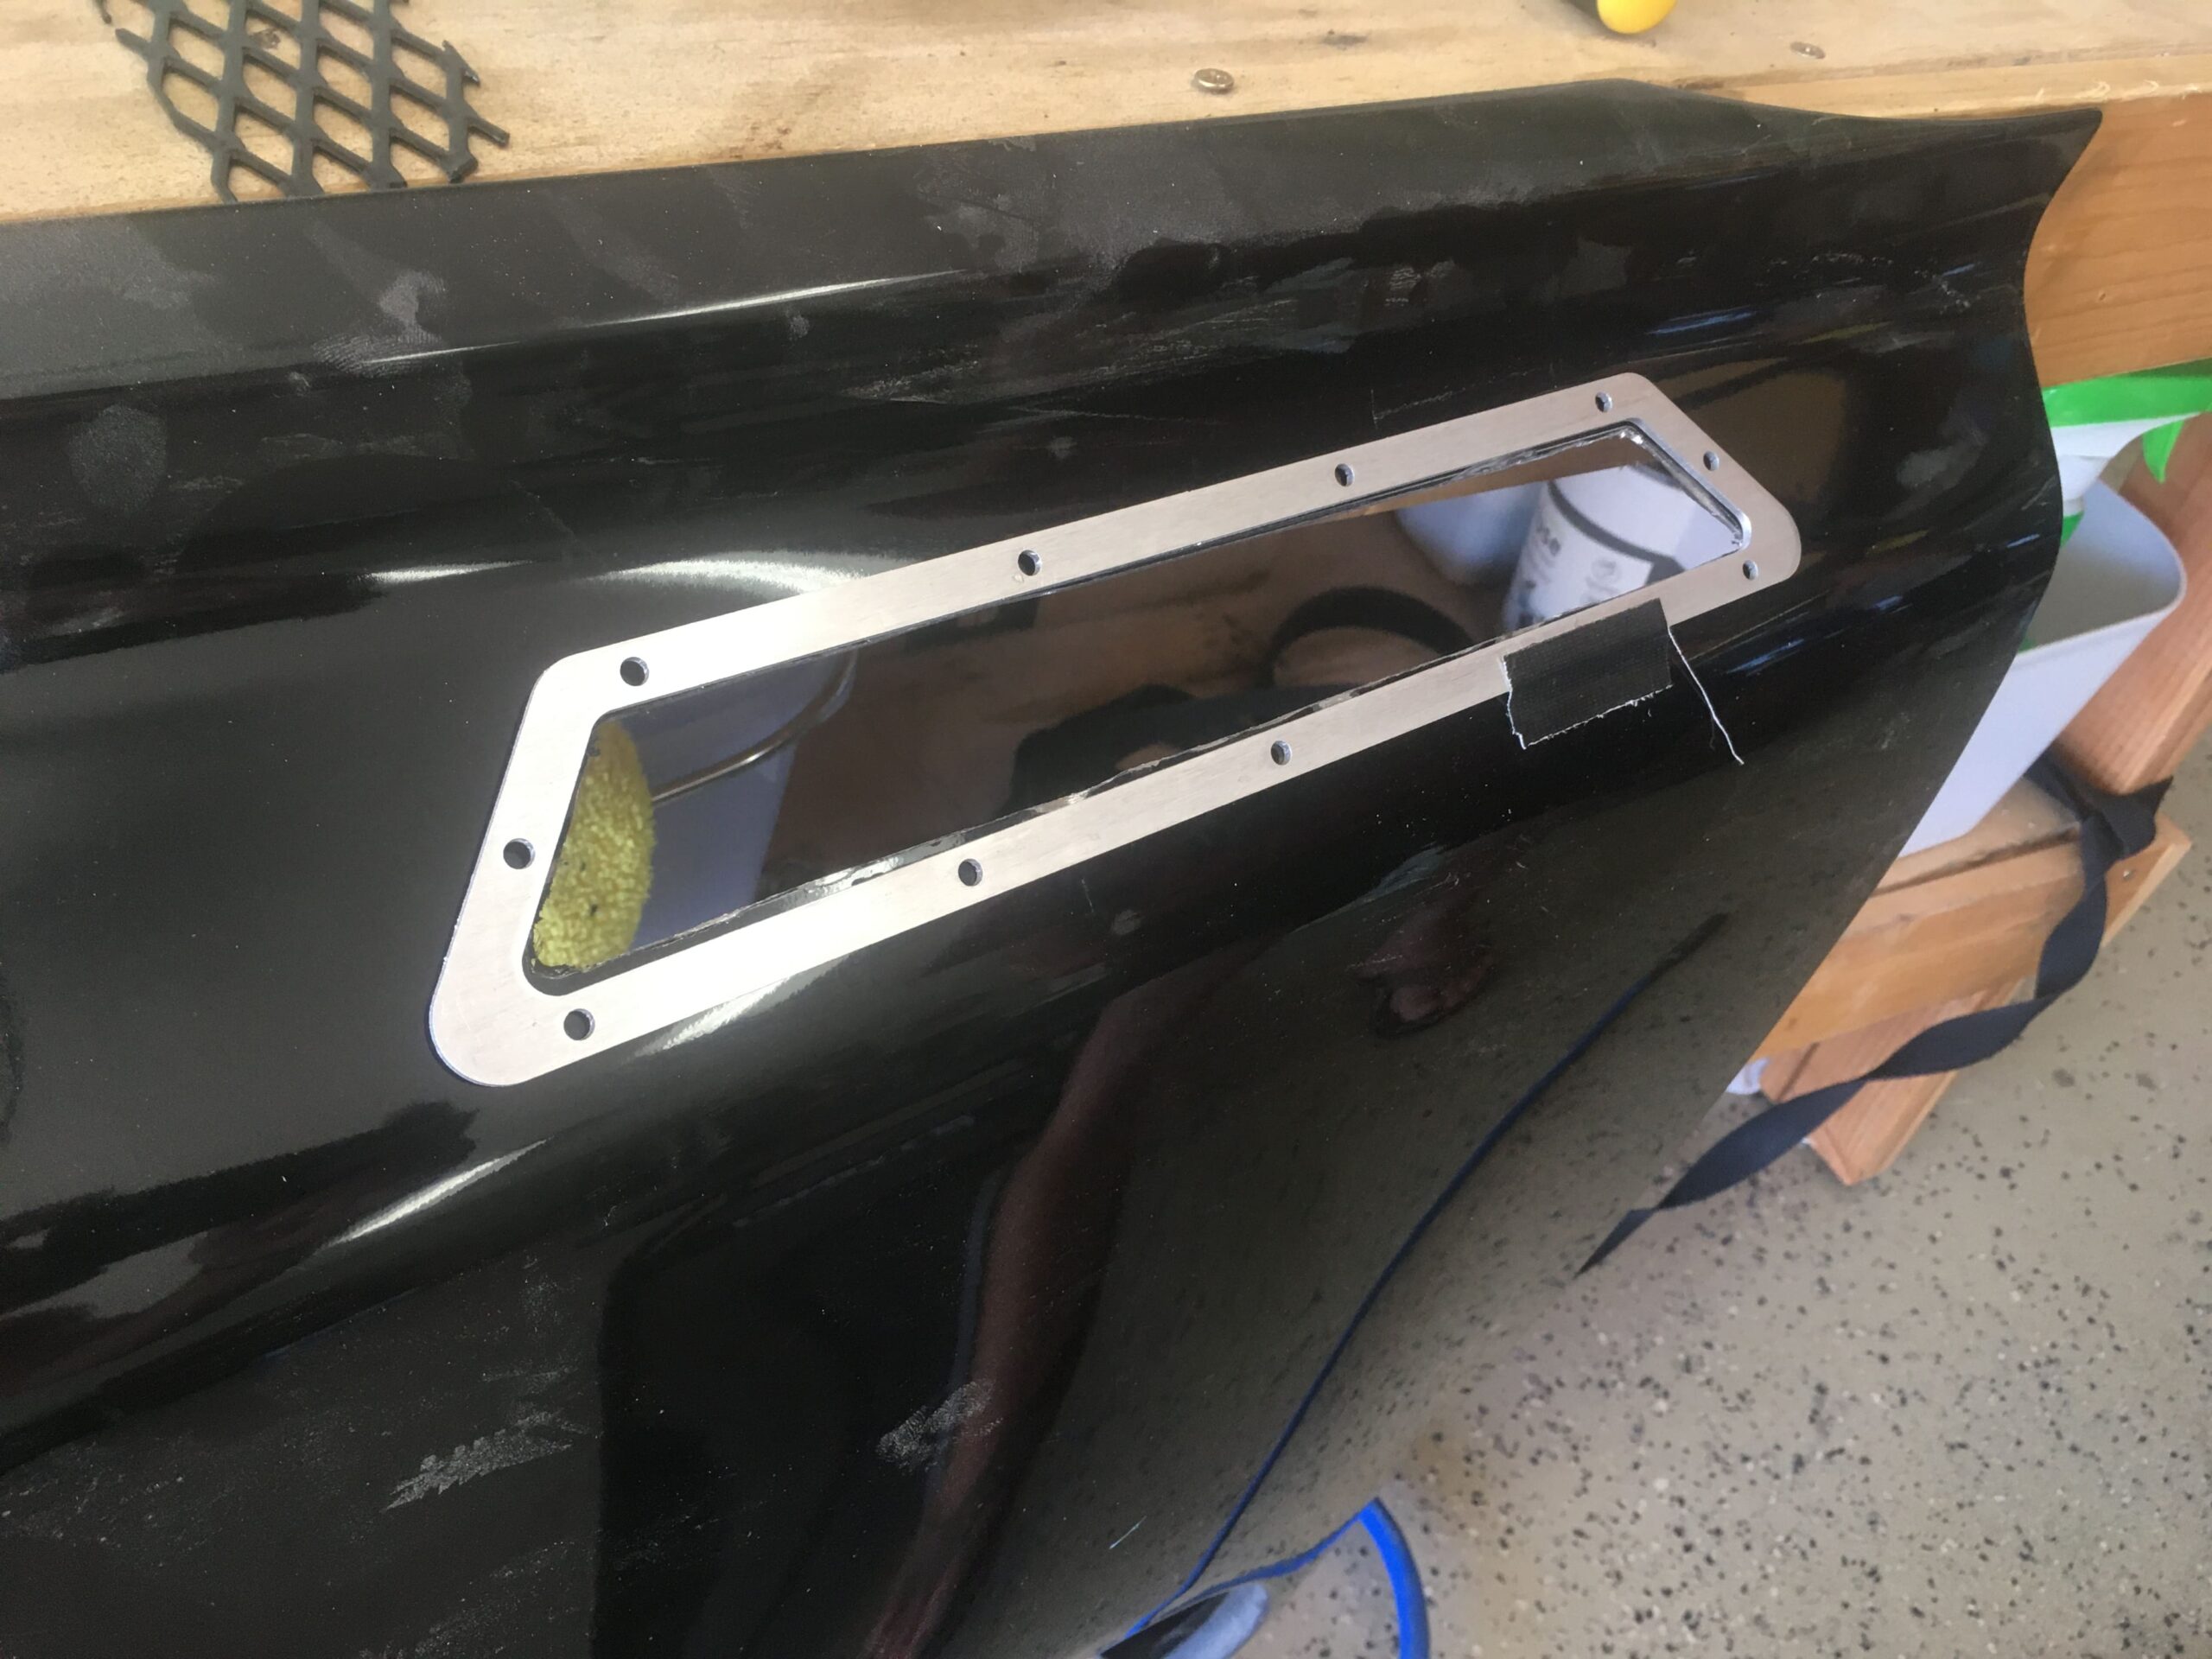
From there we placed the back plate and mounted all the hardware to secure the whole vent together, which will also now re-stabilize the fender from the metal that was cut out.
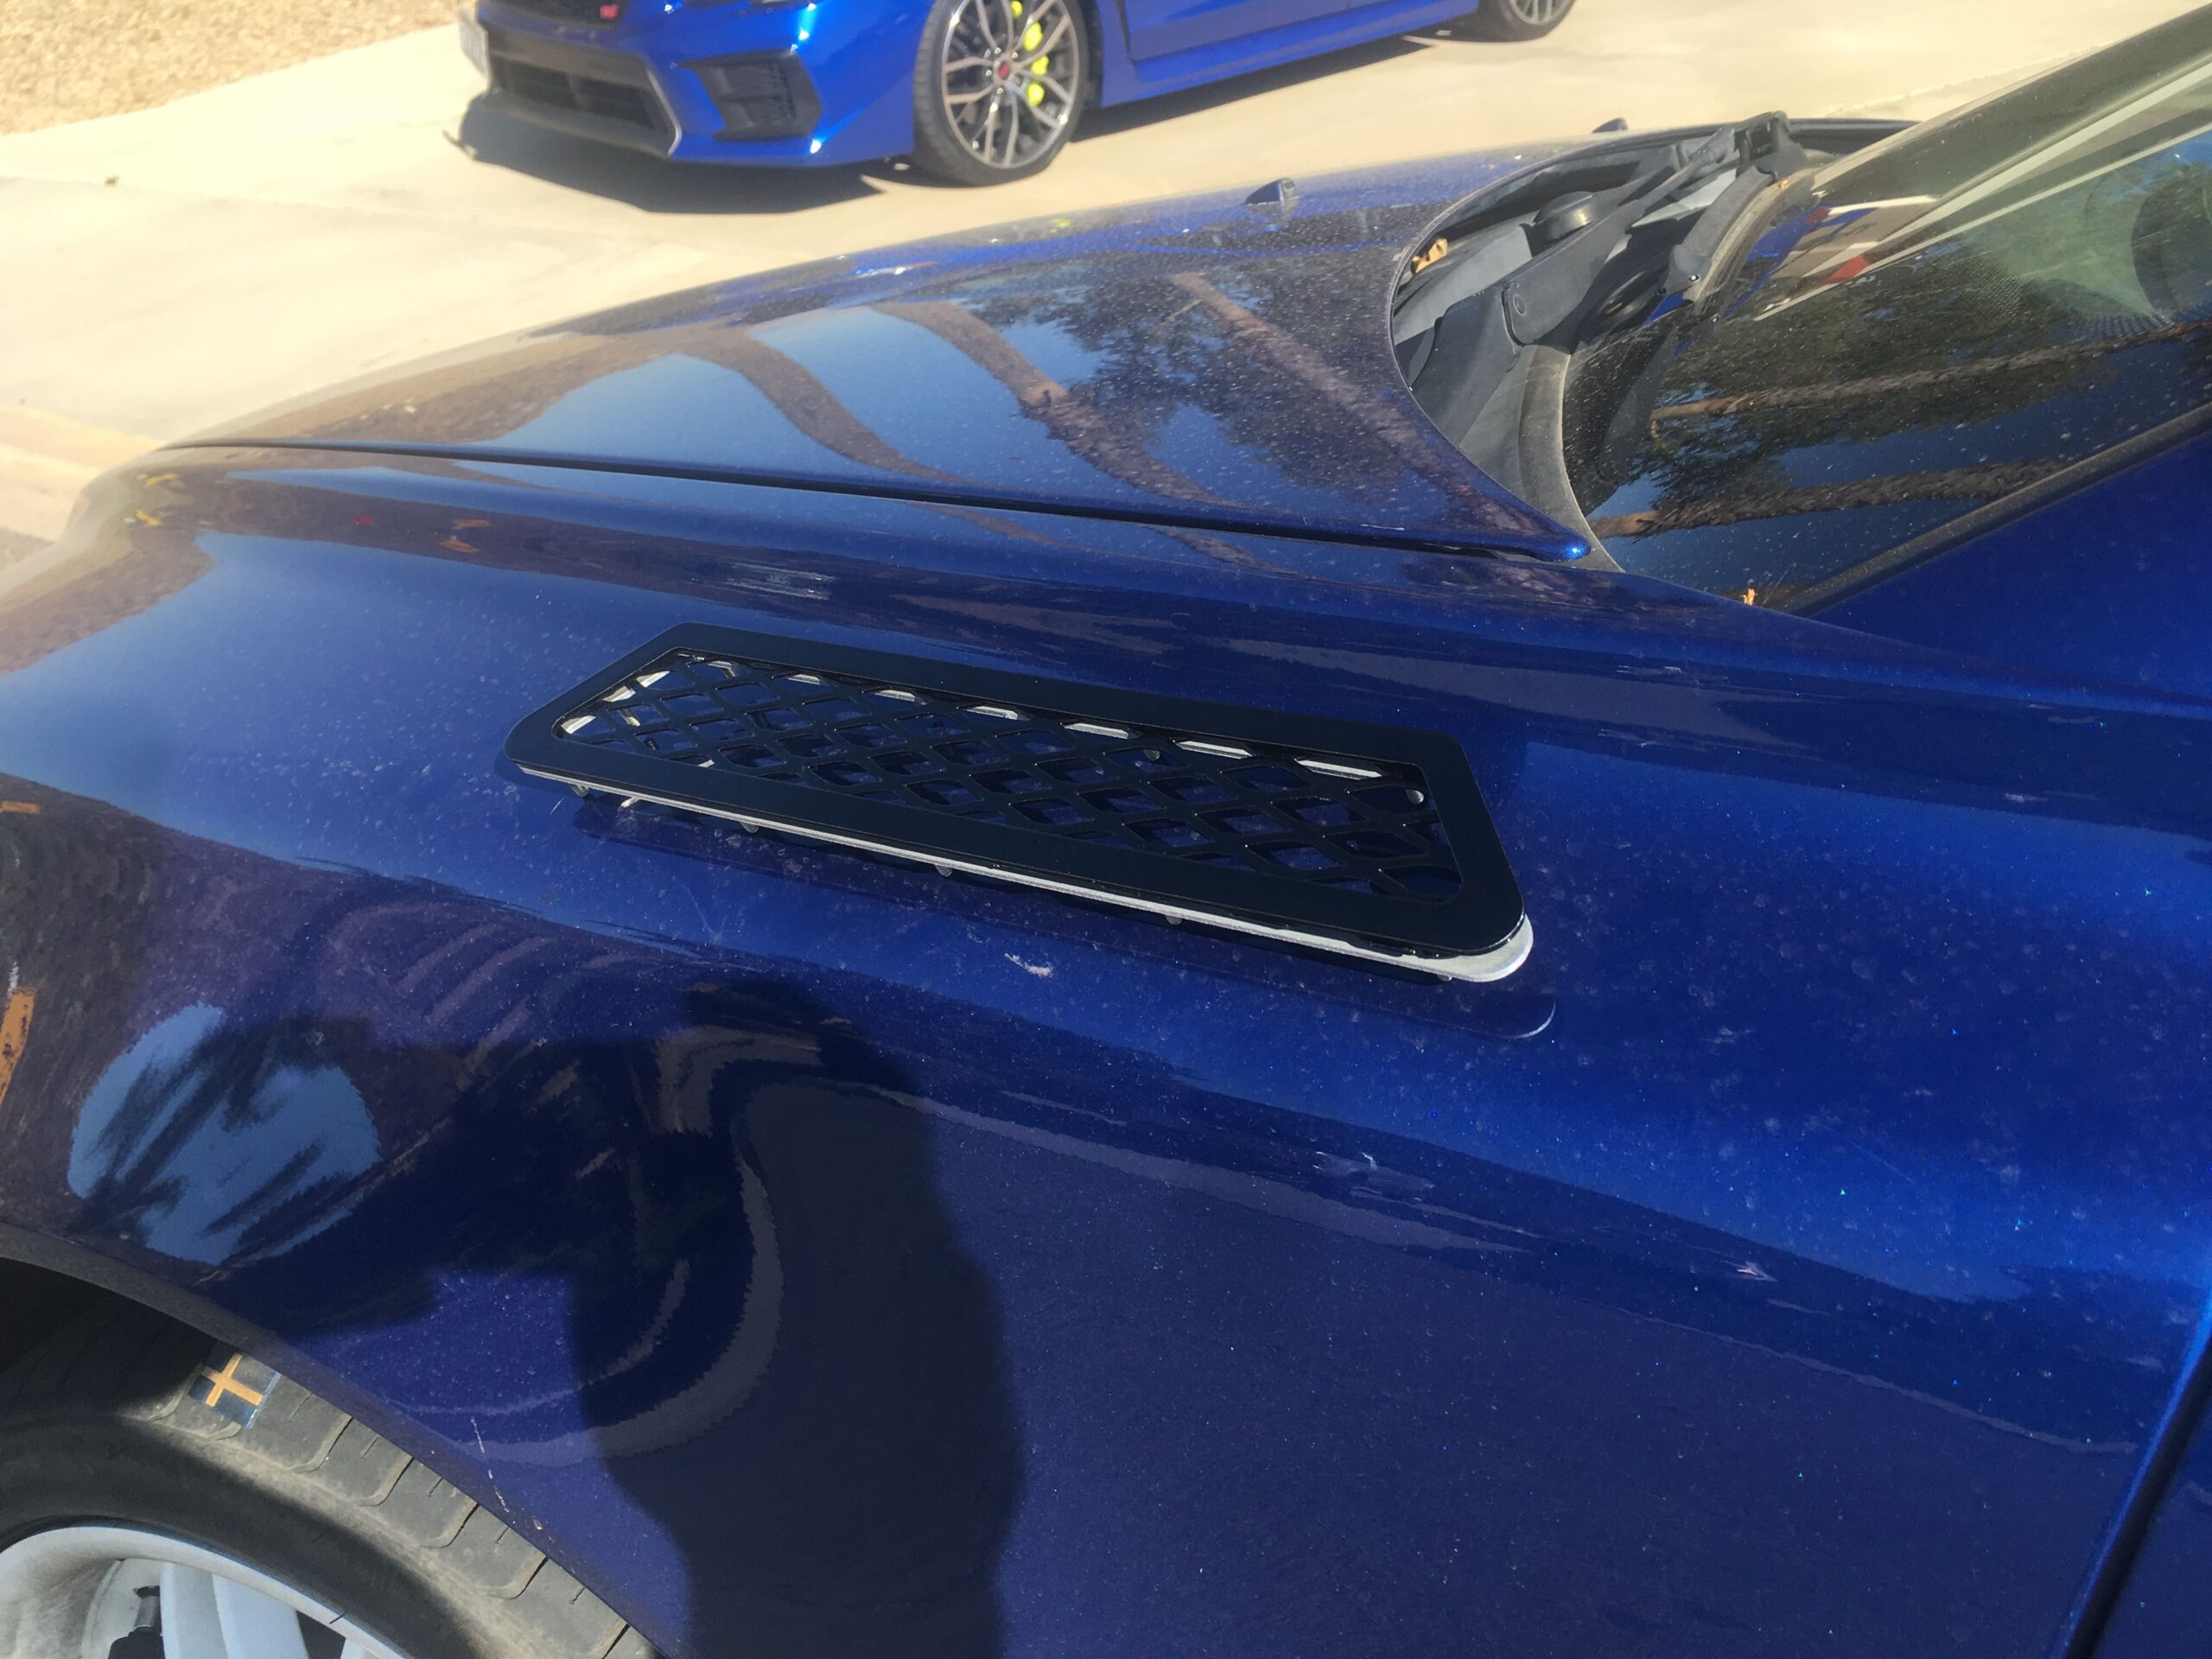
And done.
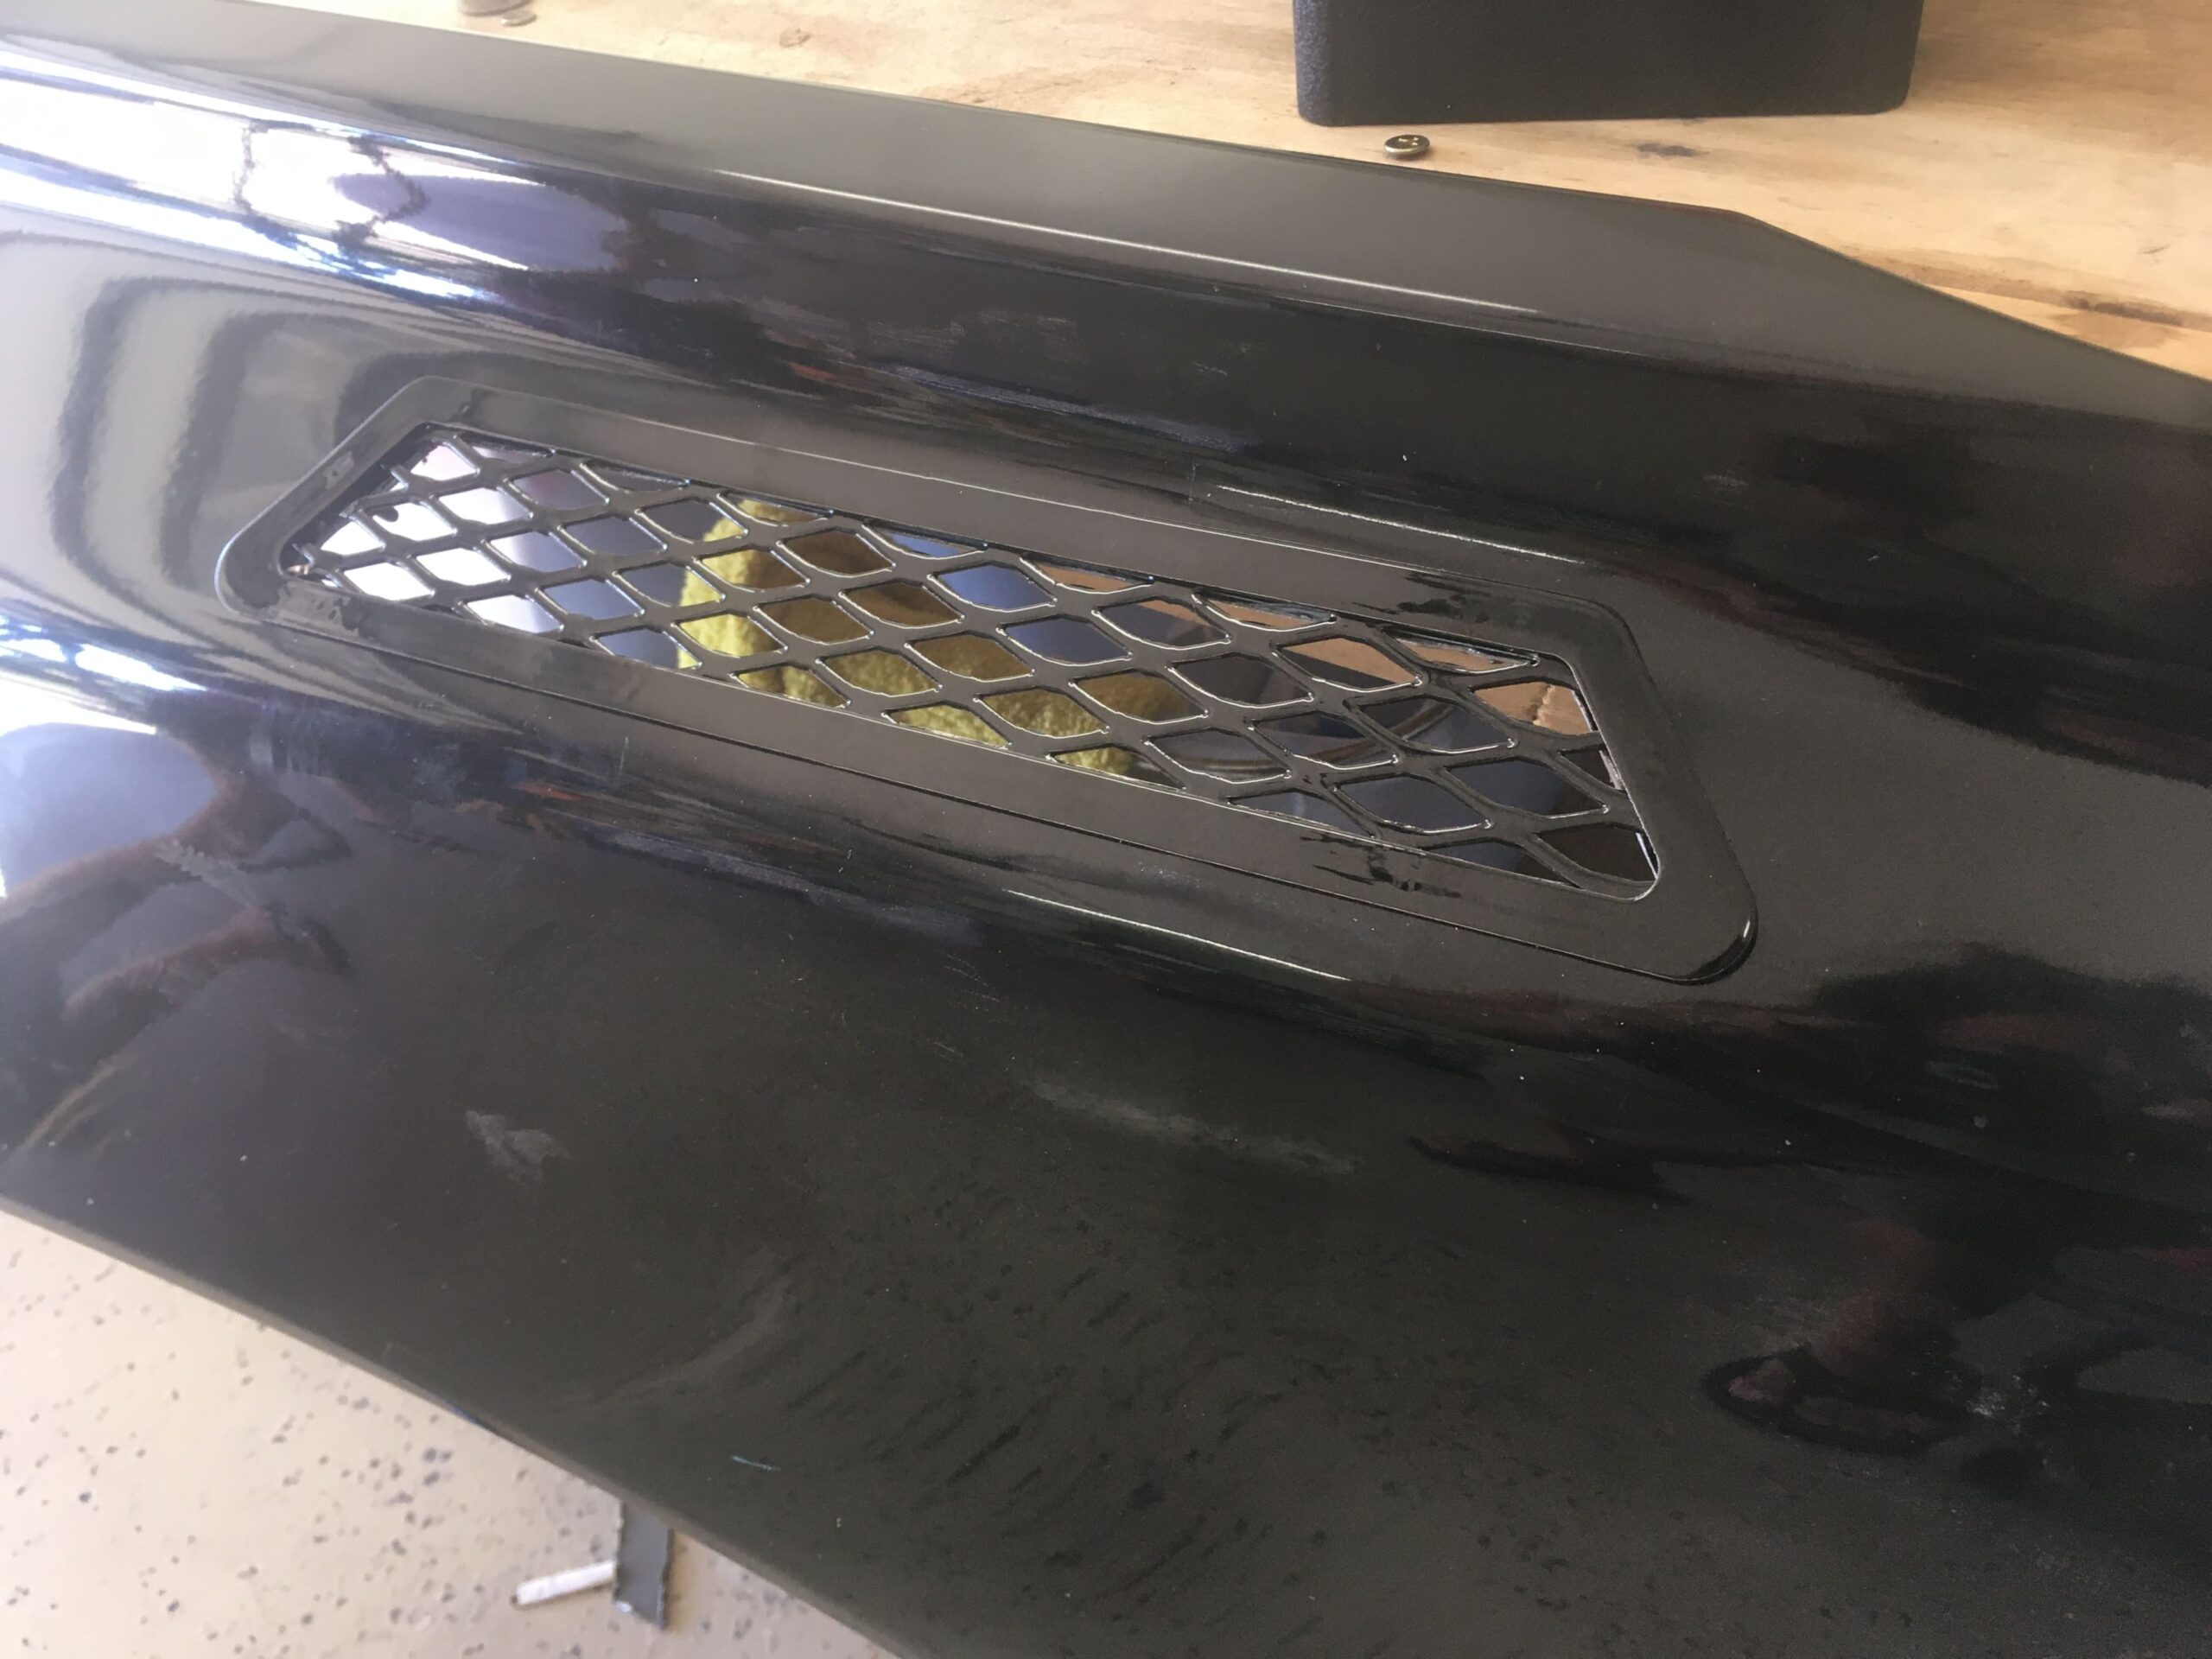
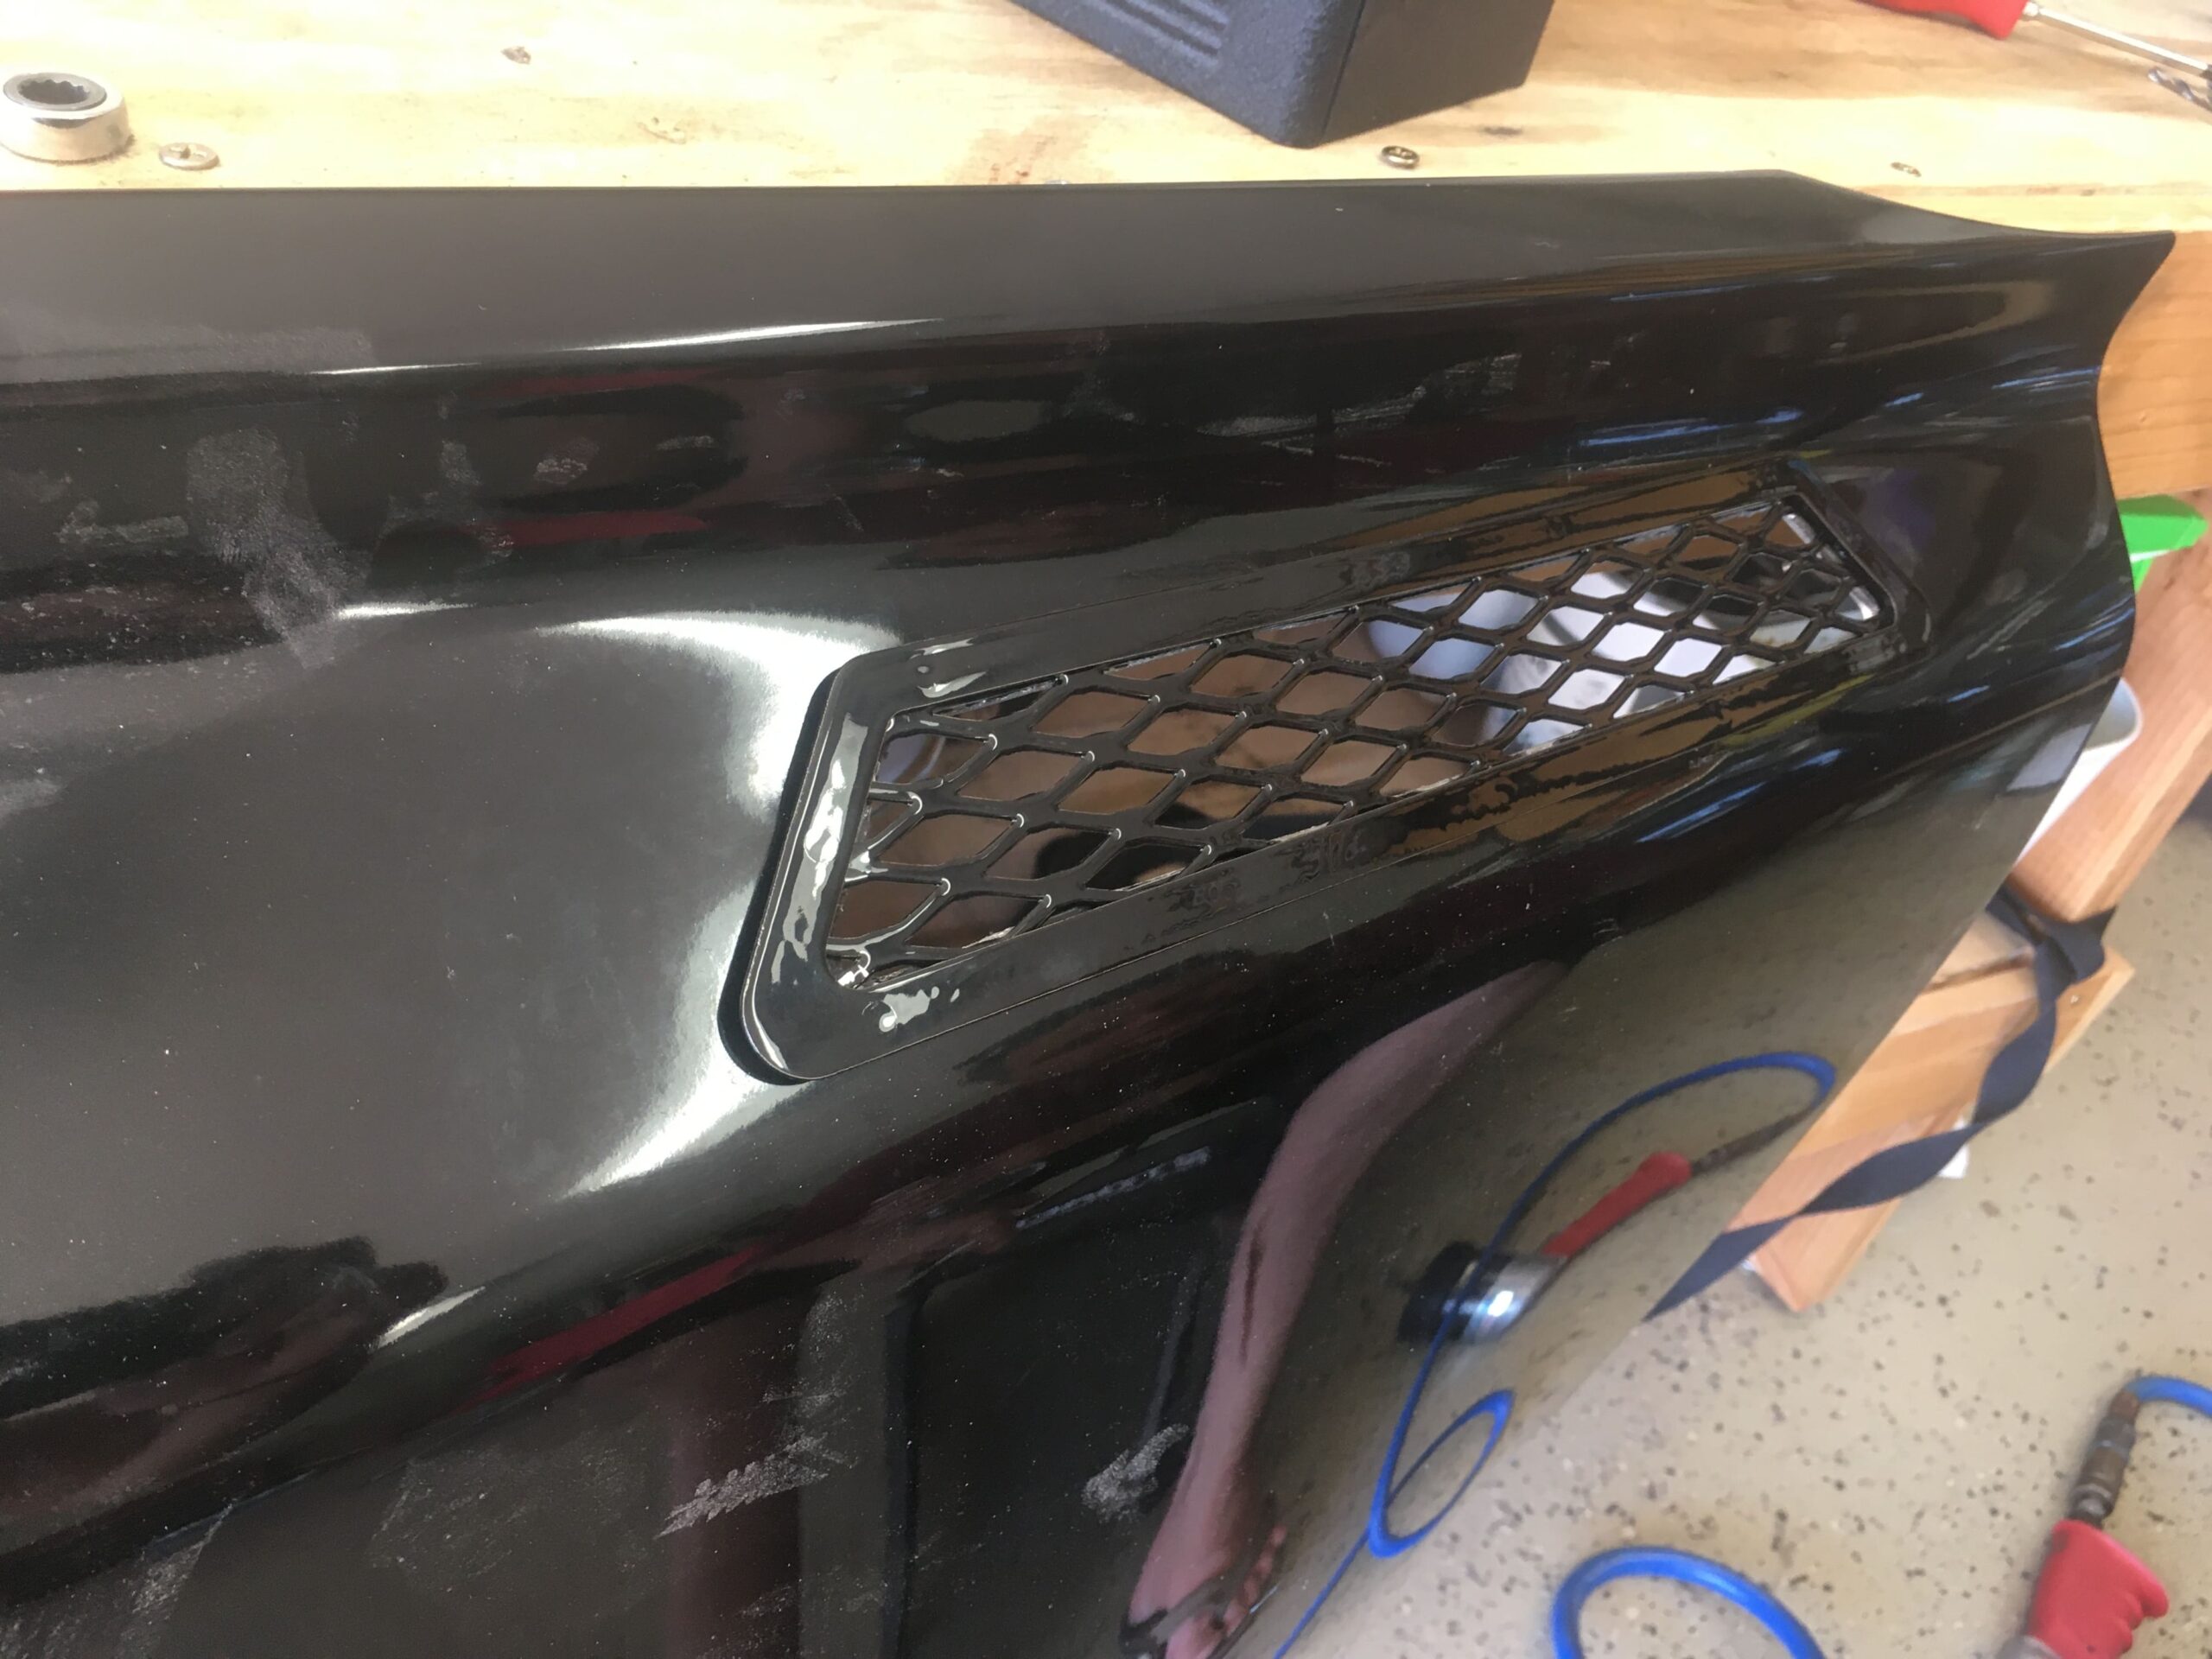

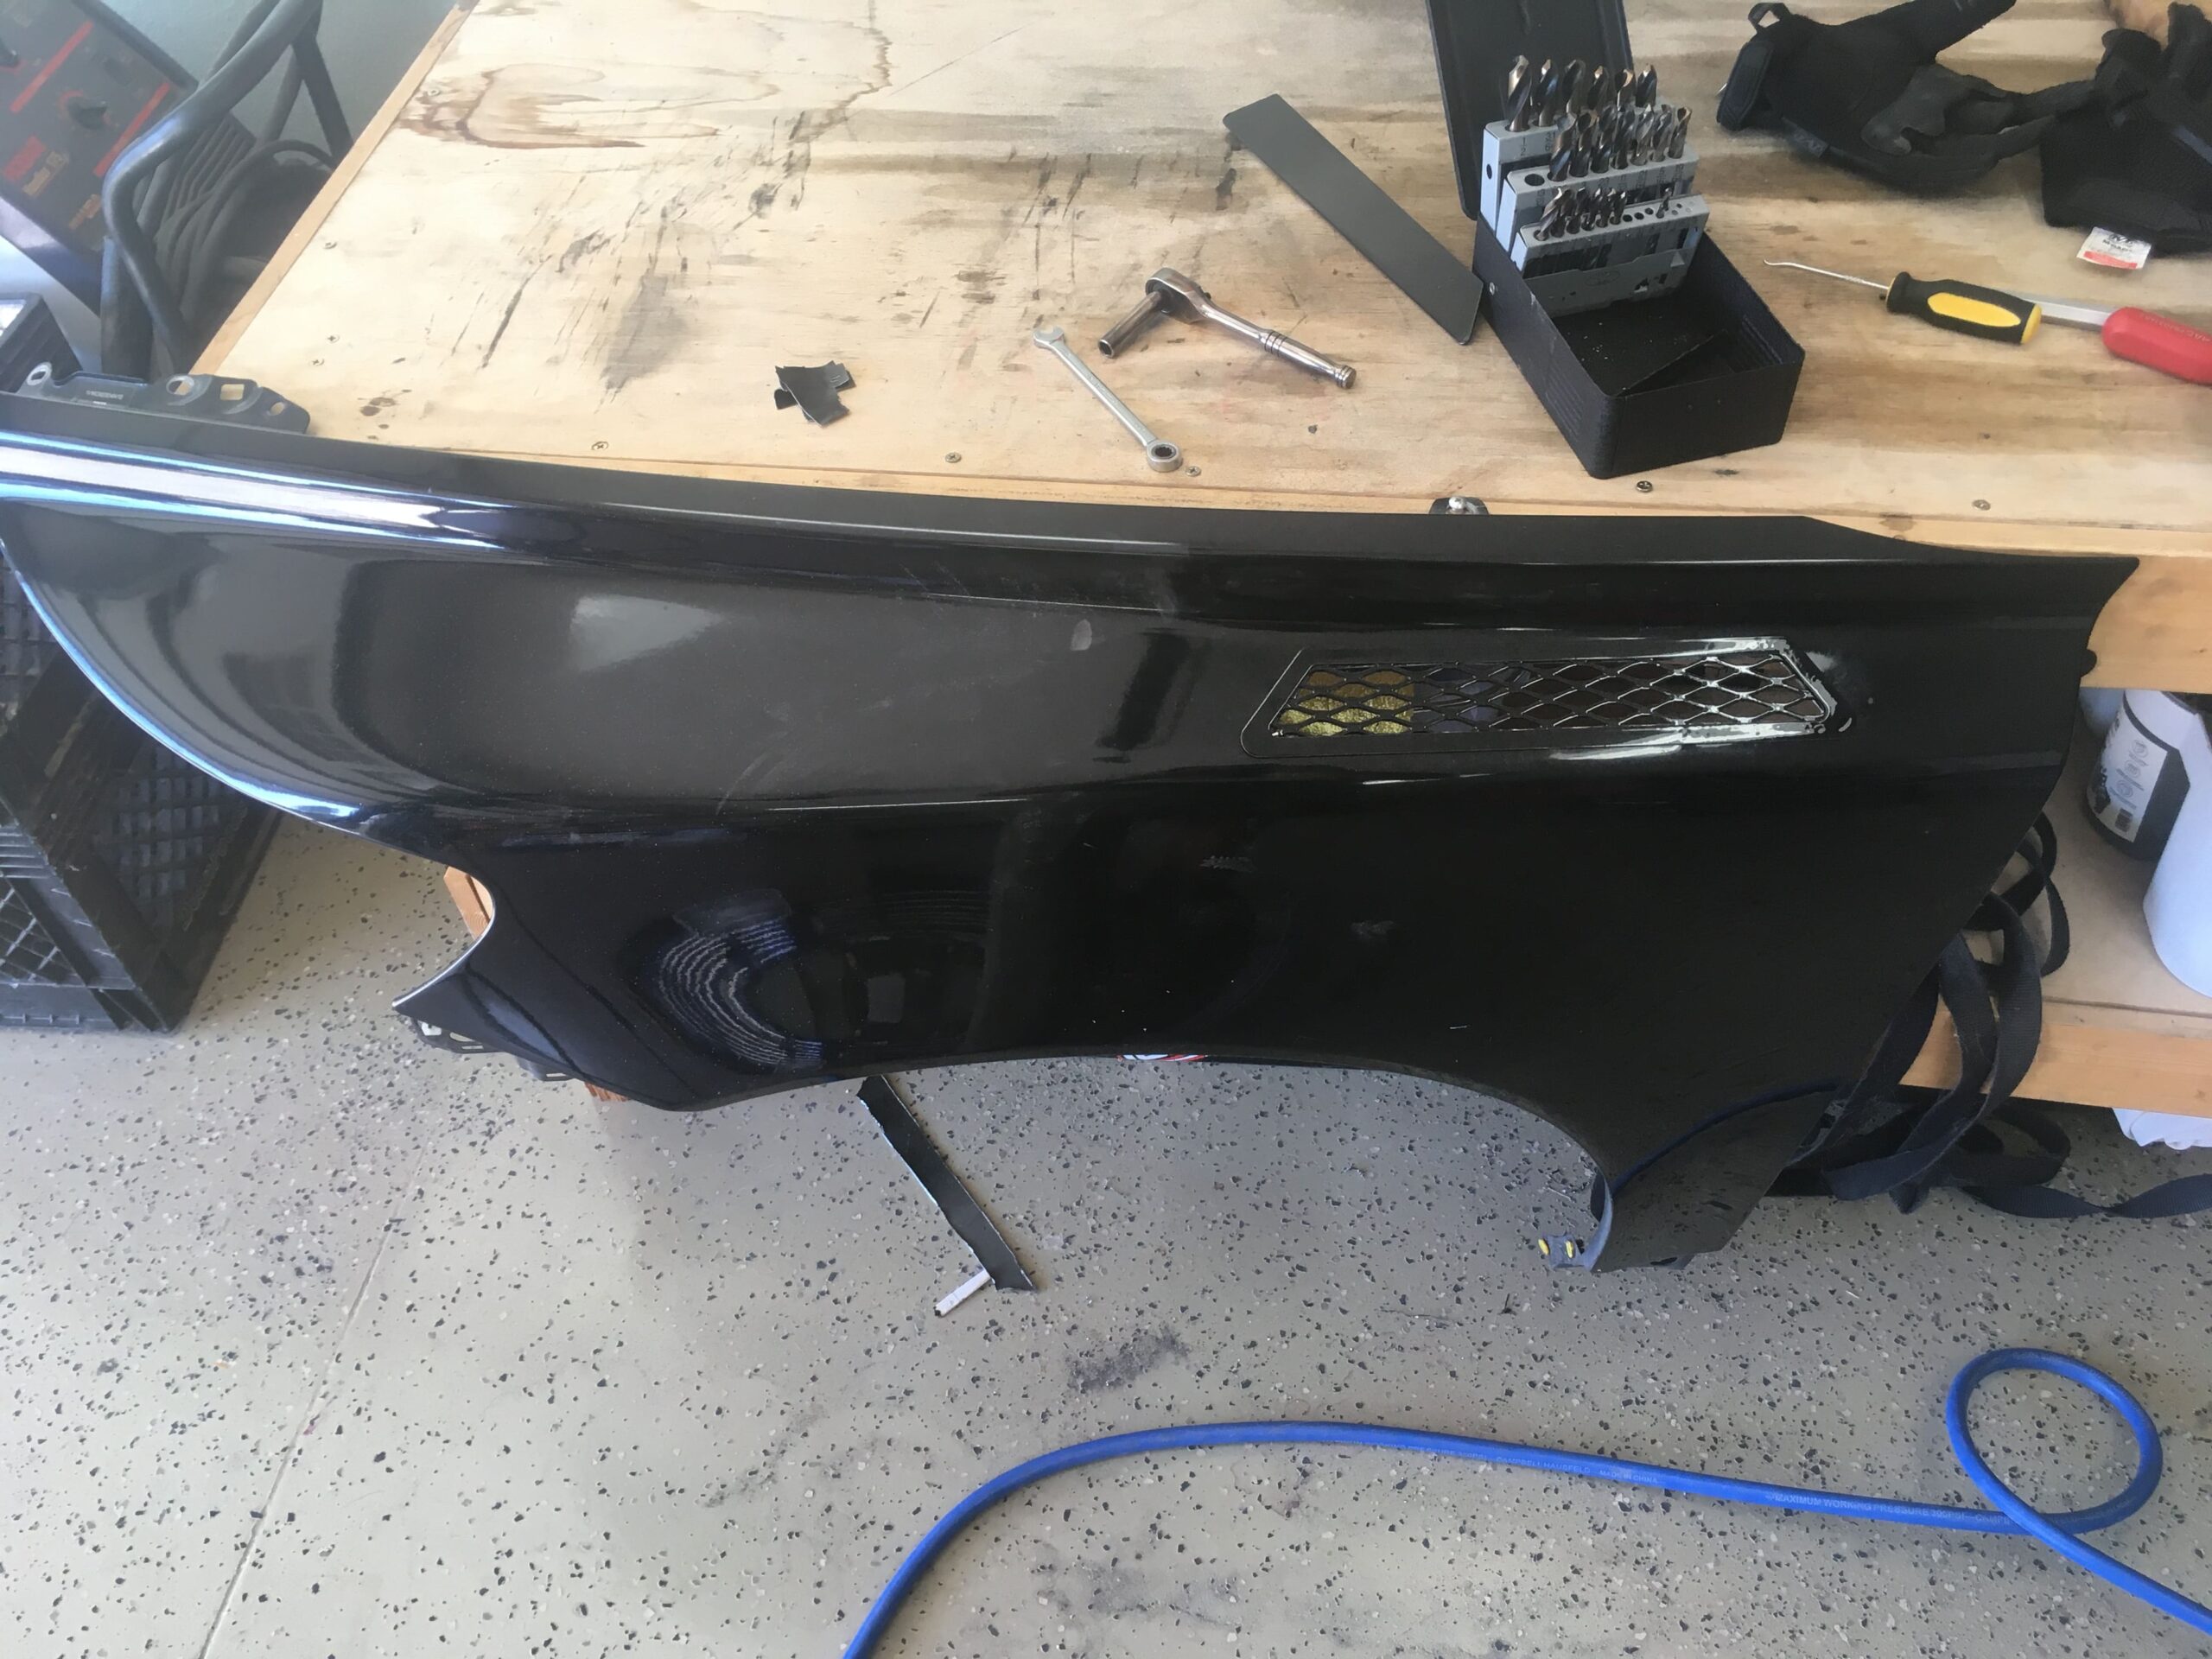
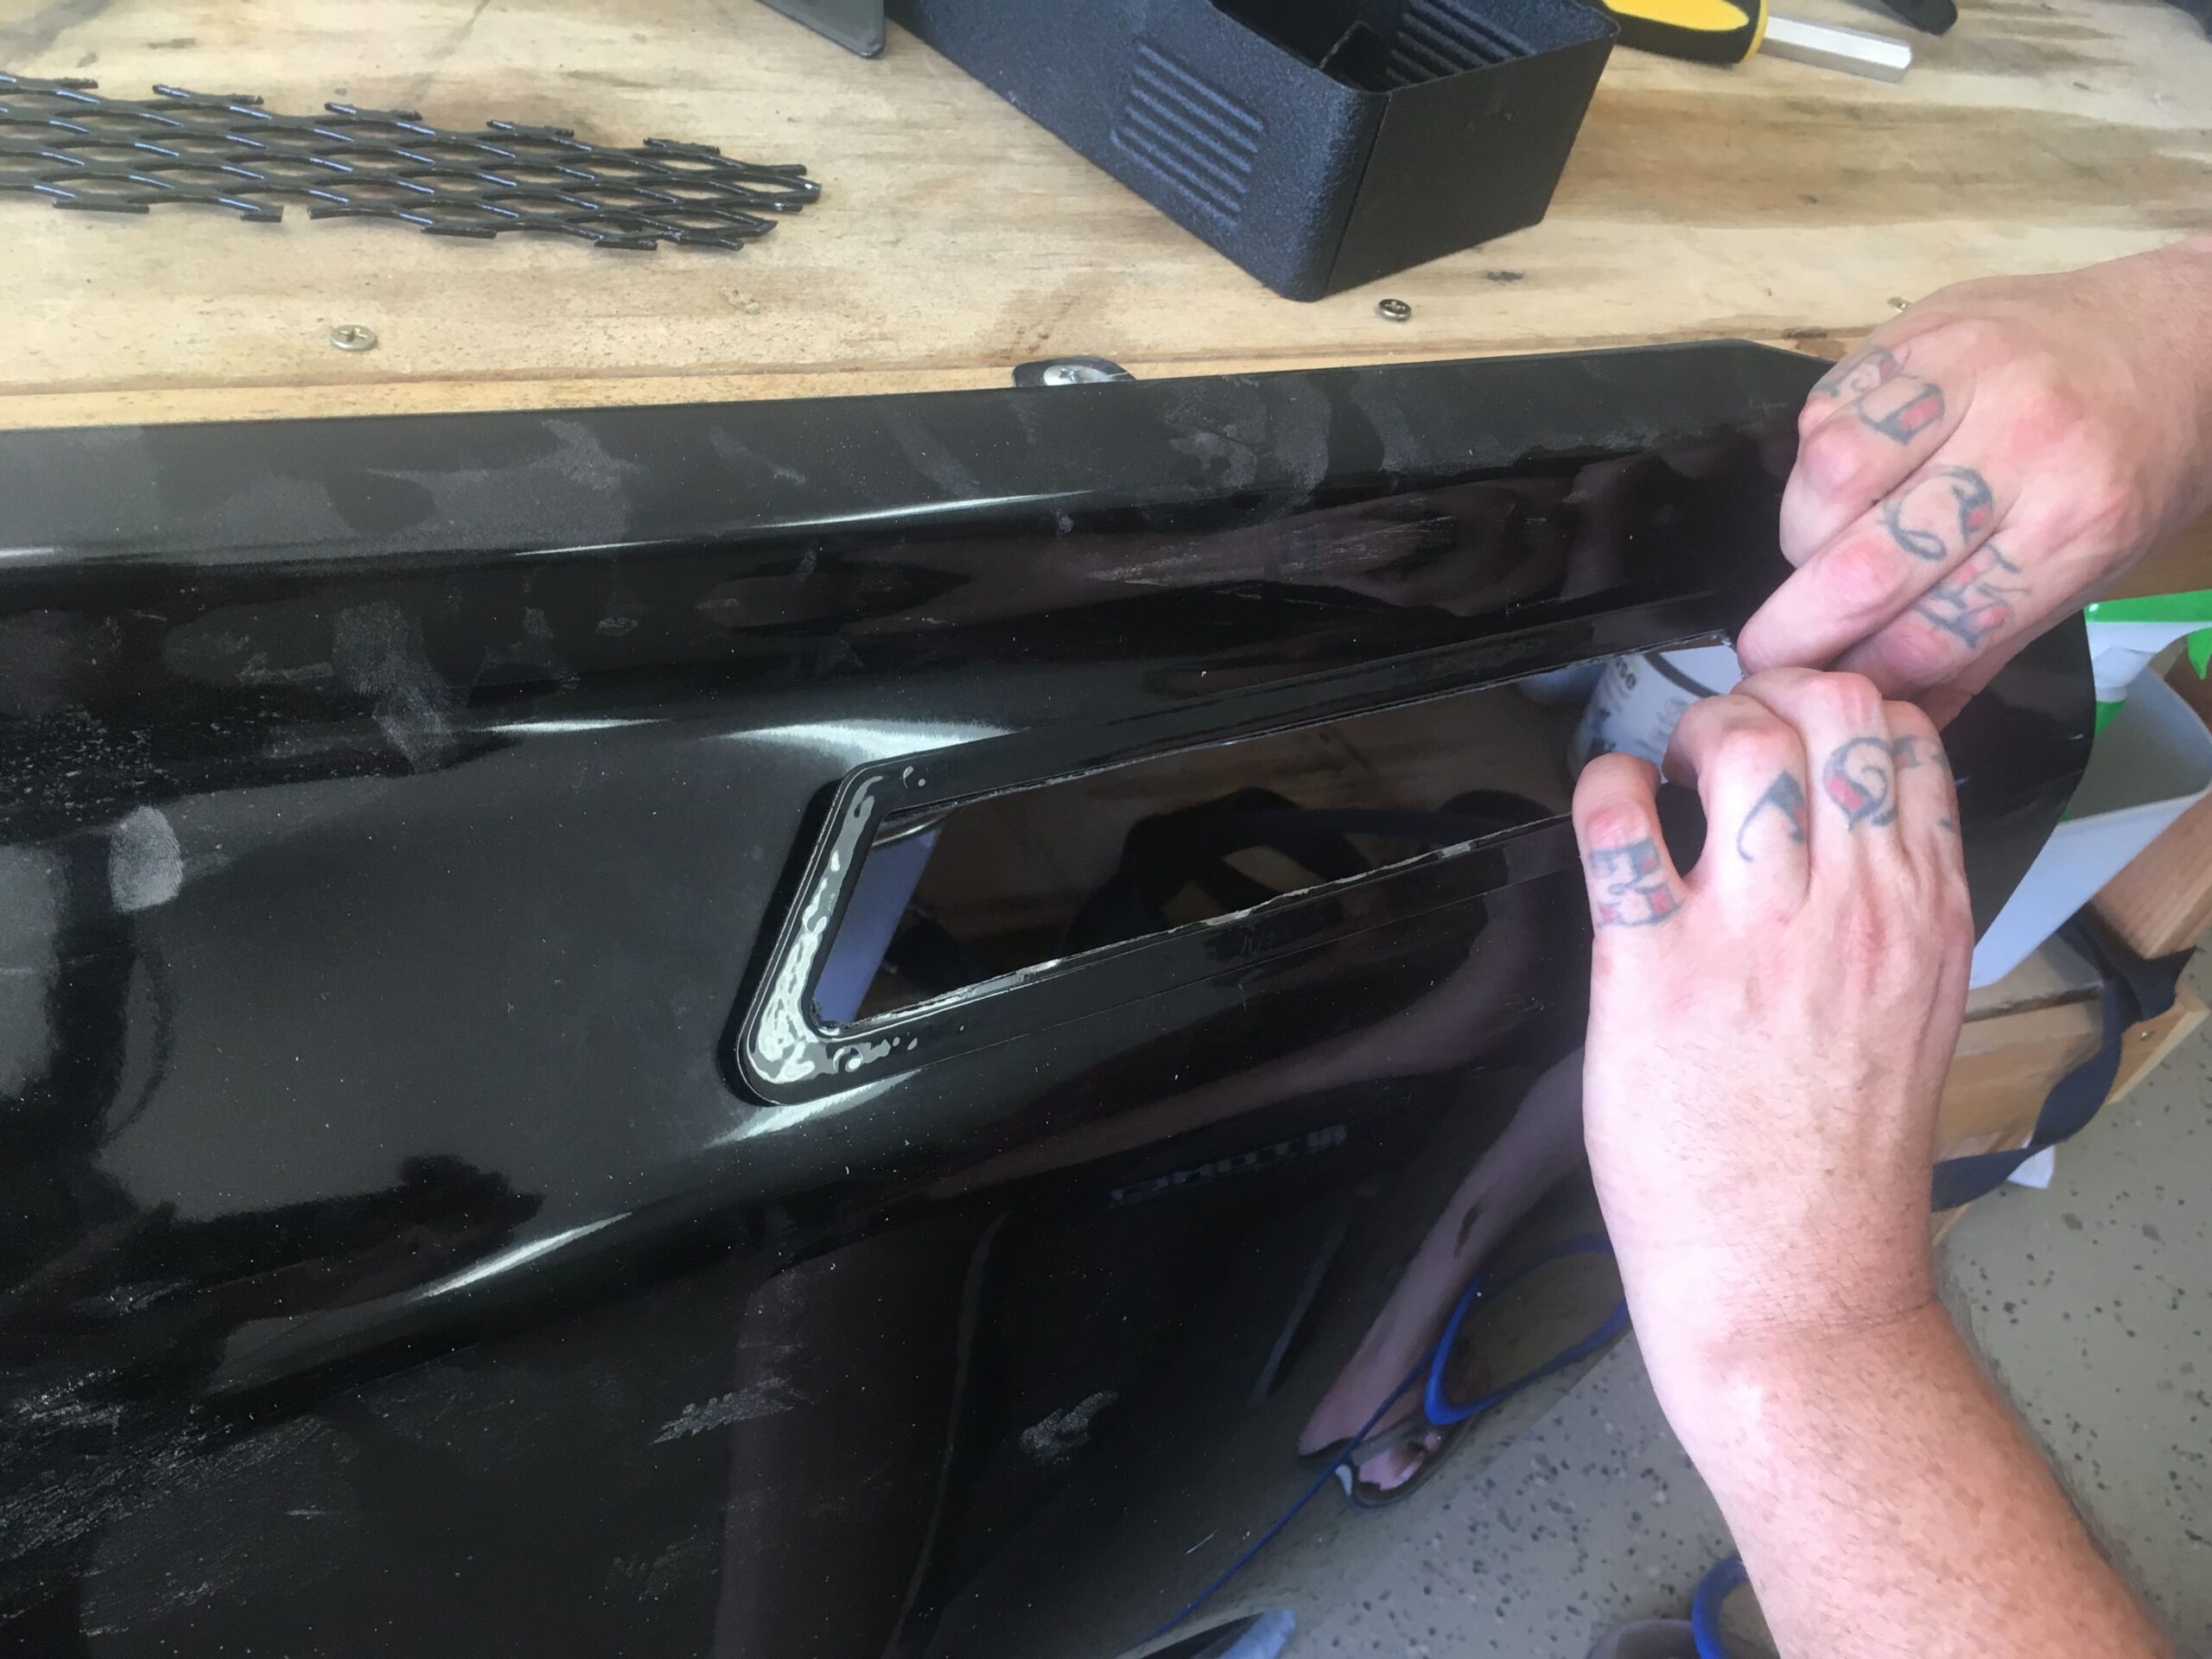
Now that looks as great as we imagined it would. A little “holding it in place” for an idea of how it will look.
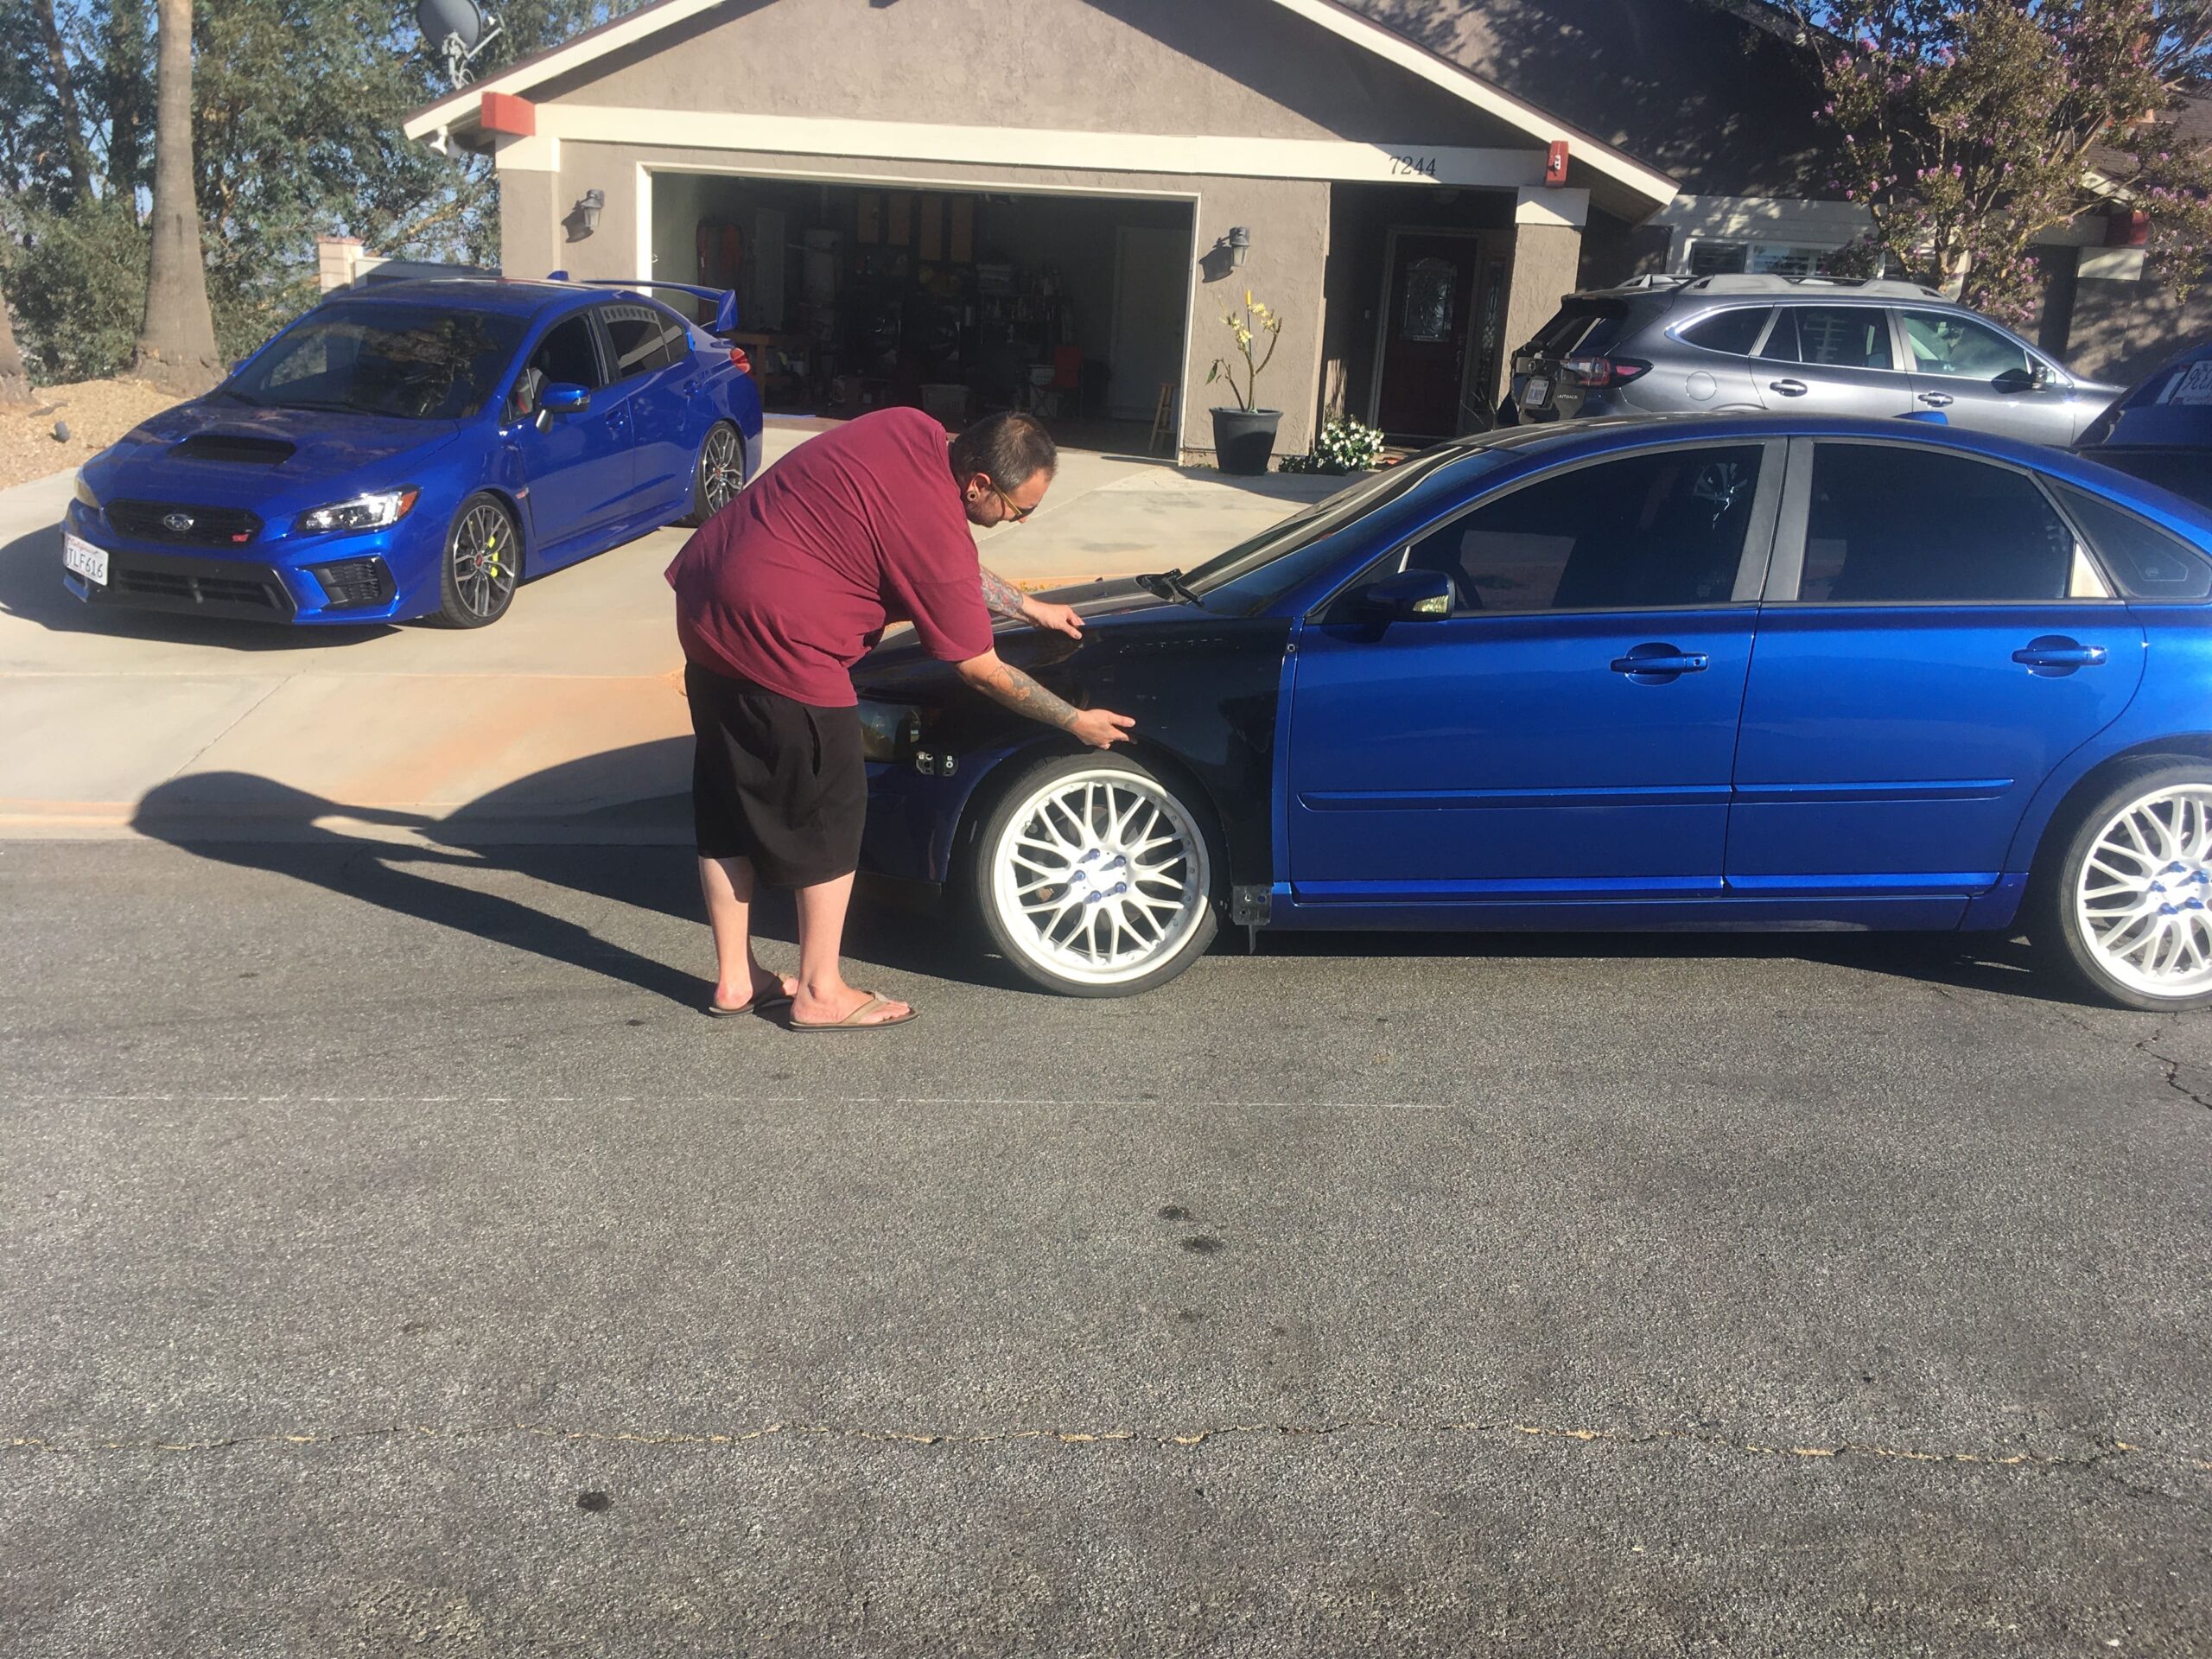
While we are not decided on the black fenders, we can easily repeat this process on the blue ones if we want. Further, while the black vents match my black roof and truck spoiler, we may also opt to sand these and have the grill, the frame, or both paint matched to blue.
Derek brought up a good point at the end of the install as well. He said “lets do the other one now”… and I replied “I only bought the left one”. Then he said “what a dick-move, you left Elevate with one right hand grille sitting on their shelf…, who is gonna buy just one right grille?” Good point, we are ordering that single lonely right vent straight away.
If you’re looking for a super high quality vent, check out the Elevate Volvo S60R Hood Grille, and make sure you get the left and right, and consider the optional covers too: Left and right.
Update Pending: Once we actually go to install the fenders, we will do a pre and post data log of some of the key engine compartment temperatures and update the article to see if we are form over function, or the other way around. Regardless, with an extra 21 square inches of direct vent in the engine compartment, there will be air flow and cooling.

