


You don’t need a $150 gauge to read your boost.
Many of us on here were lucky enough to have our cars come with factory turbo setups. Well maybe unlucky depending on how you look at it. Many turbos installed on the cars from the factory are LPT (low pressure turbo) meaning they do provide some boost, but they were intended to make up for a smaller engine footprint.
Further, since these turbos are not performance based, well not in the sense we would classify “performance”, there isn’t much feedback on what is going on by way of the turbo. Specifically, while your ECU may be capturing and running your stock map, there isn’t really any way for you to see what is going on.
Some manufacturers like Suburu do have some pretty cool built in digital gauges, like on their STI’s, but this is newer and still leaves the rest of us without boost feedback.
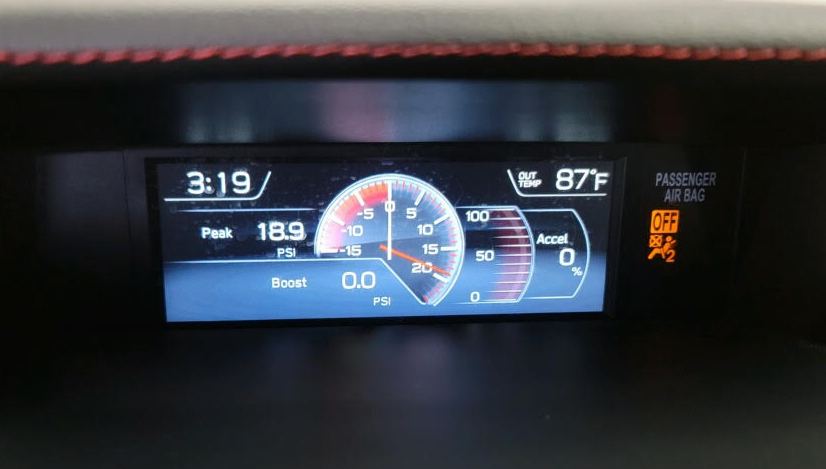
In these situations, a turbo boost gauge is a great addition to the cockpit, to provide real time data on how the turbo is performing. A boost gauge can provide real time feed back on the current boost pressure, or lack there of. This is great just to know that you are pushing the appropriate pressure through your system. Also, it is a immediate warning sign when there are turbo related issues such as vacuum leaks.
Recently, we were in the market for a turbo boost gauge for this exact reason. We wanted to simply know what our boost was on our factory turbo. After searching around on eBay for a bit we decided that since it was a factory LPT, we didn’t need anything crazy, just something that works, and compliments the look of the car. This left us with a dozen or so options in the $15-30 range, which was a perfect price point for this mod.
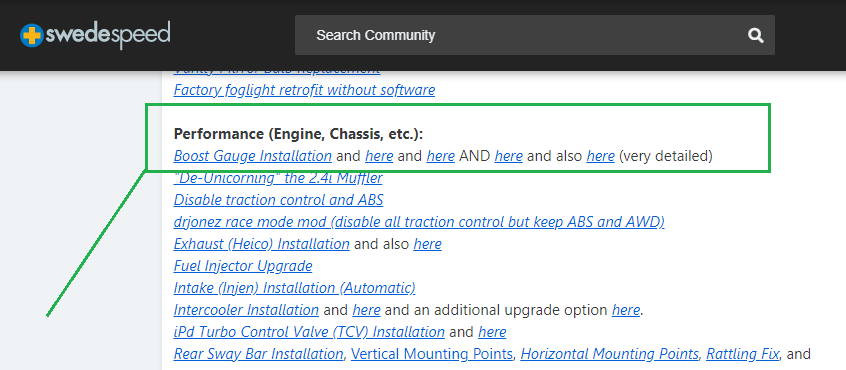
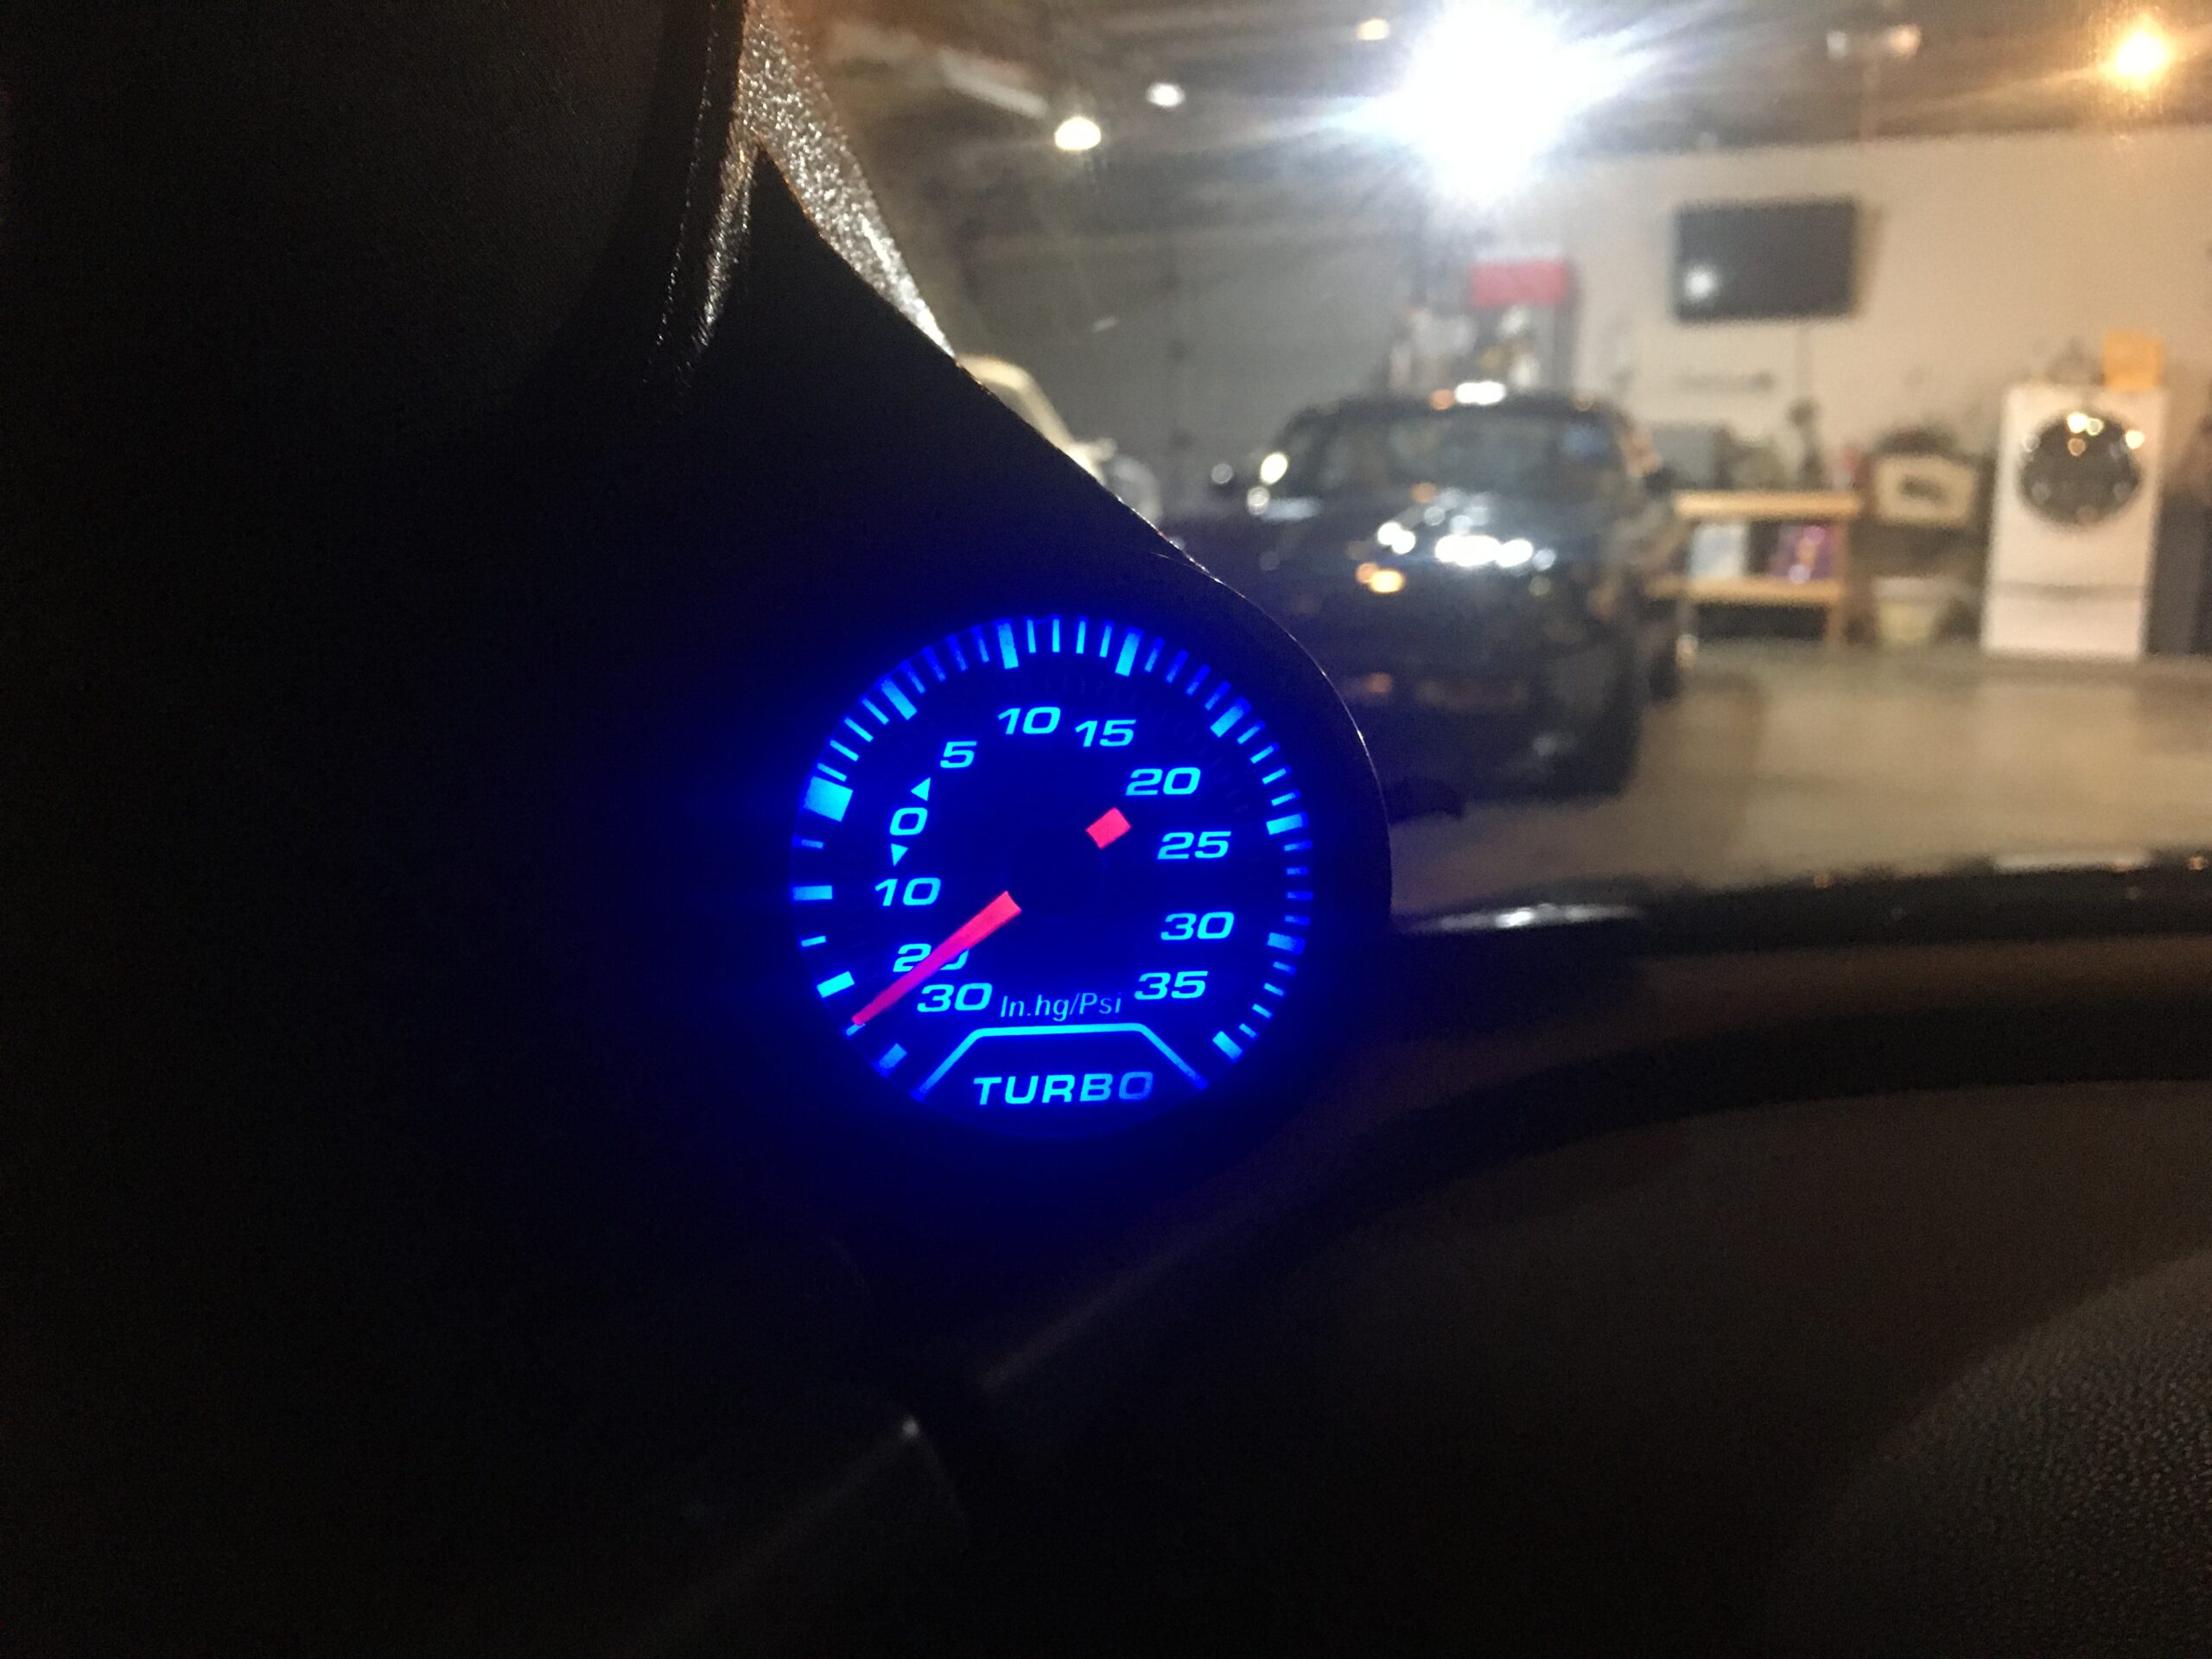
We settled on the MATCC 2inch (52mm) LED back-lit Turbo Boost Gauge for $14. The unit arrived within a few days, and did include some general installation instructions. While we were waiting for it to arrive we went over to SwedeSpeed, our go to Volvo forum, and found a few write-ups to see exactly what the kids were doing for install these days.
Essentially you have 2 sources you need to tap. The electrical which runs the back-lit LEDs and the vacuum line to run the needle. For the lighting, we tapped the dimmer switch so that the gauge would dim and brighten along with the rest of the cockpit. The vacuum line, we just followed the instructions on the forum, but for everyone it will just be cutting a particular line, inserting a t-connection and running that new hose to the gauge.
After another $10 for a pillar gauge housing, we were done in about 30 minutes. We fired up the car, the lighting worked as intended. We took a drive and the boost gauge worked as indented as well. We already knew the boost range expected for each gear ration based on our tune.
We’ve been running this gauge for about 9 months now, no issue. That’s it. Despite the low purchase volume and the 1 star review, we recommend it at a 5 star rating. Actually, as soon as I publish this article I will go back and rate the product from my eBay purchase.
Update, we have now replaced this gauge with the GlowShift Tinted 7 Color 30 PSI Boost Gauge. We did a full write-up with video overview here: GlowShift’s Tinted 7 Color 30 PSI Turbo Boost Gauge.

