


Supplemental Installation Instructions for Your P1 (S40/V50/C30)
Okay everyone, this was one of the hardest installs we’ve done in a while, and wanted to give you some ideas and tips on the job, that may save you some time.
If you are researching before you purchase, here are the quick links:
Elevate Volvo S40 T5 Dual-Port Compressor Bypass Valve (CBV)
and
Elevate Volvo S40 T5 Compressor Bypass Valve (CBV)
You can familiarize yourself with the original instructions you received from Elevate here. This gives you a good idea of the new part and its placement on the turbo housing. The reason we did these supplemental instructions is because the instructions provided show the turbo housing on a table, but it is likely that you will be doing this installation with your turbo on your car. This leaves room for the below tips and tricks we used to help aid the process. We’ll keep it simple.
Step 1: Break torque on your lug nuts. PS, those are early, limited production 19″ Evolve rims you see.
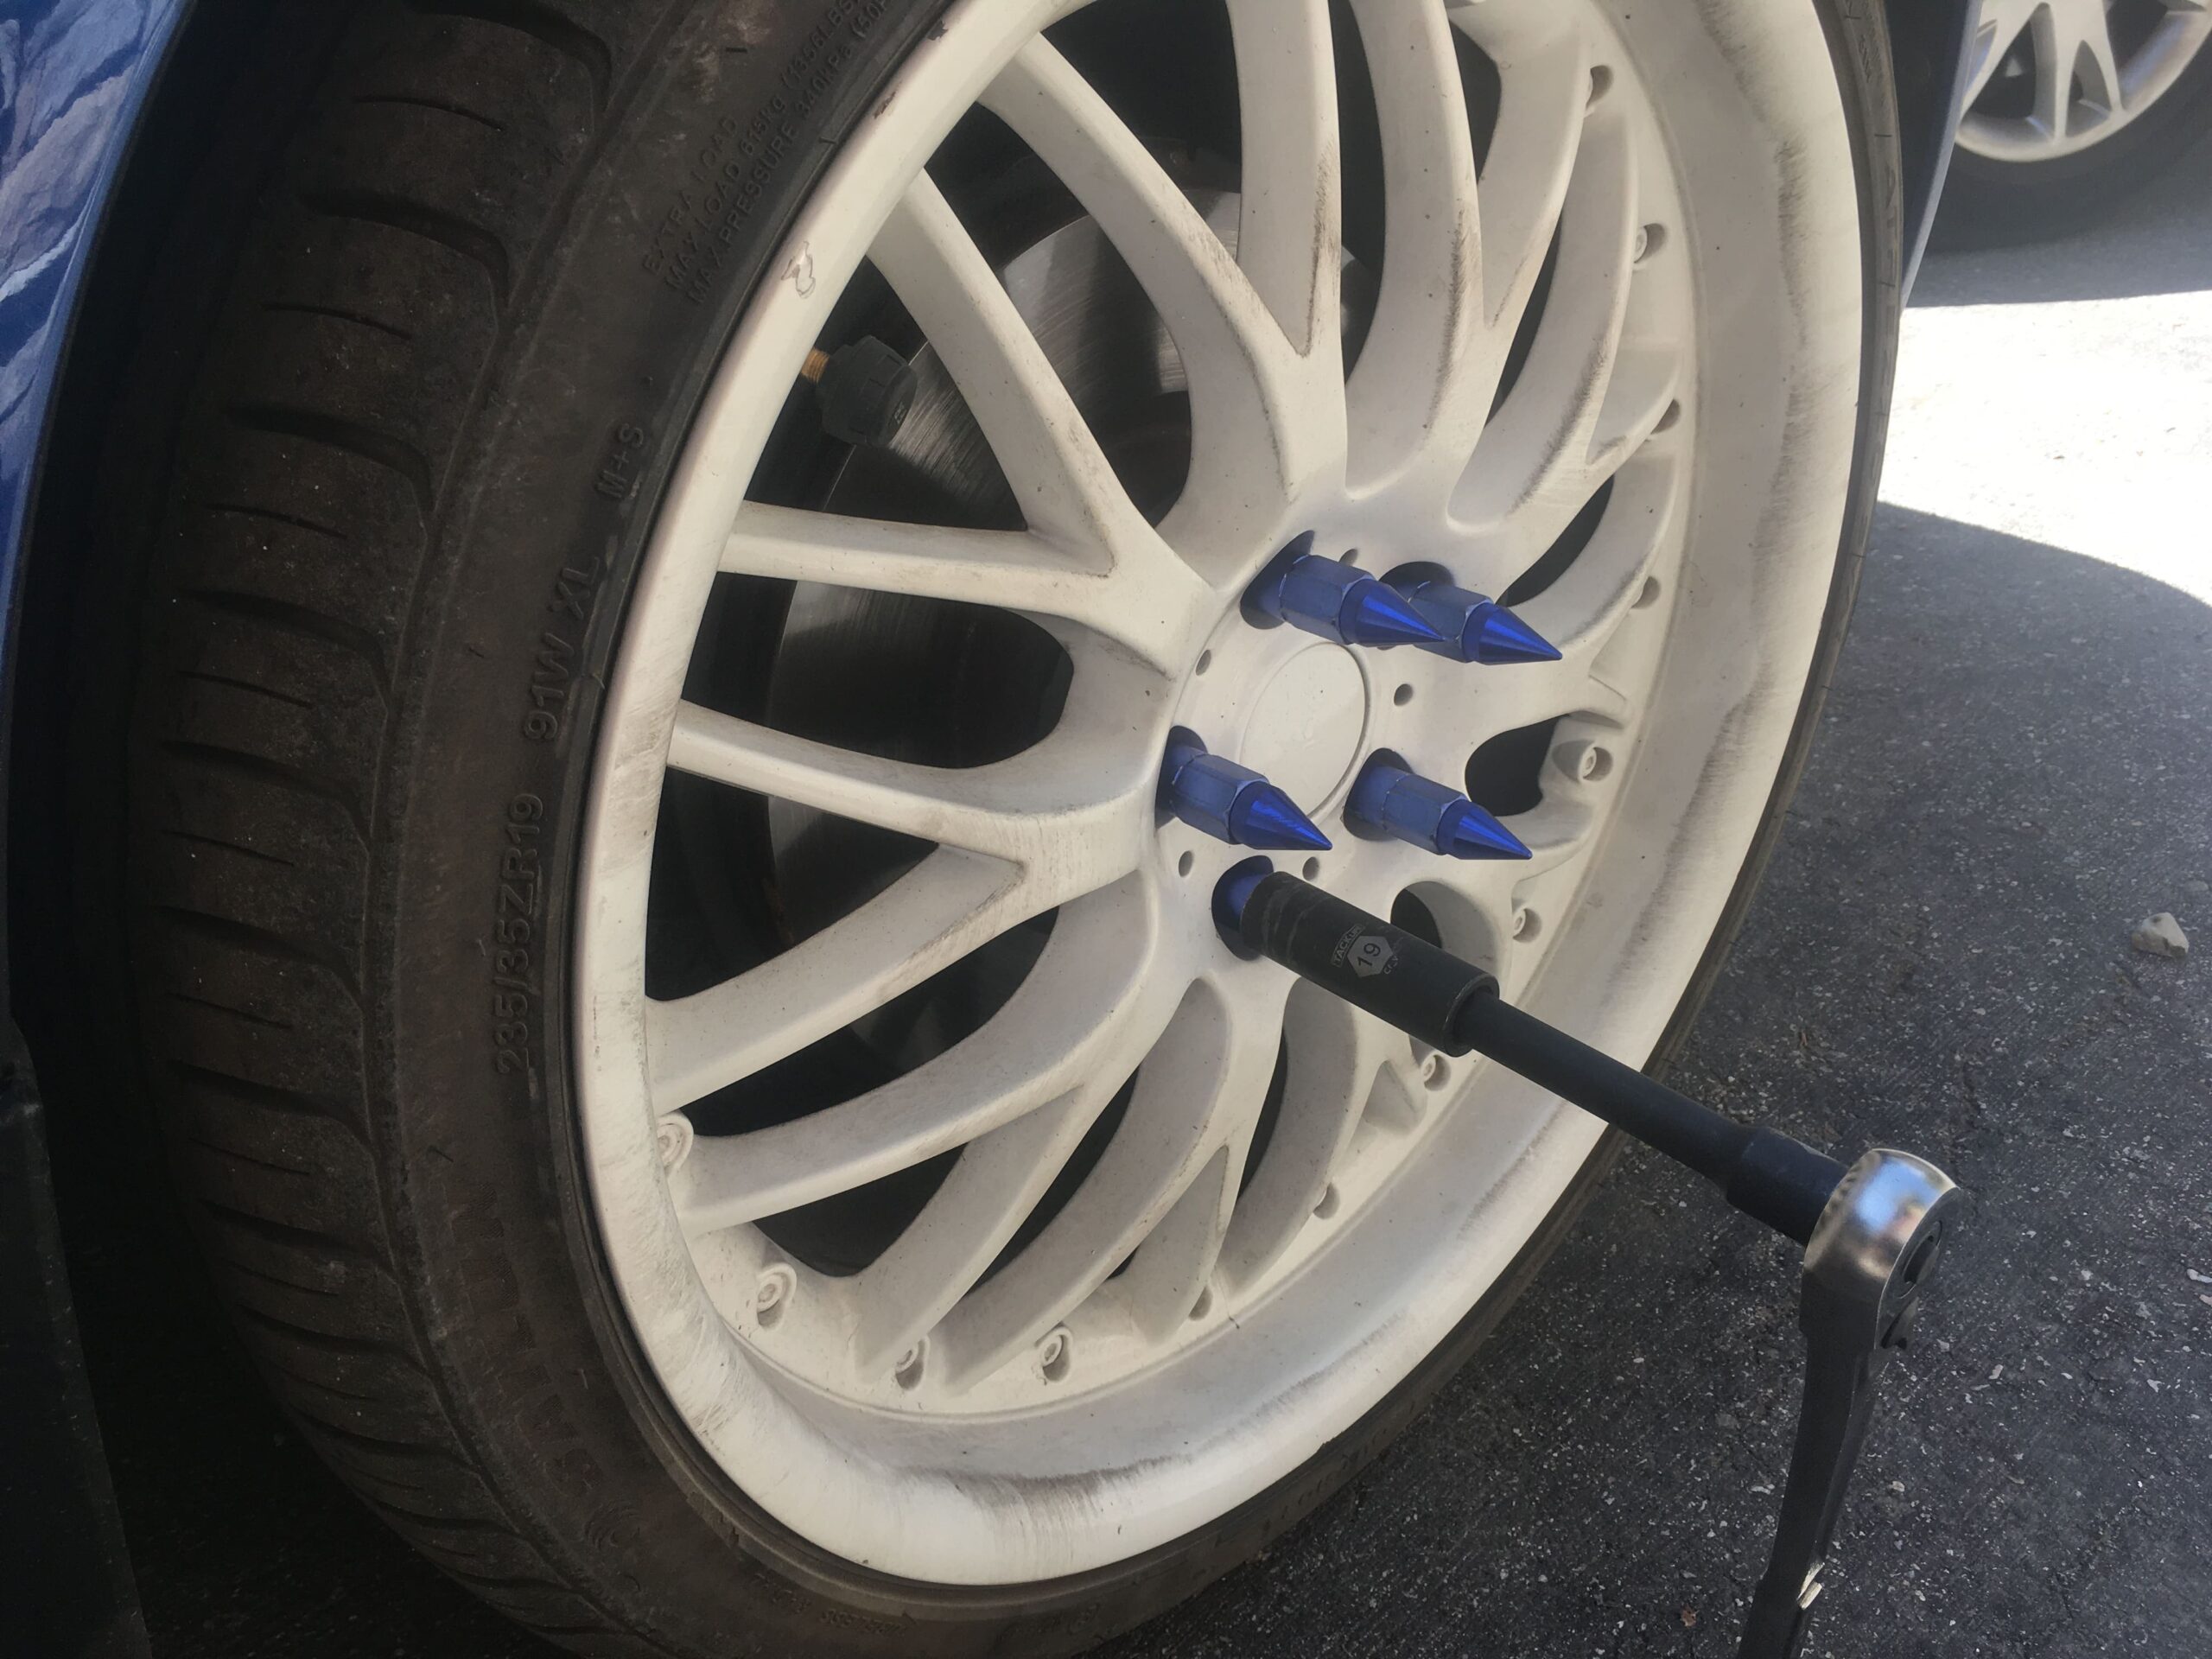
Step 2: Place jack, raise car, place jack stand.

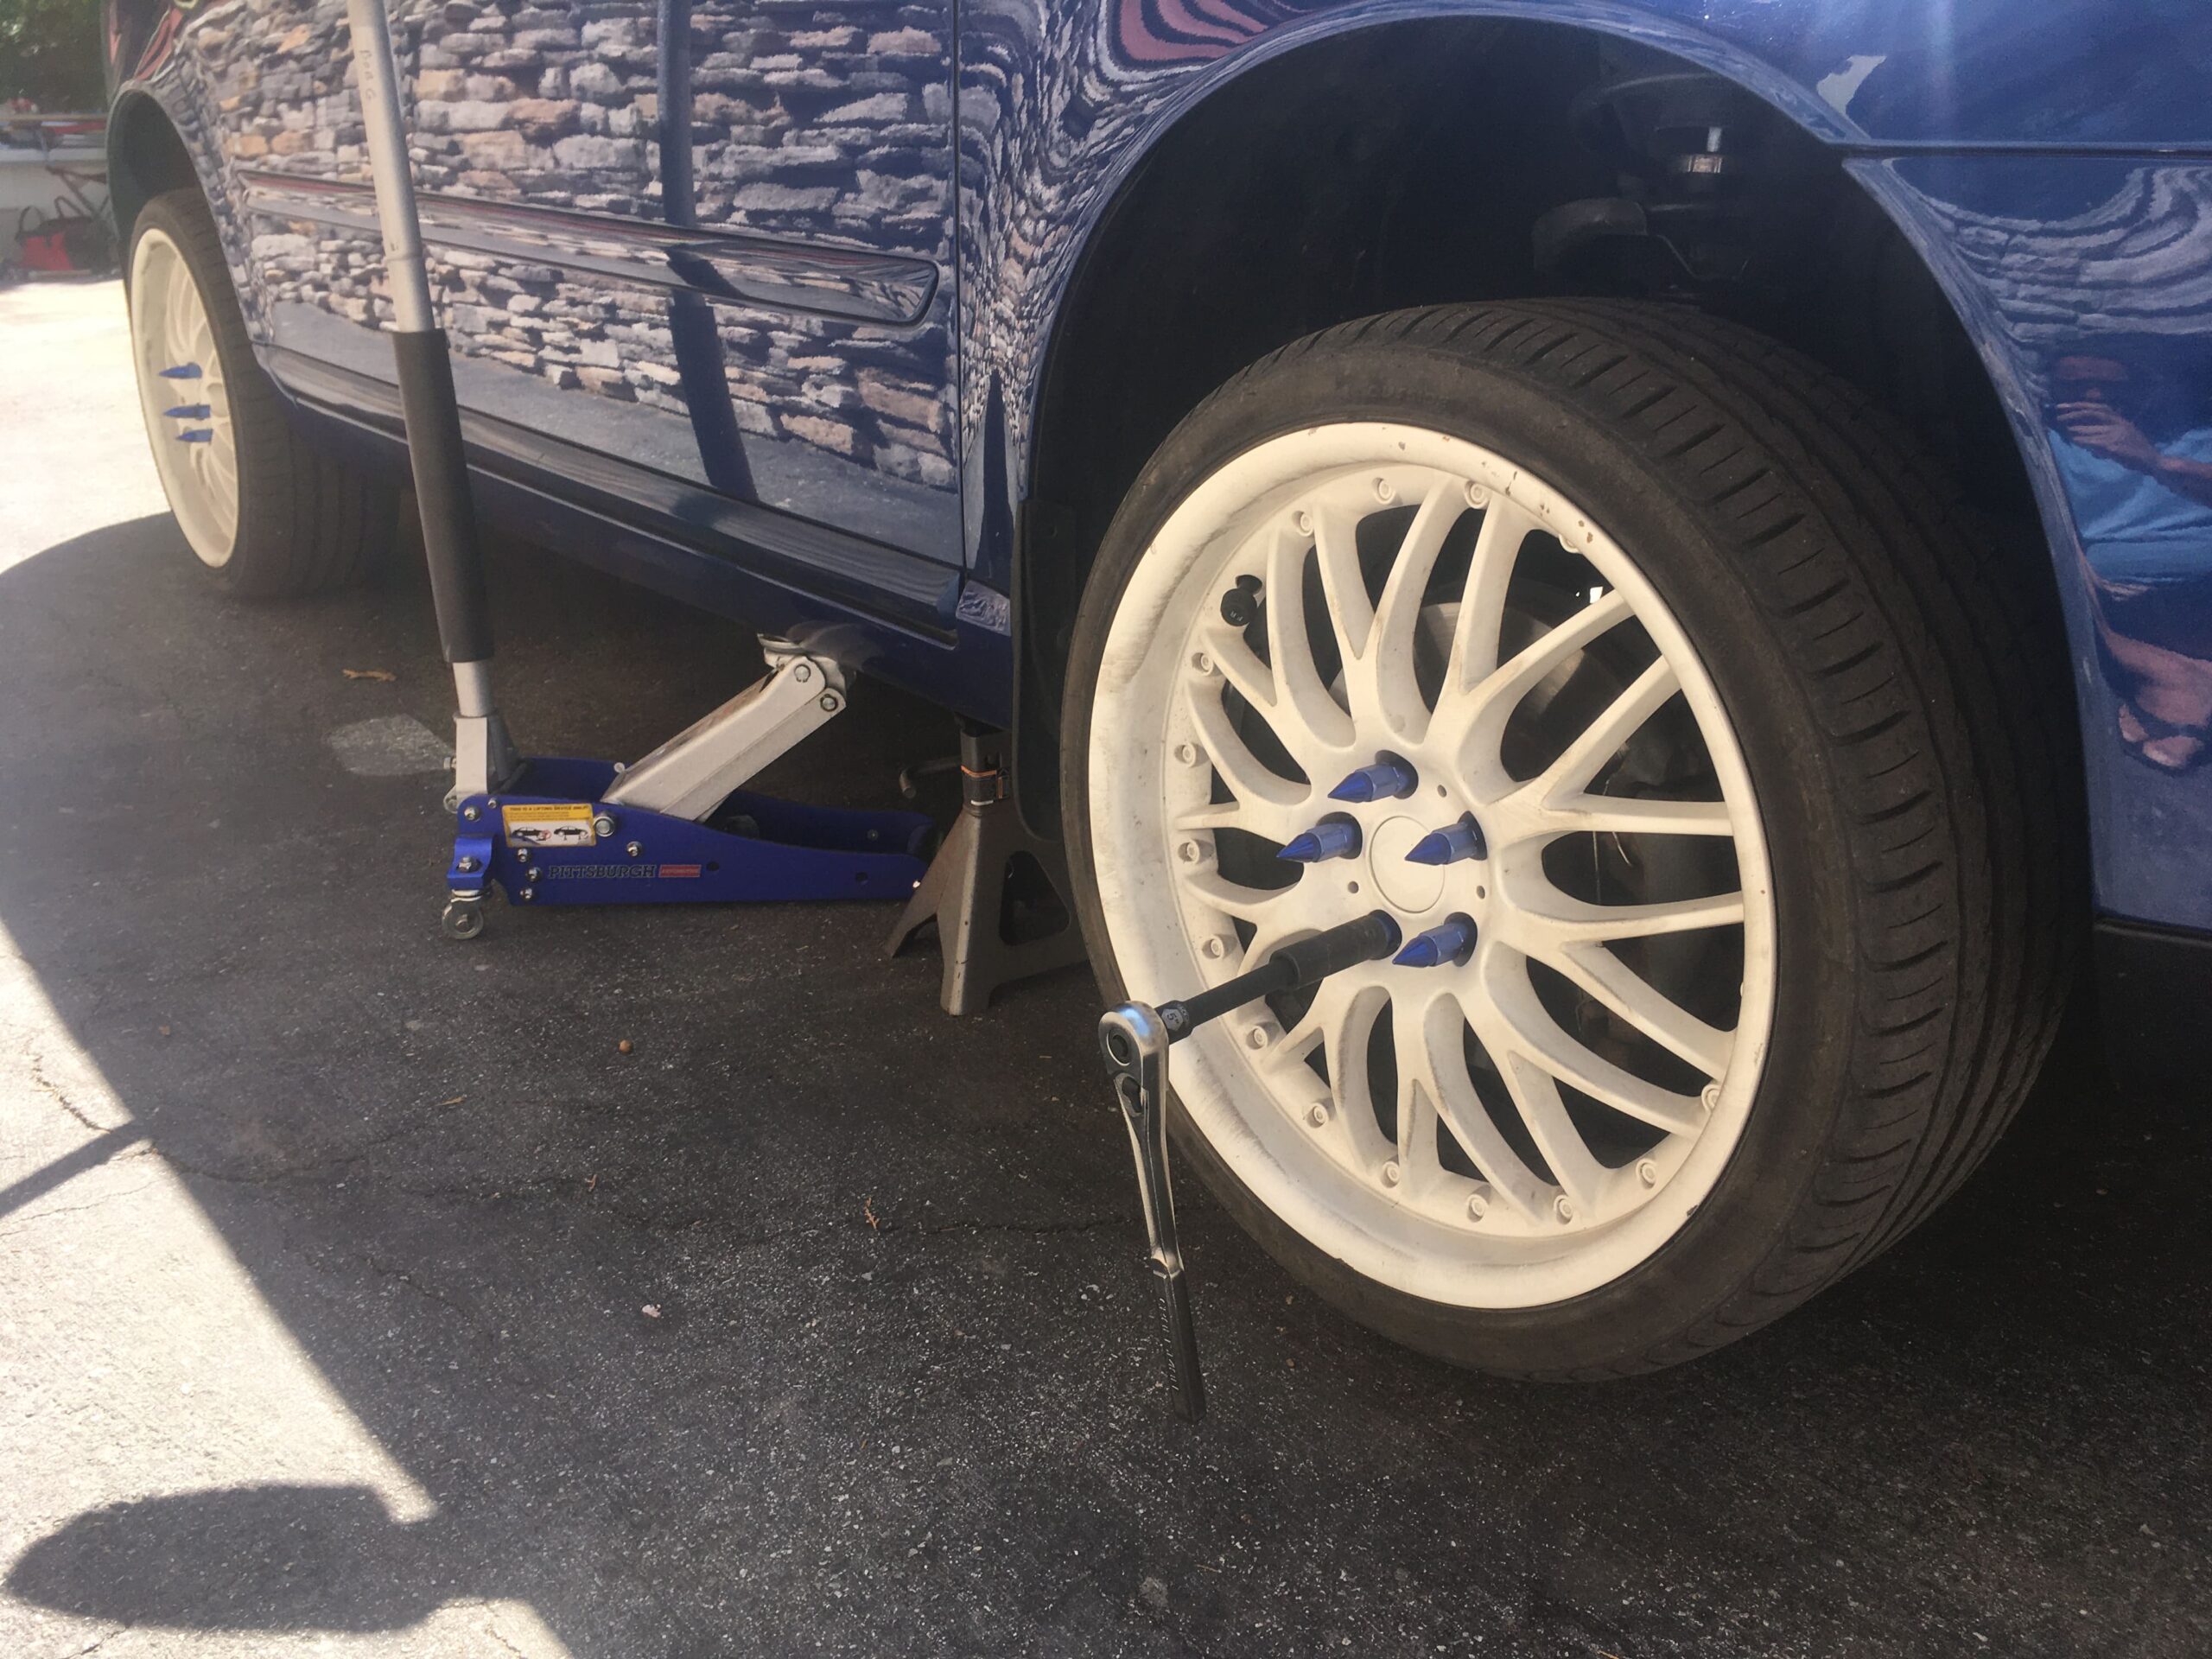
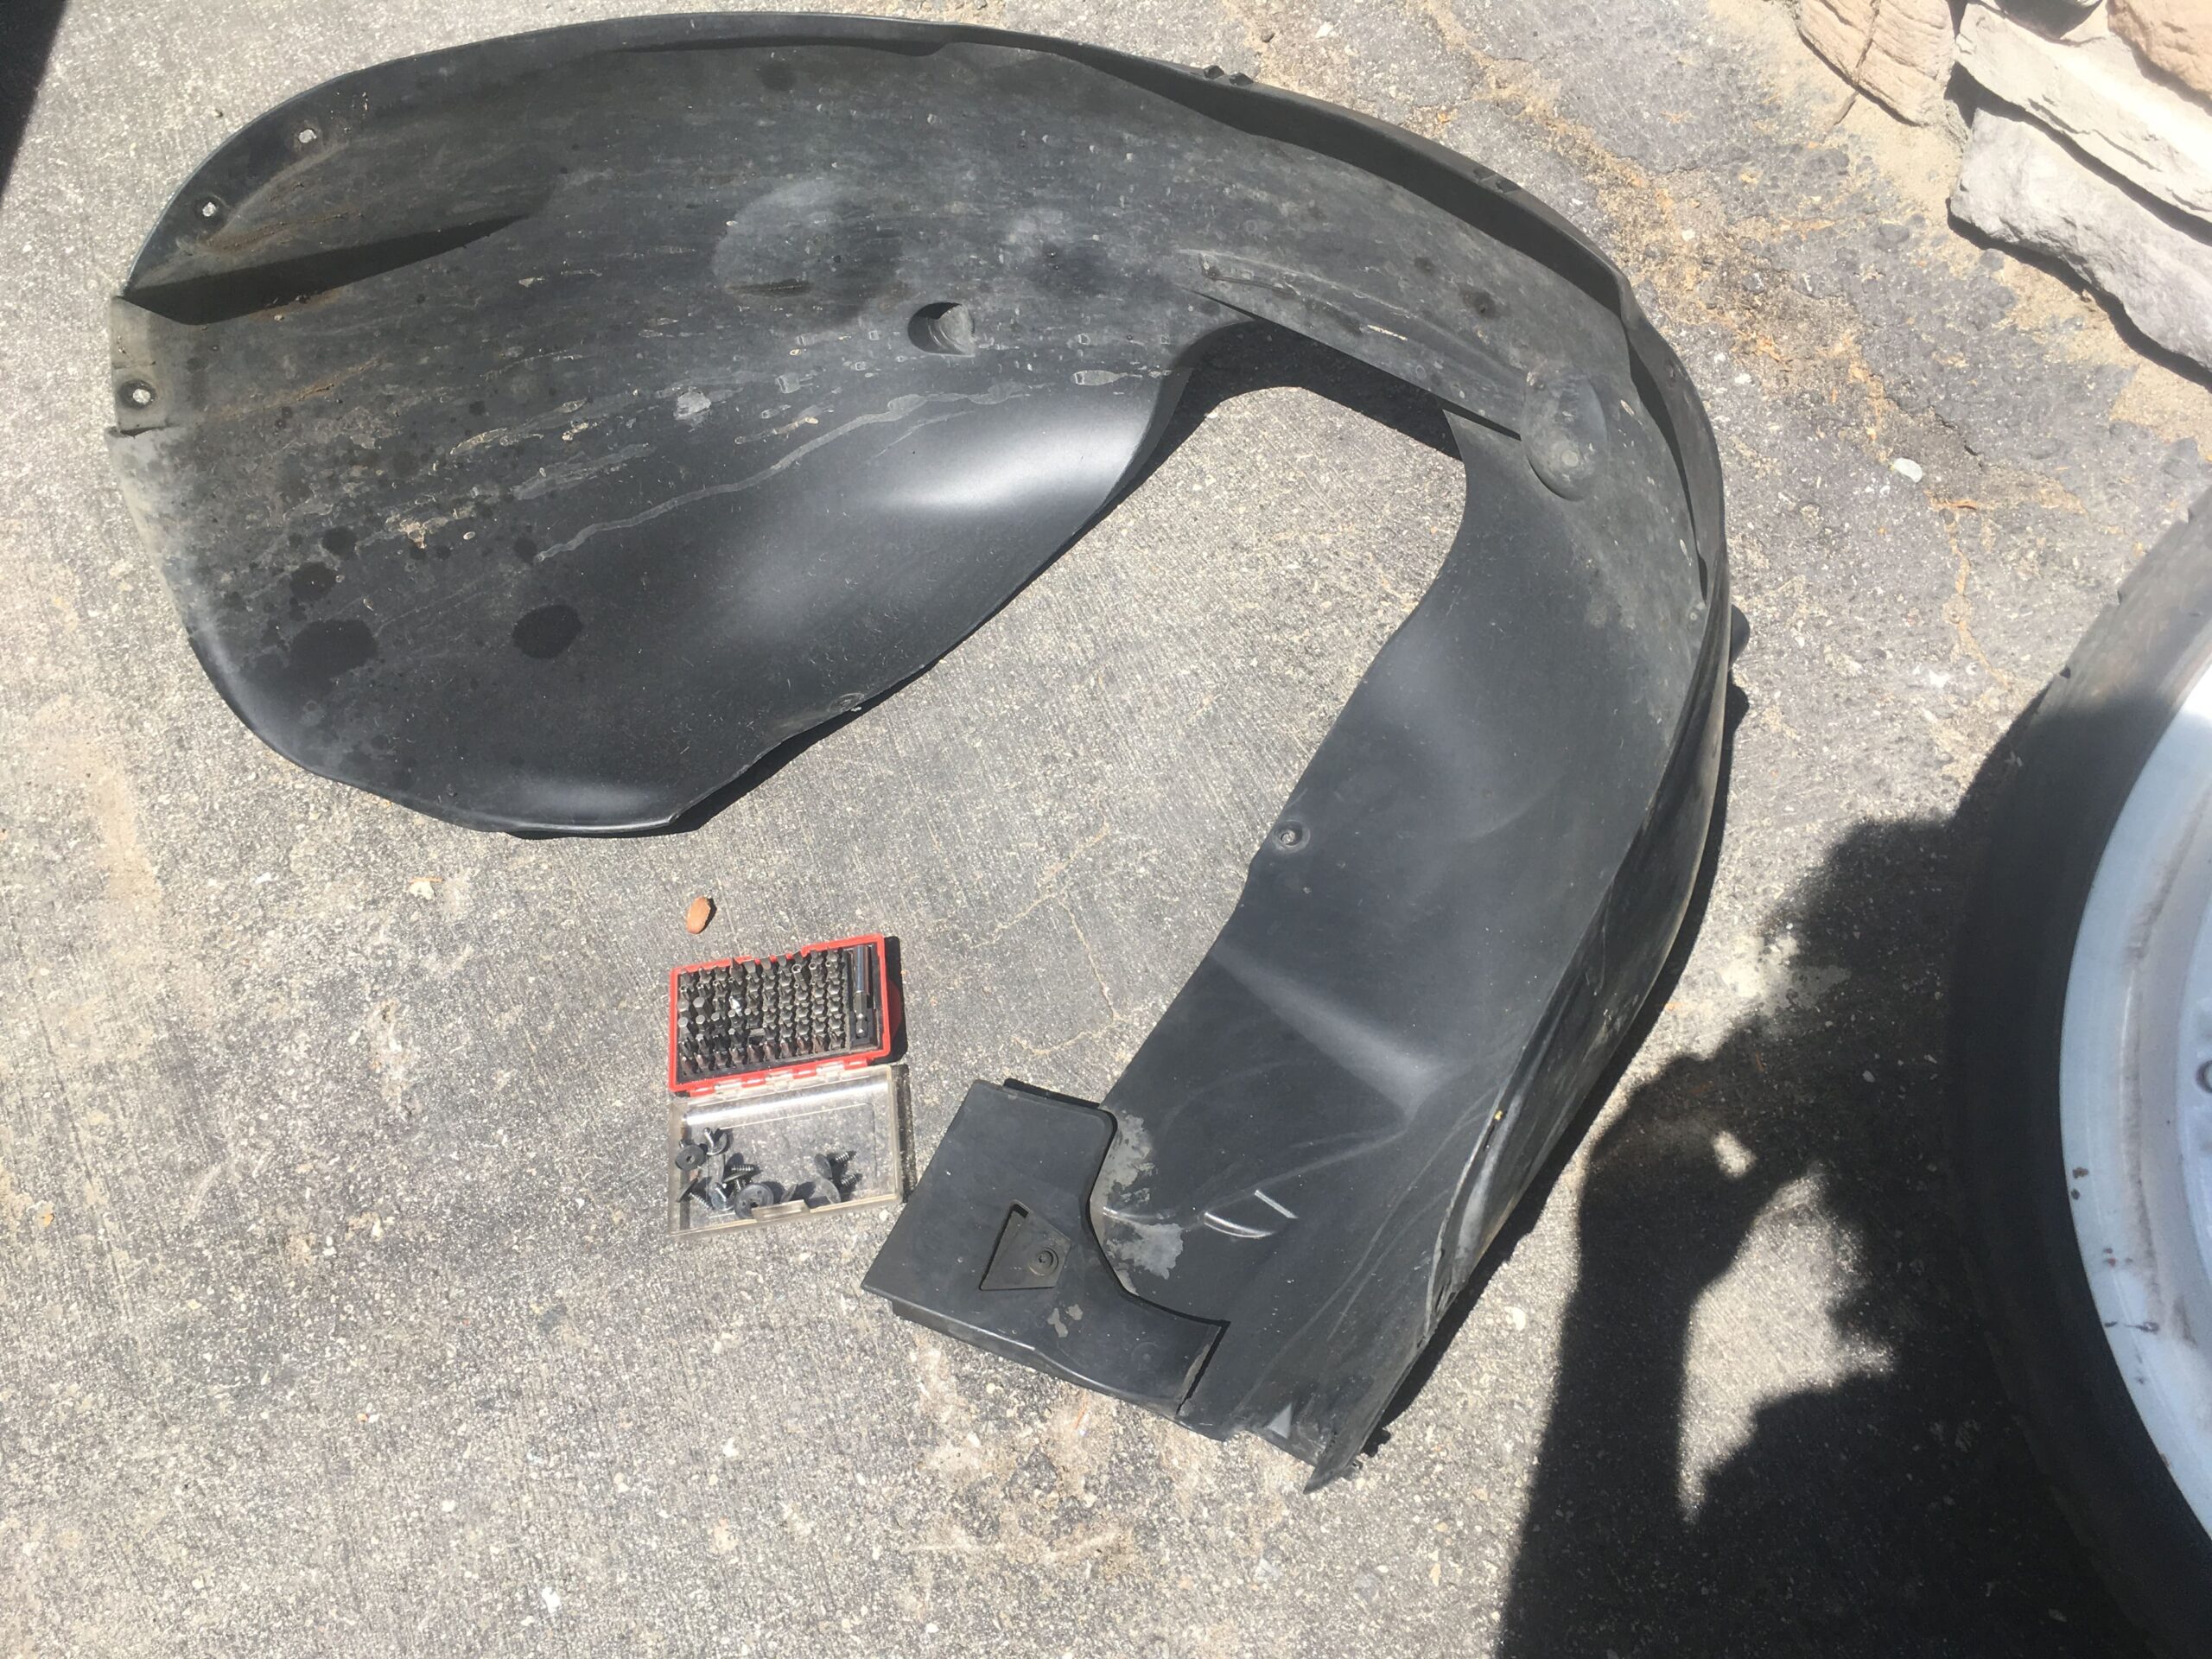
Step 3: Get your wheel out the dang way.
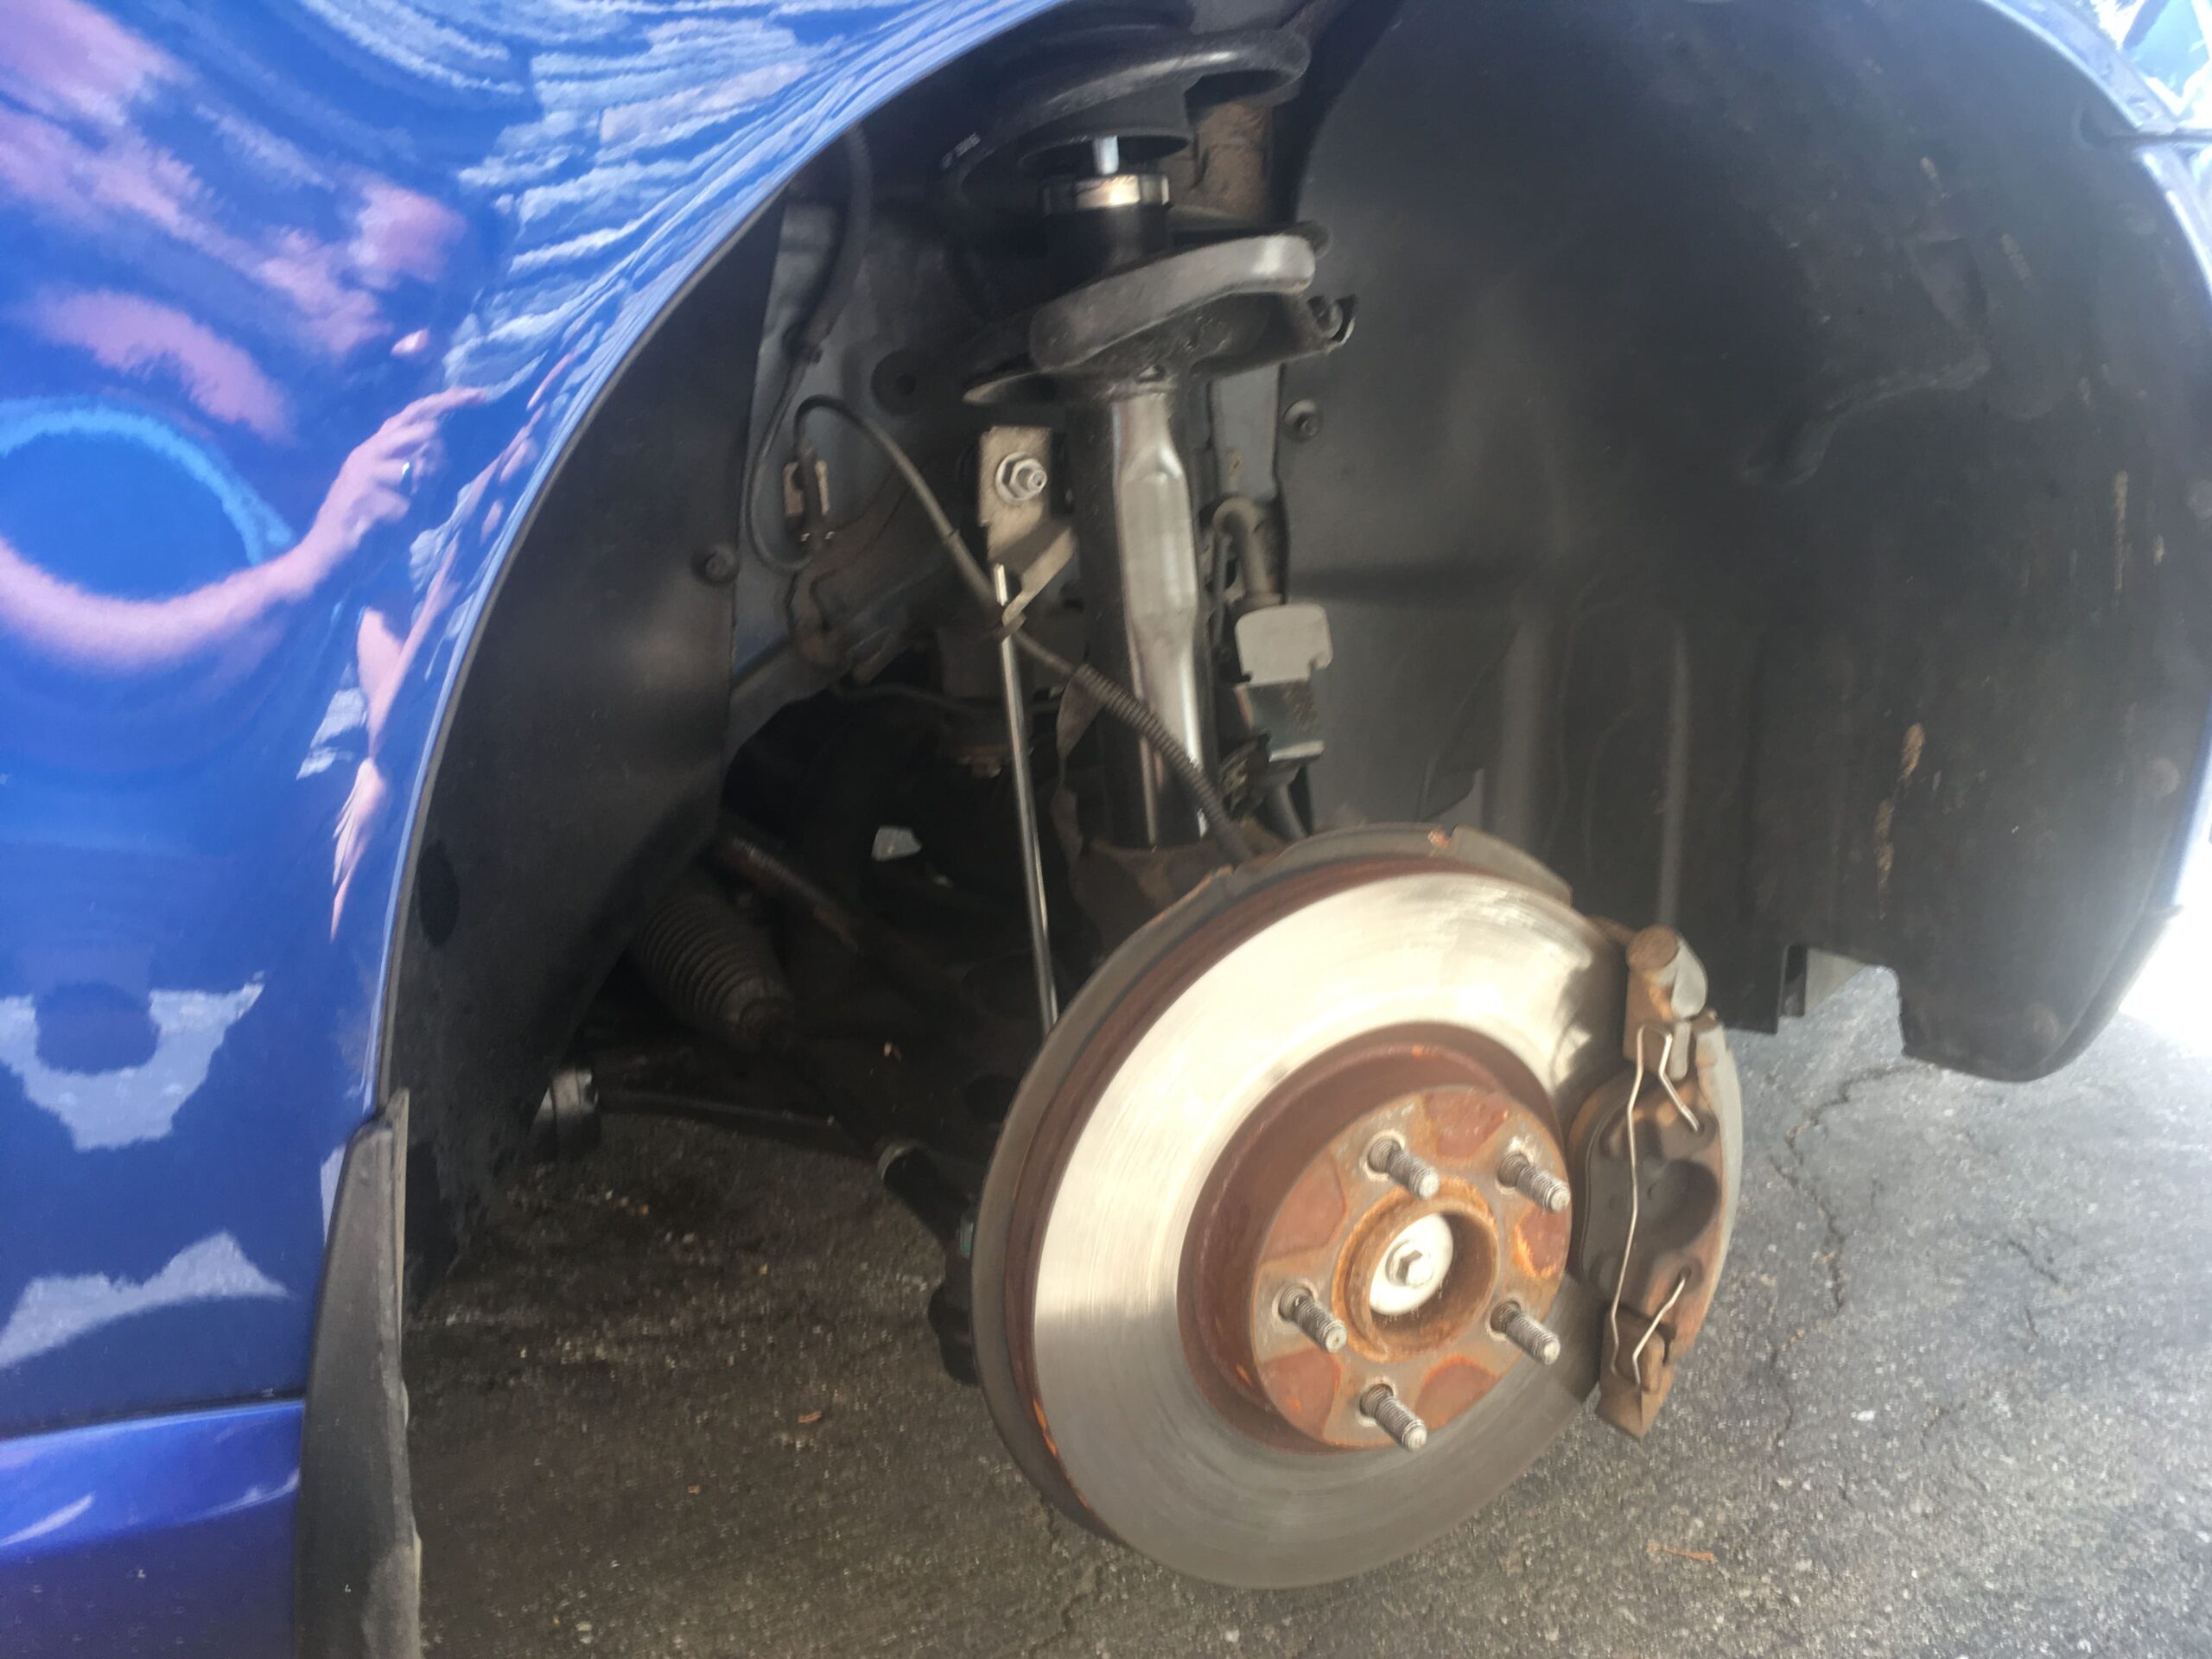
Remove your wheel well/fender liner with a T25 torque bit and possibly a 10mm socket for those plastic nuts, depending on how tight they are. 2 10mm plastic bolts straight in on both sides of your liner, and 9 T25 torque screws around both sides on the liner near where it meets your fender. Toss liner aside, keep the hardware organized.
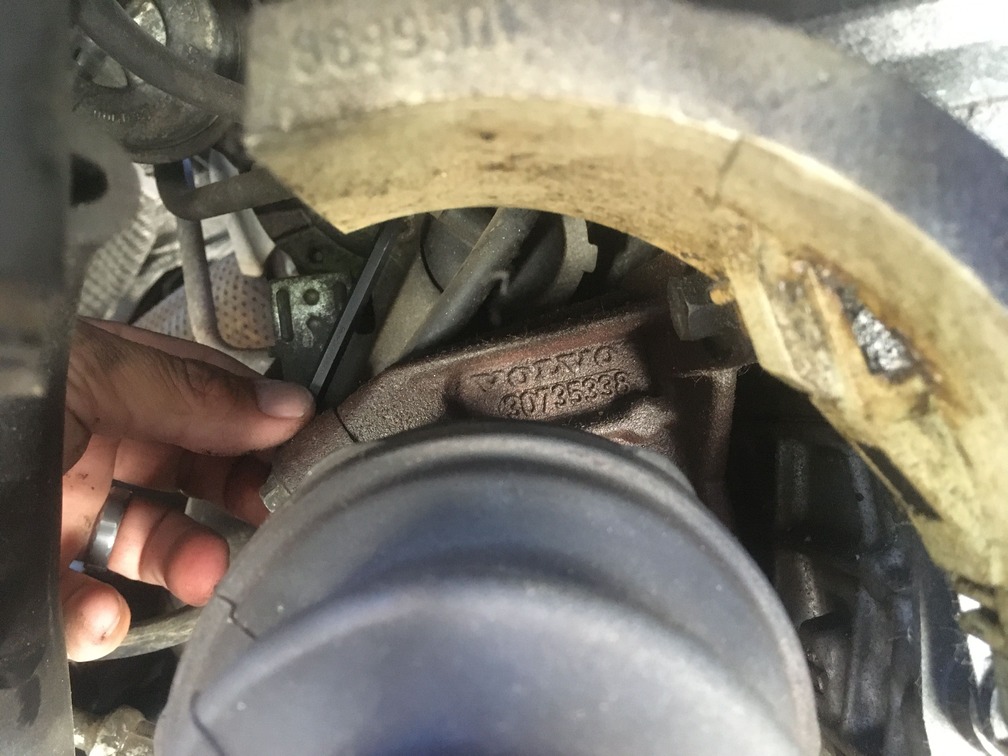
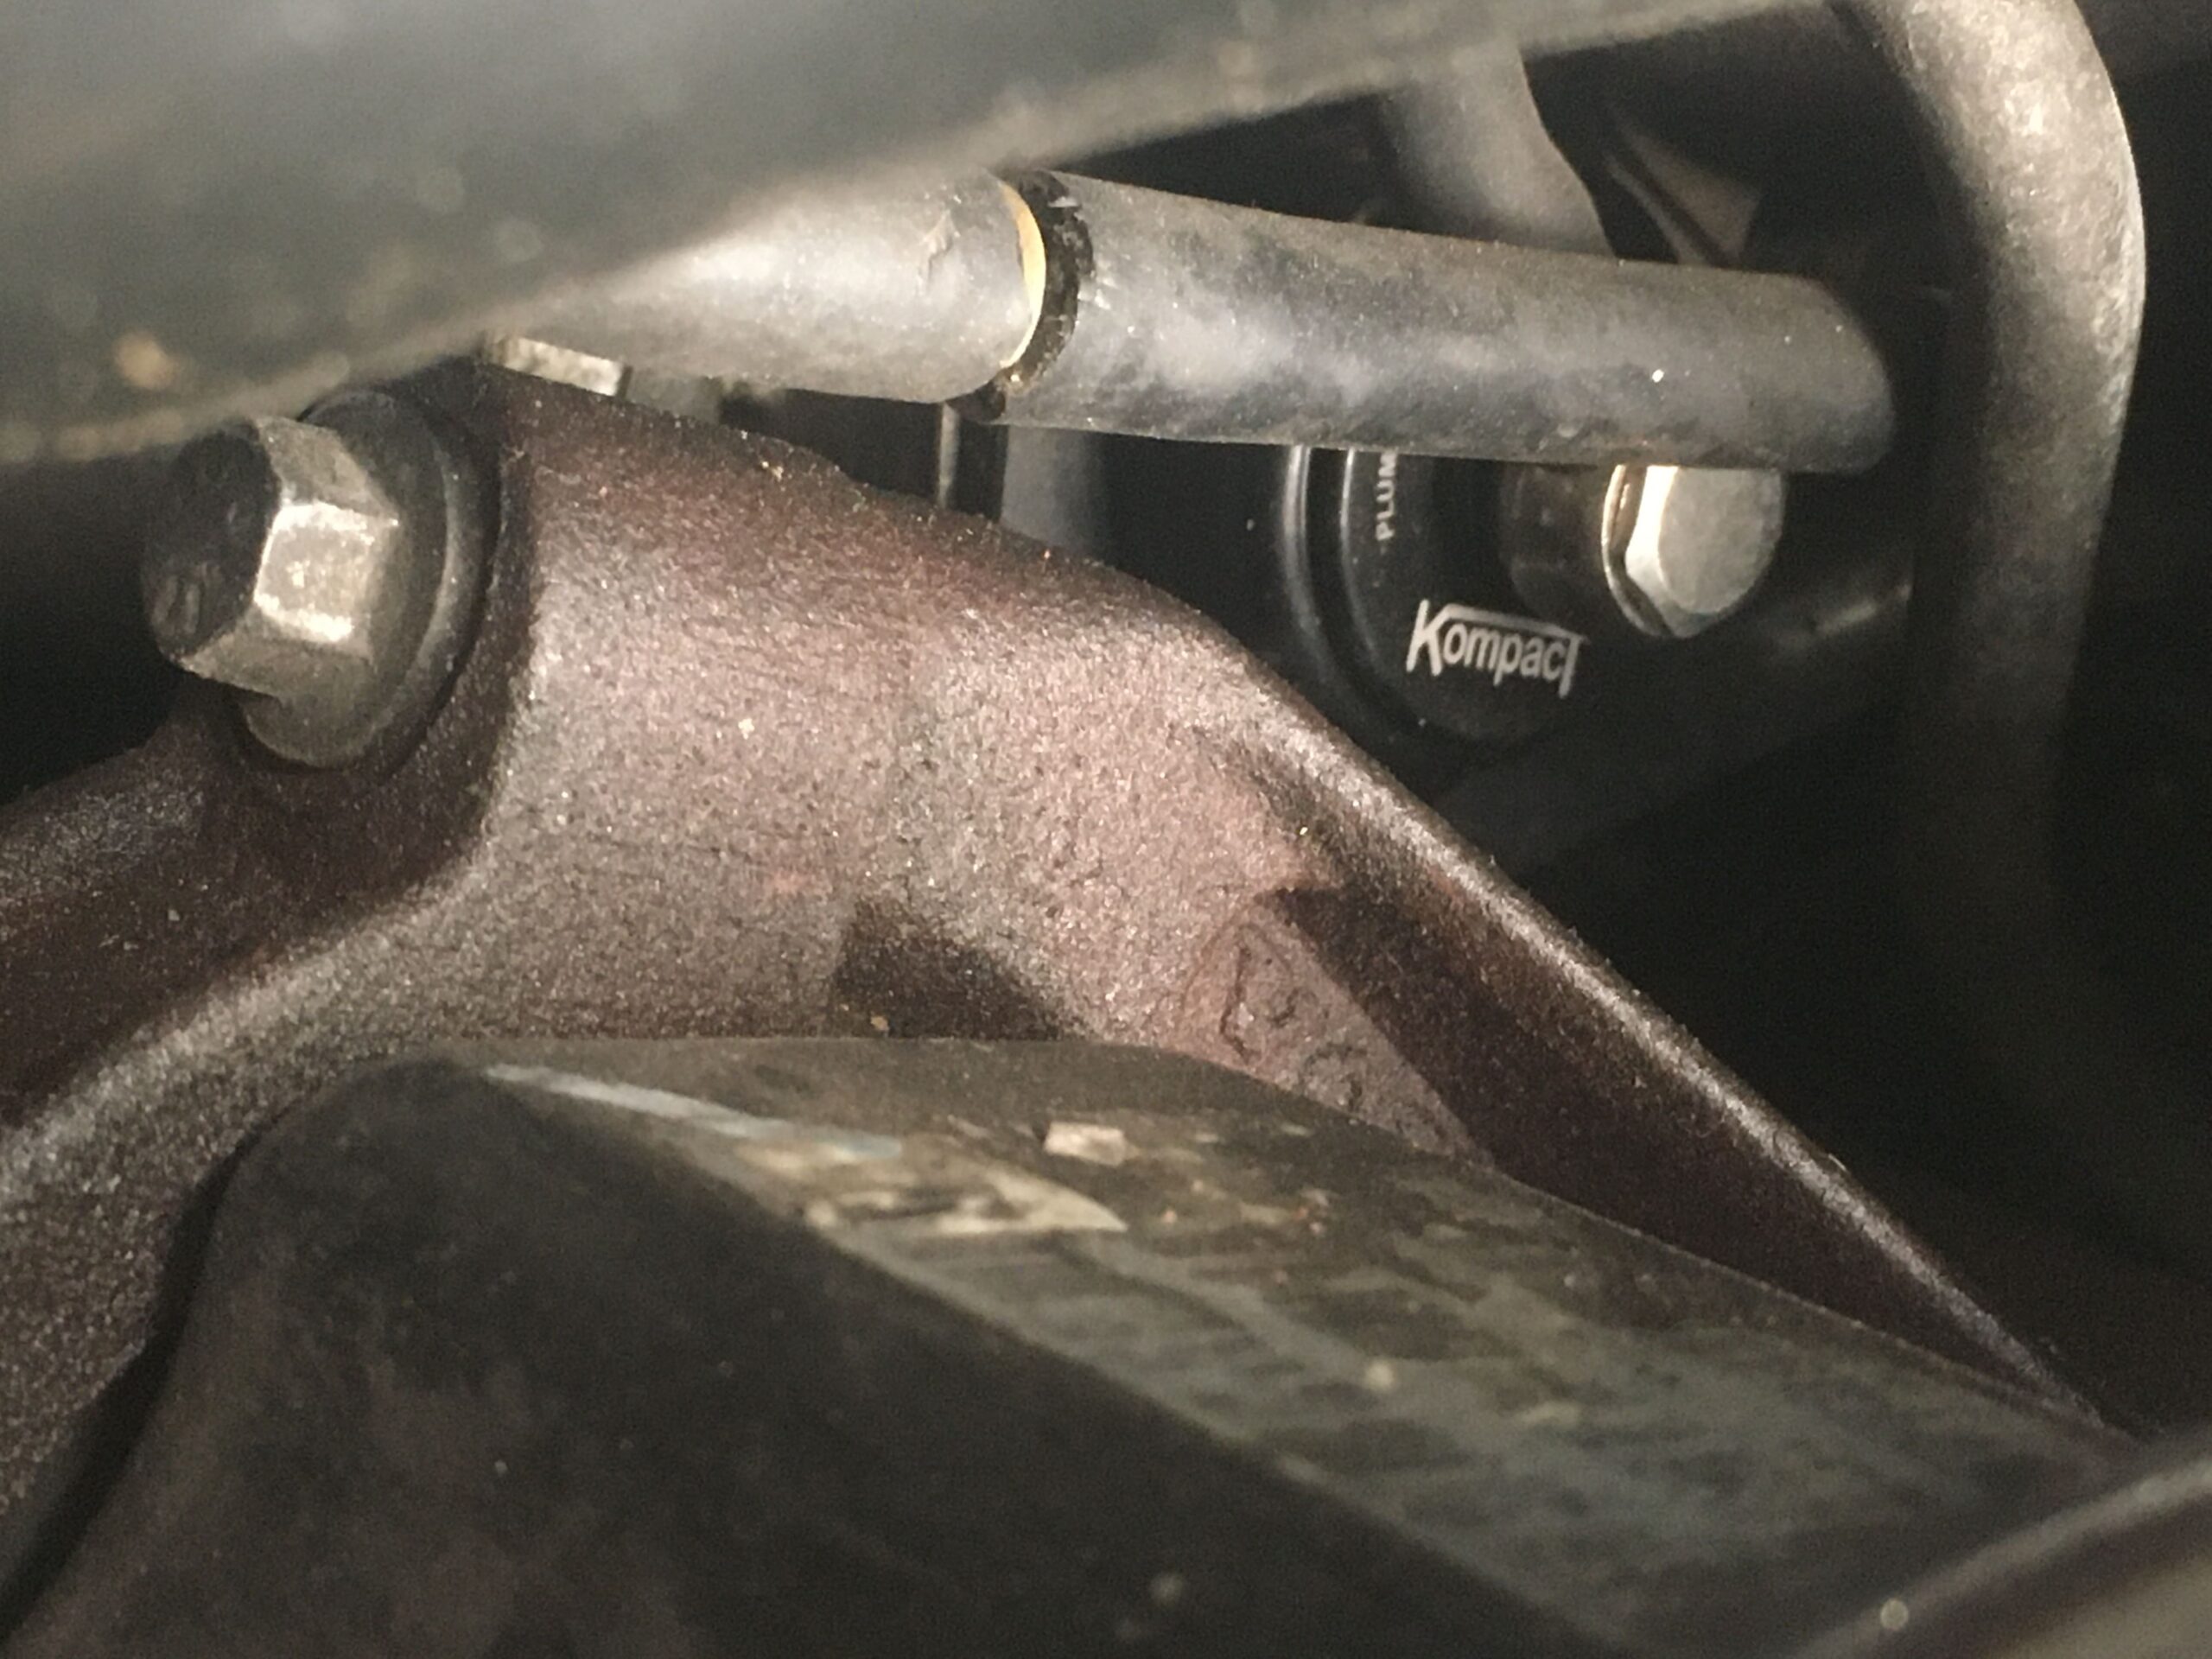
Now you have a clear and direct view of the factory CBV. It is the small black circle in the middle of the picture below, just above the part number you see stamped on the passenger axel carrier bearing bracket.
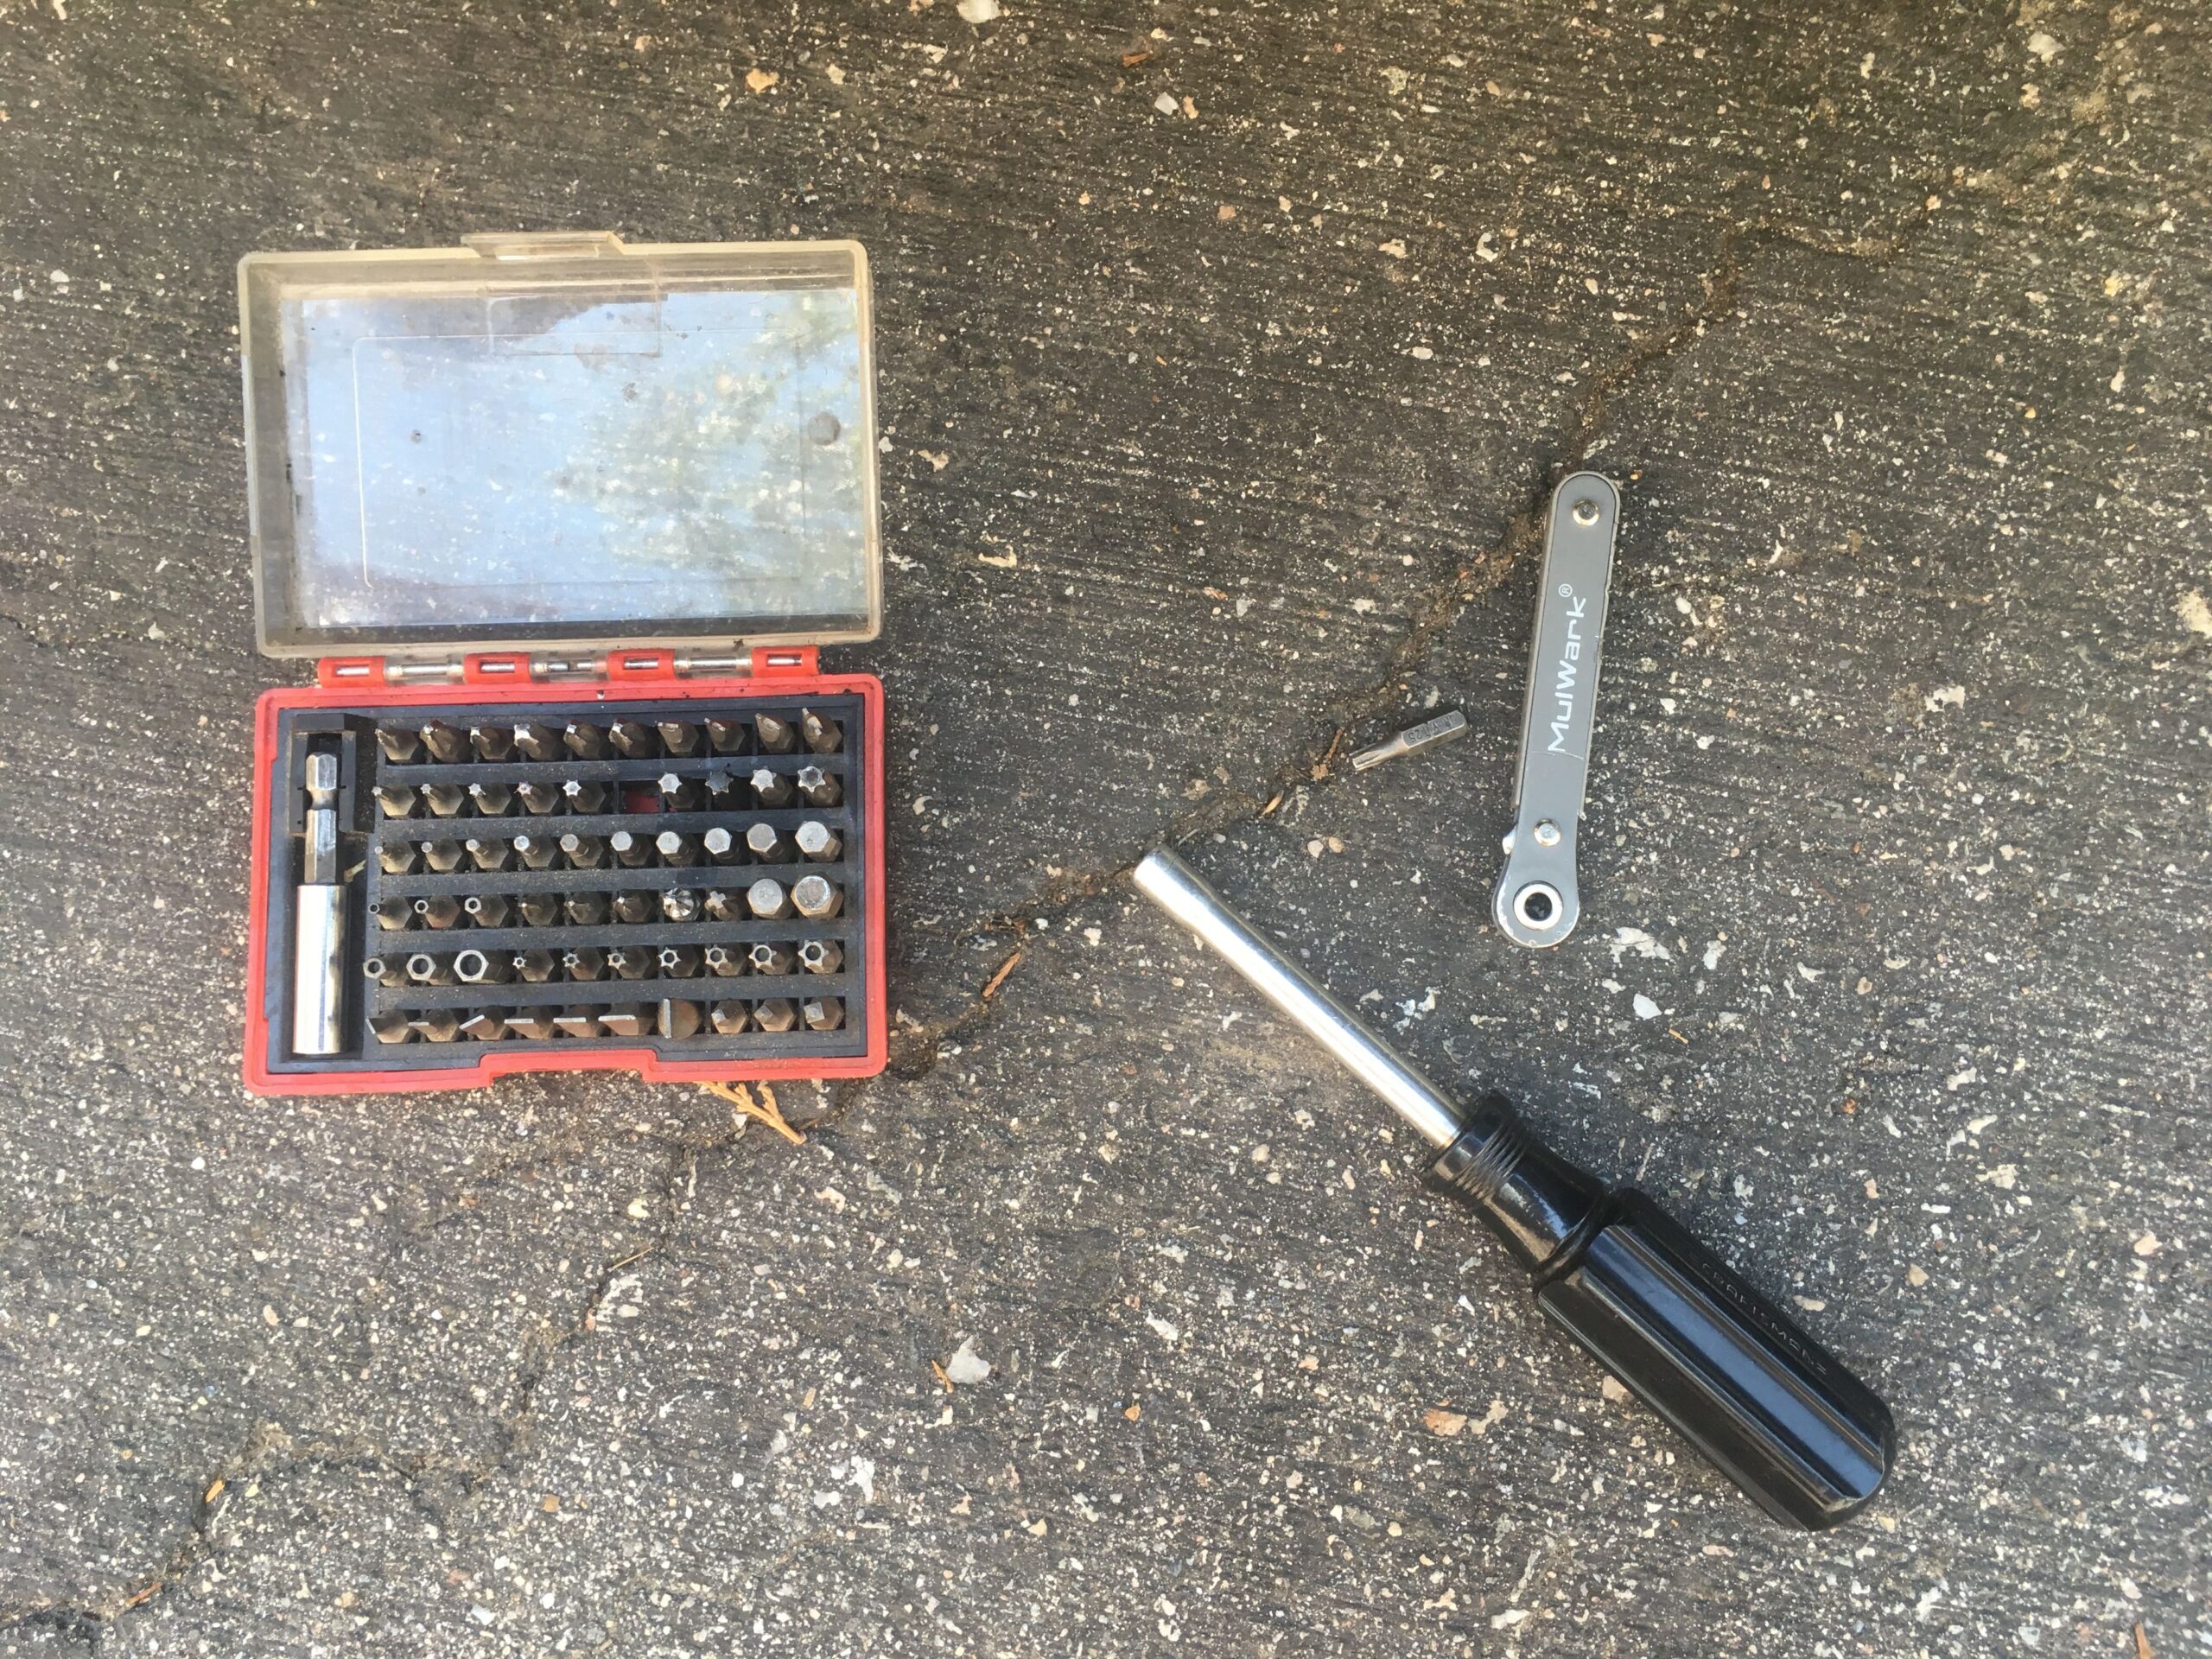
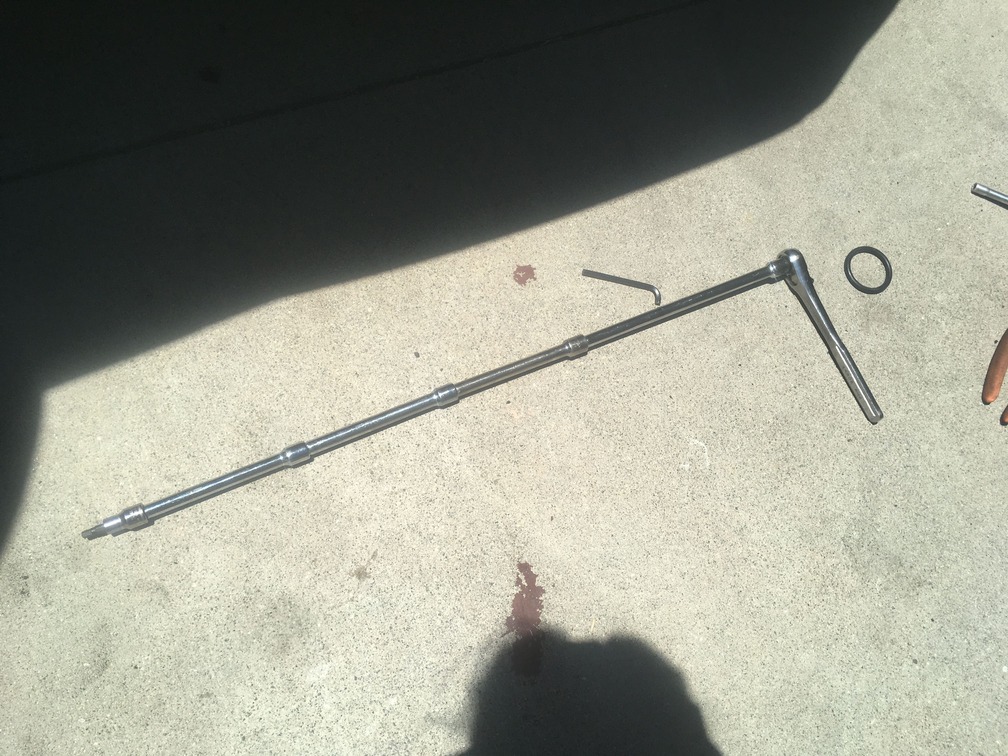
This is where you soon realize that a simple 5mm allen is not going to get you where you need to be. We had that, a stubby 5mm allen, a 1/4″ drive swivel ratchet, and the below pictured 3/8s drive ratchet with about 20″ of extensions.
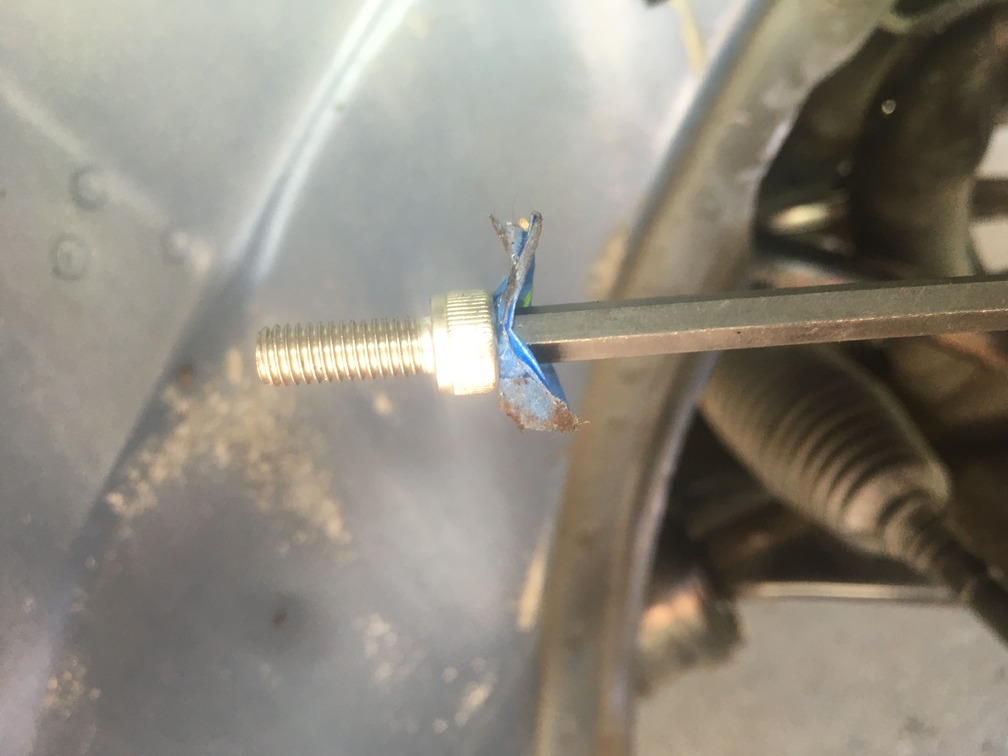
You are going deep in there, and some painter’s tape will help prevent you from loosing your new shinny hardware.
And done…. and while it only took me about 8 minutes to write this article, and you about 3 to read it, the install took a few hours.
There is no easy way to get into the location. As you see below, maybe removing the carrier bearing bracket would free up some room. We were just trying different tools from different angles, and getting a half a turn at a time of these bolts. We were laying on our back, our side, a chair, just really a terrible spot to be trying to get 3 tiny bolts onto. To make it worse, you have hard lines in front of the part, you have to go around.
Be careful, we cross-threaded one, but got it tight, so as long as the part doesn’t need replacement before we go K16, we will be okay.
Long story long, don’t consider this a quick and easy install. Plan some time, get up and walk away from time to time, and be careful.


