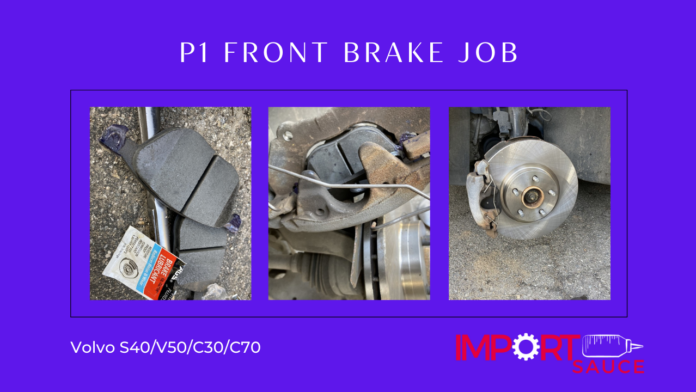
Updating Worn Brakes & Rotors Quickly
This overview will cover the basic pad and rotor replacement on the front brakes for P1 models. For this servicing, we are still using the factory replacements, so essentially the stock components, not any upgraded or “Big Brake” kits.
IPDUSA is our go to choice for replacement Volvo parts because of the price and the fast shipping. Part number links are to IPDUSA.com. Factory Part Numbers for Reference:
Brake Pads: 280mm (rare), 300mm (30793618) and 320mm (30742029)
Rotors: 280mm (rare), 300mm (31471819) and 320mm (31400942)
Pad size and rotor size will depend on the trim model of your vehicle. For the most part, your fronts will be 300mm. 320mm came on the T5 M66 (manual transmission), and in some rare cases the 280mm will be for the 2.4 auto tranny. You can cross reference your vin with the local dealer for the exact part number.
Step 1: Break the lug nuts loose before jacking up the car. Most Volvo lugs, we have found, are a 19mm.

Step 2: Jack up the car, and place your jack stand in place to secure the car. We always leave the jack in place with a little tension as added security.
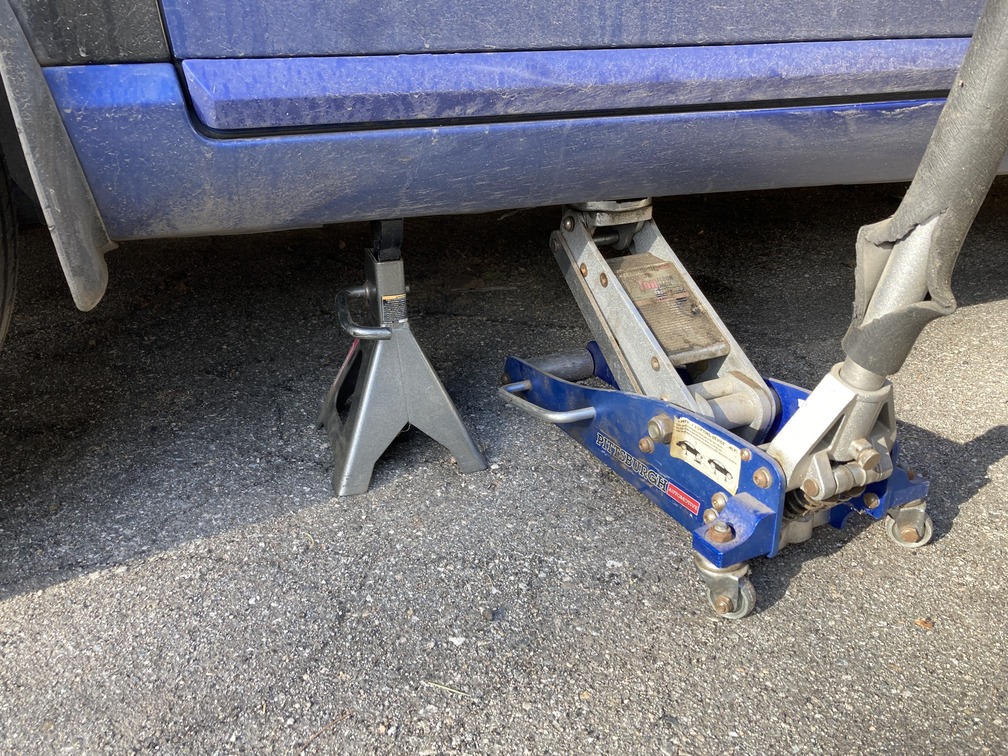
Step 3: Remove the lugs and pull the wheel off the hub assembly.

Step 4: Since we are replacing the rotors, we are pulling the entire caliper assembly off. Do this by locating the 2 13mm bolts on the back of the hub assembly. Remove these and set your caliper aside, be sure to support it somehow so you are not letting it hang by the brake line. We just set ours on top of the hub assembly.


Step 5: Remove the rotor and compare it to the new one you purchased to make sure it is the correct size. Then slide the new one into place.


Step 6: Make room for the new brake pads. Remove the small retainer clip that simply “plugs’ into the caliper. Just pop it off with a screwdriver by prying it away.
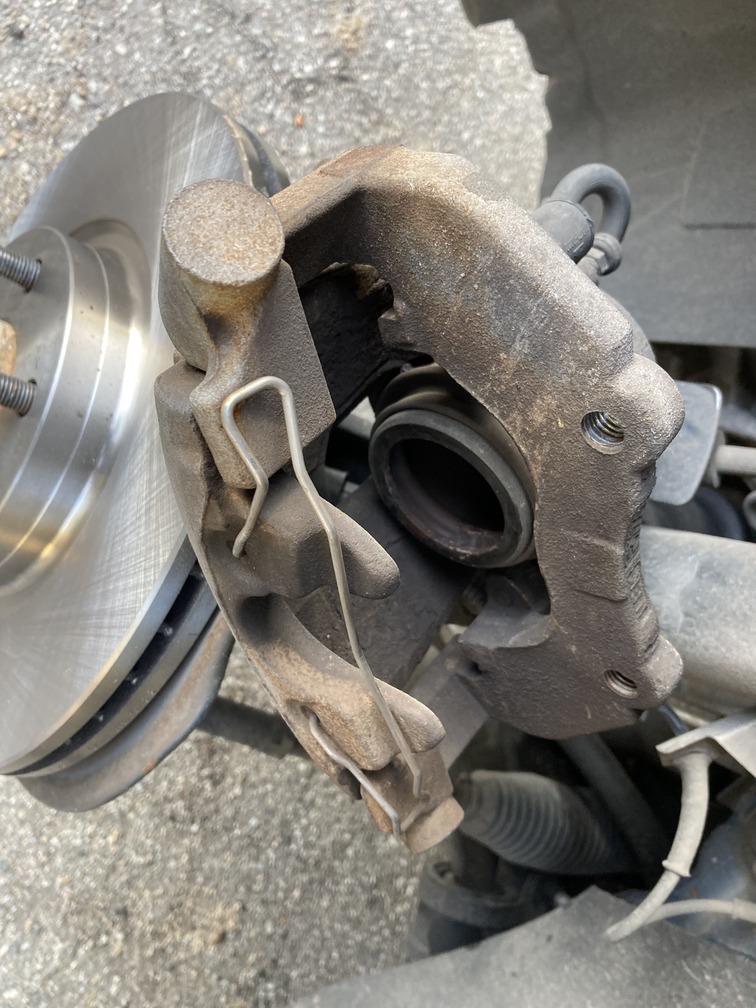

Step 7: Pry out the old pads, and then compare them to your new ones. The pad against the caliper piston has 3 prongs holding it in place, so be forceful with your prying.

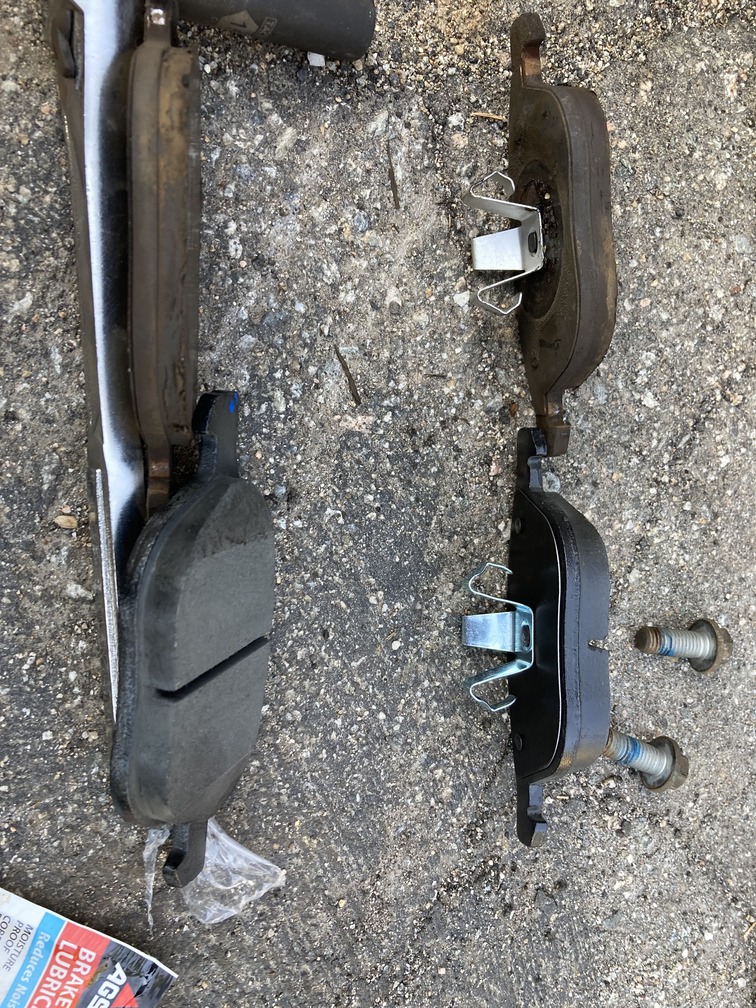
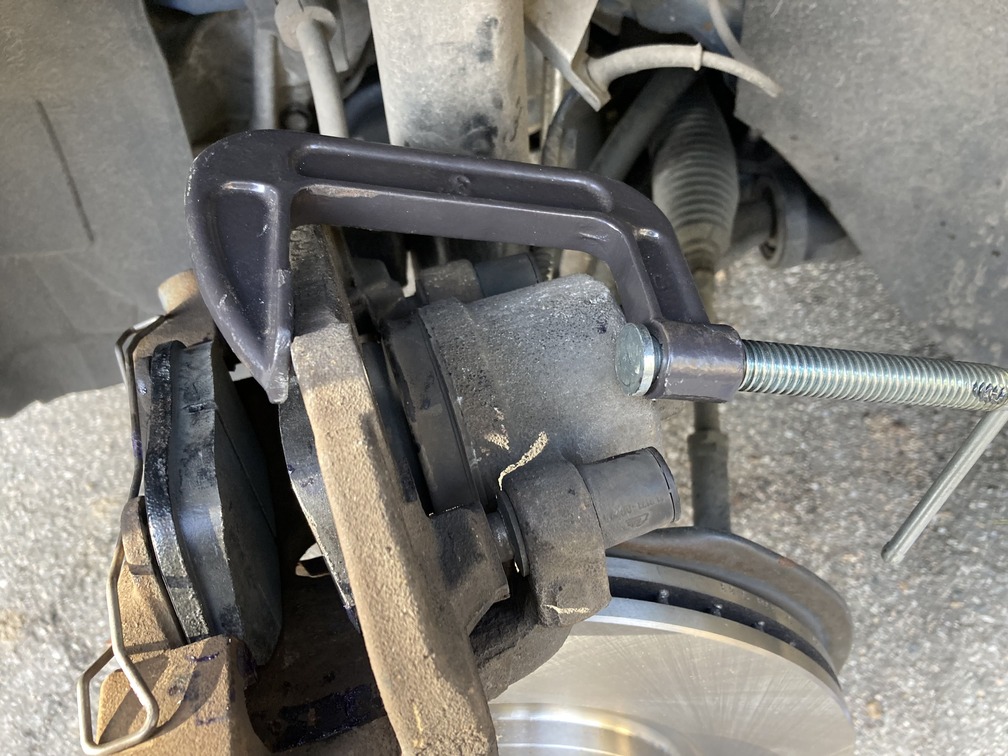
Step 8: Compress the caliper piston back all the way to make room for the new pads and rotors. When simply replacing pads, you may be able to avoid this step, but since the pads and rotors are new and at full meat, we needed to make room.
Initially we tried a simply C-clamp, but then went to the toolbox for our caliper compression tool. This was a cheap tool we use all the time. And for the rear brakes it is a must since those pistons must rotate while being compressed. Our Harbor Freight tool, Maddox Disc Brake Pad And Caliper Service Tool Kit 11 Pc, has lasted years.


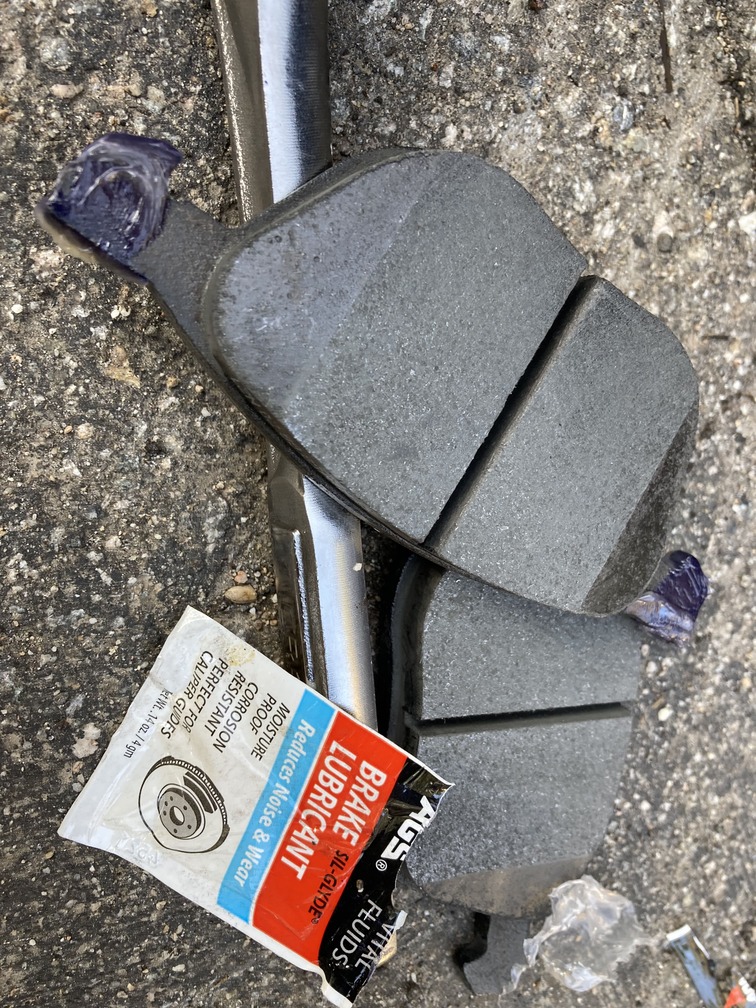
Step 9: Prepare the new pads with your favorite “quiet grease”. We applied it to all places where metal meets metal as well as in the sliding grooves.
Step 10: Slide the new pads into place. The piston side pad will require some force to seat the prongs. Make sure it is seated evenly and flush to the piston.
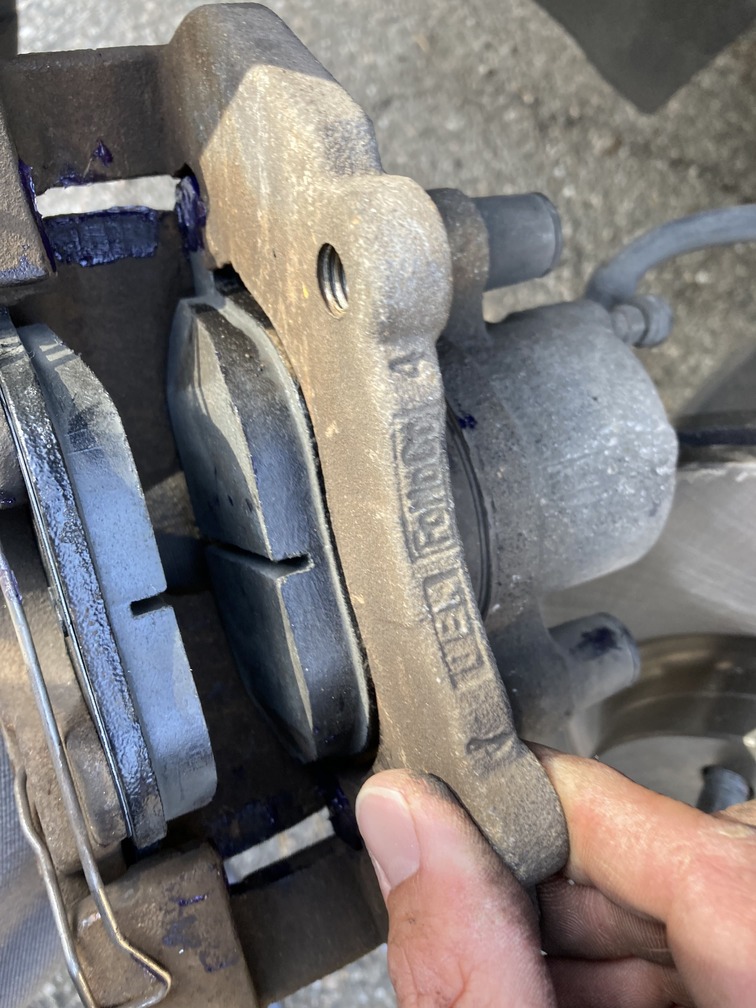
Step 11: Put the caliper assembly back on the wheel hub assembly. Torque the bolts to spec. 120 Nm or 89 ftlbs.

Step 12: Pop the retainer clip back into place.


Replace the wheel, lower the car, torque lug nuts. Start the car, pump the brakes to regain pressure and then do a test drive in a controlled area.


