


Don’t buy new axles cause your boots be t(ripping)
As a part of our first ever in history documented Volvo P1 (S40/V50/C30) auto to manual swap, we had to rebuild our Volvo original axels. Here we will walk you through the entire process to get your axels good as new, for a lot cheaper than simply buying new ones.
Why Not Buy? Why Re-Build?
Well…. you either have the option to rebuild, or you don’t. In many cases a torn boot is not the end of your axels, but it is the time when you should immediately address the issue, to prevent from falling into the “must replace” category.
The CV Boot is just a simple piece of molded rubber, that keeps the axel grease in place. The problem is that after extensive mileage, and wear, the rubber will break down and crack and then rip. At this point the grease will start to fling out and make a huge mess in your wheel wells and under your car. Sometimes it can be hard to spot the problem if the boot isn’t fully shredded as the grease can appear as more of a liquid oil, leaving you wondering where your leak is coming from.
Once you identify the boot as the problem, it’s time to pluck that axel and get to work. If you fall into the category were you did not notice your grease flinging out, and the problem was brought to your attention via load clacking while turning, then you may be too far gone.
After you ride your CV joints without grease the bearings are left to just rub metal on metal at high rates of speed and an increased temperature, both causing pre-mature failure of your axels. It doesn’t take long for the metal to warp, crack or snap off, which is typically where you will find the source of your clacking. Sorry, this article isn’t for you, but you may find it useful for next time to save your axels before it’s too late.
In our case, our axels were not leaking, but we got them from a donor car, and before putting them into our car for our tranny swap, we want to make sure everything is up to spec. Also, the after market replacement axels for Volvos are typically far less superior in quality, and have been known to give some fitment issues, so we are re-building.
Step by Step: The Axle Rebuild
Too lazy to read… that’s okay, here is the video overview of the rebuild:
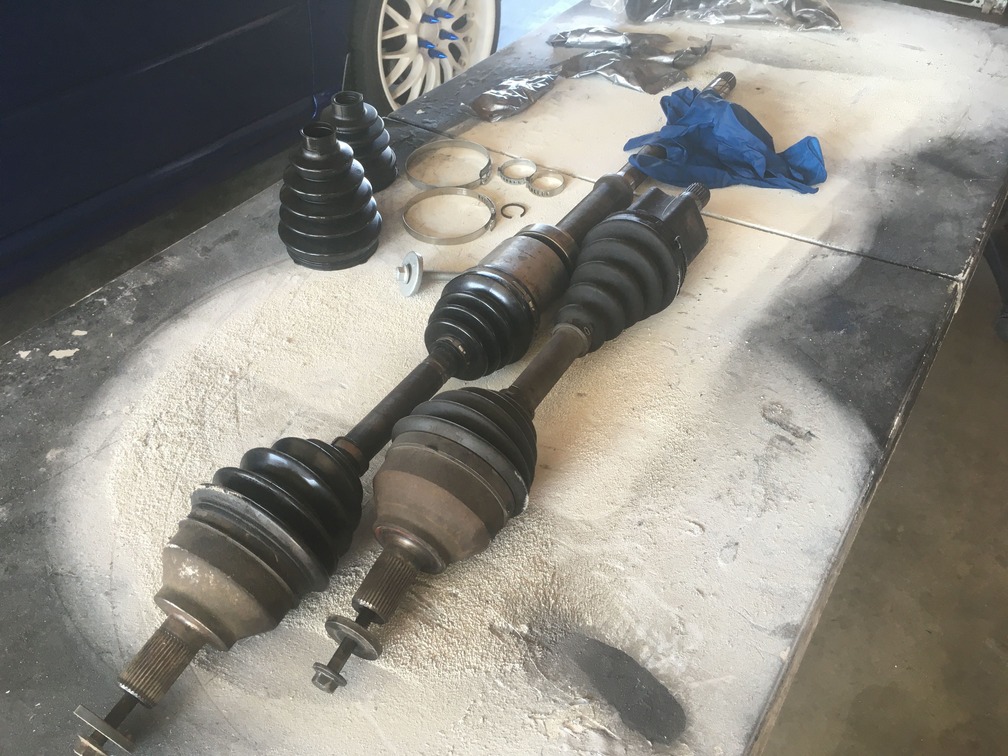
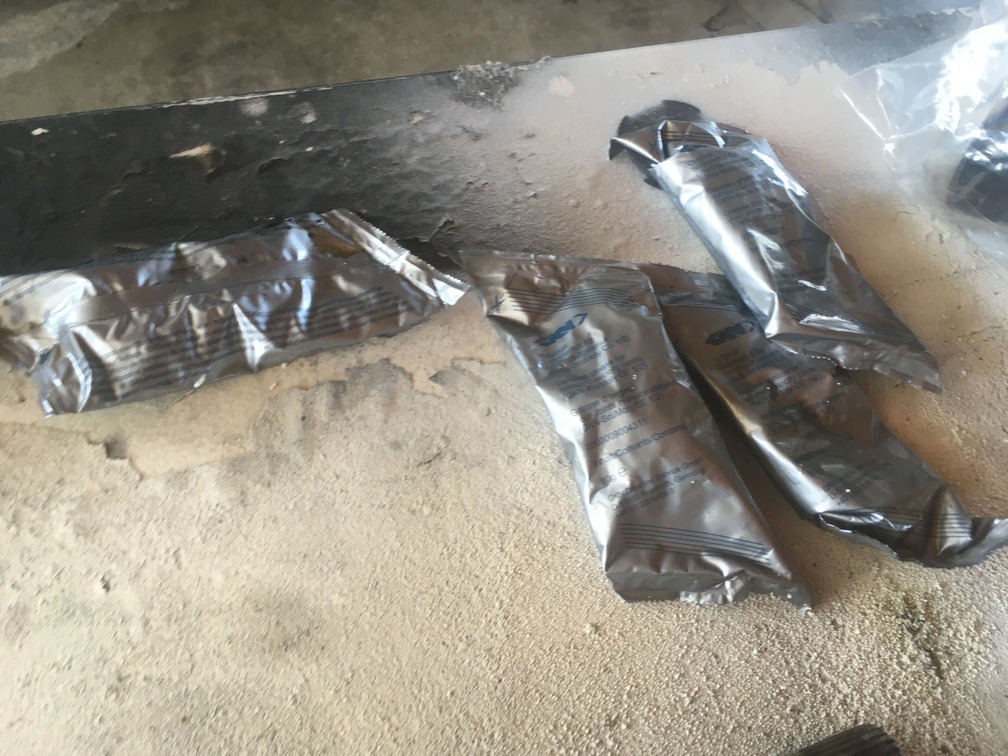
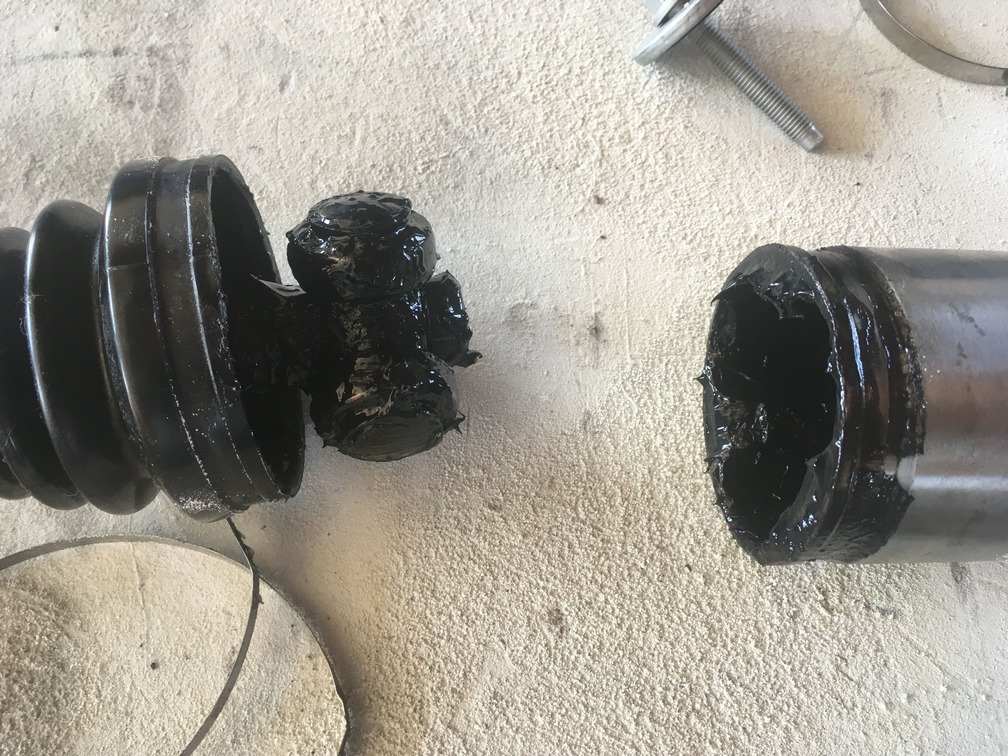
First of all, you need to track down and find your axle rebuild kit. You can find these at your local auto parts store, or your favorite online parts store. They typically cost about $20-50 depending on the make of your car, and keep in mind you will need 2 boots, all the grease, and most kits will come with new clamps, new lock rings and a new axle bolt. Some kits are not complete and you will want to make sure you’re getting the “inner” and “outer” boot. Below are our axles and rebuild kits.
Tearing The Axles Down
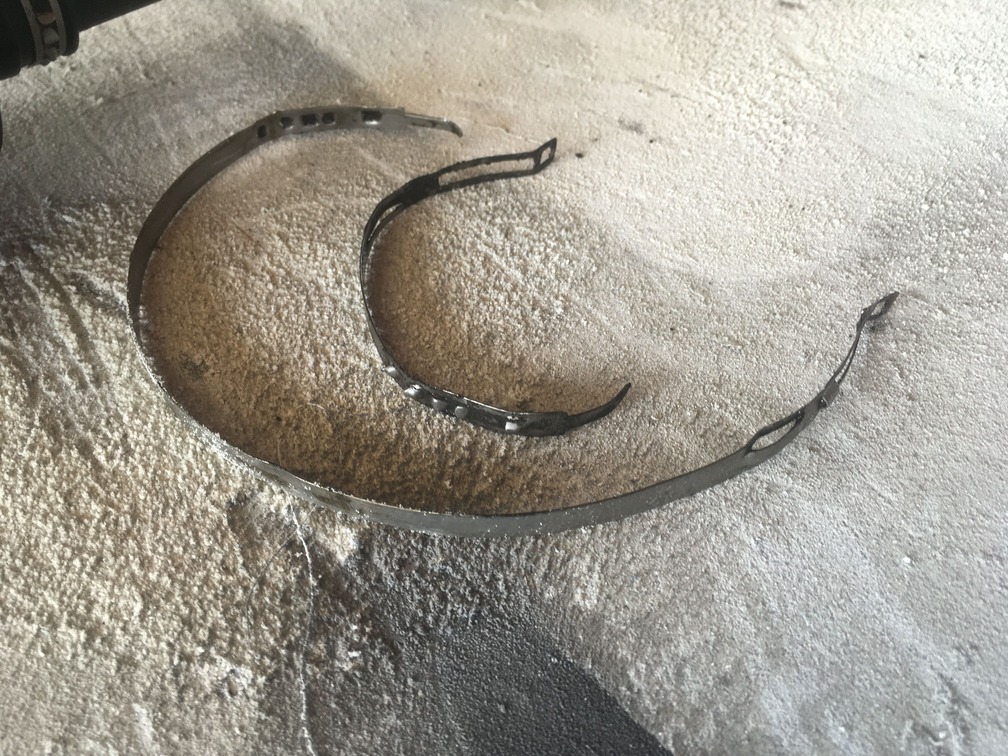
First step is to remove the clamps. Do this by using some needle nose and un-hooking the clamps hooks. From there the clamp rings will pop off. Your new kit should have new ones, and if not, your parts store will have them. Do not use these old ones again. They are already stretched out and lost their original tension once you removed them. A lose clamp will put you back in the same boat you’re in now. In a pinch I have also used a large hose clamp.
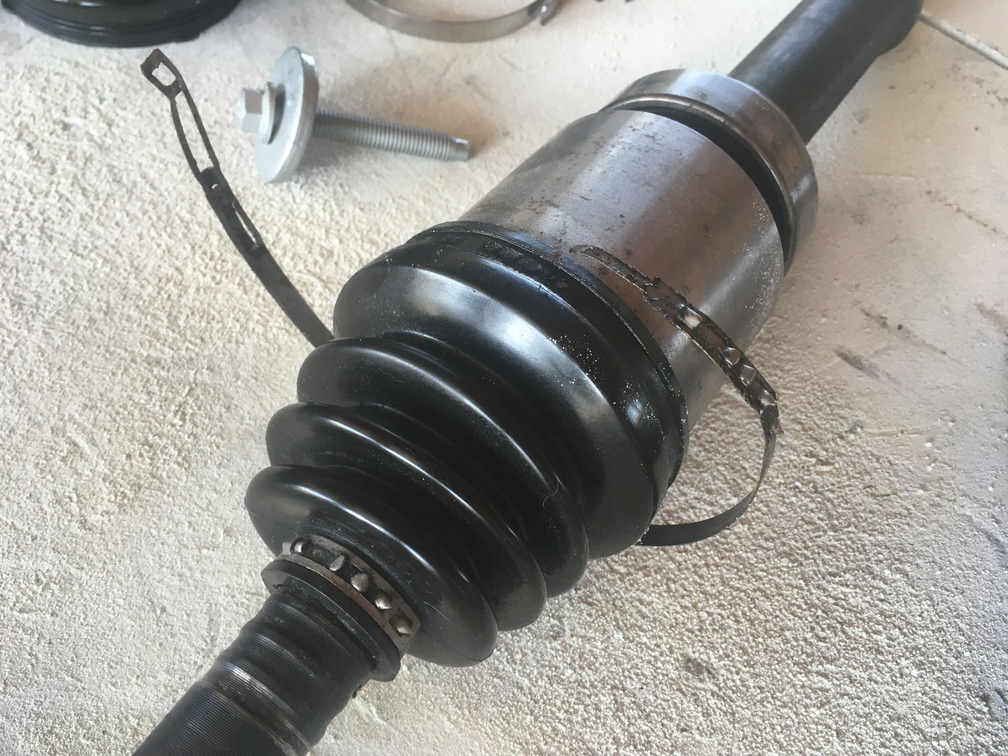
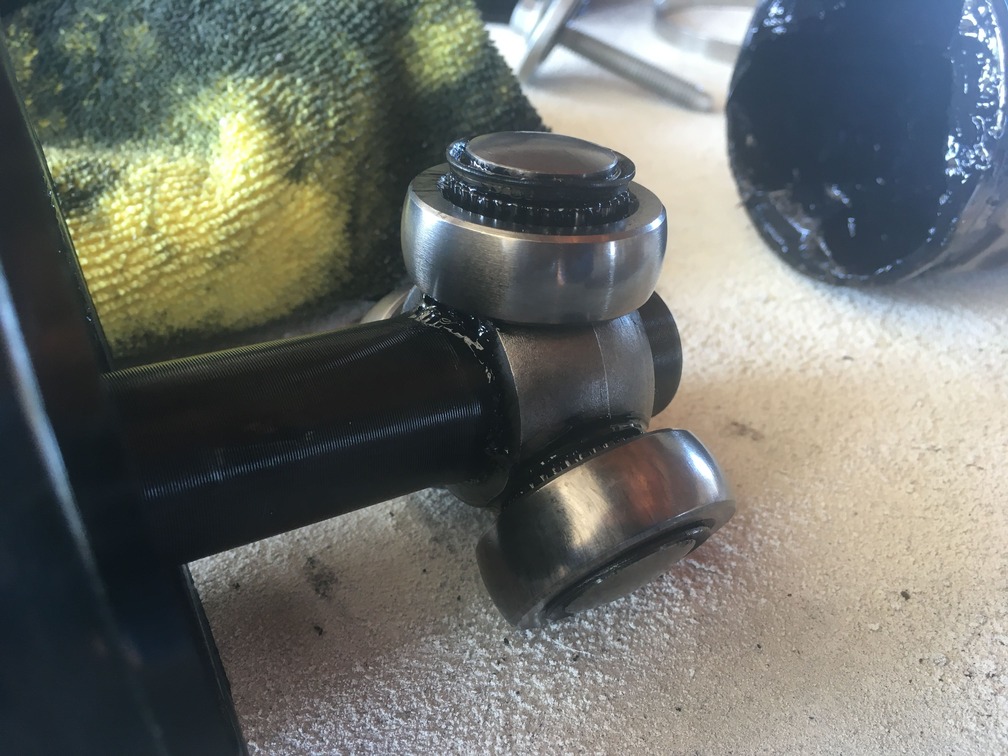
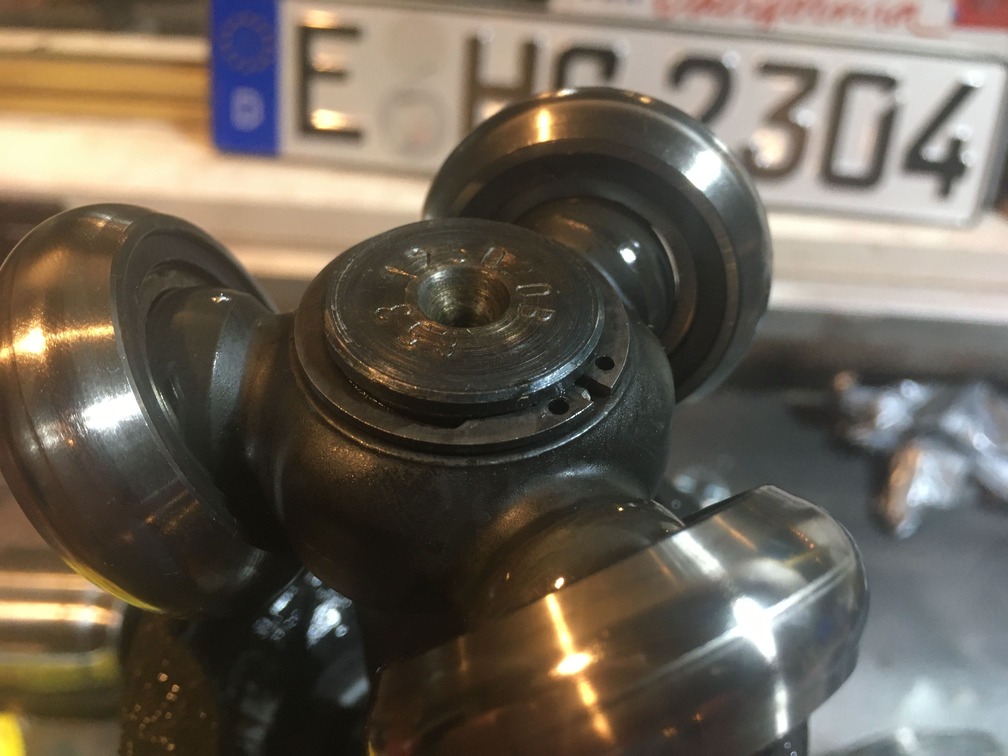
Next you will want to see if your axle knuckles slide out. On axles you will typically find two different types of knuckles/bearings. The triple spoke wheel bearing slide style, found closet to the transmissions ide of the axle. And the wheel filled with ball bearings style closest to the wheel hub.
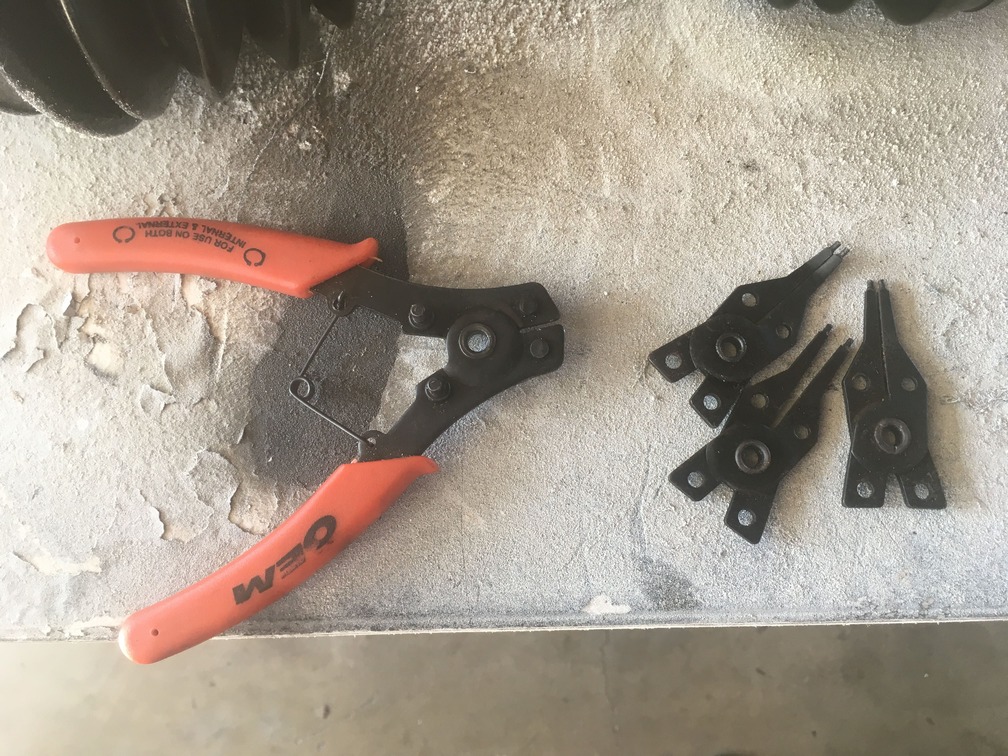
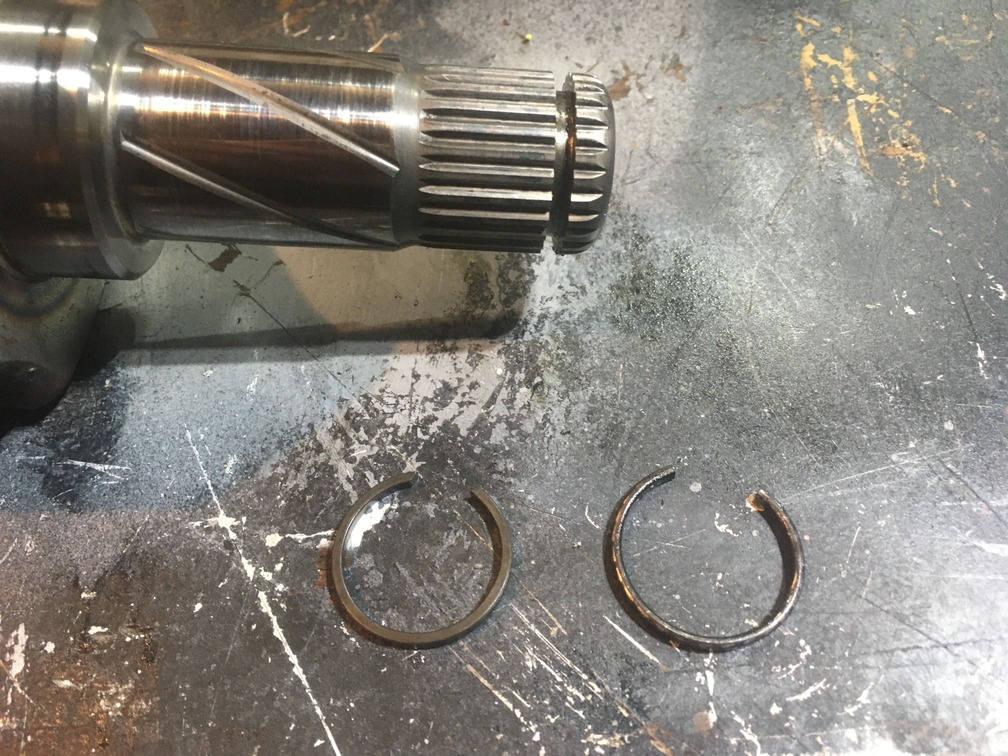
The triple spoke slide bearing should slide right out of the axle socket. You will want to wipe all grease off to expose the retainer ring, and from there you use your ring retainer removal tool to pull the shaft retainer ring, and slide the bearing assembly off the shaft.
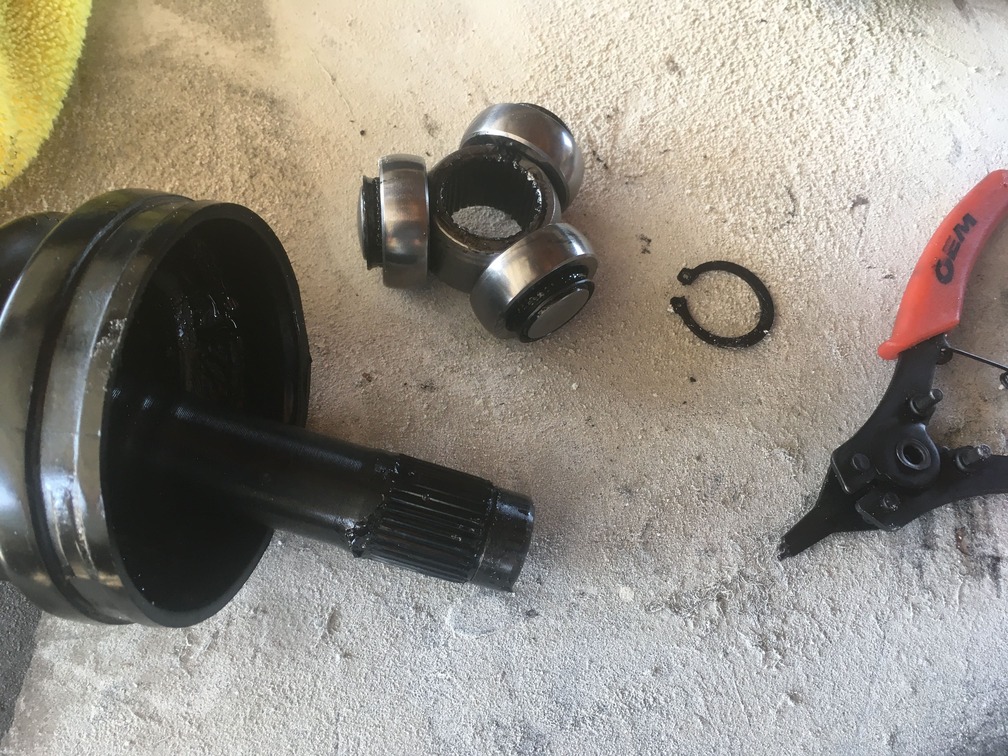
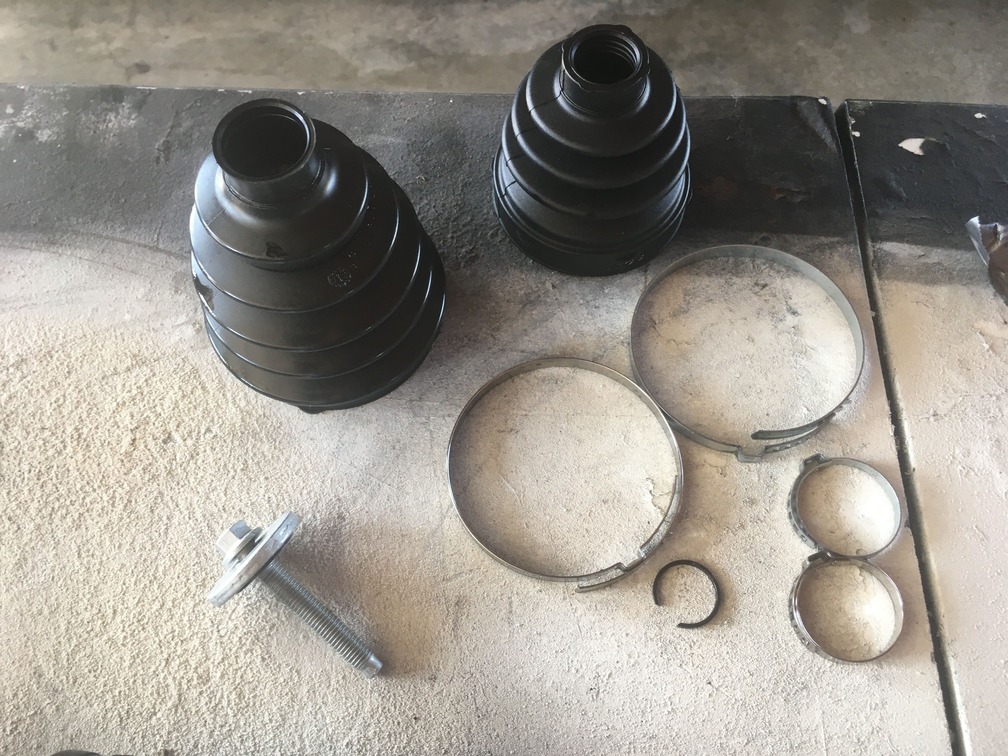
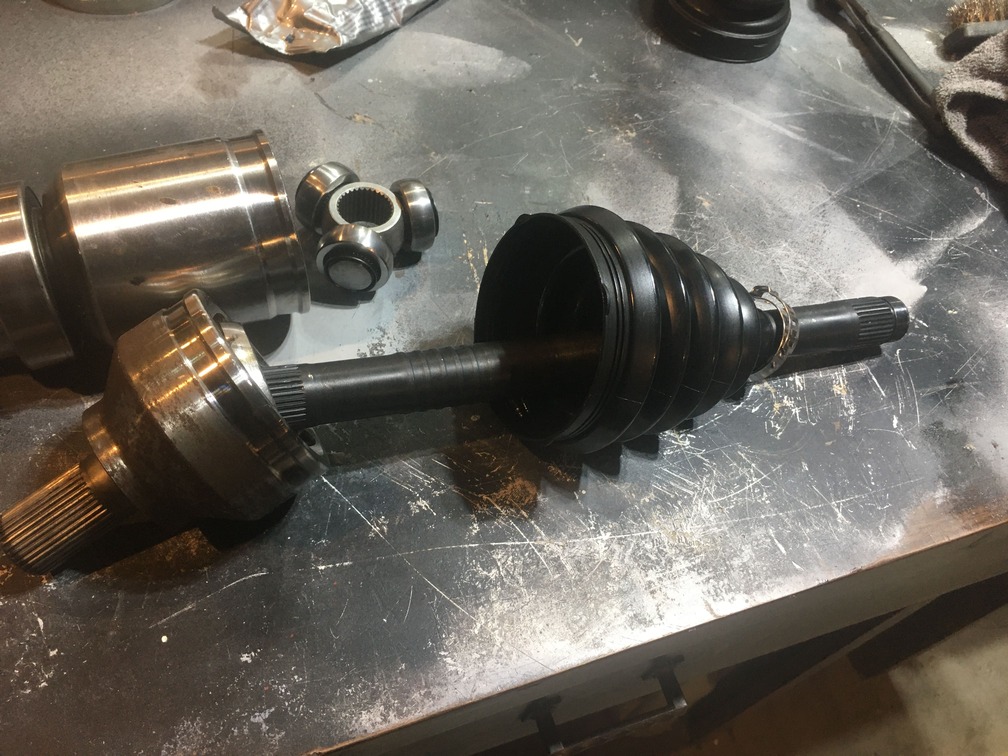
Here we can see the fully disassemble axle. Clamps, boots, triple spoke bearing and retainers all separated.
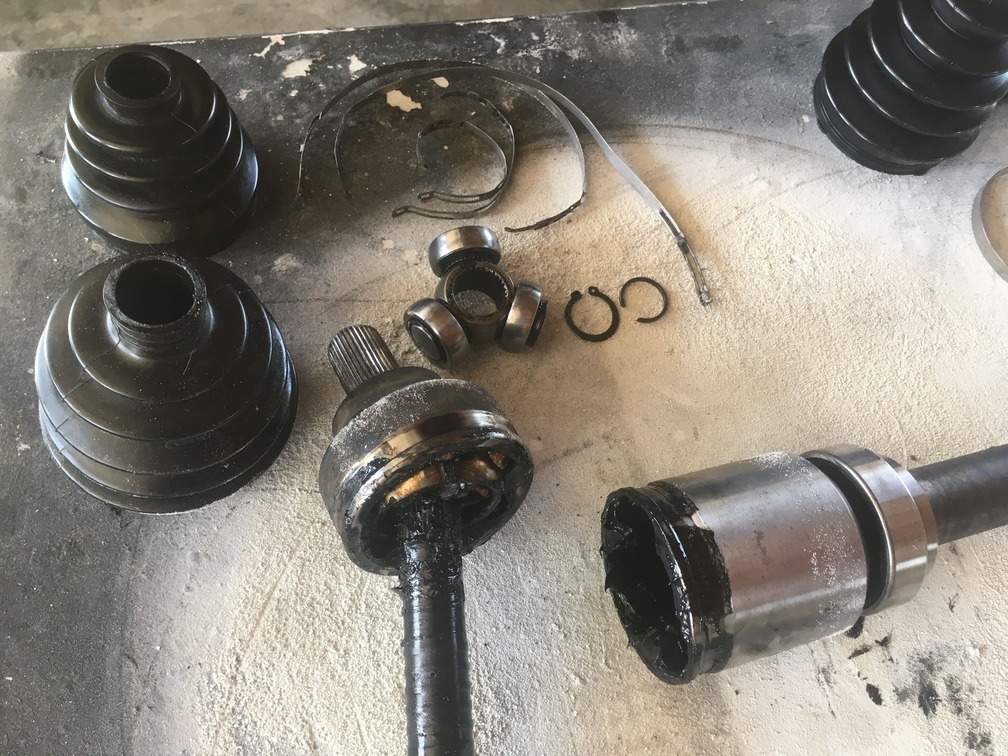
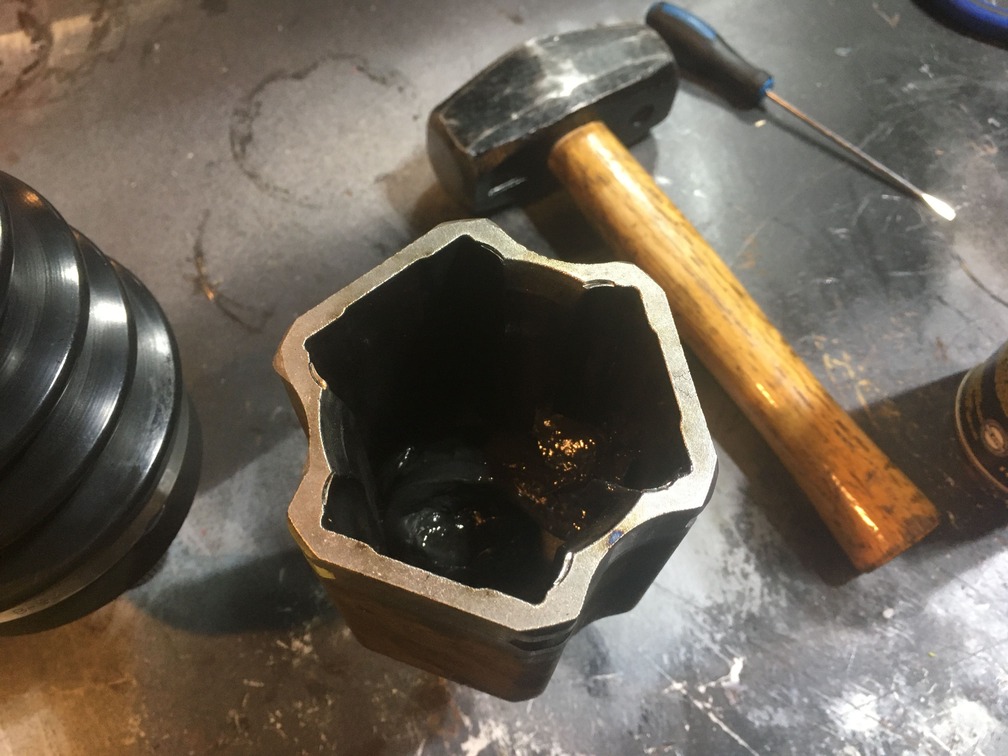
Next you will want to do a full clean You are trying to remove all grease from the entire assembly. Have plenty of paper towels or old shop rags ready to go, and they will all be trash. It is a good idea to wear some old clothes and gloves to avoid ruining your sweet threads. The bearing housing takes a while as you have to “work and wipe” over and over to get all the grease out.
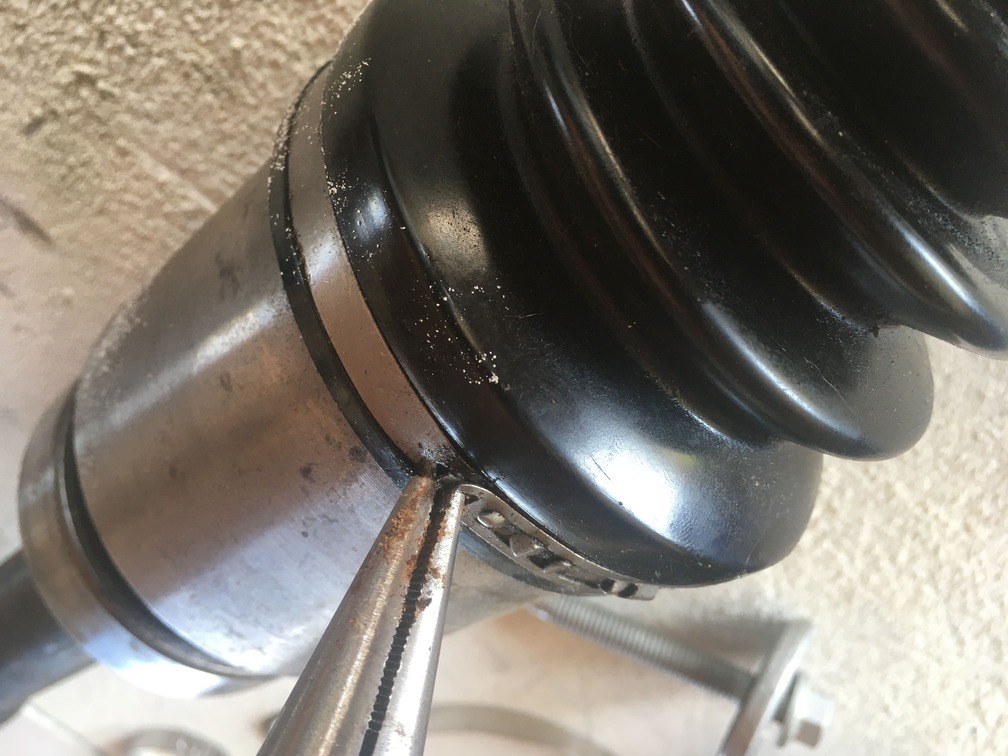
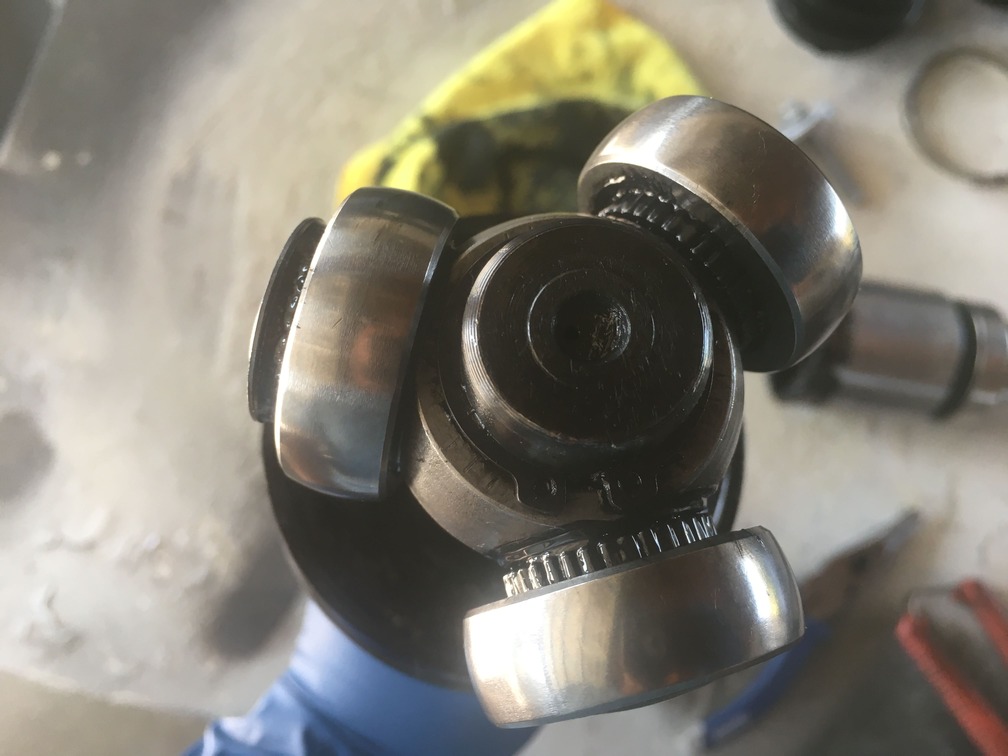
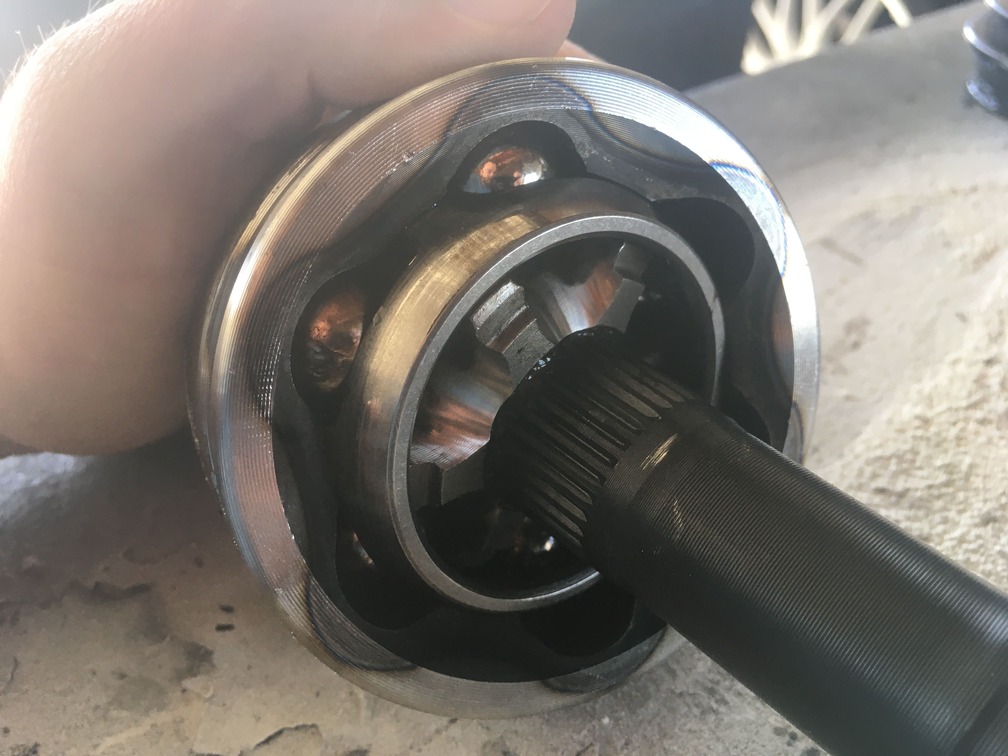
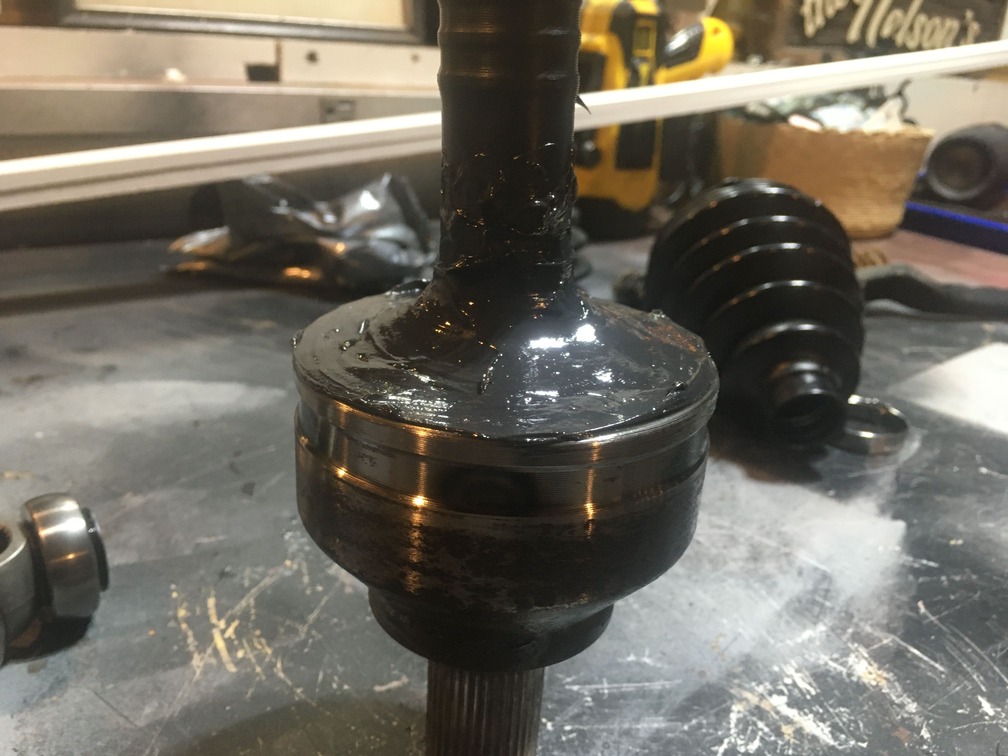
In our picture below, you can see the heat transfer markings where the bearings are continually rolling. We inspected for warping and cracks, and found none, but if you see any of that, check closely and depending, you may want to scrap the project and opt for new axles.
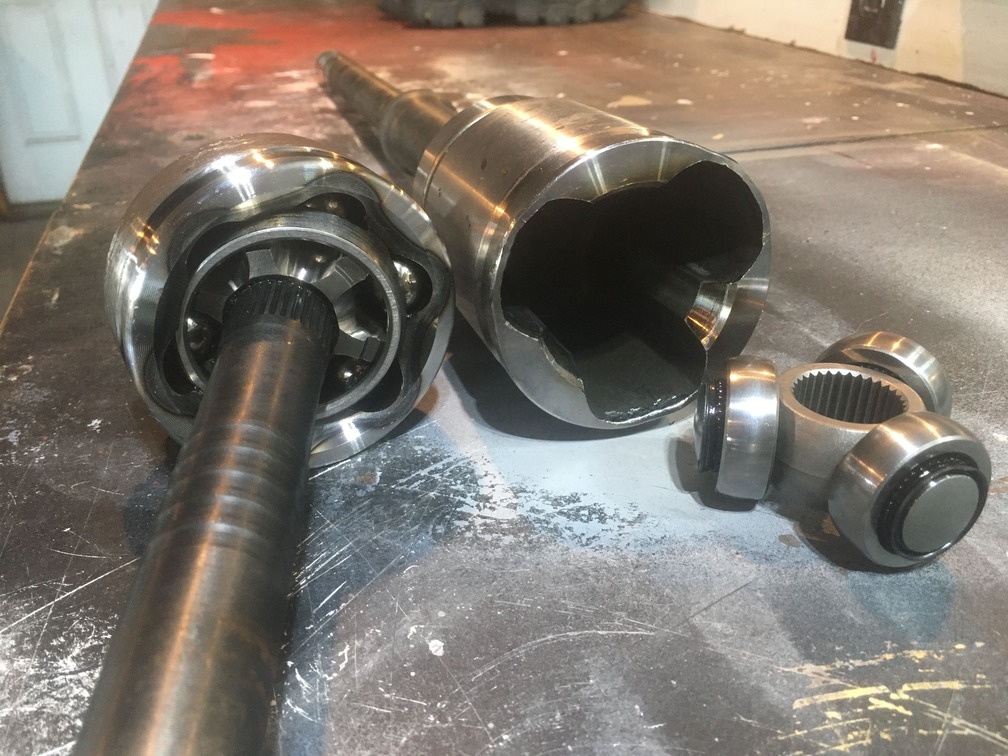
And after about 30 minutes of cleaning, here are our axles and bearings all nice and clean, ready for greasing.
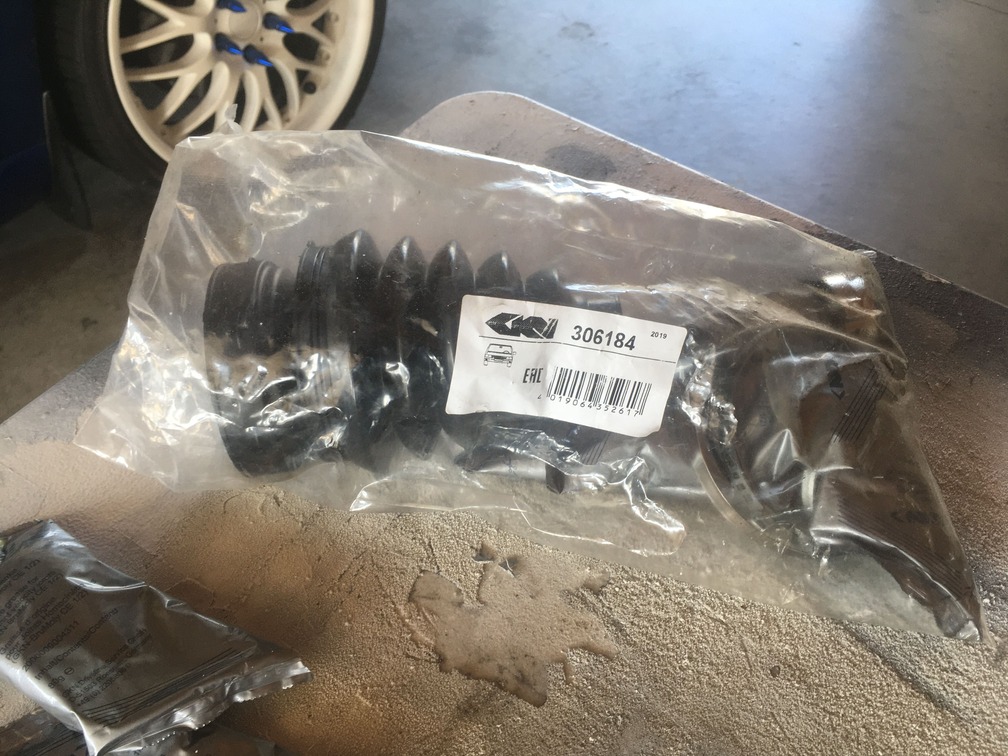
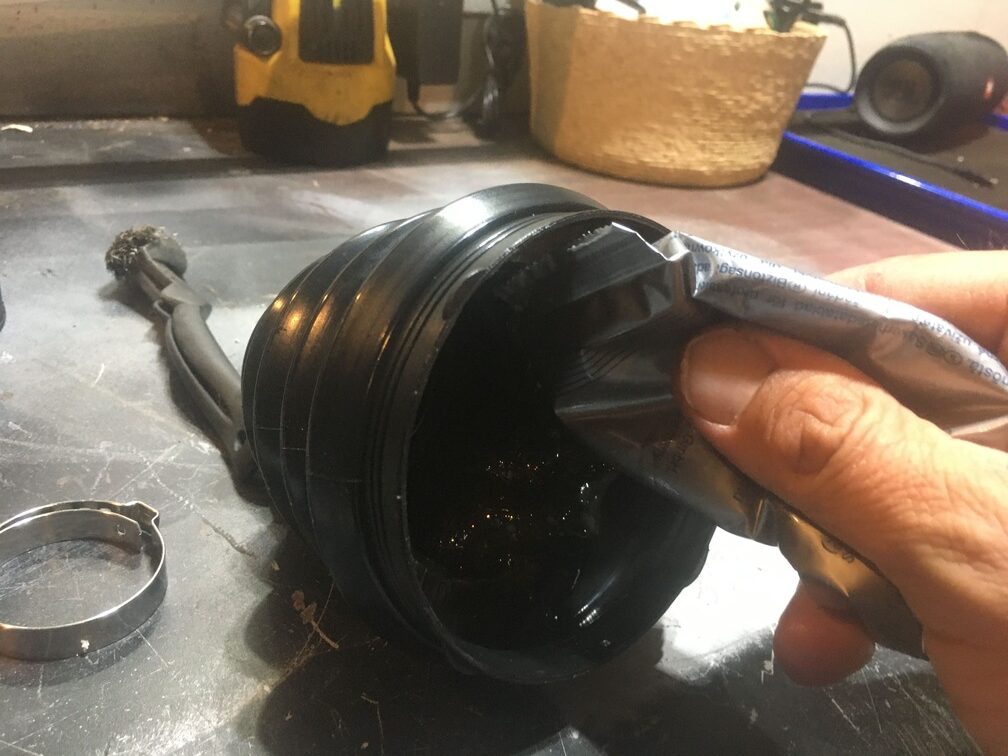
Next and most important, test slide your new boots on to make sure they actually fit. In our case, the original generic boot kit we bought was wrong. The boot was way too lose and the clamp to large… no possible way to seal the boots. So we ordered a new OEM set and had to wait 6 days for parts.
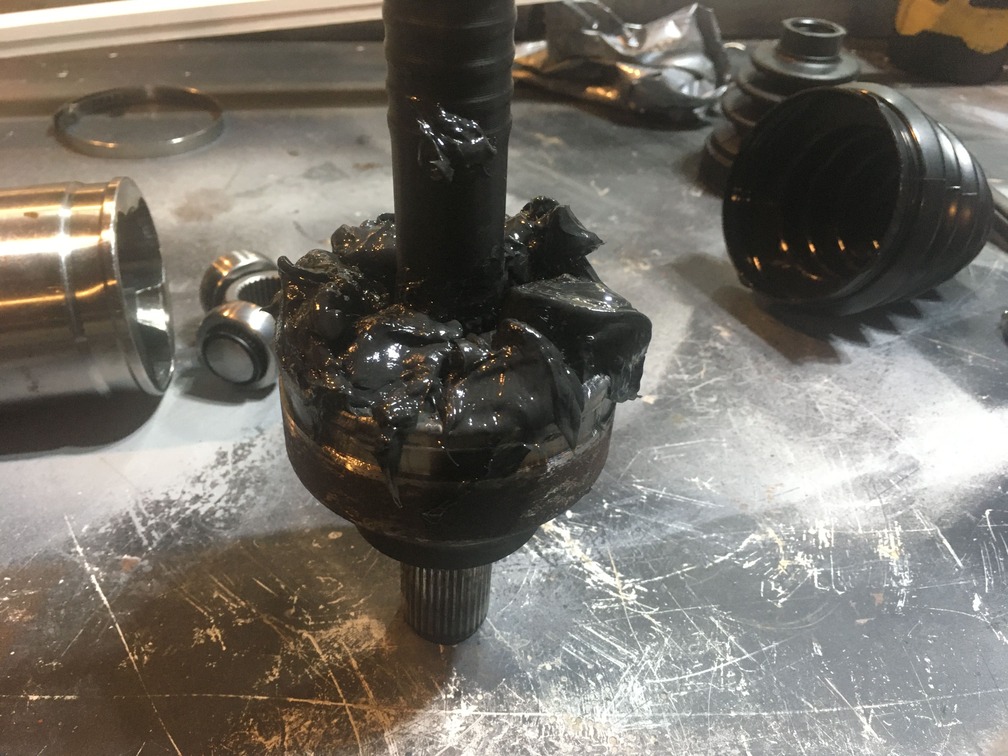
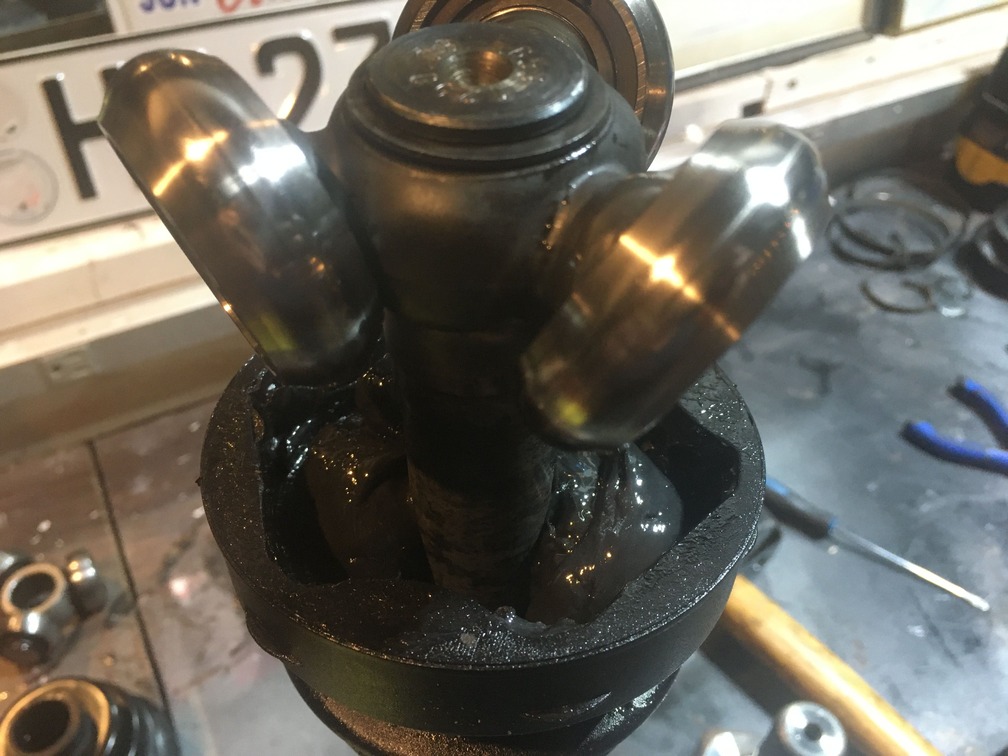
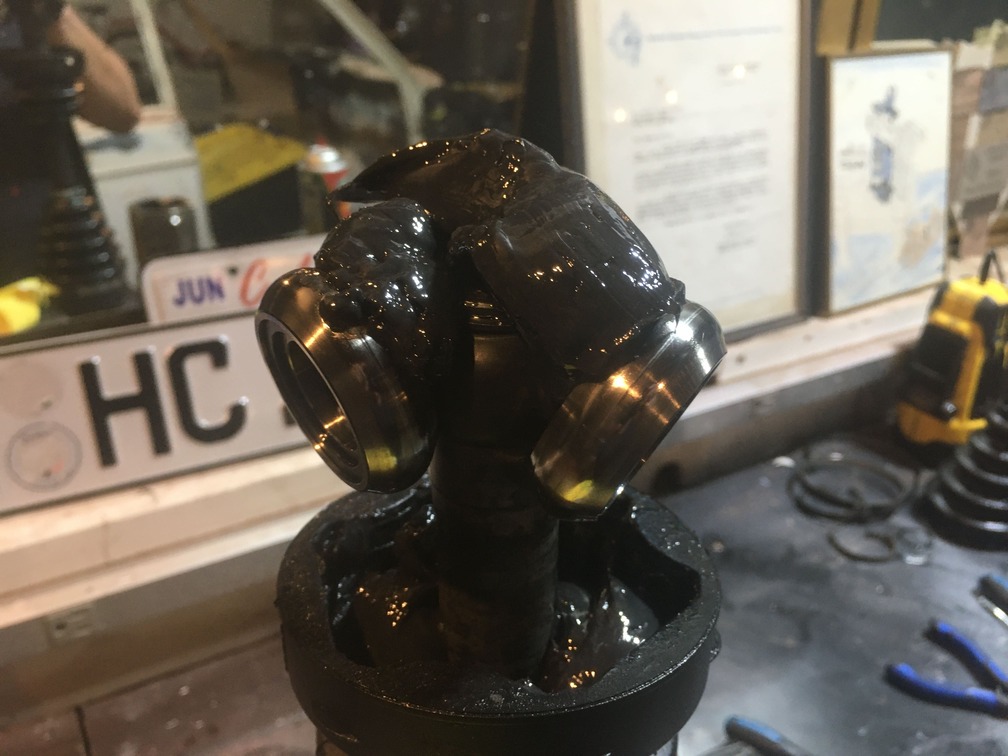
Time to grease up. Typically we get 2 packs of grease for each boot. Seems like a lot, but you will use it all. We start by pouring one entire bag onto our bearing assembly. Then spinning and working the grease in. You want to copy the movement of the axle to let the grease work into all the gaps, and get as much air out as possible.
Now we see that what looked like too much, actually filled our bearing assembly perfectly.
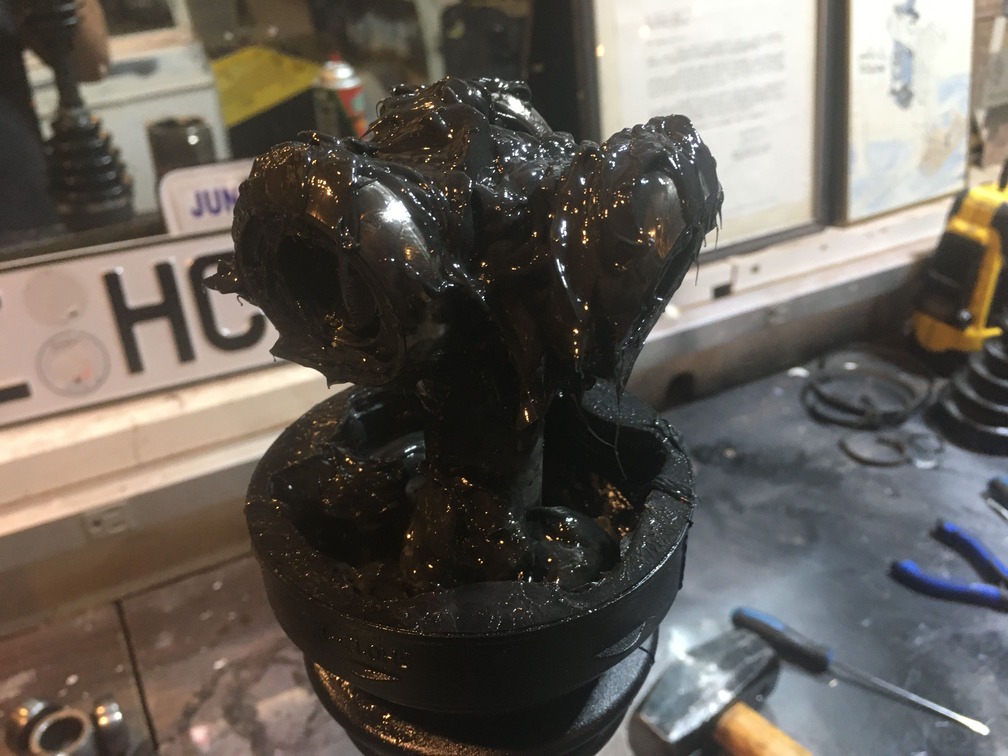
The other package of grease we squeezed into the new boot. As we place the boot on, it will provide extra grease for the bearing. As the axle spins at high rates of speeds, the grease will be moved all over inside your boots, so you want plenty of extra to slide in and out. That’s why you get 2 packages per boot.
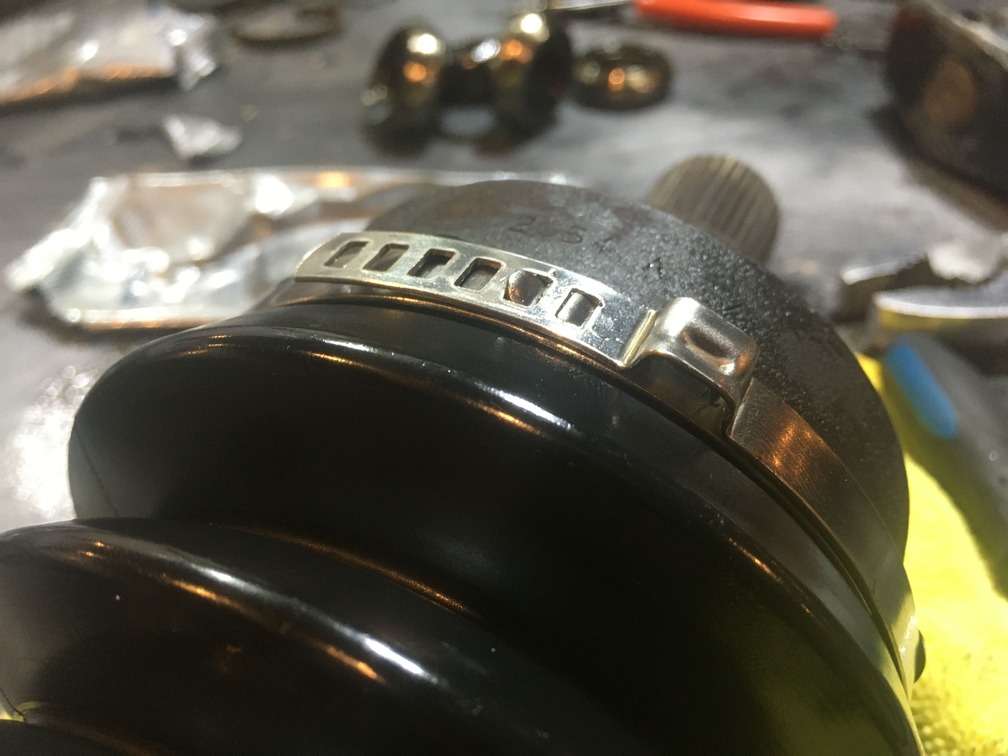
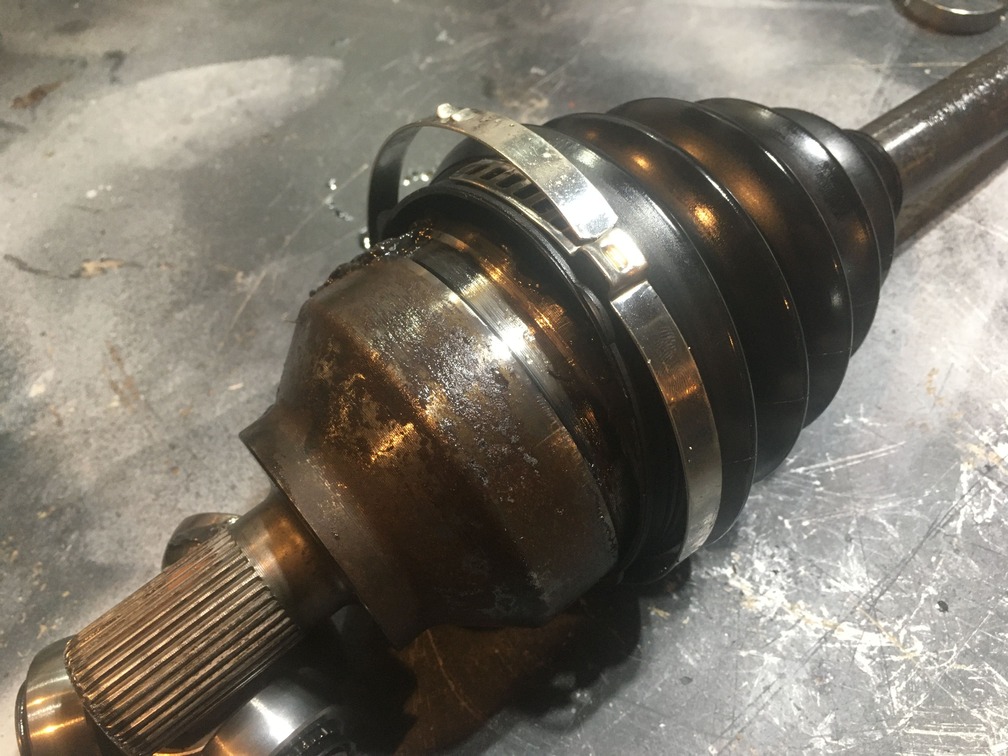
Next we slide the boot down into place. Your axle should have a groove on the axle hub where the boot will sit, and once clamped, will create an air-tight seal.
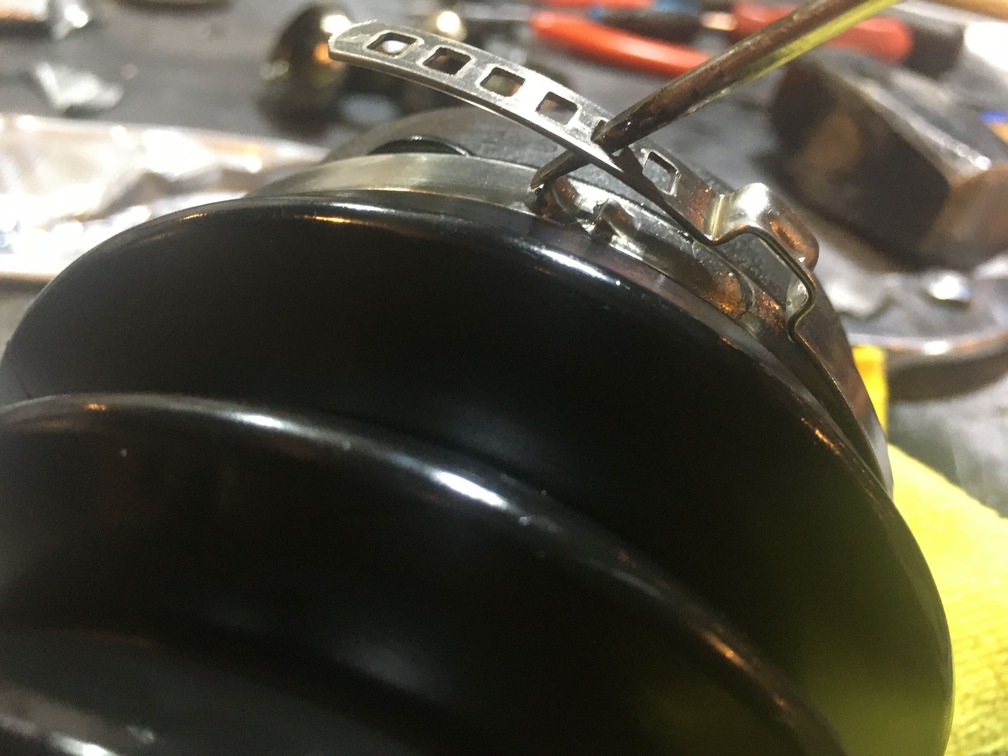
Next place your new clamp on the boot and use a small flathead to pull the retainer grooves over the clamp hooks. Once these are on, it should feel as is the boot is fully sealed. You should have little to no play/slide/wiggle on the boot.
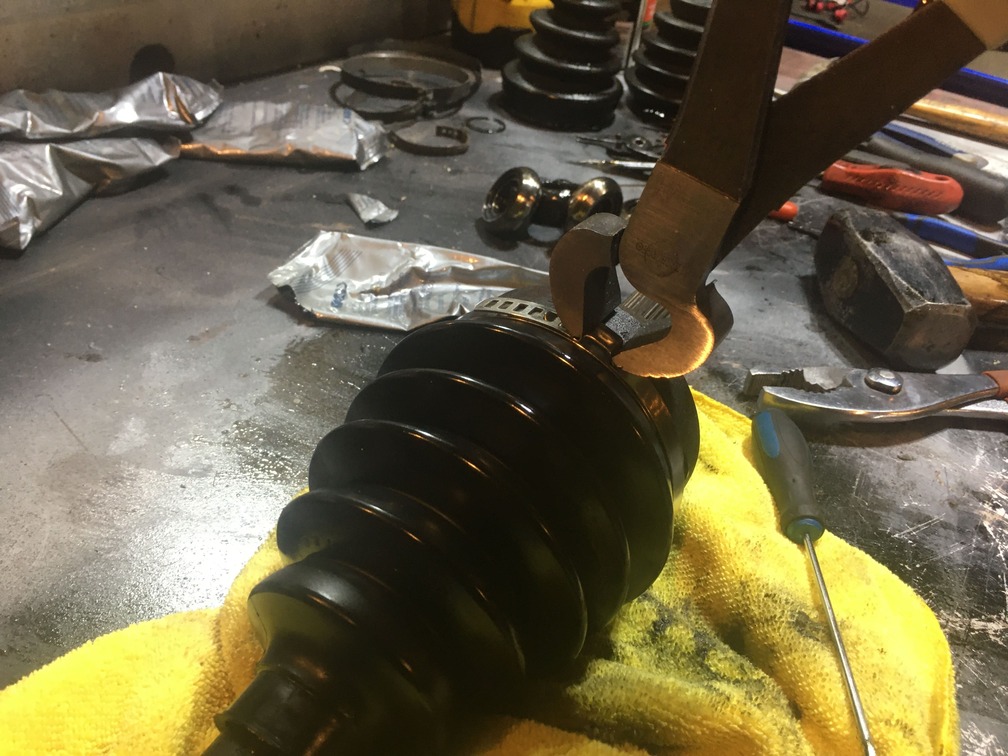
Next we will do our final clamp on the boot clamp. They do sell boot clamp tools, but all the ones we bought at autozone, we took back as they didn’t work for $hit. We learned this trick from an old time mechanic about using a “End Clipper”, which we bought from Harbor Freight for $8. It does the trick, every time.
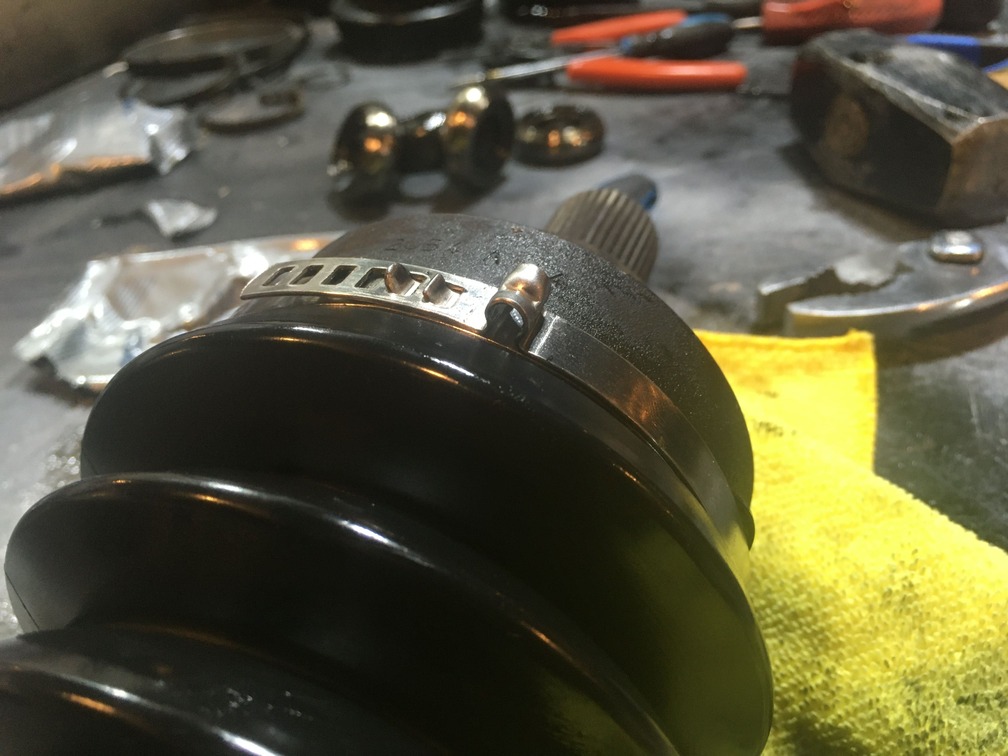
The boot has two clamps, so the process is done twice on each boot, the top and bottom. Make sure each is secure and air tight.
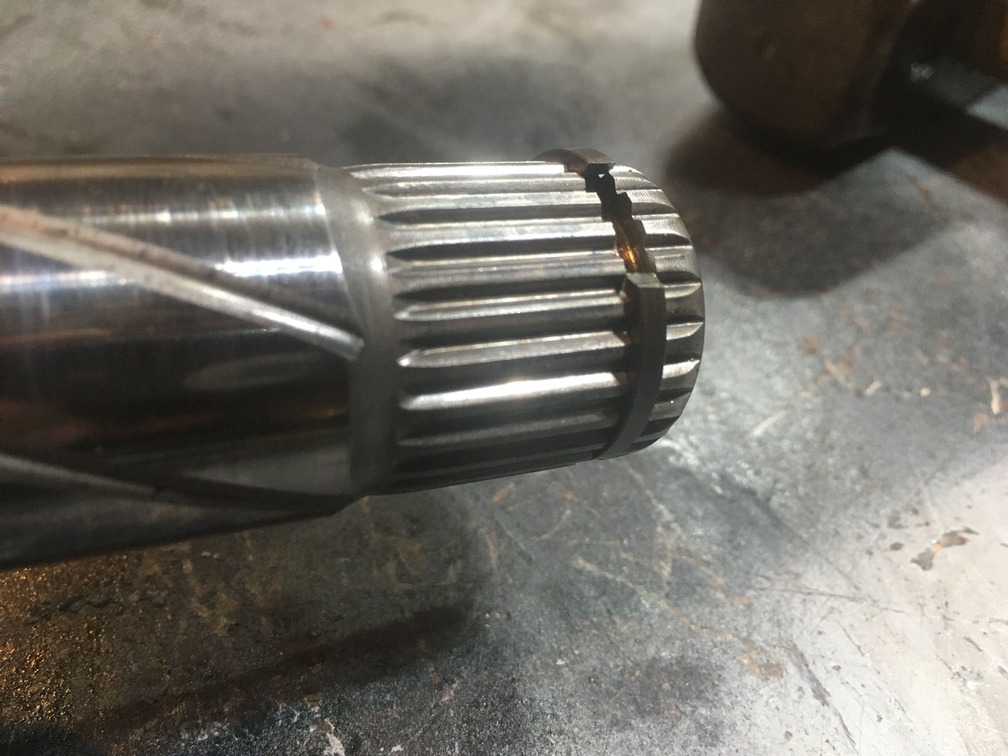
Now that your outer cv boot is all suited and booted, its time to do a toot-it and boot-it on the inner. Start by sliding your inner boot down the axle shaft. Next slide your inner cv joint on the shaft, and get it far enough down you have exposed the retainer ring grove. Here you will use your ring retainer tool and place the NEW retainer ring in place.

Next we filled our inner boot with an entire package of grease. The other package of grease was applied to the cv joint, and then work in by hand. From there we put the remaining grease into the inner hub assembly.
Fit your boot and attached your clamps, just as you had done one the outer boot.
Lastly, the kit probably came with a new lock ring for your axel to transmission shaft. If yours doesn’t have one, no problem. Our driver side axle did, our passenger didn’t as it was held in place by a carrier bearing bracket. Here we pried off the old, and slapped on the new lock ring.
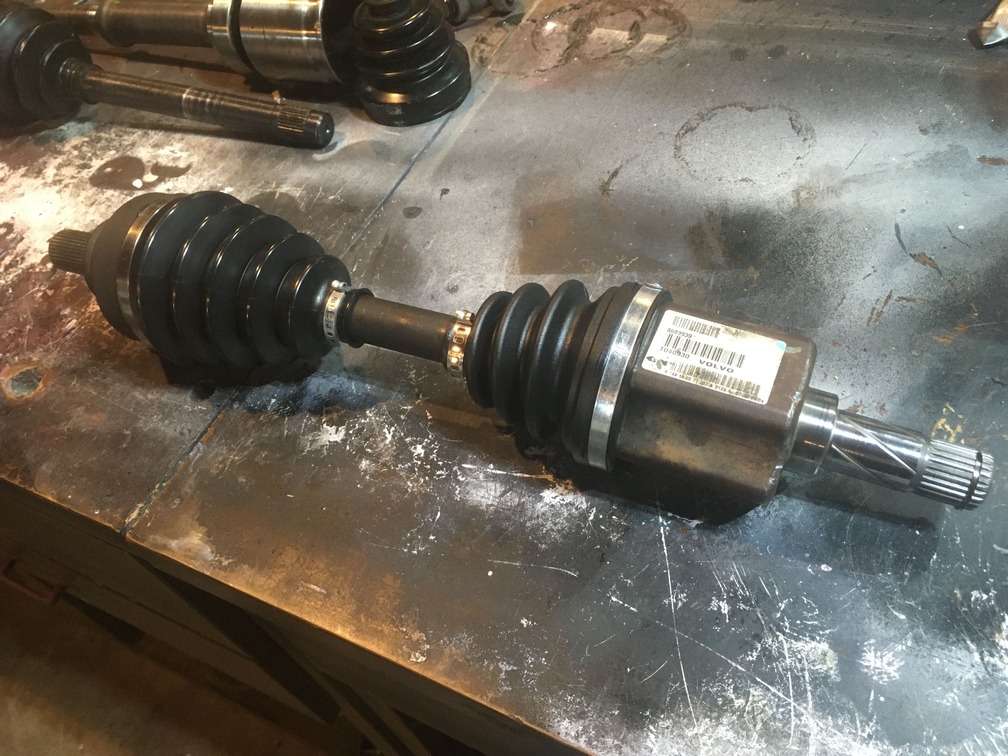
and…. done a beautiful re-build axle, ready to rumble.


