


Tire Pressure Monitoring Systems. Know…before you blow!
Want to listen to this article on the go? Here is our Podcast version, also available on all major podcast platforms.
In all of our new cars, TPMS (tire pressure monitoring systems) are standard. However, most of us are still rocking the classics, anything from say 65-05. For almost 100% of these rides, TPMS was never a thought of the manufacturer.
It wasn’t until the Ford/Firestone tire disaster of the late 1990’s, that the United States Congress took action. Long story short, the Transportation Recall Enhancement, Accountability and Documentation Act enacted in 2000, mandated manufactures to include TPMS systems in all light weight passenger vehicles sold after September of 2007.
If you have a post 2007 anything, then you’re familiar with the technology. Tire pressure gets low, warning light comes on. More advanced systems will even display the tire pressure of each tire in real time. These systems have been in production and available since the early 80’s, but usually in more high-end luxury cars.
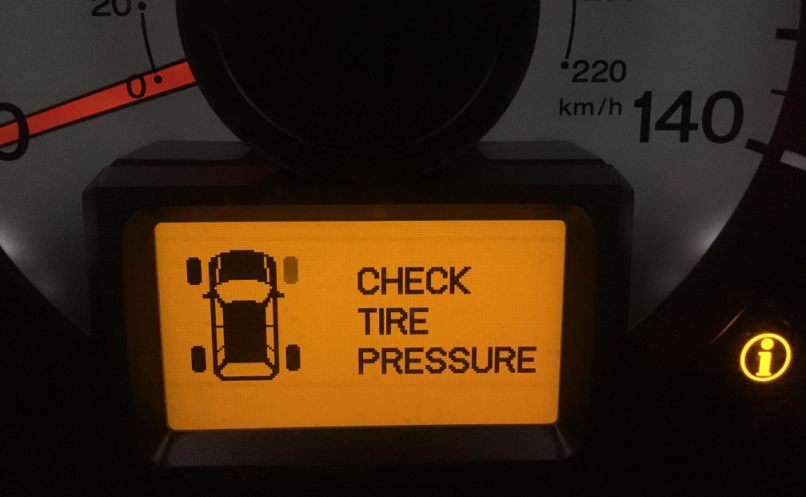

Image above is from my 11′ Honda Pilot, while not the import we are used to seeing here, it’s still an import. Pretty cool tech, but what about those of us who are driving older rides and want to keep an eye on tire pressure? Enter stage left “Affordable Aftermarket TPMS.”
So with many other auto tech innovations, I seem to find it way later, after a need has presented itself. This time, it was a buddy telling me that it appeared my tire was a bit low. I looked and agreed, and then at home, fired up my compressor and went to top off all 4 llantas.
To my surprise, the tire that looked to be low, was actually on point, and while checking others, one that appeared fine was running only 8psi…. say what? Yes, 8psi is dangerously low, and essentially flat. The problem on my rig, I’m rolling 235/35/R19. Not the lowest of pros, but close to it. And with such a short sidewall, the tires appear pretty uniform regardless of psi. So at this point I figured that there has to be some aftermarket TPMS and set out to Amazon to see what they had to offer. Here’s the search results page I landed on.
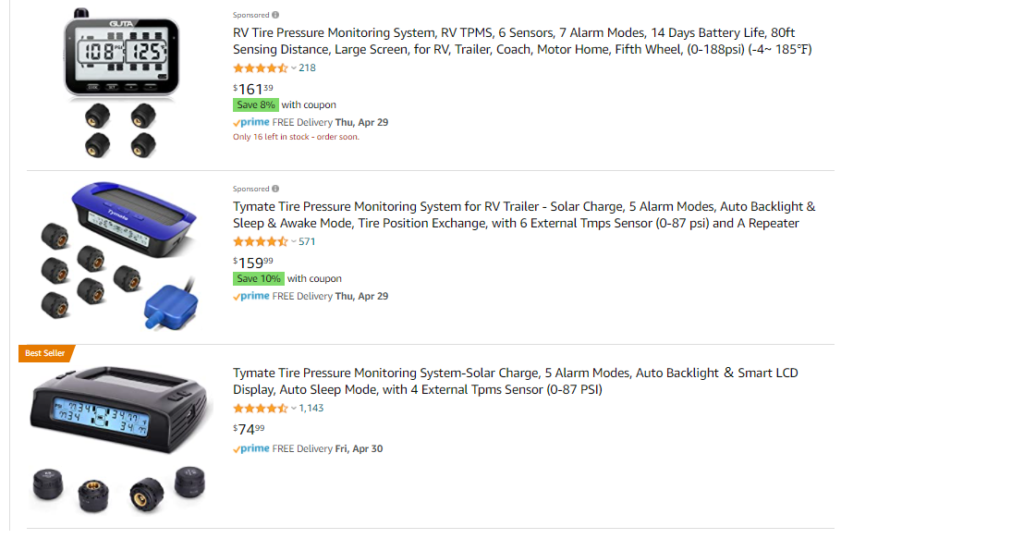
Doing a quick peek, I found exactly what I was looking for with price ranges from $35-$250. There were a few requirements I wanted as follows: 1. A digital display that didn’t look like AutoZone crap. I want the tech, but don’t want my interior going back in time visually. 2. A system that doesn’t break the bank. I’m not doing autocross or crazy track days, so the high end systems weren’t really anything I wanted to spend money on. 3. A system that is somewhat accurate. I don’t need the psi reading to be accurate to a tenth of percent, but it’s essentially worthless if it’s more than 3-4 psi off. For me, the system is simply a warning system to keep my tires within a certain range.
After a bit of reading reviews and checking some specs I settled on one of the lower priced systems. The “Zmoon TPMS Car Tire Pressure Monitoring System with Solar Power Universal Wireless LCD Display and 4 External Sensors Real-time Display 4 Tires’ Pressure & Temperature.” After all, aside for my own use, I wanted to see if the cheaper product, that would be in most of your price ranges, turns out to be a good unit. At this point the unit is no longer available on Amazon, but there is one that looks identical sold under the name “B-Qtech” found here for $27: B-Qtech Solar Power Tire Pressure Monitoring System Wireless TPMS Monitor with 4 External Sensors Adjustable Display Angle-Solar System.
It is important to note that modern TPMS systems from the factory are typically units that are the base of your valve stem system, inside of the tire. While you can find these on Amazon, they were the higher priced units, and we went with the more common valve stem cap application. The hardware is inside the actual valve stem cap, so external to the tire. You will pull off your current dust cap, and replace with the new caps which read the pressure and have internal circuit boards and Bluetooth technology to report the pressure back to the mothership (the digital display).
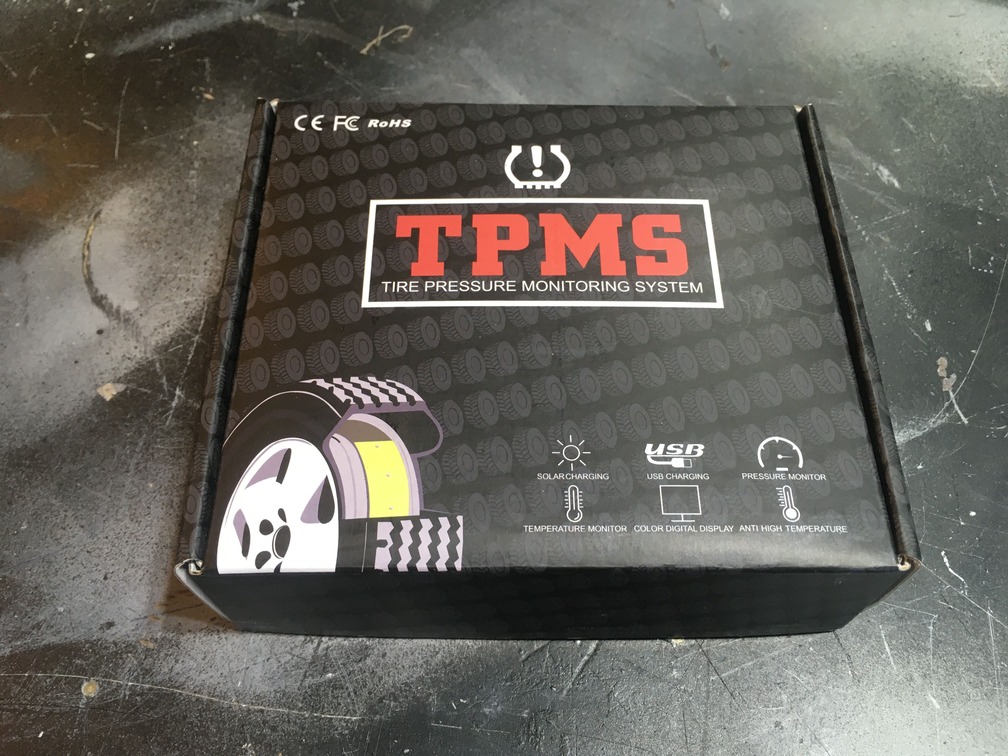
The product arrived in a few days with my Amazon Prime subscription. The box looked solid, and exactly like what I ordered, and was hoping for.
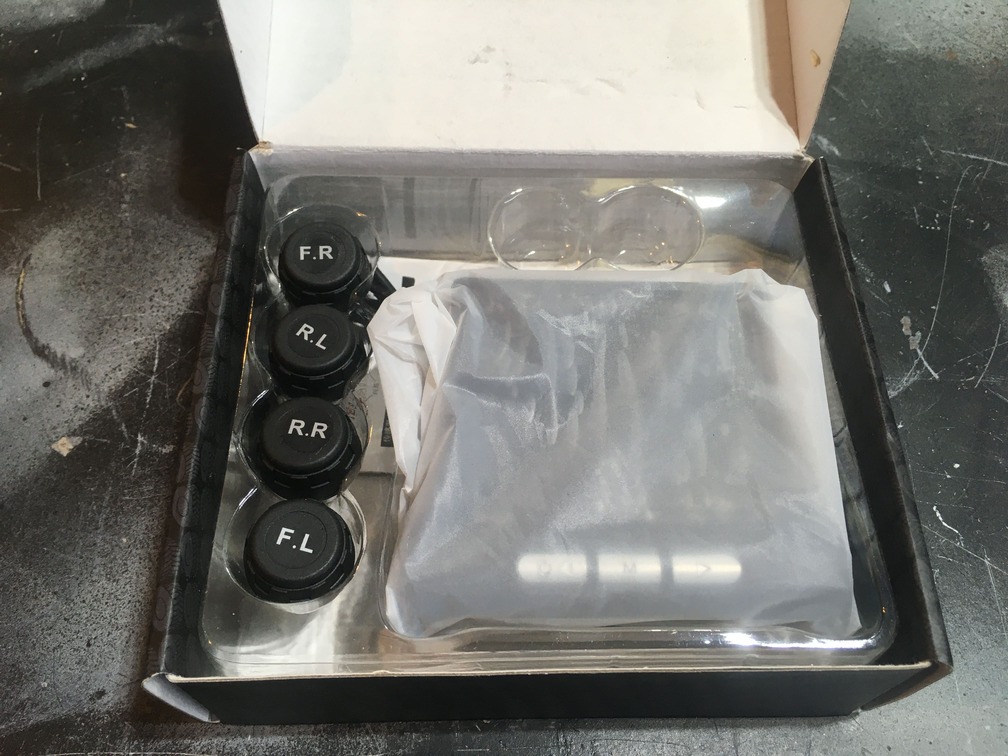
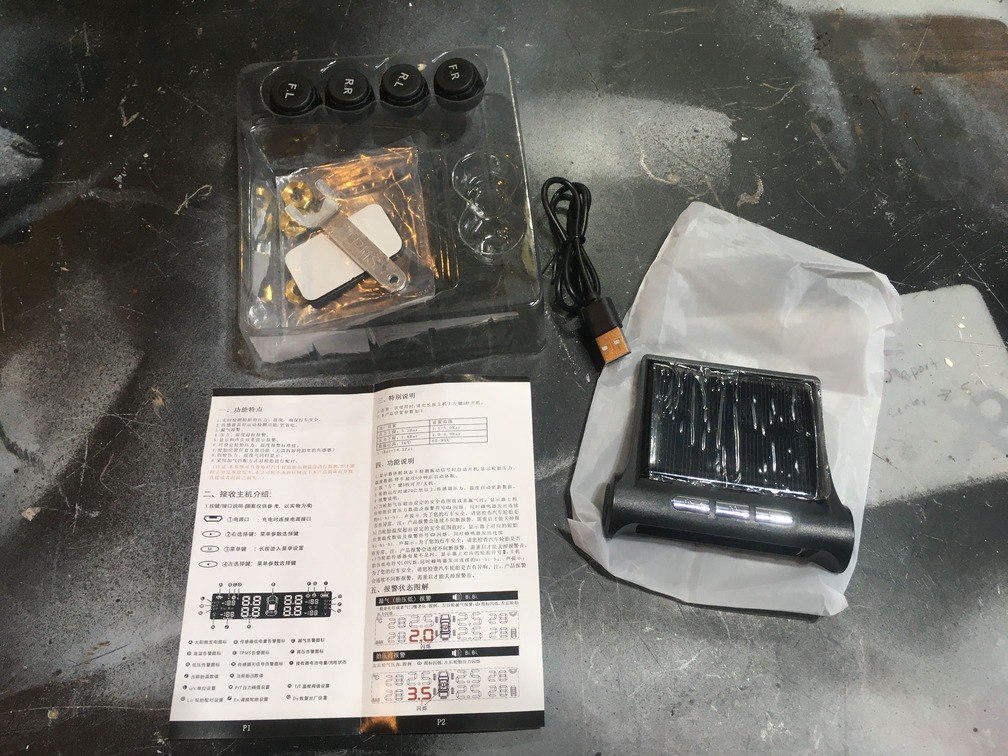
Opening the box, I found 4 valve stem caps, a digital display unit wrapped in protective film, and underneath, some hardware, the instructions, a standard mini-USB charging cable and a wrench. The valve stem caps were labeled for each tire placement, which is how the system knows the tire pressure of each independent tire.
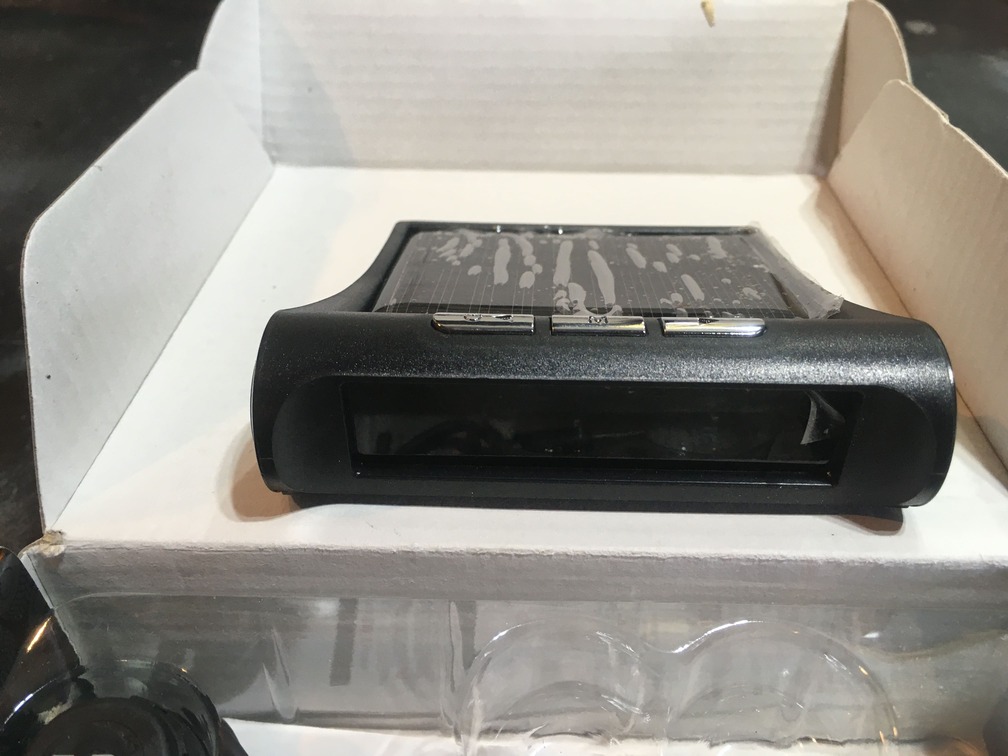
Unwrapping the digital display, I found a nicely sized unit, that wont take up too much real estate in the cockpit. While this unit does boast a top facing solar panel to self charge, I do not plan of having this thing sitting on the dash, but rather tucked away somewhere so that only the digital display is seen. I will monitor the battery life of a standard wall charge and report back. My plan is that even if I have to pull it out and dock to charge on my toolbox here and there, it’s better than having it sitting on the dashboard, or plugged into my 12V full time. This mod is all function, and no form. You’re not gonna get any points at the show for this piece of plastic.
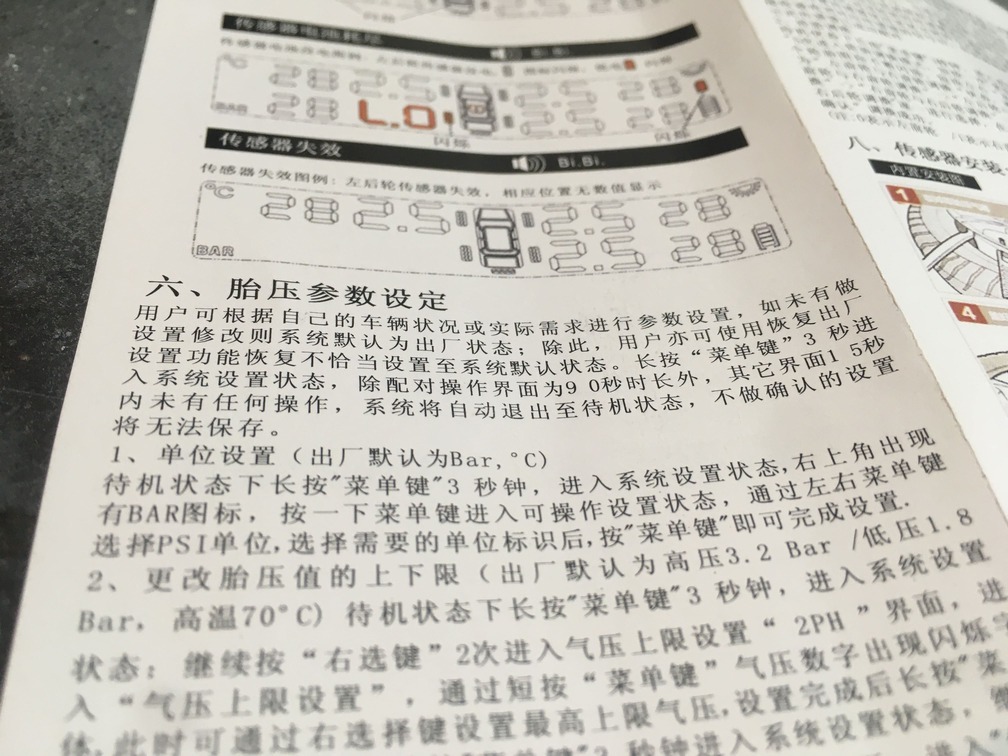
I would like to note that the instructions were entirely in a foreign language, but with so many purchases and reviews on Amazon, I was confident I would be able to track down an English version.
After hitting the Amazon product page, I did find the general instructions listed by the seller, and after reading I was ready to go. Power to unit on, select settings, and use up and down arrows to set your celcius or farenheit. Further, set your alarm for high and low pressure. I left my high alarm at 38 psi, which unless hitting high elevations should be a none issue, and set my low psi alarm to 28. This unit will bark at you should you go outside your defined range. I had to warn the wife that if she hears it, it is not mission failure, and to just chill and drive.
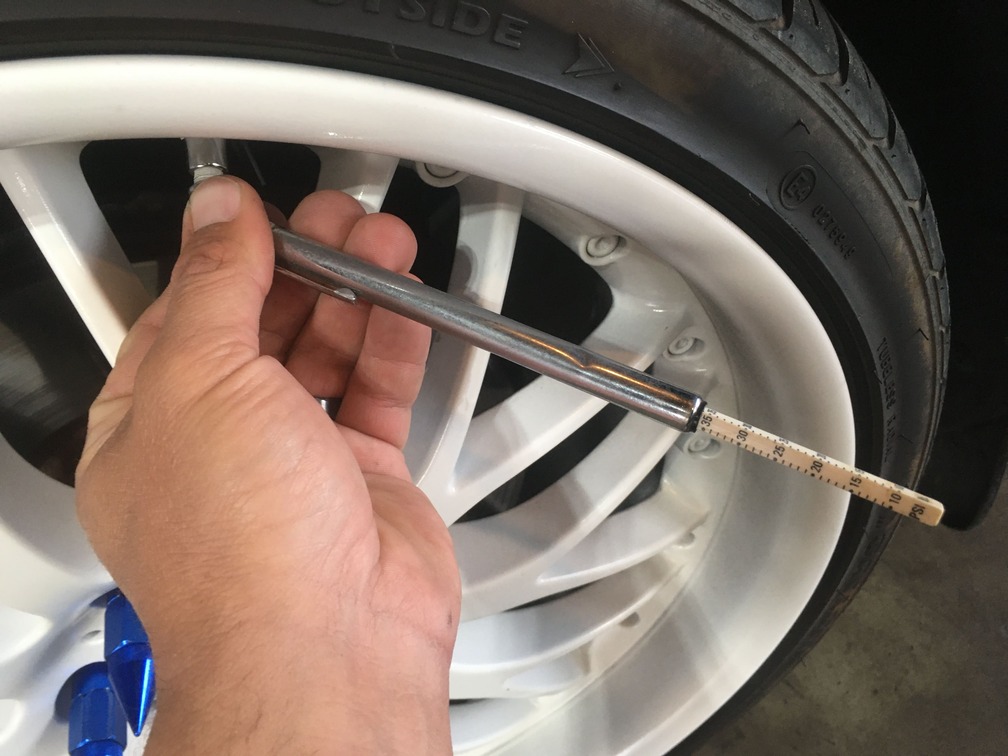
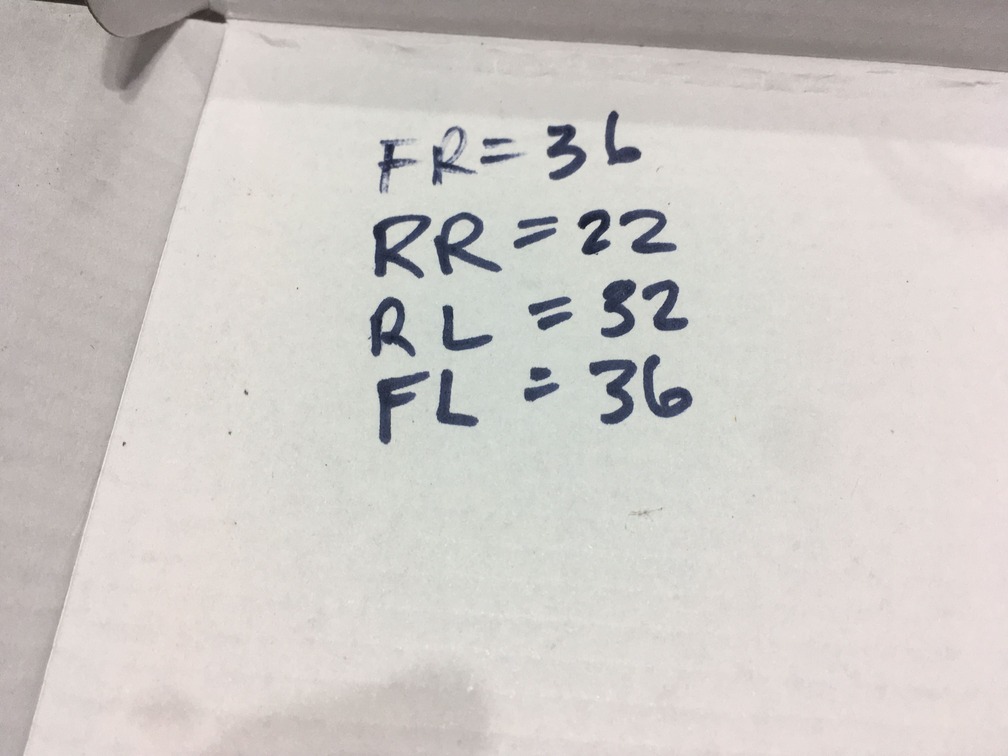
Next, I wanted to document a baseline pressure reading, so that after install I would know how close to accurate these valve caps actually were. I simply used the box lid, and walked around documenting the pressure reading on all four tire. Don’t judge the low pressure tire reading in the image, as mentioned above I have a bum tire with a nail in it, can you guess which one?
With baselines documented, it was time to install the caps and fire up the rig. Easy enough, take off your standard valve stem dust caps, and screw on the new caps. You will hear the air hiss as the new caps seat and seal.
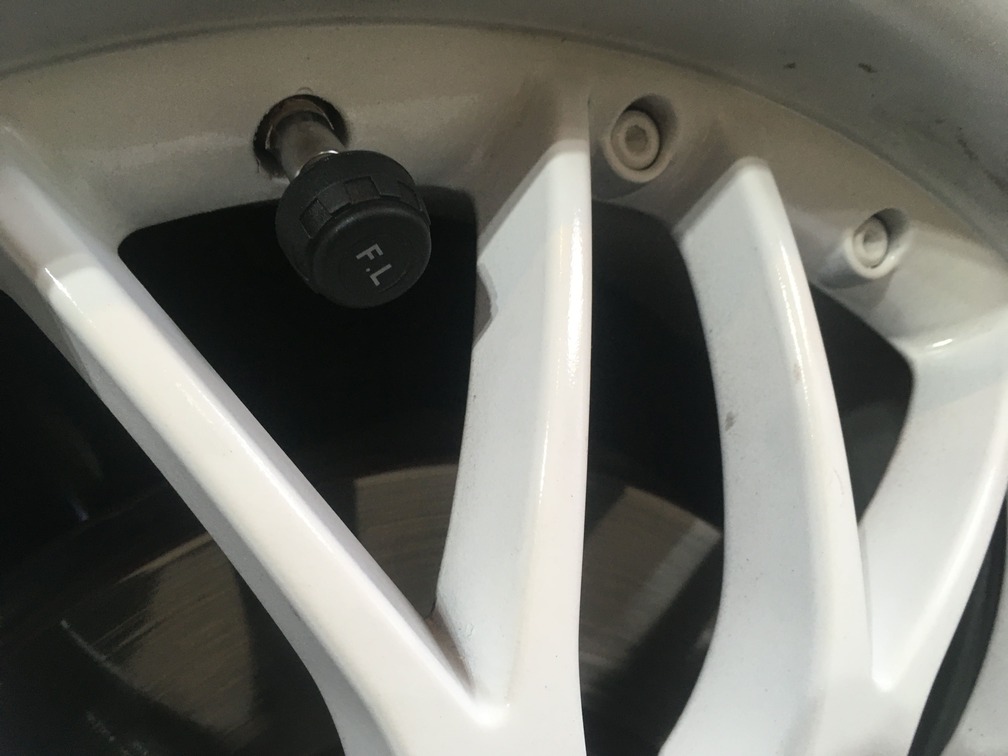
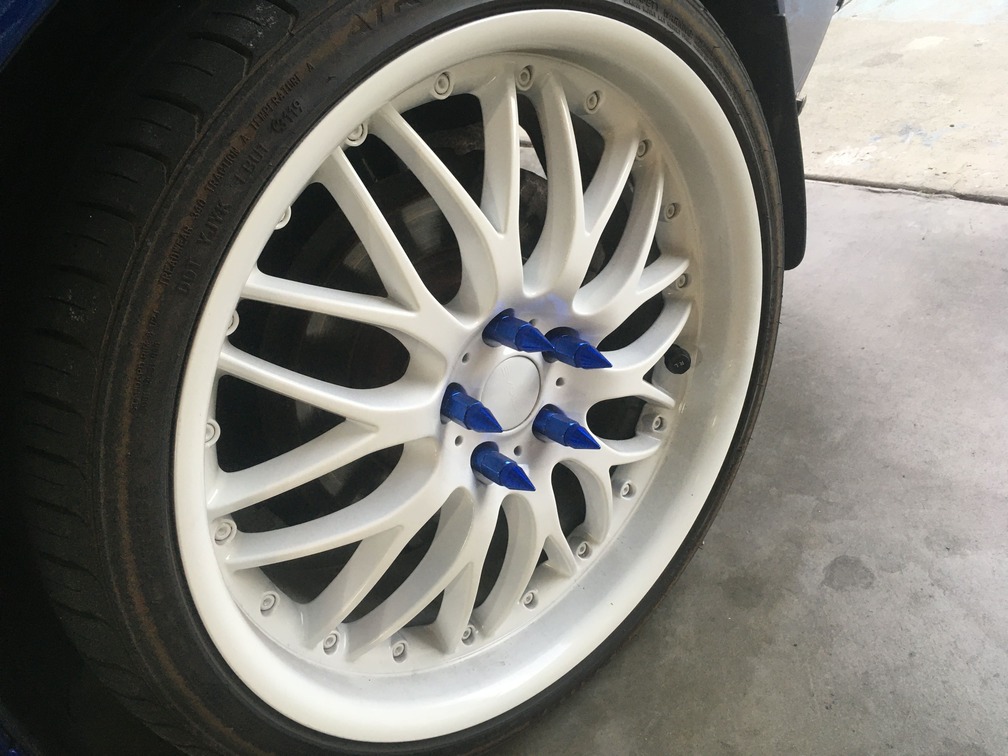
These are a bit oversized for our liking, but from afar, you don’t really notice them too much, unless I point them out. From a straight on side view they actually blend in with the rim gap.
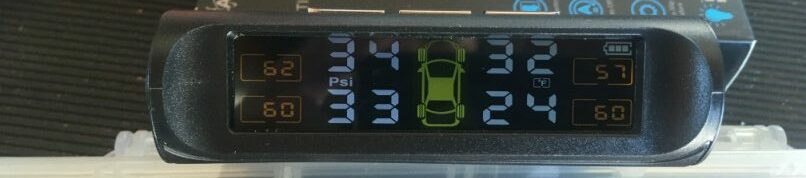
After installing all four caps we fired up the digital display. Simple, just hit the power button and the readout comes to life. We have both PSI and tire temp. As we see below, the front right was reading 0, which needed some further investigation.
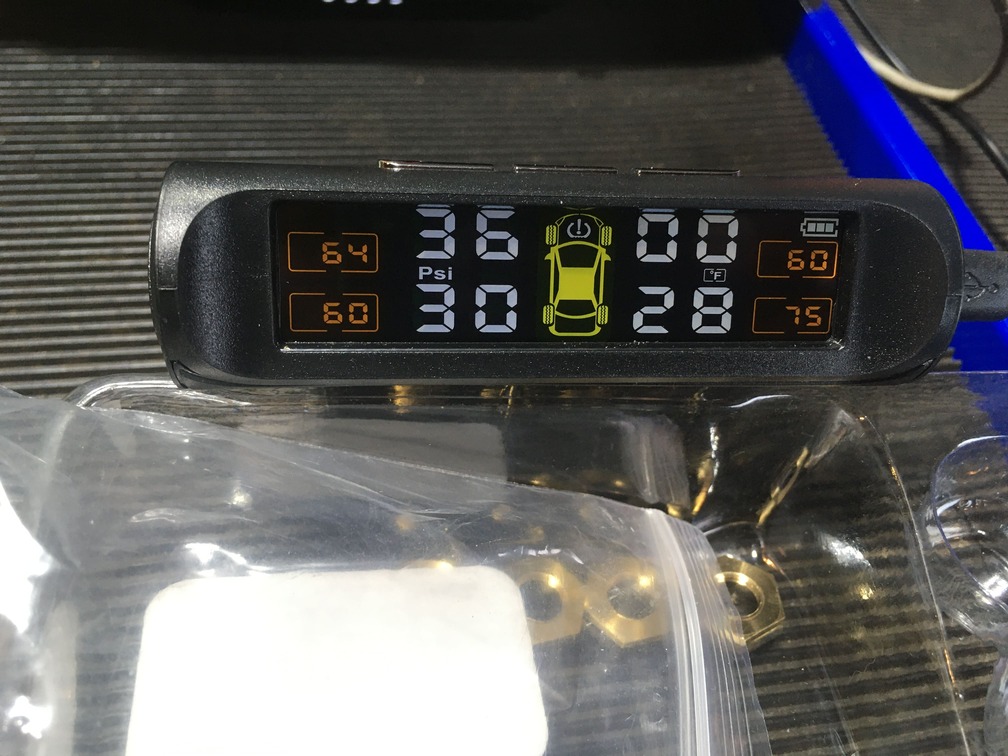
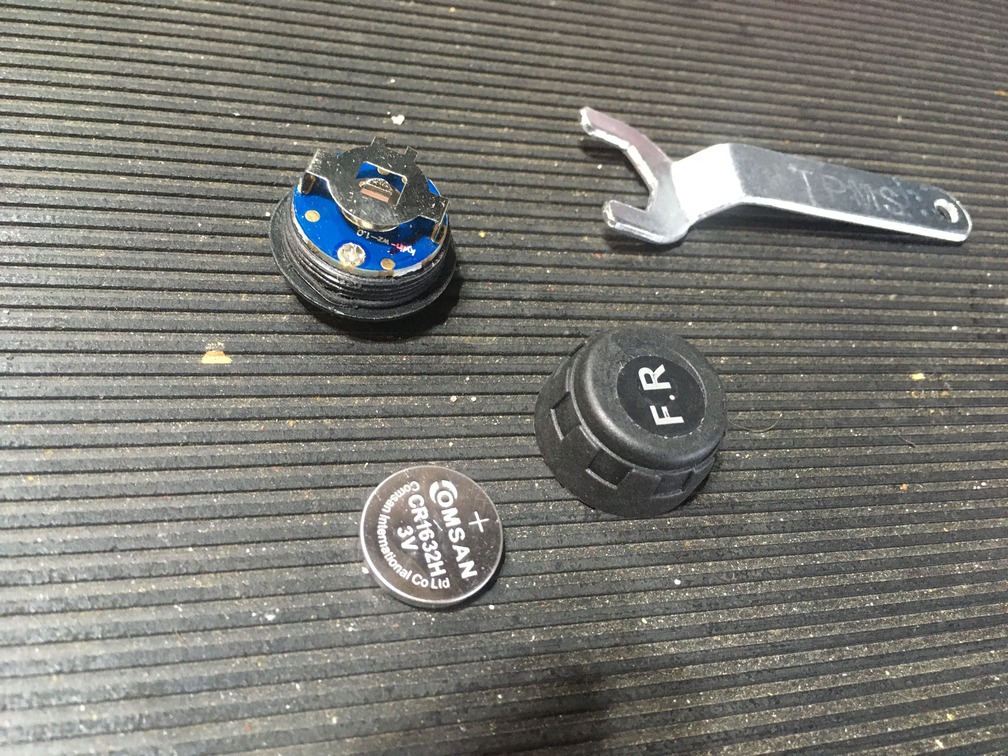
After consulting with the Amazon product page, and searching the product reviews and questions, I did see that many other people were reporting one or more of the caps was not reporting data…. followed by the standard “this unit is crap and don’t buy it.” But with so many 5 star reviews I figured I would have to go a bit further in investigation. I decided to swap out the battery on one good reporting unit with the bad, and wham the dud cap came to life.
At this point I looked at the initial package and realized these units did not come with the battery “off” paper tab that you would typically pull off to let the battery make initial contact when you are ready to boot up the unit for the first time. So my guess was these units are sitting on a shelf somewhere, for who knows how long, with the cap batteries on and the caps trying to send data to the unit.
I went down to the local Walgreens and tracked down a replacement CR1632 and paid $7 for a single. Plugged that in and all 4 caps were now sending data as intended.

And then a few minutes later another cap stopped sending data and my pressure reported back to 0 PSI. I swapped the new battery into that unit and confirmed a dead battery again. I wasn’t going back to Walgreens to spend $30ish for 3 more of these batteries, after all that would cost more than the system itself. I also figured that it was only a matter of time before the others needed new batteries and I had better have some on deck. I hopped back to amazon and tracked down a 10 pack of these batteries for $4.99 shipped. They arrived 2 days later, I popped a new one in and I was fully functioning.
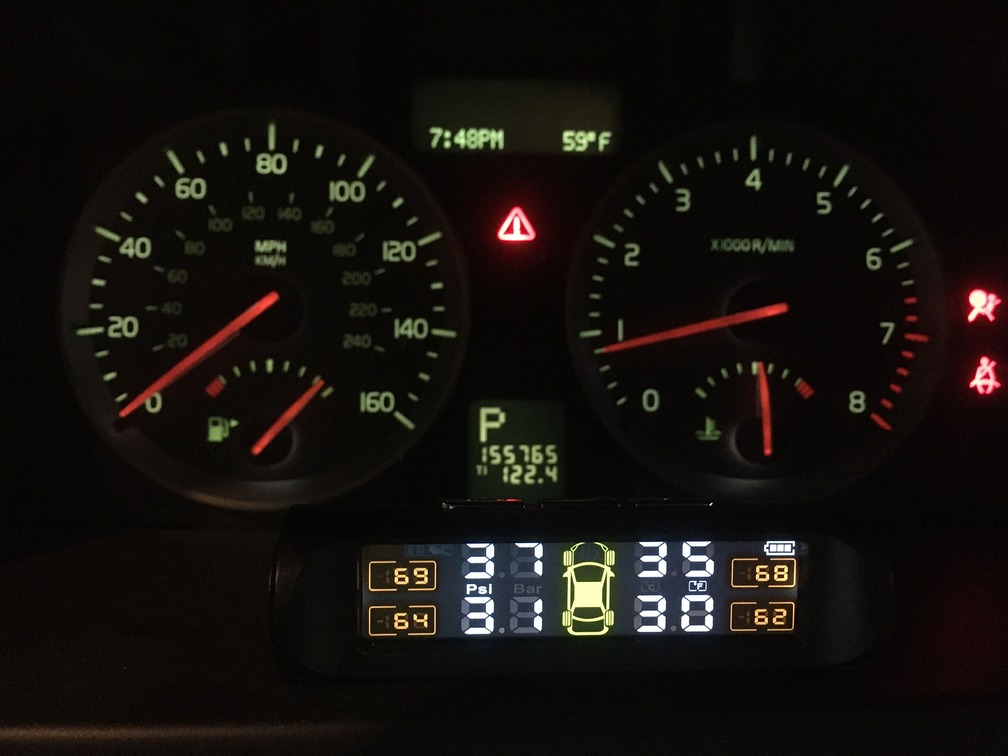
Now the only thing left to do was to find a spot for this display unit to live. I had two obvious options. The first was going to sit in the gauge cluster pod. I set it in and if fit perfect without interrupting the view of any other displays inside the gauges. Also from the passenger side and outside the car, you don’t even see the unit at all.
The second placement I also tried was resting on top of the steering column. This was a better resting place as it didn’t clutter the cluster as seen below, but I am going to have to fashion up some pad for it to sit on to raise it up an inch as in that spot the bottom of the display is cut off a bit.
After running this for a day or so I thought back to another digital display upgrade I did a few months back which was color converting your digital displays to any color. I pulled out an extra sheet of blue I had, did a quick cut of a piece to test out the look. Not bad at all.
Looks pretty cool, and since I’m half way through the color conversion in the car, I went ahead and started a sheet to fit this display.
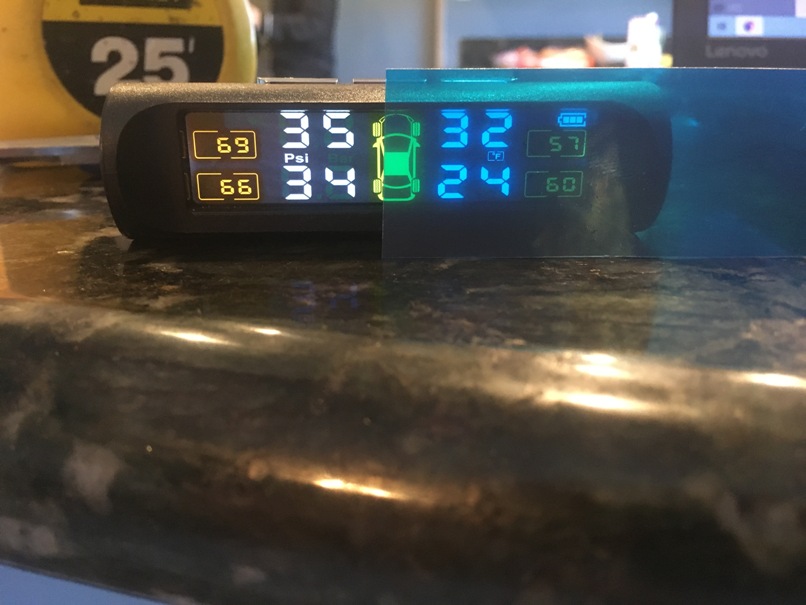
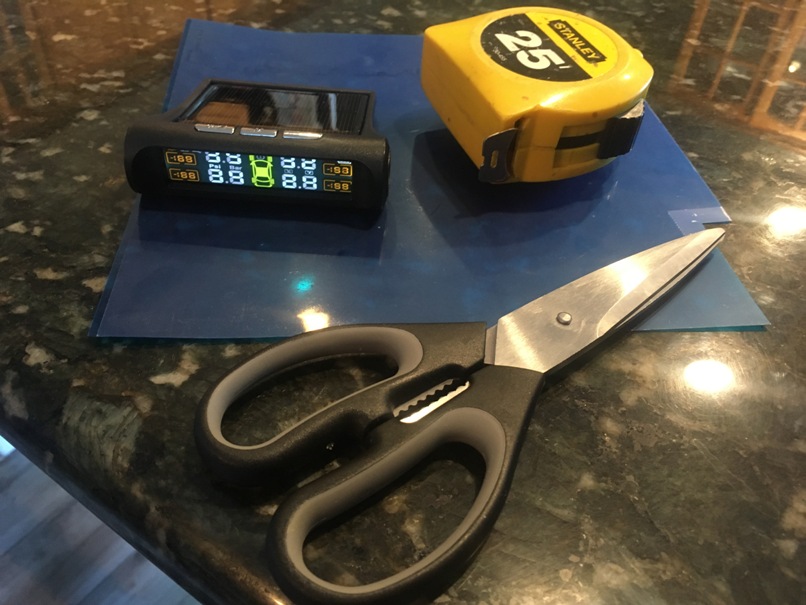
I did a rough measurement of the display readout with a tape, and then started cutting a piece to fit. For securing it in, I am hoping the size cut to fit will hold itself in, or maybe some slight static will stick it to the screen. If it pops off I will look at other options to secure it in.
And as I suspected, after peeling off the protective film, there was just enough static on the film and it jumped right into the readout screen.
Okay, now that all the heavy lifting is done, the last thing is to report how this unit holds up. The metrics I will report back to you on this will be accuracy of the PSI reported and how long the battery life of the unit holds on a single charge.
For the PSI reading, I did notice on install that my compressor, my pen gauge, and the actual unit readers were all different. My pen gauge and the TPMS unit were either the same or within 1 psi, while my compressor gauge was off by about 5. Just to make sure, I went ahead and spent $9 on this AstroAI Digital Tire Pressure Gauge on Amazon.
For battery life, the unit does auto on and off when it detects movement, so it stays on when you’re driving, and turns off when you’re not. I found this feature to be pretty spot on. I don’t track how many minutes I am in the car, so I will just report back total number of days a single charge lasted, and how many miles as well.
Current Battery Life Test on Single Charge:
April 25th – June 15th: Just under two months. Charged over night and good to go.
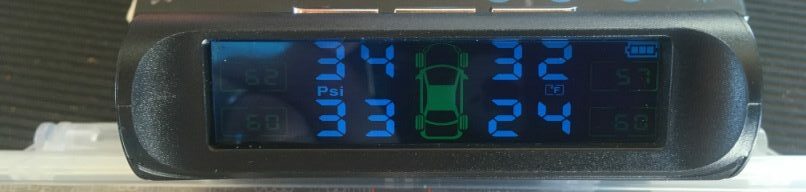
First Week Pressure Check: Clockwise Around Vehicle Starting at Driver Front
Pen Gauge: 33 – 33 – 25 – 34
Digital Gauge: 32.6 – 32.7 – 24.1 – 33
TPMS System: 34 – 32 – 24 – 33
Overall, I would recommend this unit as a cheap and easy option for anyone who wants to keep an eye on their tire pressure. It was less than 10 minutes to install and not a single tool was needed. I would say to also order some batteries with the unit to save the hassle I went through. I will continue to report the metrics here, and if for some reason this unit fails or encounters issue, I will update the original article title and recommendation with a reason why.
Purchasing Quick Links:
TPMS System
Replacement Batteries
Digital Tire Pressure Gauge
Color Filters for Digital Screens


