


Increasing the contrast of Your WRX front-end…with a sticker.
So decades ago, stickers as they relate to cars, were just for either windows, or maybe your mom’s minivan’s bumper…congratulations student’s of the month. But now, with new technology an new ideas, stickers are everywhere. They wrap entire vehicles, they tint headlights, and in this write-up and review, they can add accents to almost any part of your car.
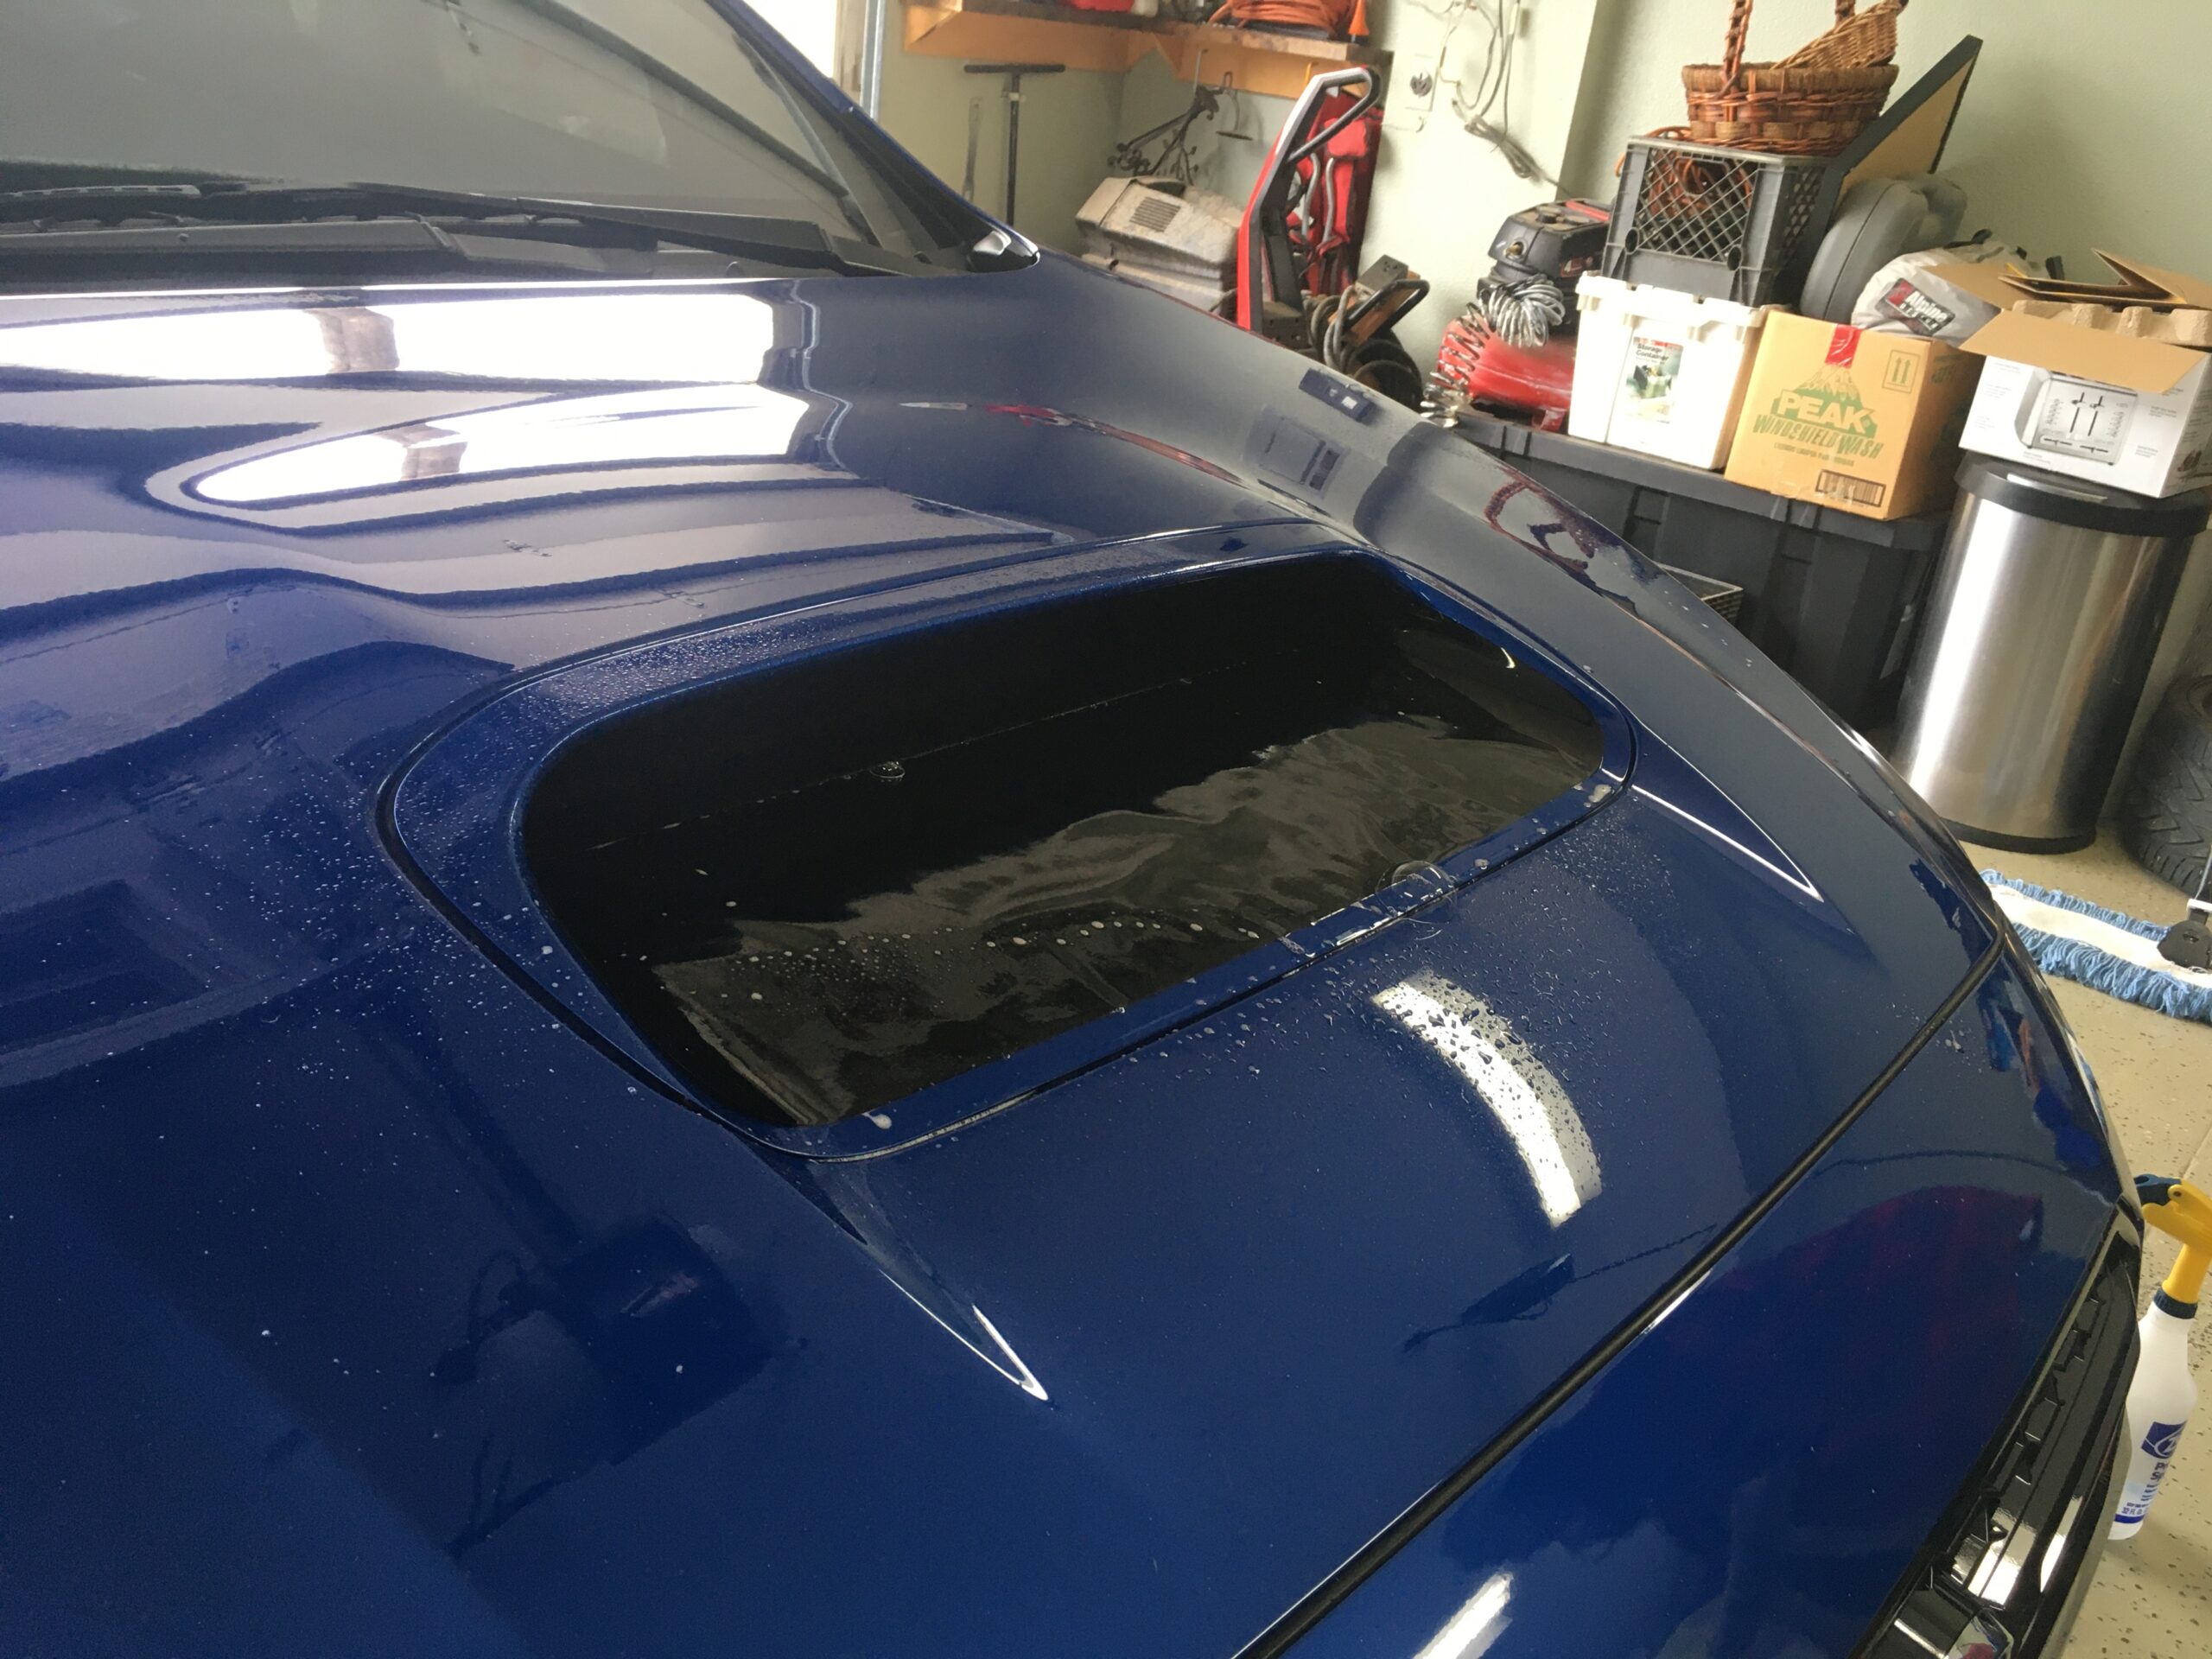
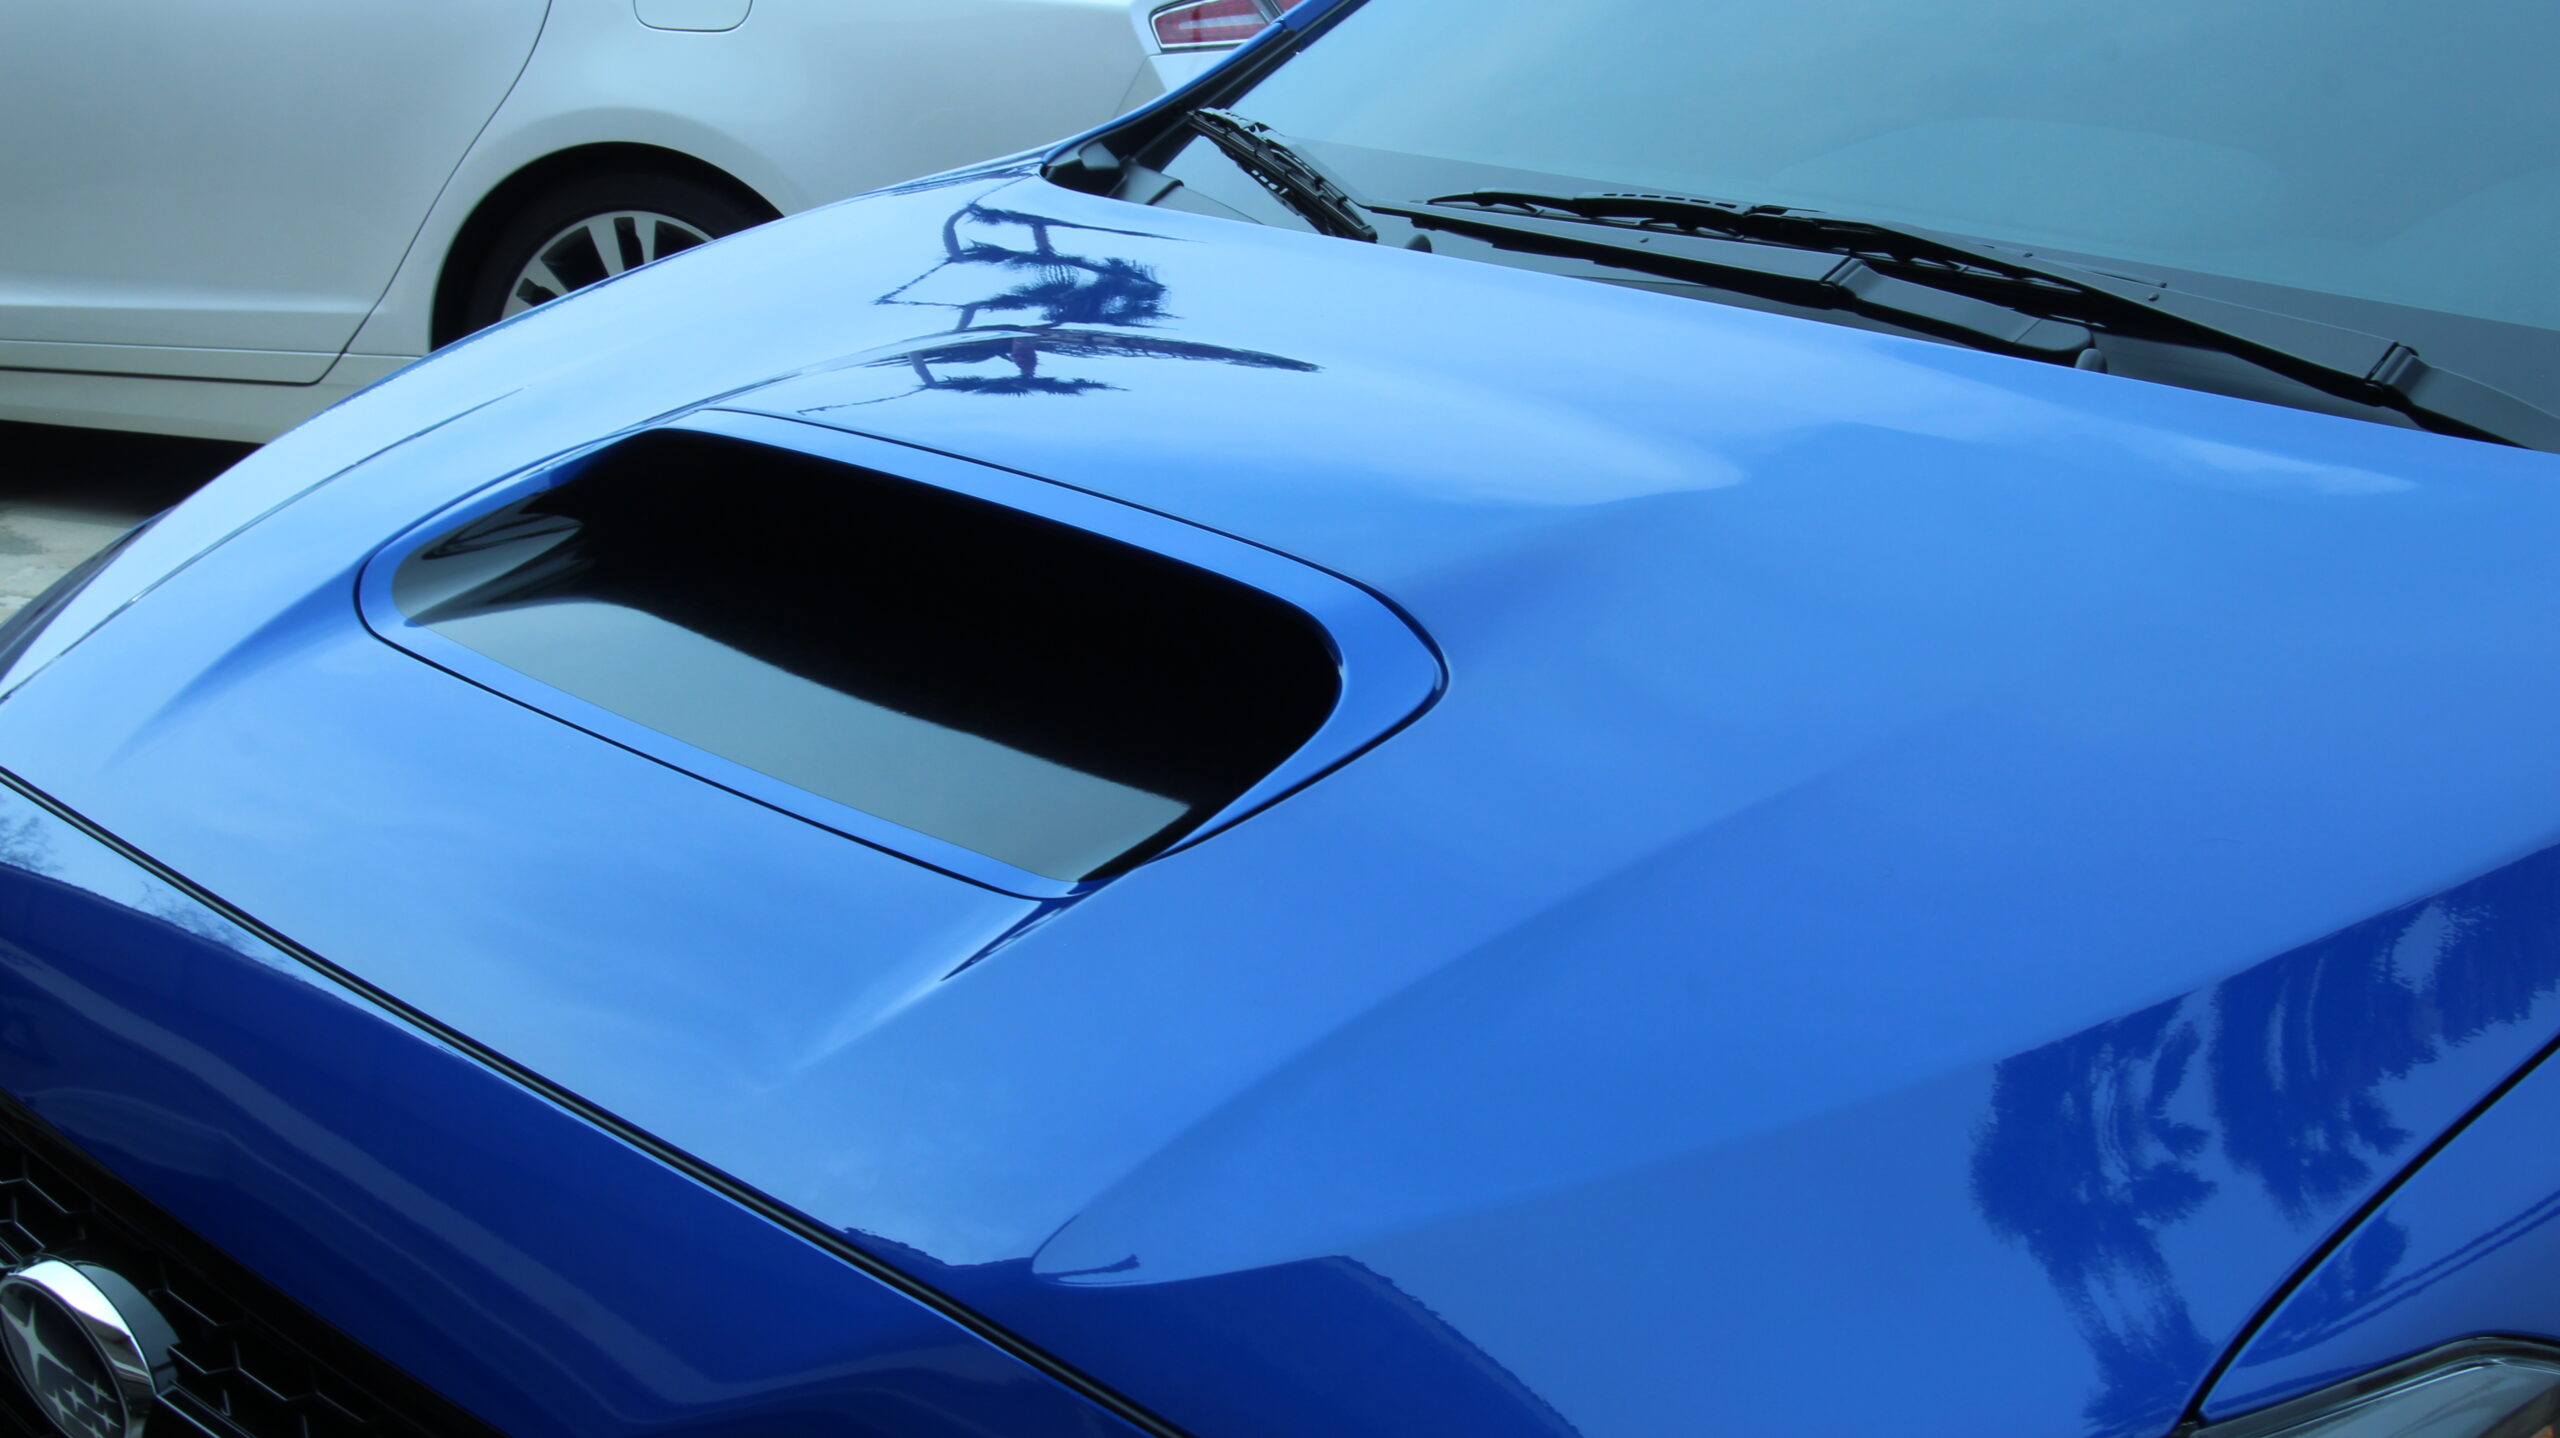
Here we are looking at StickerFab’s Gloss Black Hood Scoop Overlay. This sticker is cut to perfectly match the shape of the hood scoop and installation is proclaimed to be quick and easy.
While it doesn’t provide any HP gains, the sticker price... haha, came in at under $20. And for those who want to really set it off, you can bundle the trunk trim overlay, and their fender overlays for about $60.
So really, this is just a cosmetic upgrade. It simply changes the color of the inside of your hood scoop to their available gloss black, matte black, or even carbon fiber. The factory hood and scoop match your color code, and this sticker modification will cut your hood up visually added depth and contrast.
Getting Started – You will want to get your supplies on deck. This will include the following:
Spray bottle with water and a smidge of soap – this will allow you to get the sticker, and surface moist, letting you position the sticker in place.
Squeegee – this will serve to wipe away the water/soap mixture from both above and under the sticker.
A few dry cloth microfiber towels – these will keep your surface area clean and also protect the new sticker from scratches
Rubbing alcohol – used for cleaning the surface
Optional: Heat gun – this will allow the process to speed up
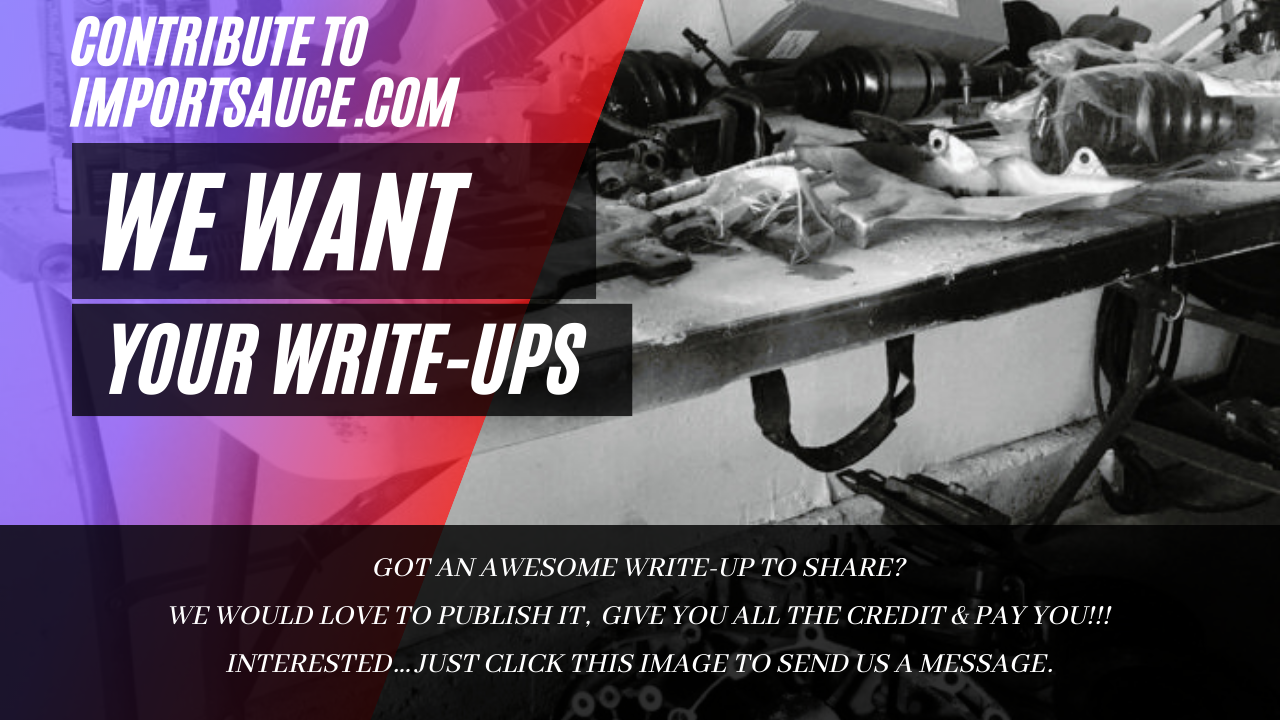
Start by cleaning your hood scoop and hood. You want to make sure, just like any other sticker, that your surface is clean and free of dust and debris. This will ensure proper adhesion, as well as make sure you don’t have any imperfections in the final install. We used some rubbing alcohol to really make sure we were clean as a whistle.
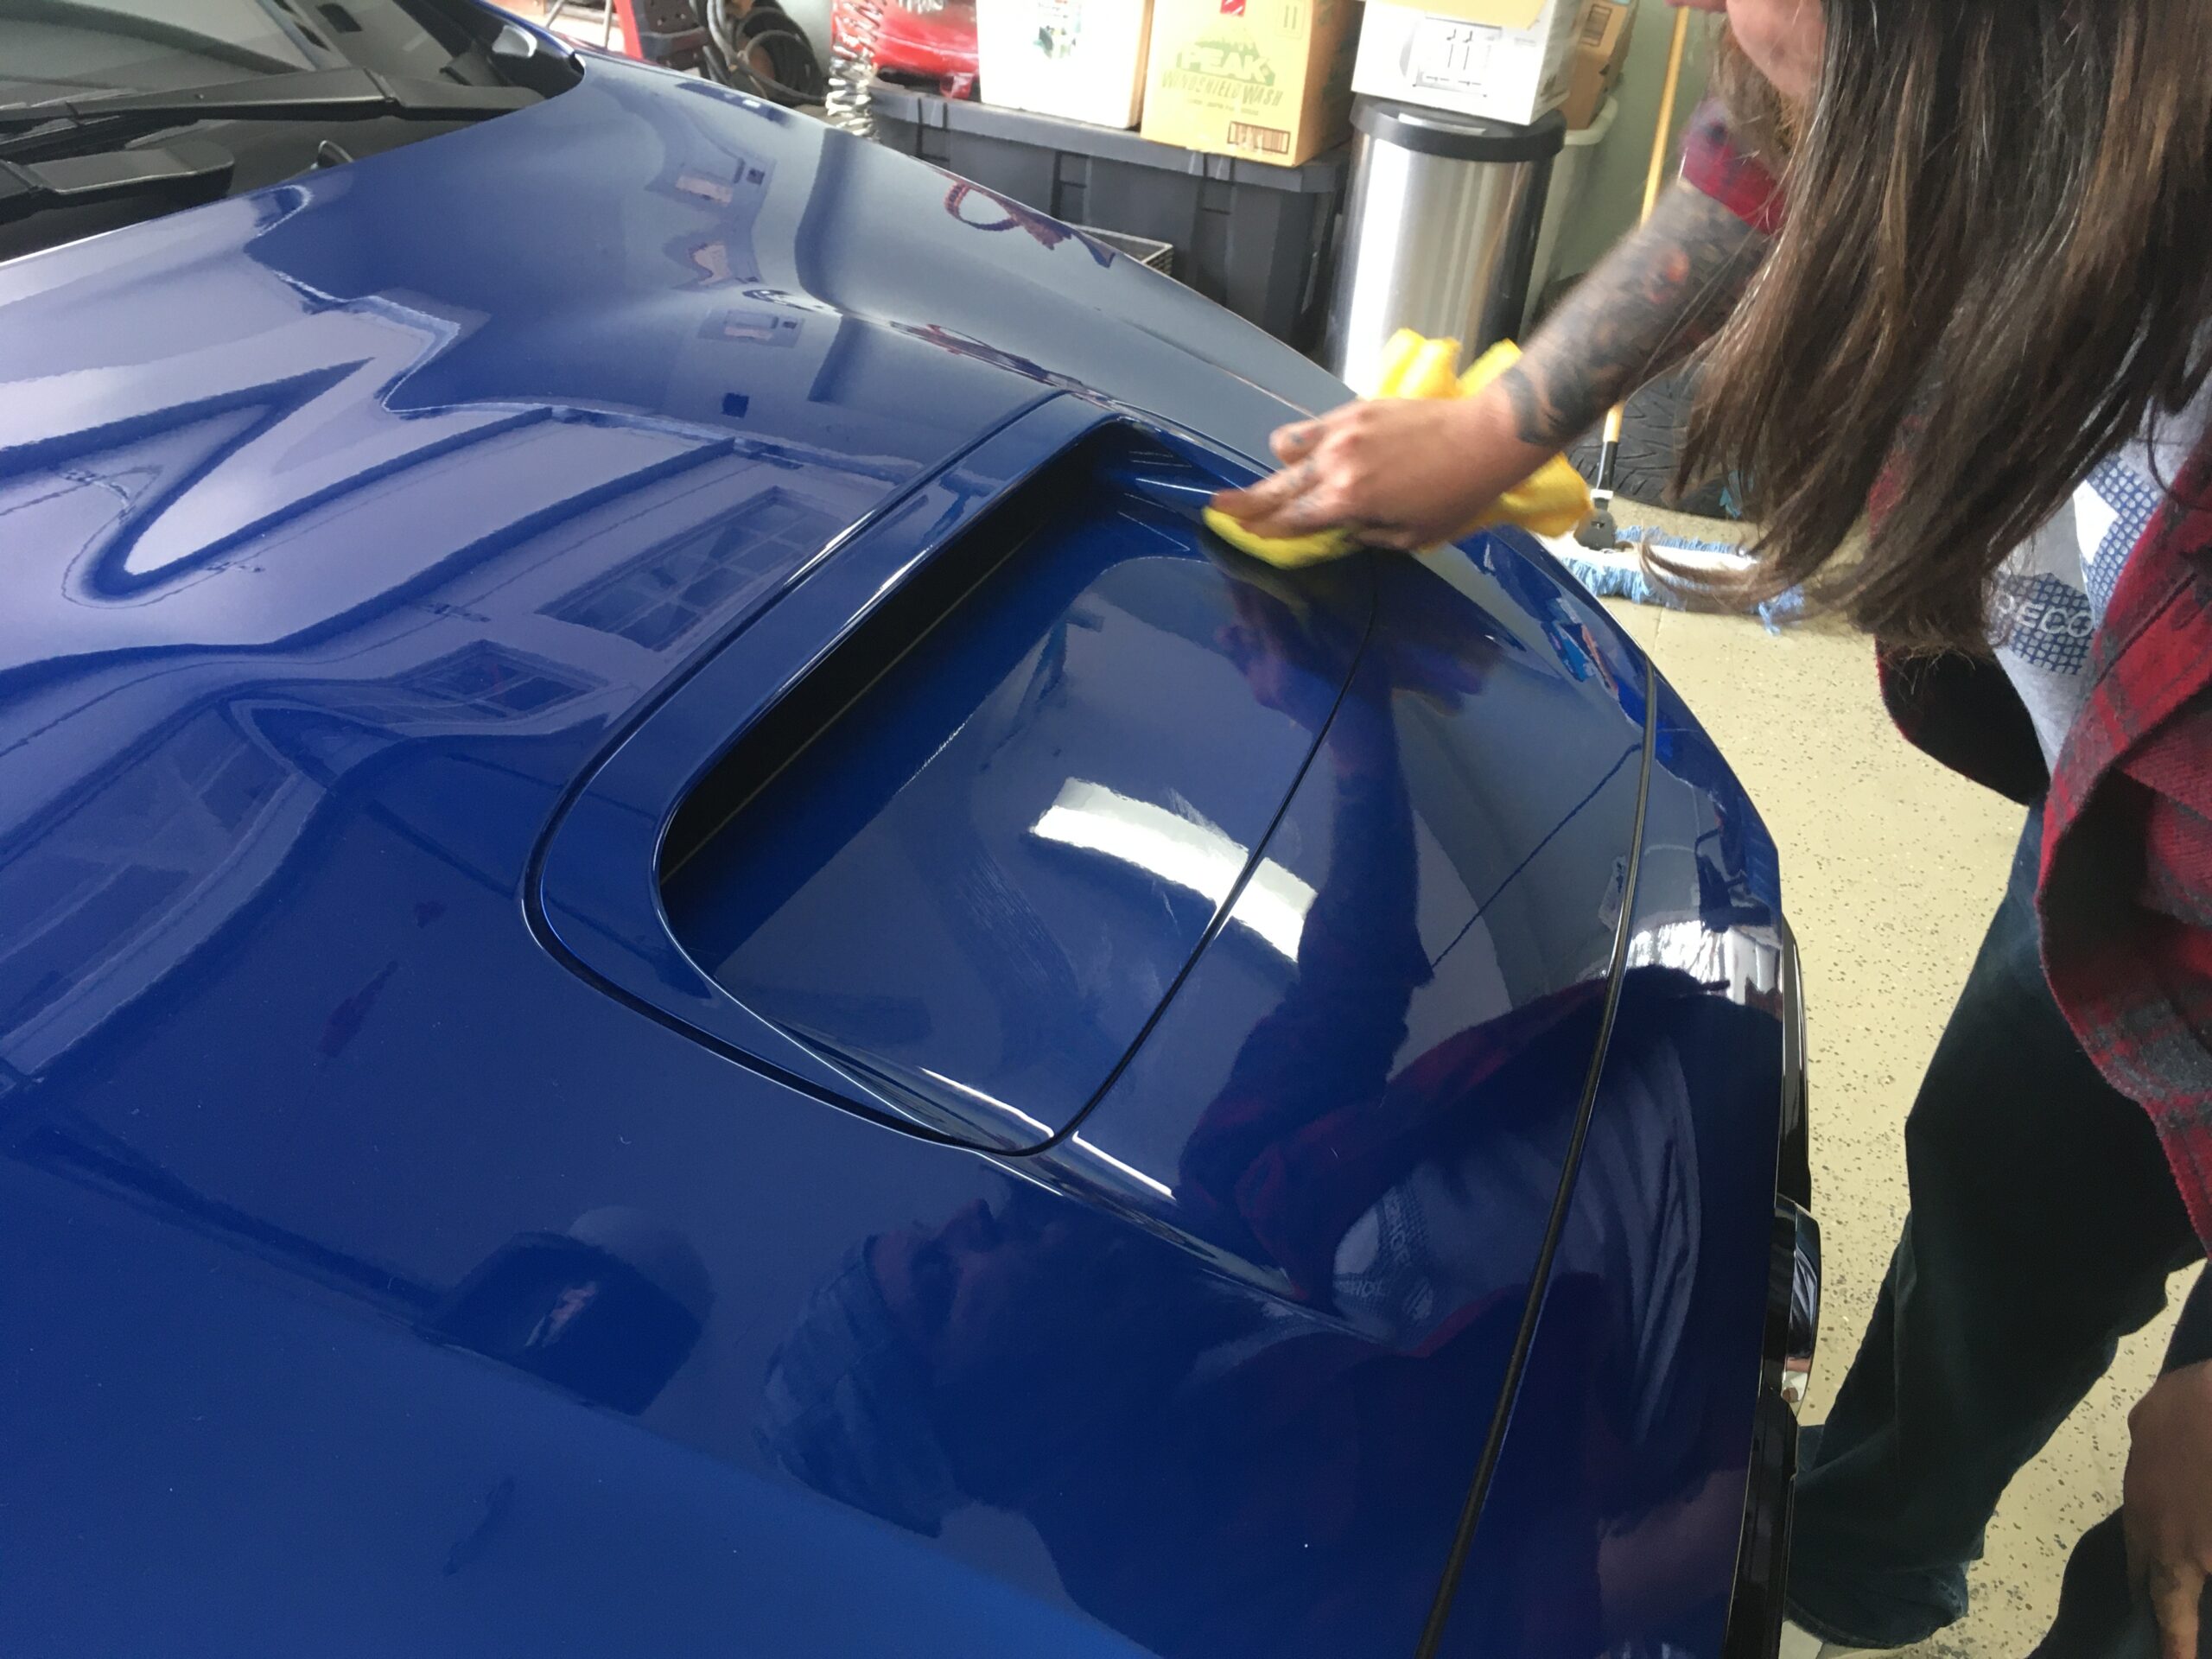
Next you will want to prep the sticker and the hood scoop surface. Start by peeling your sticker from the sticker backing paper and then you can lay it upside down on the hood for safe keeping.
From there, we want to lubricate the sticker and the hood scoop area. This is where you will use your spray bottle with your water soap mixture. While you could just try to line the sticker up in one pop and drop it down, the chances for wrinkles, bubbles, and simply not lining up properly are huge. You’ll see more about the wonders of this liquid magic a few steps below.
Pro-Tip: don’t make the mistake we initially made, by spraying too much of the juice. You want a thin layer of the juice, too much causes excess movement and more work drying it out later.
Essentially, the juice will allow you to slide the sticker into place, at which time you can start “setting” it into final position. All the water does have to be removed, by way of the squeegee, so you want just enough to massage the decal into place.
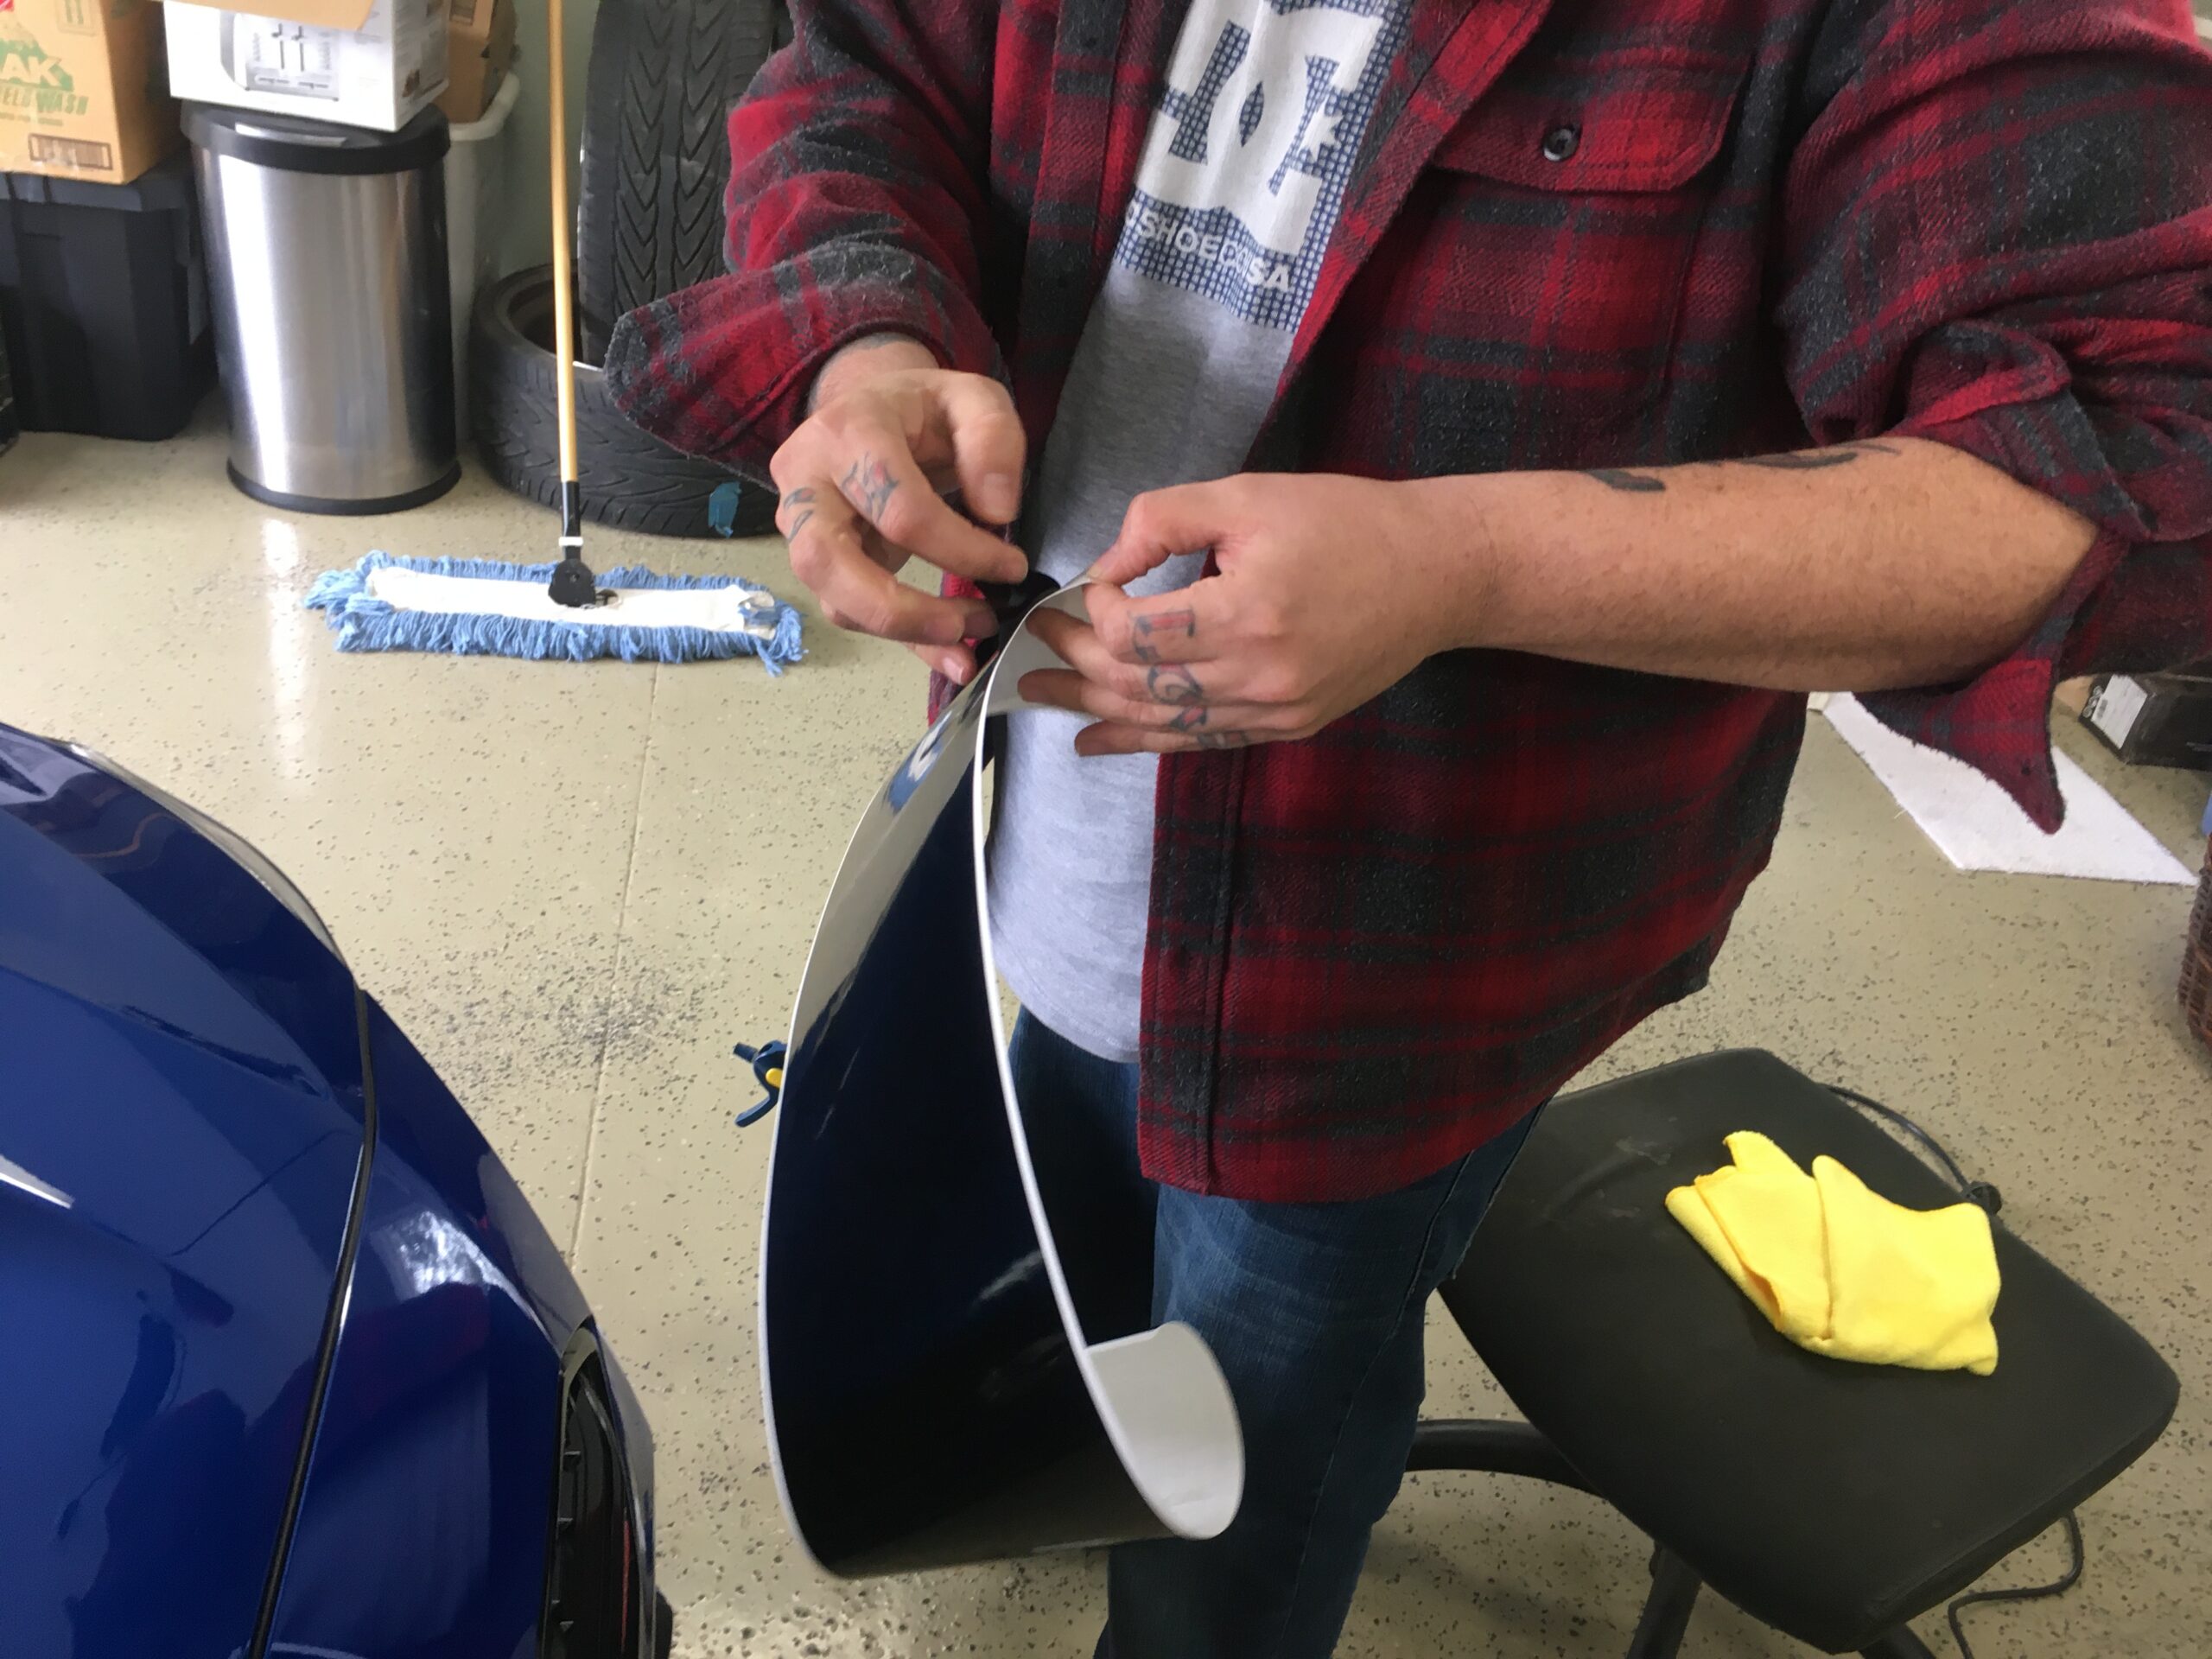
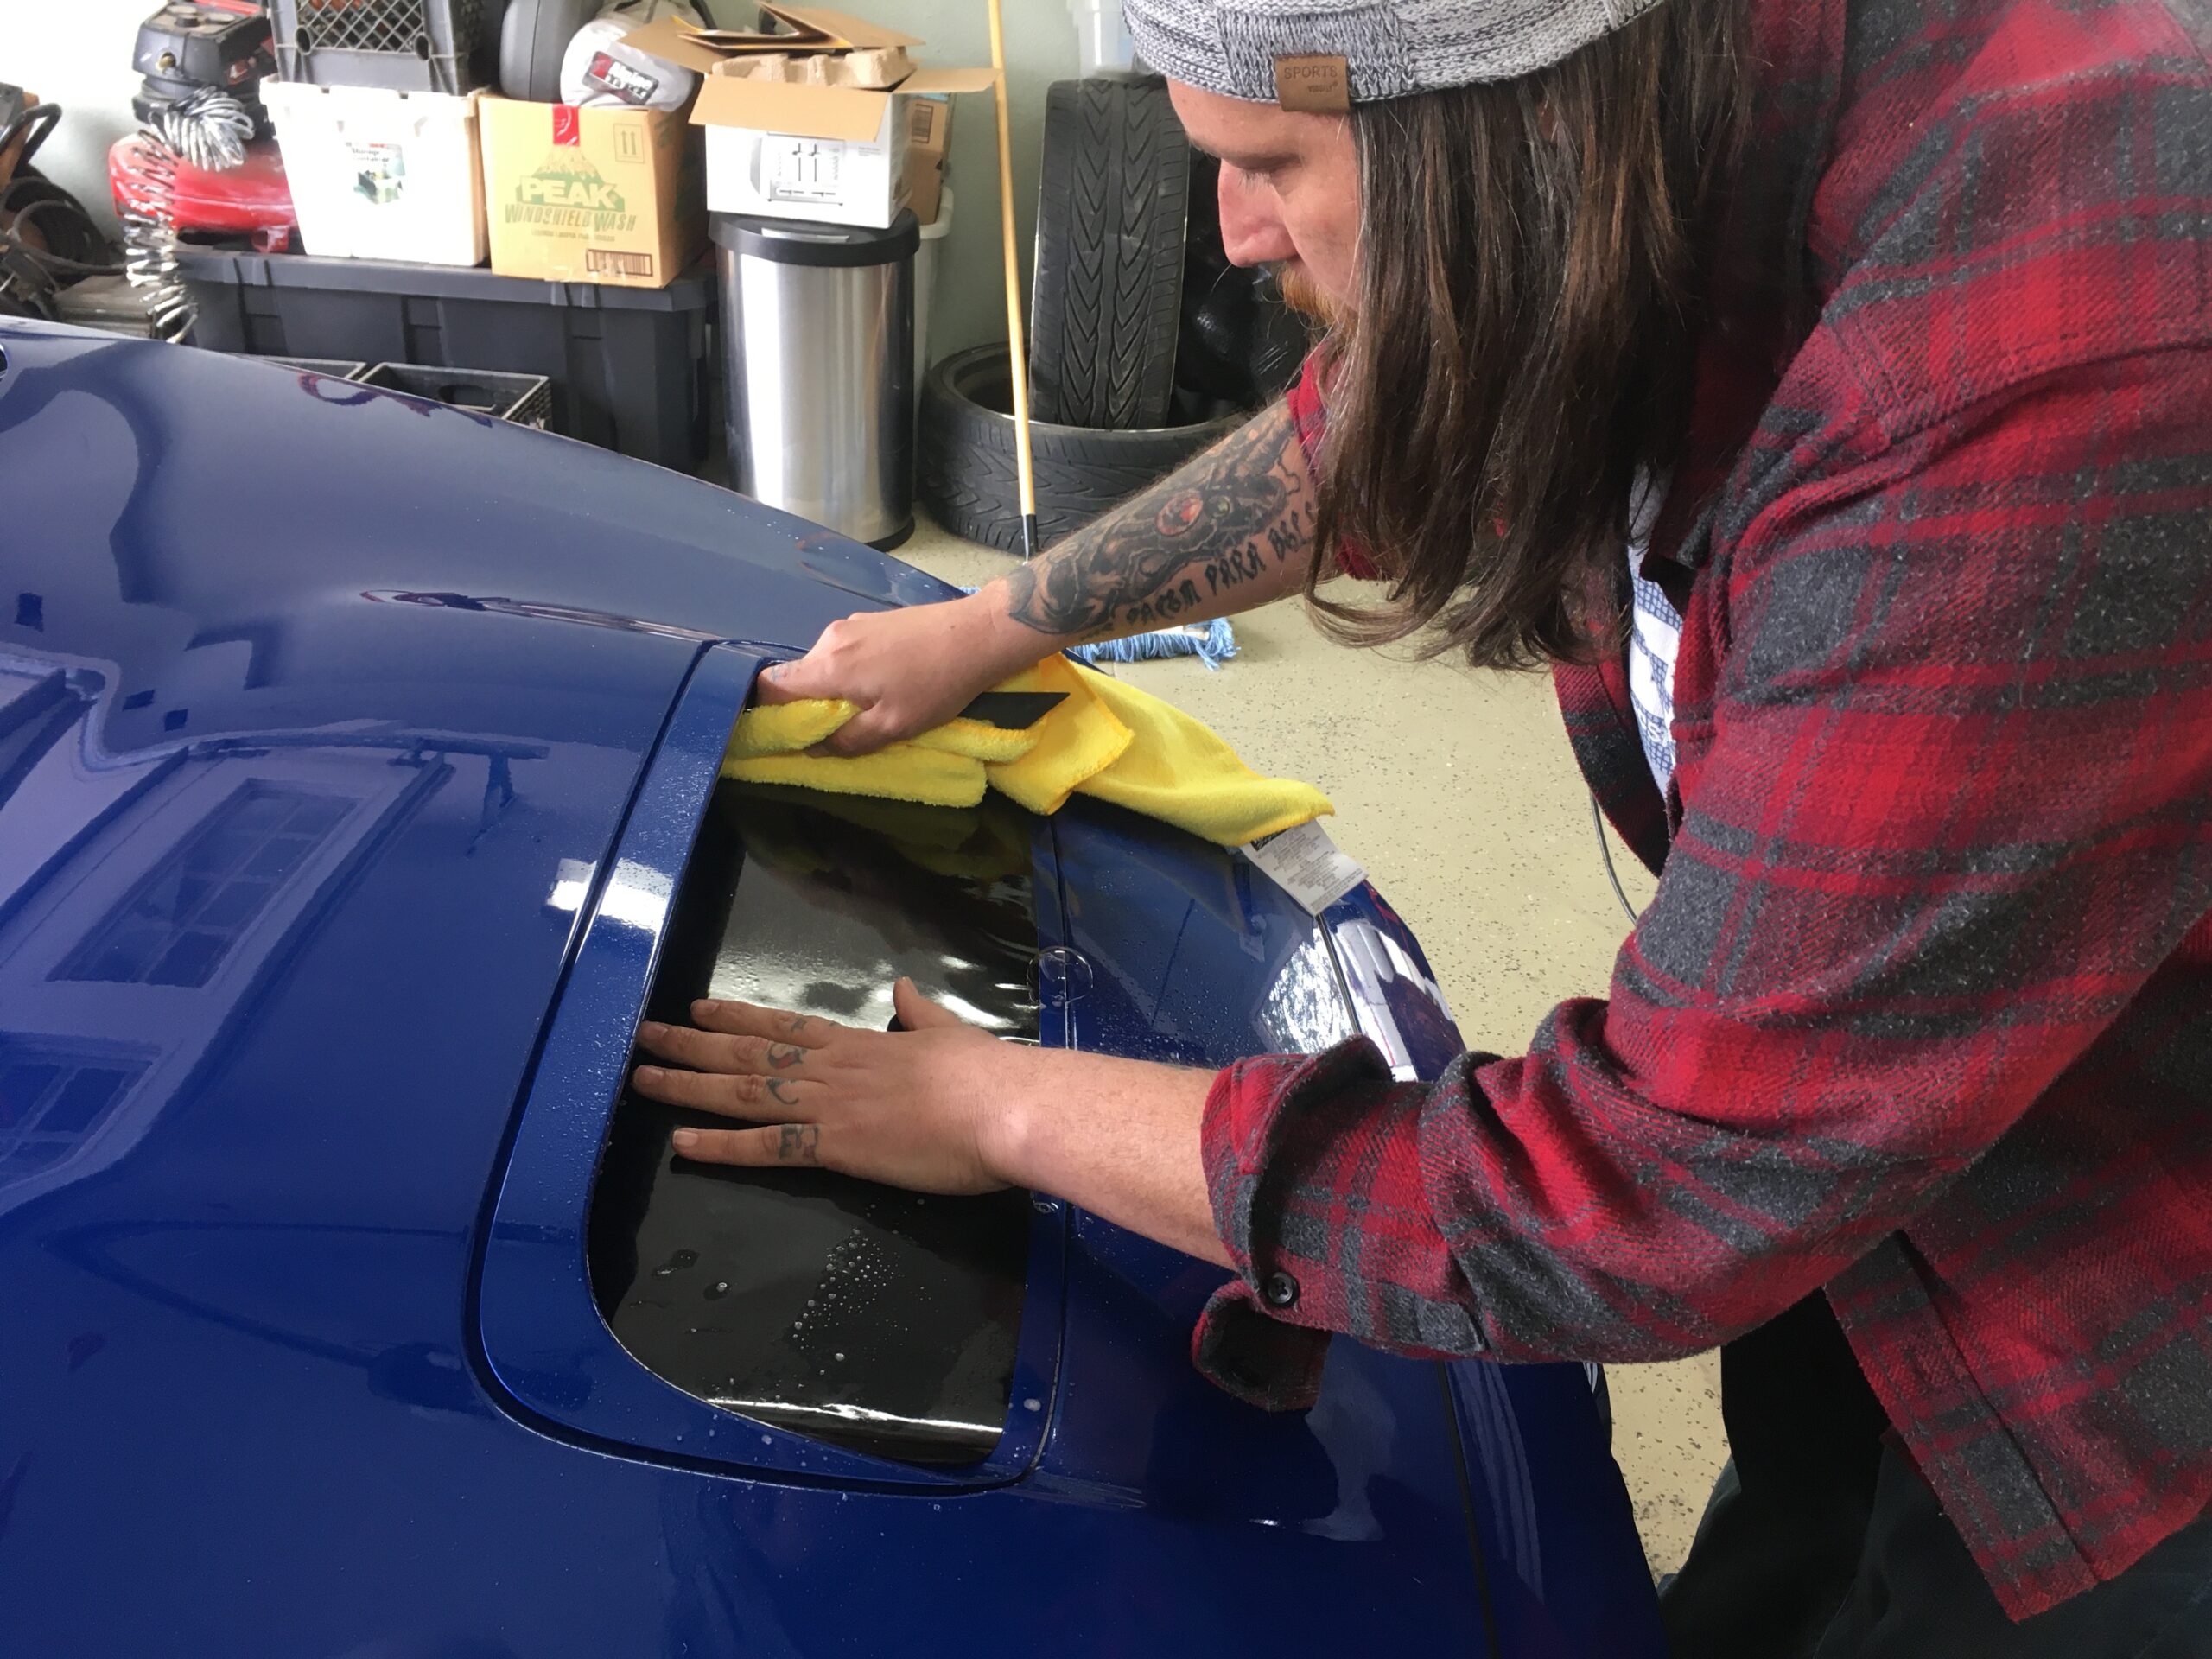
Next, lay your sticker into place as much and as close as you can. It will slide around, and it will not be flat and flush, but that’s fine.
If you look close, you can see how too much juice made a ton more work for us. There is soo much liquid, that the decal is floating on the scoop, rather than sitting and waiting for placement.
After working a lot of juice out from behind the sticker, while it did a slip and slide all over the hood, we got to the point we should have been at an hour before had we used less juice.
We wrapped our squeegee in a micro-fiber towel to reduce the straight friction against the sticker. We also sprayed the top of the sticker to allow a more gentle movement of the squeegee. Once the sticker is setting in place, you can use as much juice on the top, in an effort to extricate the juice underneath.
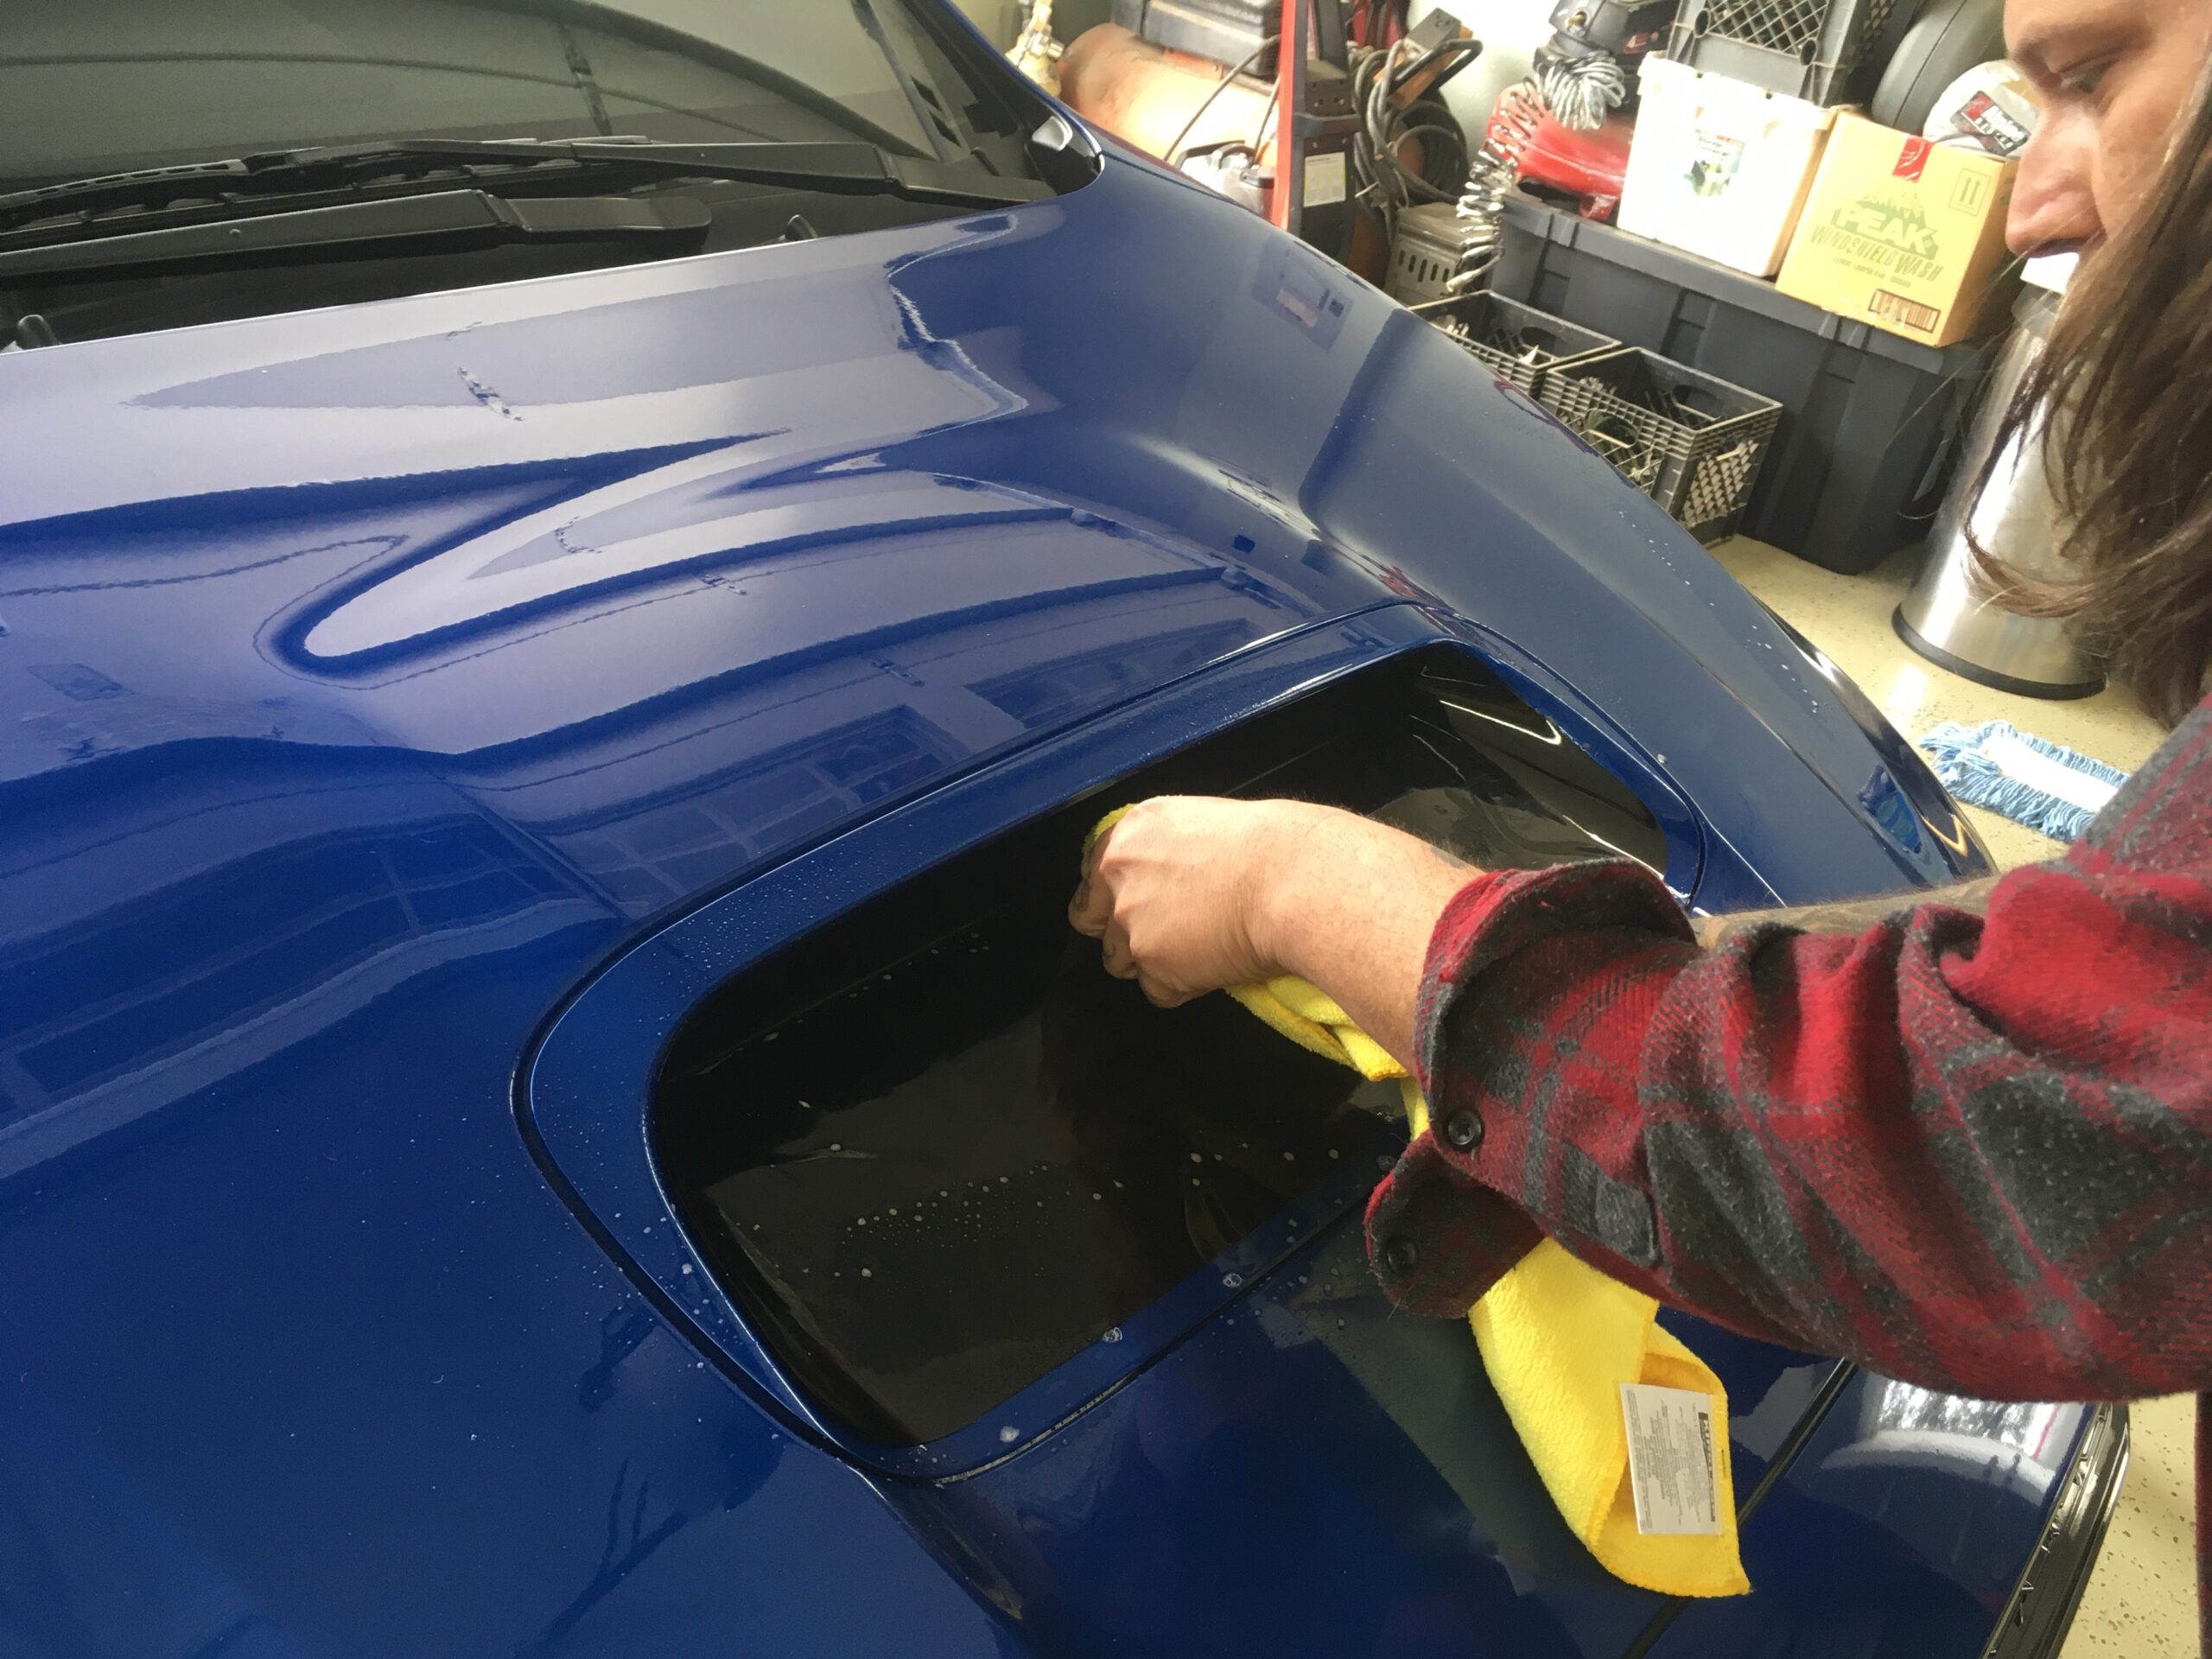
Next we just continued to work out the juice and the sticker started to really secure and bond to the hood. Since the sticker is not on a true flat surface (it does wrap up the sides of the scoop), we locked one side into place, focusing on the corners and edges before moving to the other side.
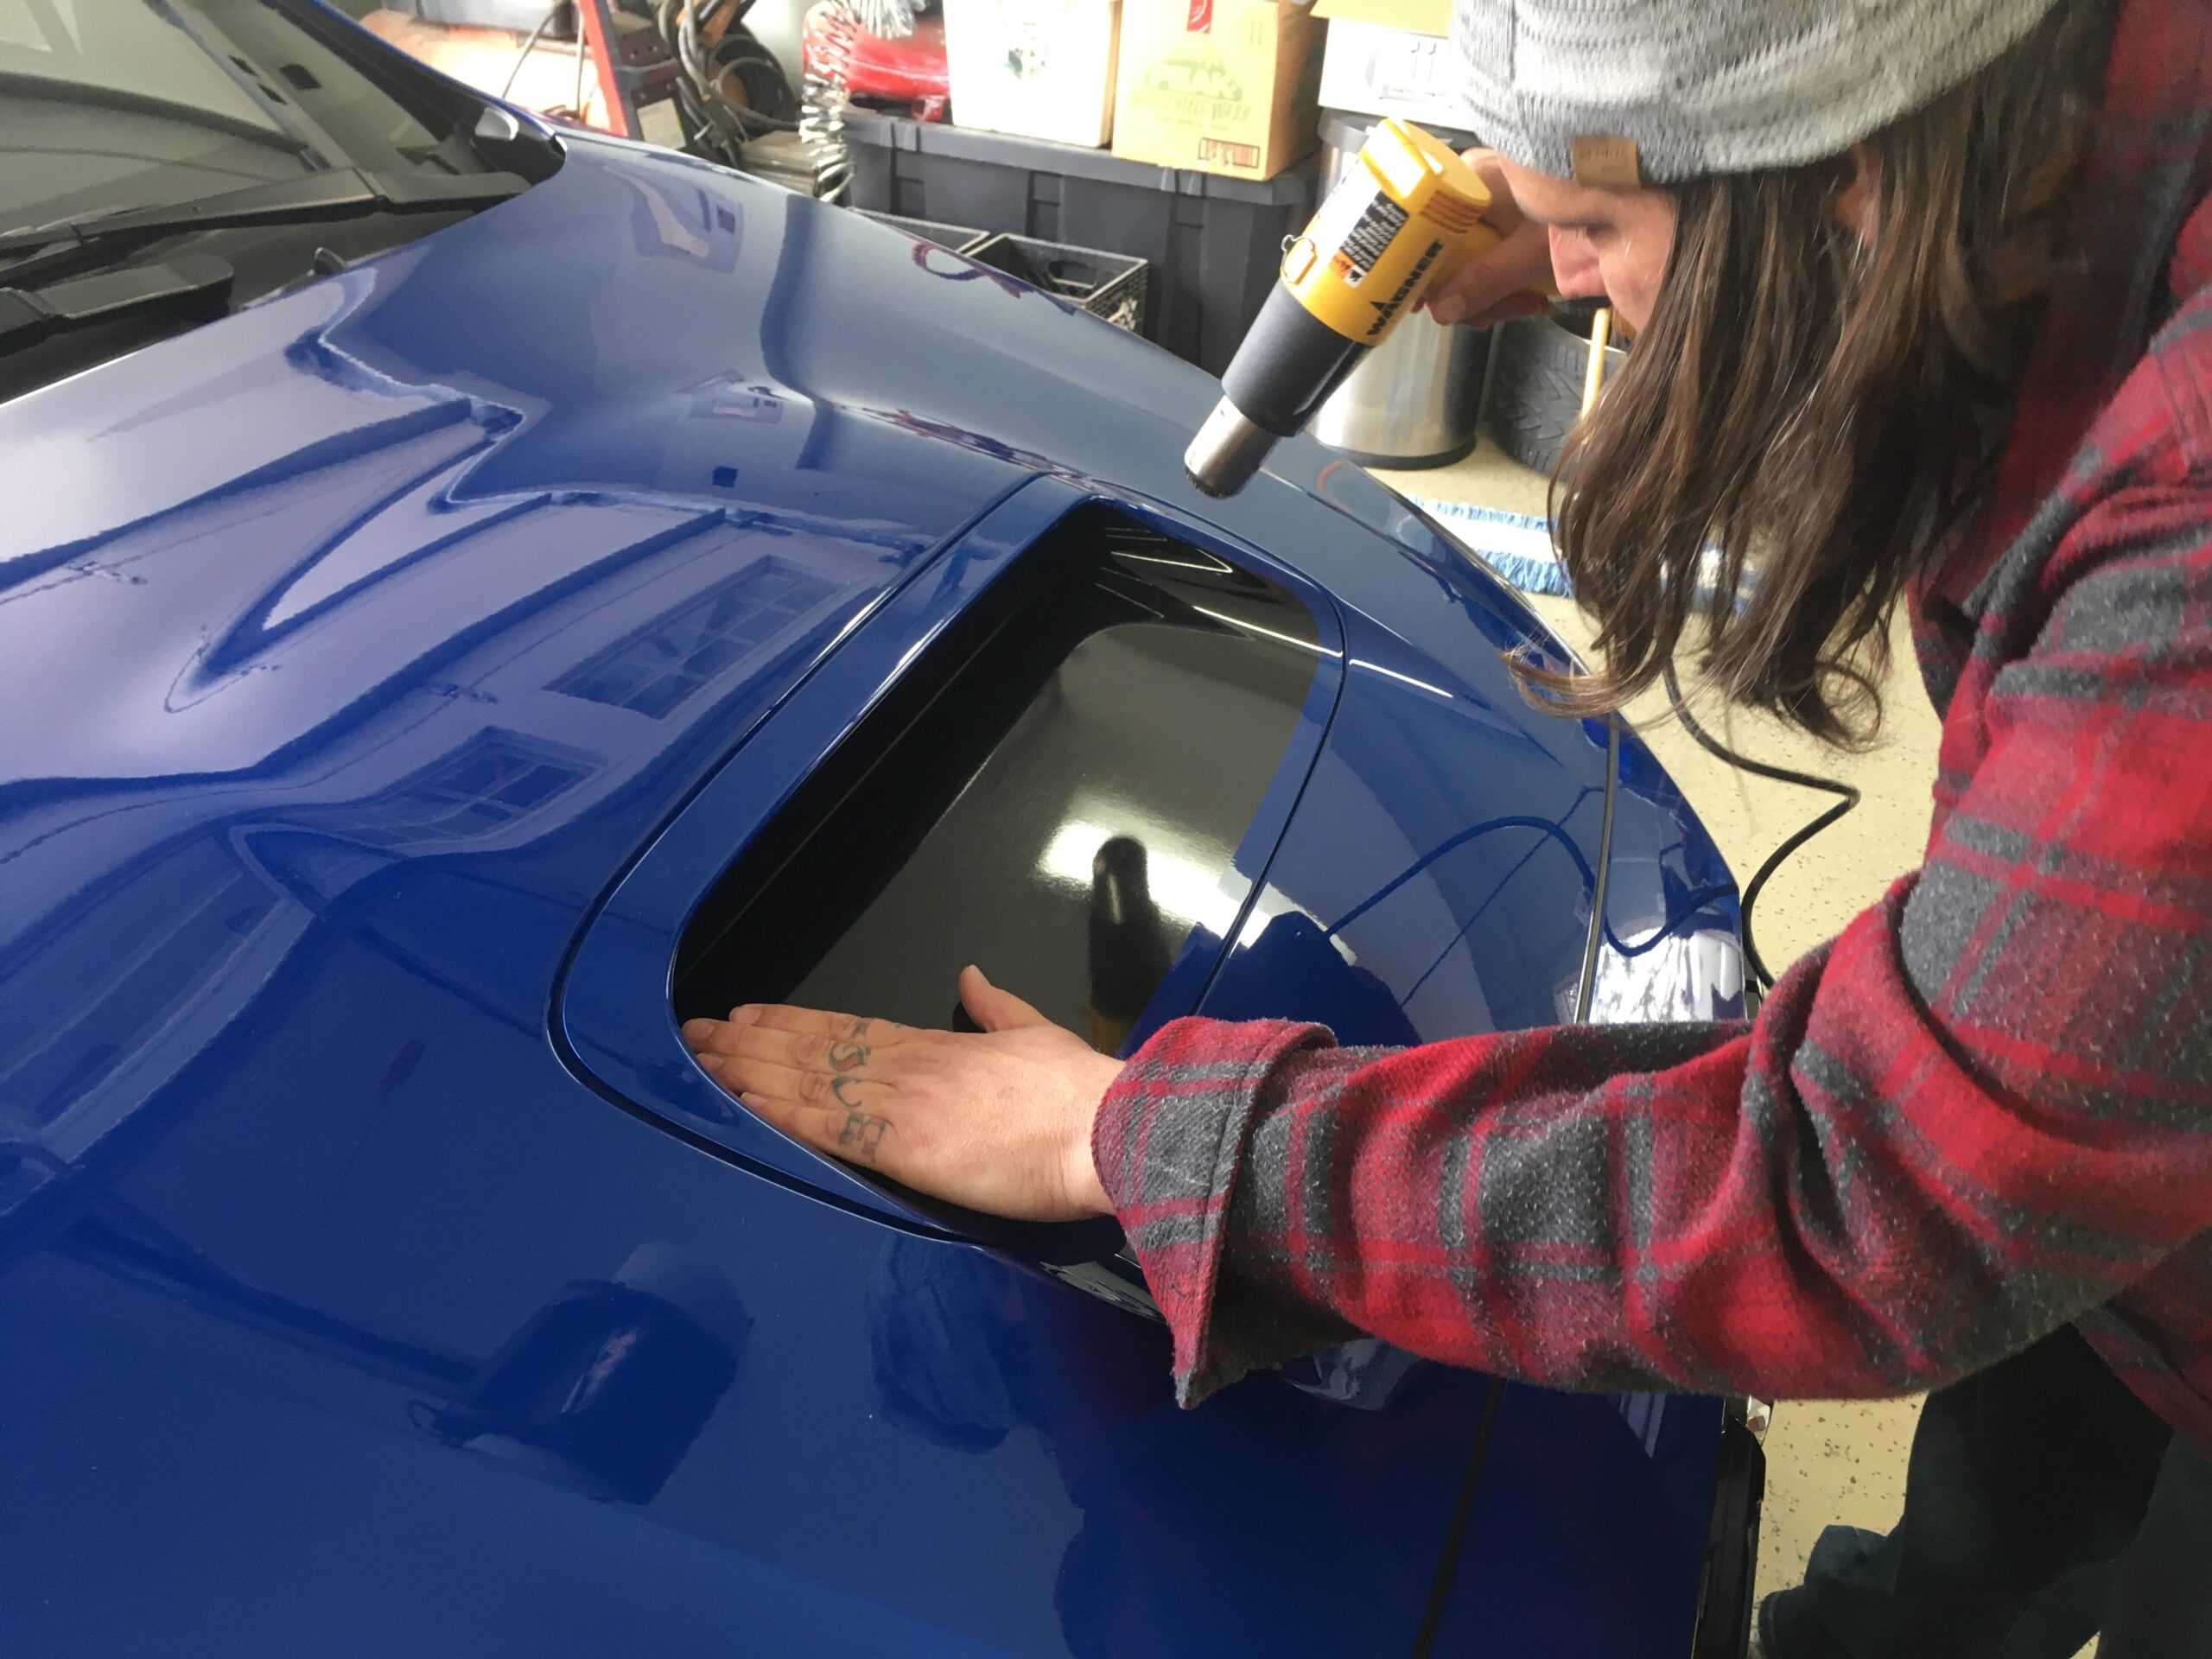
Once we felt the edges on one side were locked in, and free of any remaining juice, we hit that side with a heat gun to really finalize the adhesion.
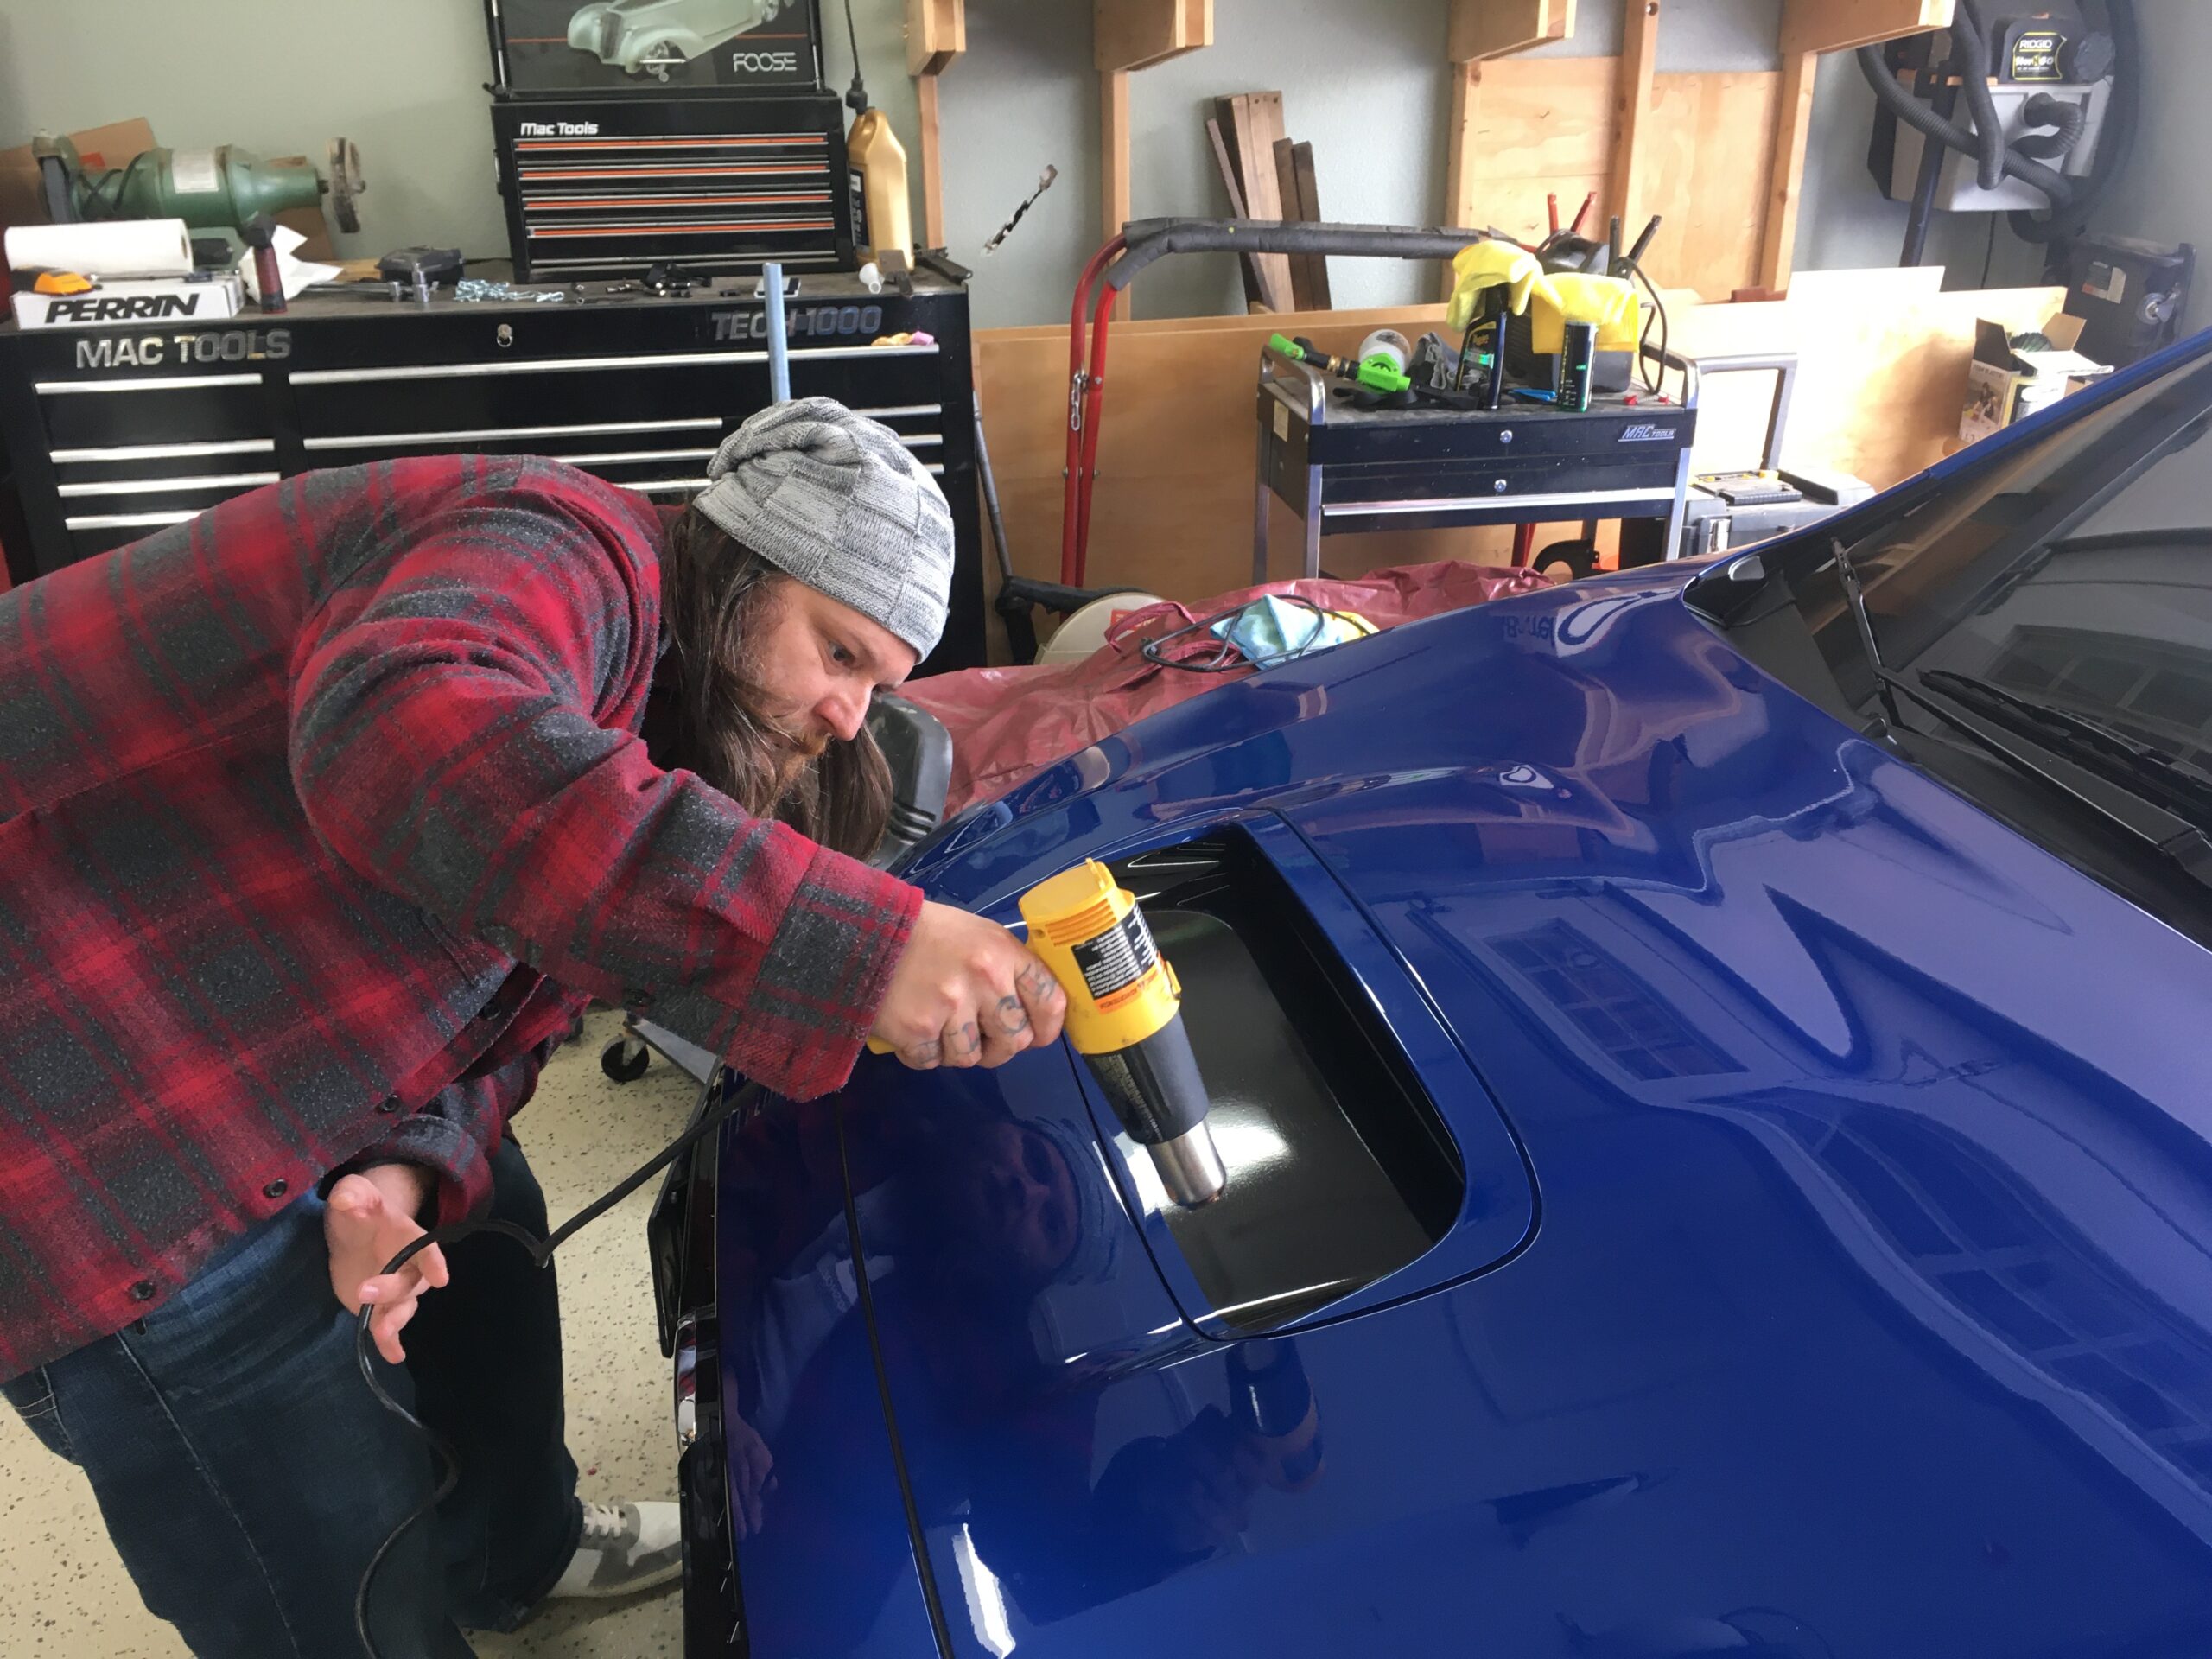
We then worked from that side to the other, about 3 inches at a time. Using the squeegee, we pressed juice out from middle to top, middle to bottom, and middle towards the other side. This made sure that any trapped juice was pushed out. We would hit each section with heat to lock it in.
Finally when on the other side, we payed close attention to the edges and corners again. This will be the spot of your demise. If you do not have proper adhesion and mating, you run the risk of this sticker starting to come off later. We massages the edges, hit with heat, and repeated until the sticker and the hood scoop were one.
The install does require some patience, but not as much as we used….assuming you don’t over juice it.
If we had to do it again, we could probably knock it out in about 30 minutes. Regardless, the sticker has been on a few weeks now and is holding up awesome. Our team would recommend this product and would also give it as a gift.


