


We have a complete parts bundle of what you need for sale here.
A big shout out to muppetman342 who got our juices going, and his shout out was to 3r1k, who originally got this sorted out on his post here: Jagrullar.se. Muppetman342’s thread here was great, I just wanted to add all the pictures and a full easy to use walk through for anyone trying this mod, so that they can complete without a hitch.
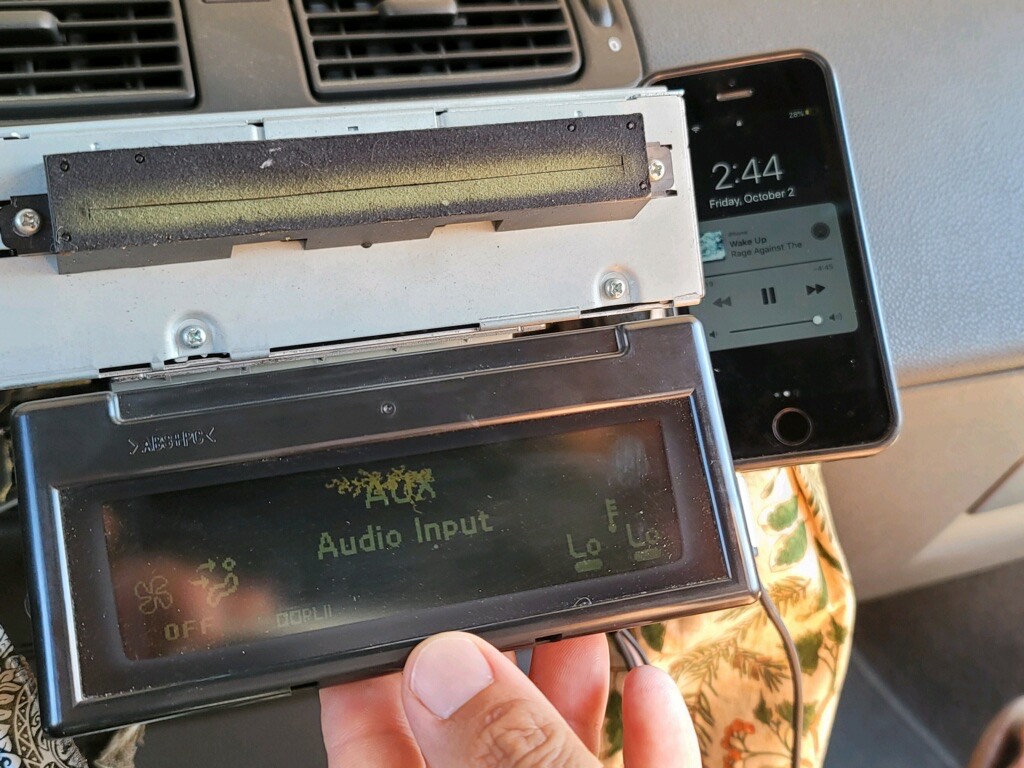
The sound quality is AMAZING. Crystal clear, and bumps hard and clear, maybe partly to the premium sound package I have, but I notice no loss of sound quality from CD vs the new AUX setup.
Time: 2 hours tops
Skill Level Required: Beginner/no car knowledge
Disclaimer: You will lose the ability to change your car settings menu options with this upgrade. The ones you can configure from the radio menu settings such as lights flashing on lock, timer for safety lights and such. After the upgrade, you are stuck with whatever settings you had configured prior. It has been noted that you can swap your ICM back in and adjust if you need to.
Your CD player still fully functions as it always does.

Also, I am guessing there is no reason why someone with a 2007 model that didn’t have AUX couldn’t do this as well.
Also also, un-confirmed if this can be done on a non-premium sound car. Mine was premium sound and the donor cars were also premium sound. I think it will, but I’ll do some more research and report back.
So here we go on the step by step.
What you will need: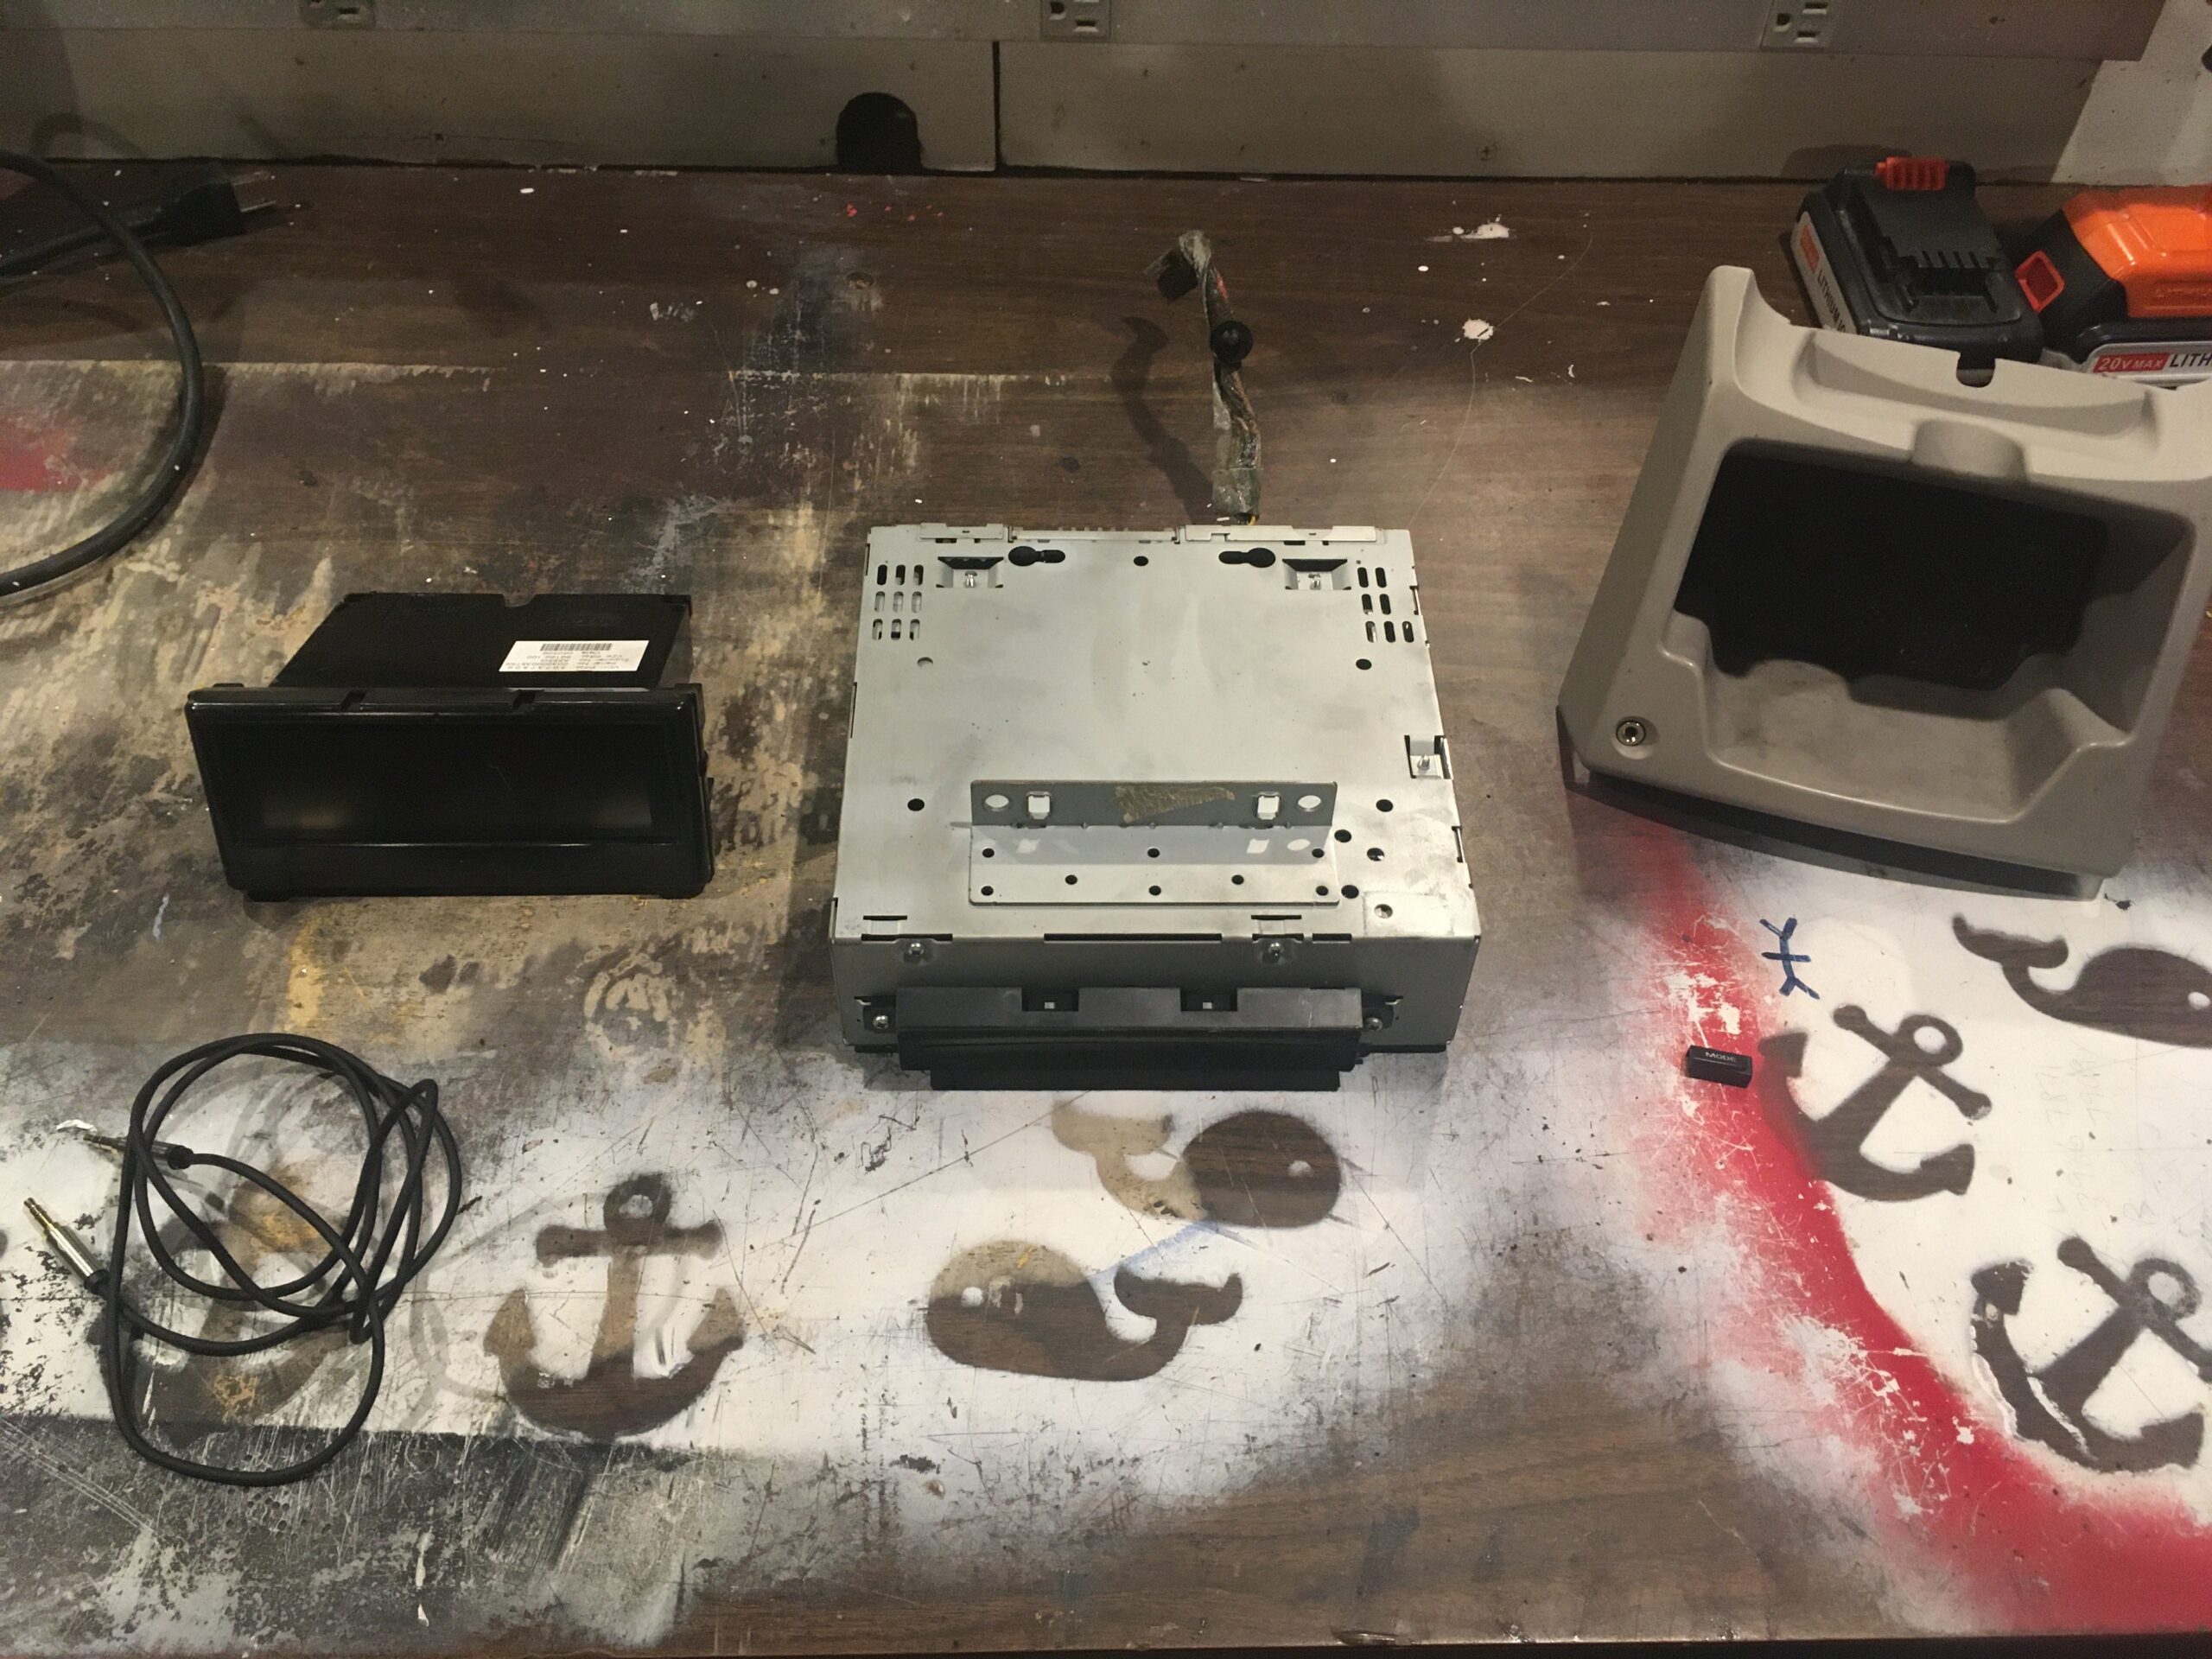
From a 2007 S40/V50
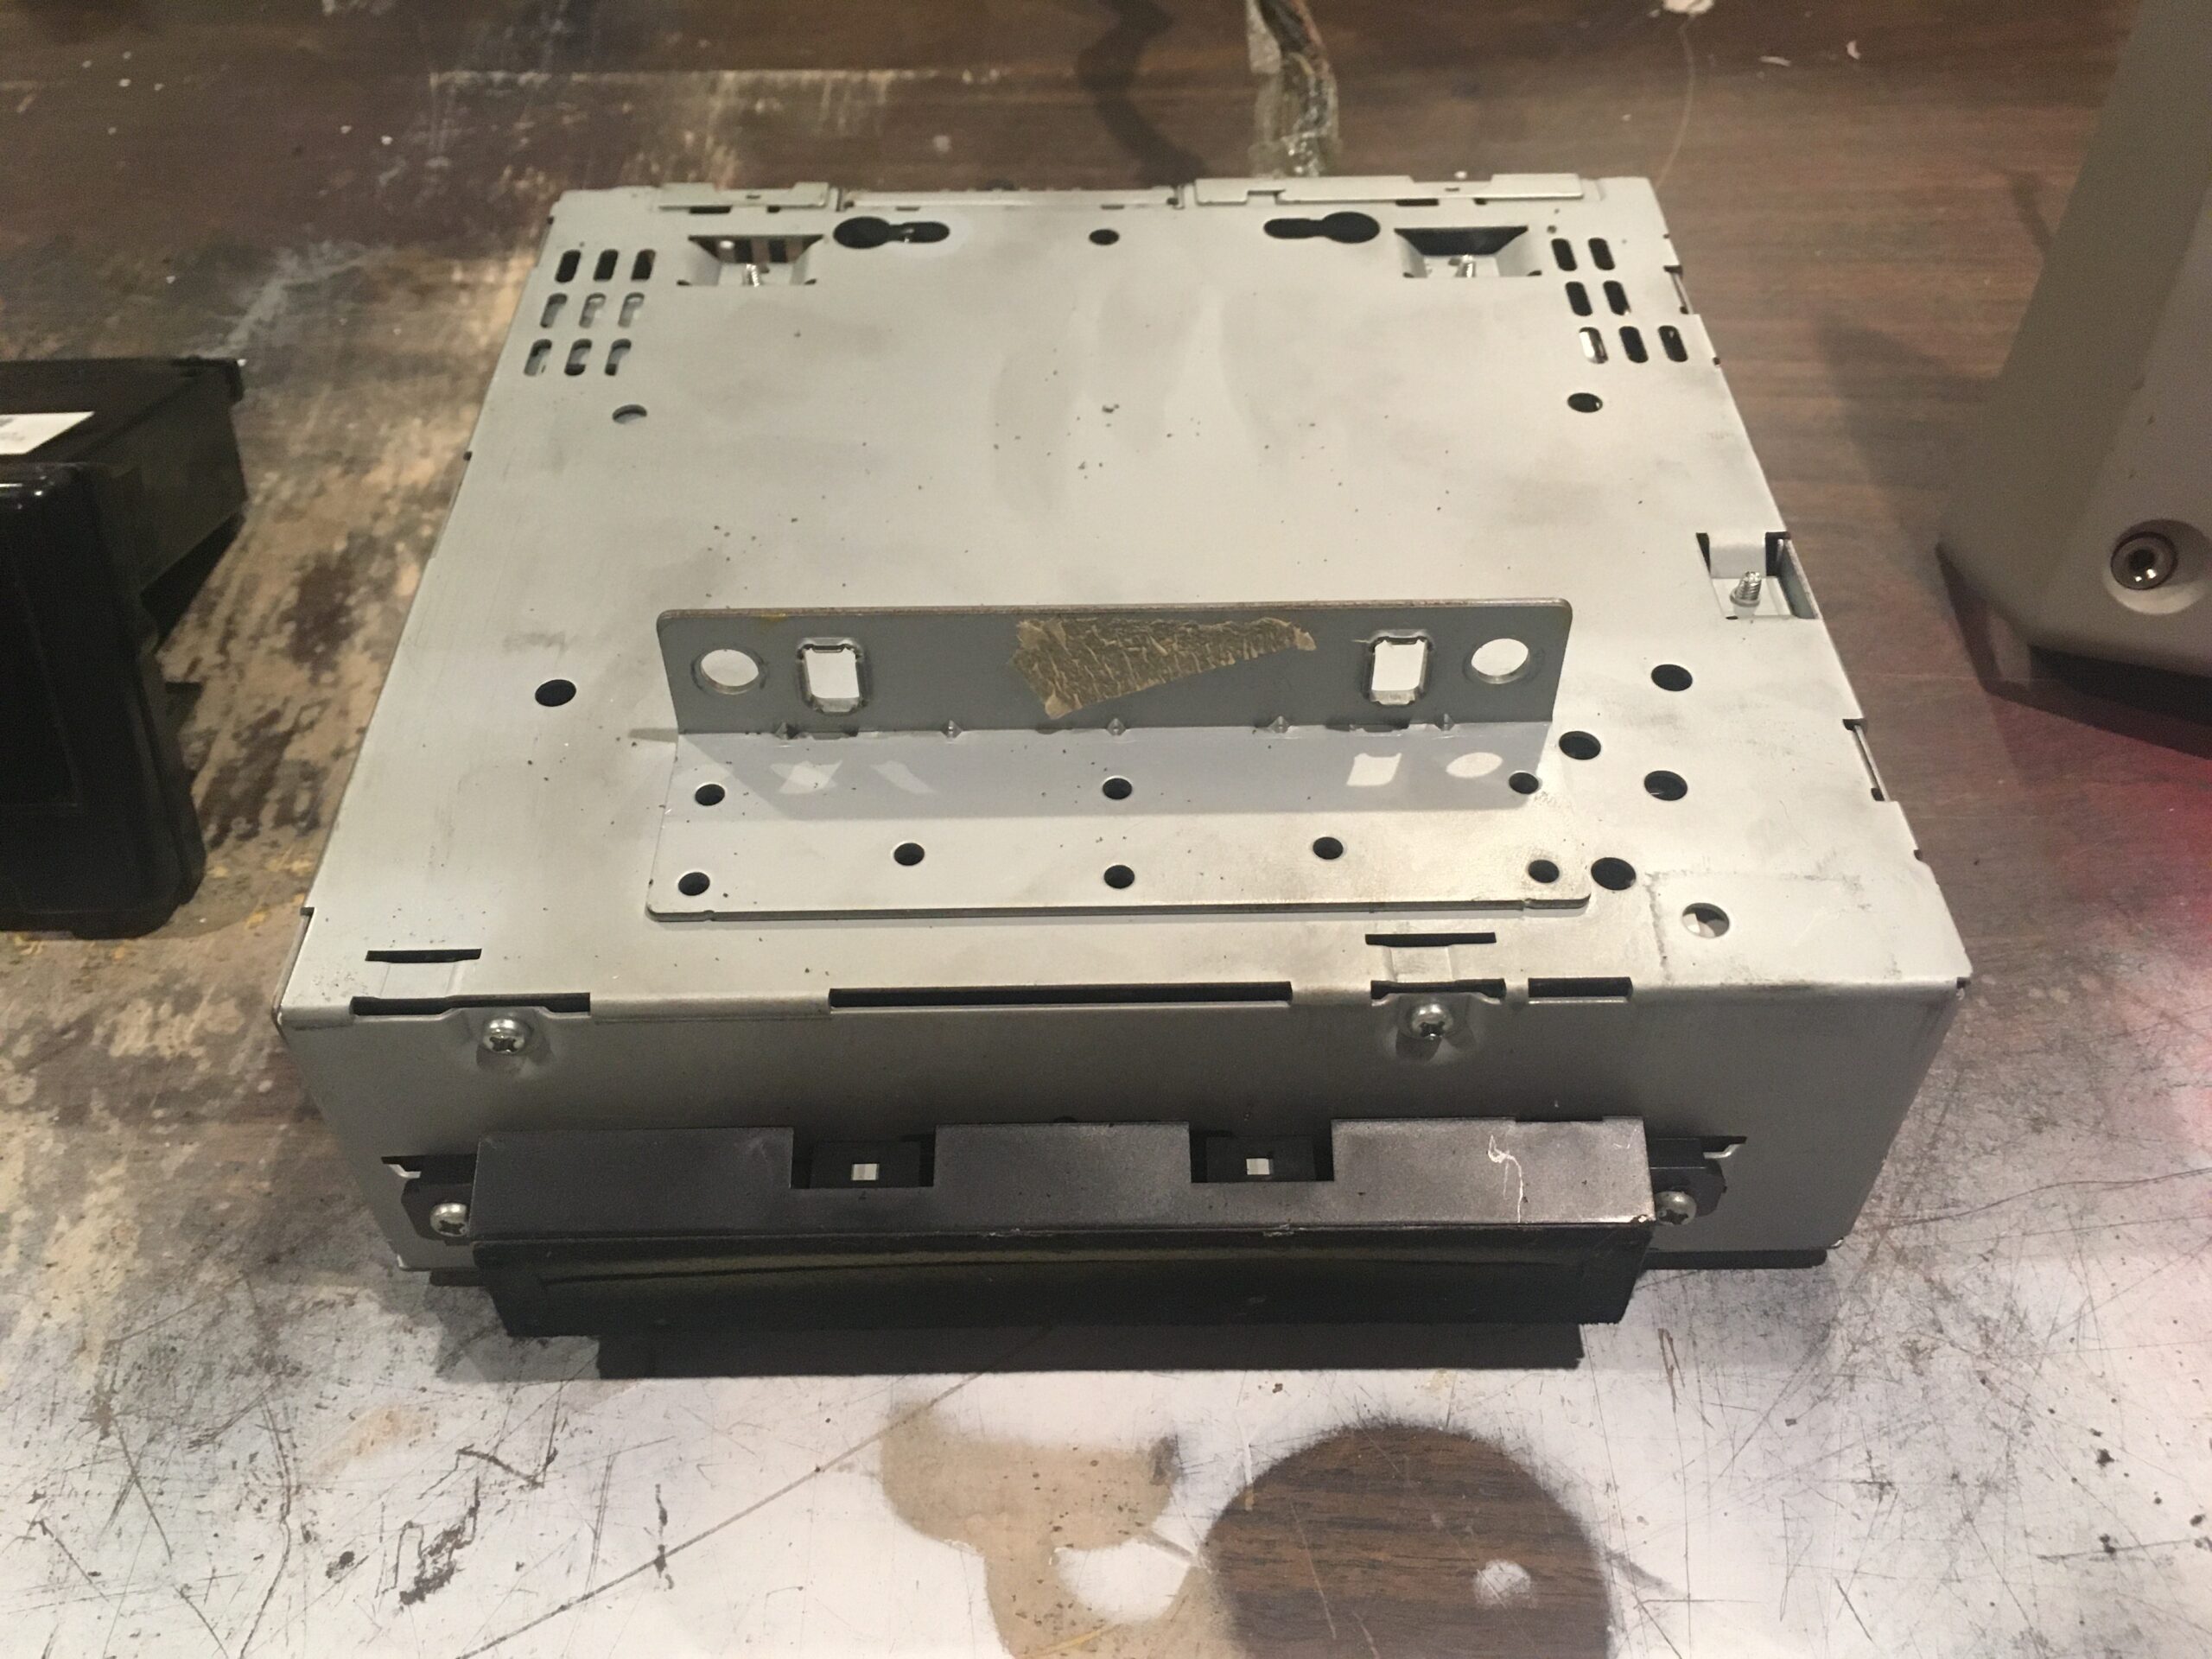
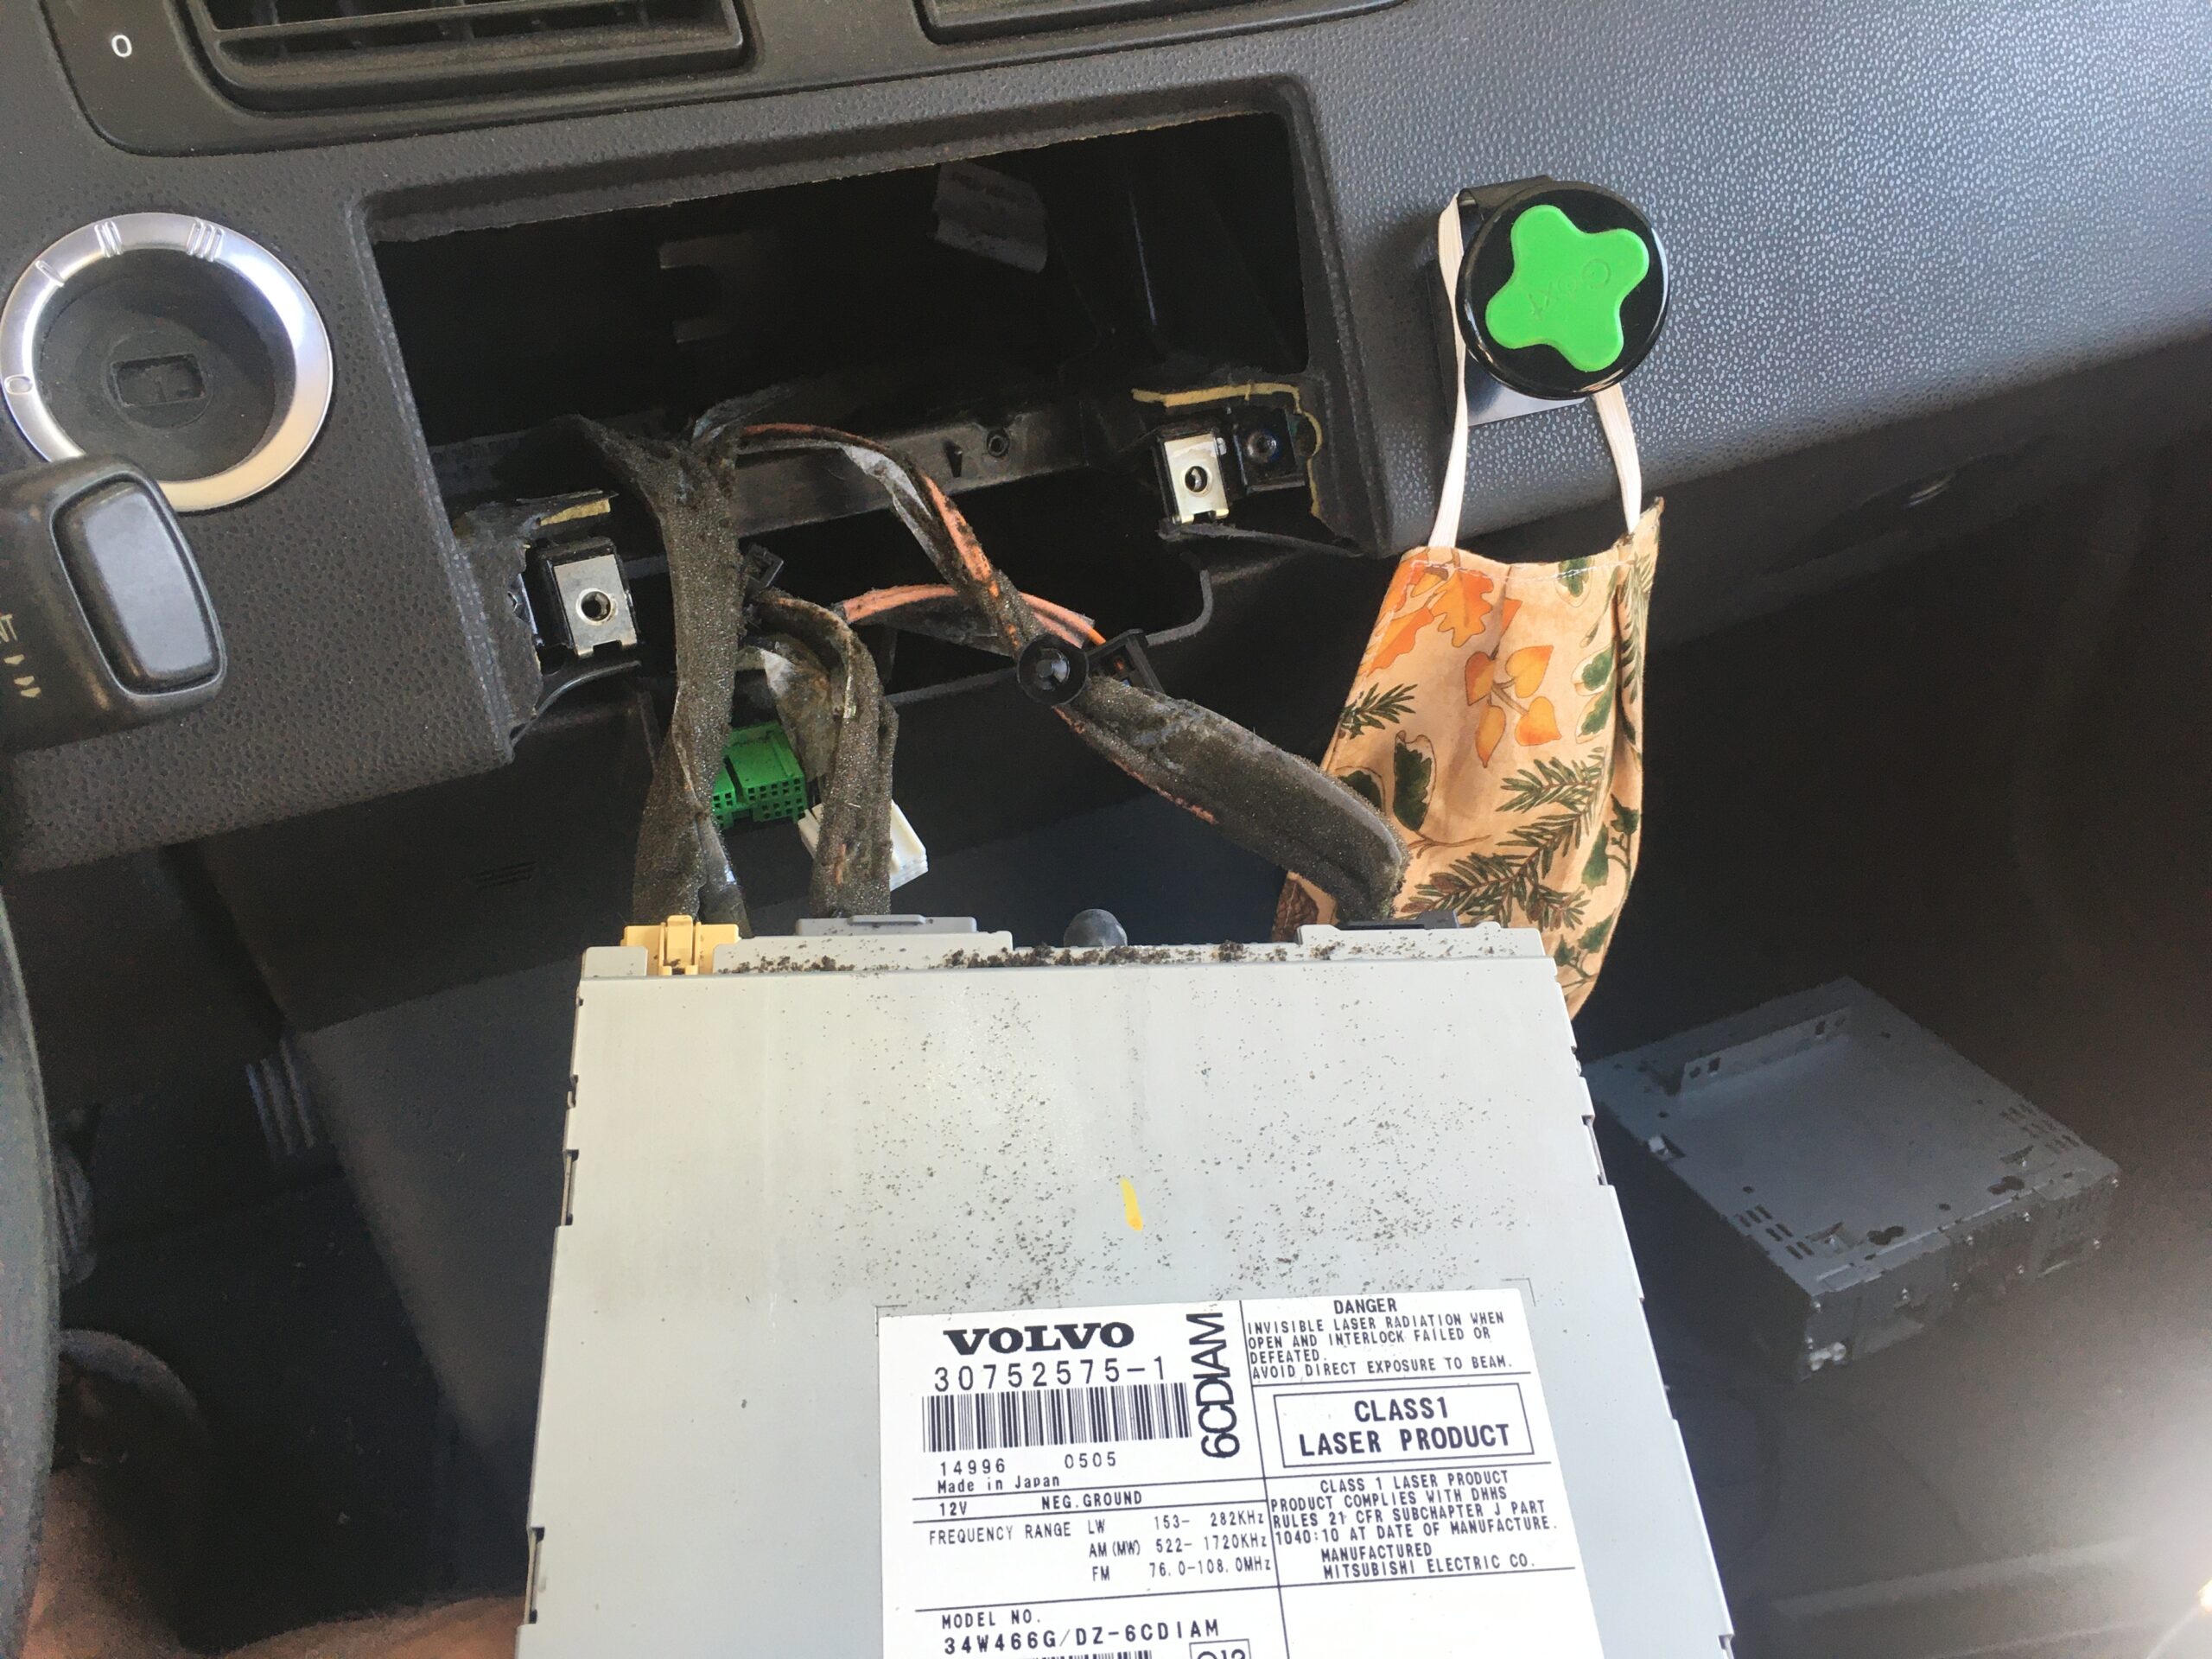
1. Part Number: 30732669 or 31210418. IAM “Integrated Audio Module” (the disc changer). This is where the AUX wiring will land. The internals of this unit is what takes the AUX input signal and allows the magic to happen. Unknown if this unit can be from a car without premium sound. I think this module has the guts inside to accept the AUX signal. If anyone with non-premium sound can pluck theirs out and get the part number off the sticker it will let us all know. I will continue to test/research and report back.

2. Part Number: 30737809: ICM – Infotainment Control Module” (the screen). This unit can be from a donor without premium sound (any 2007). The screen will still function as desired. The original screen I got was scratch as seen, my junkyard had an 07 non premium sound come in a week later, went and got the screen alone, works perfect. So different donor cars is okay.

3. Have MOST security disabled – already done if you’re in the US, otherwise you’re going to the dealer, paying for VIDA.
Laying around or purchased:
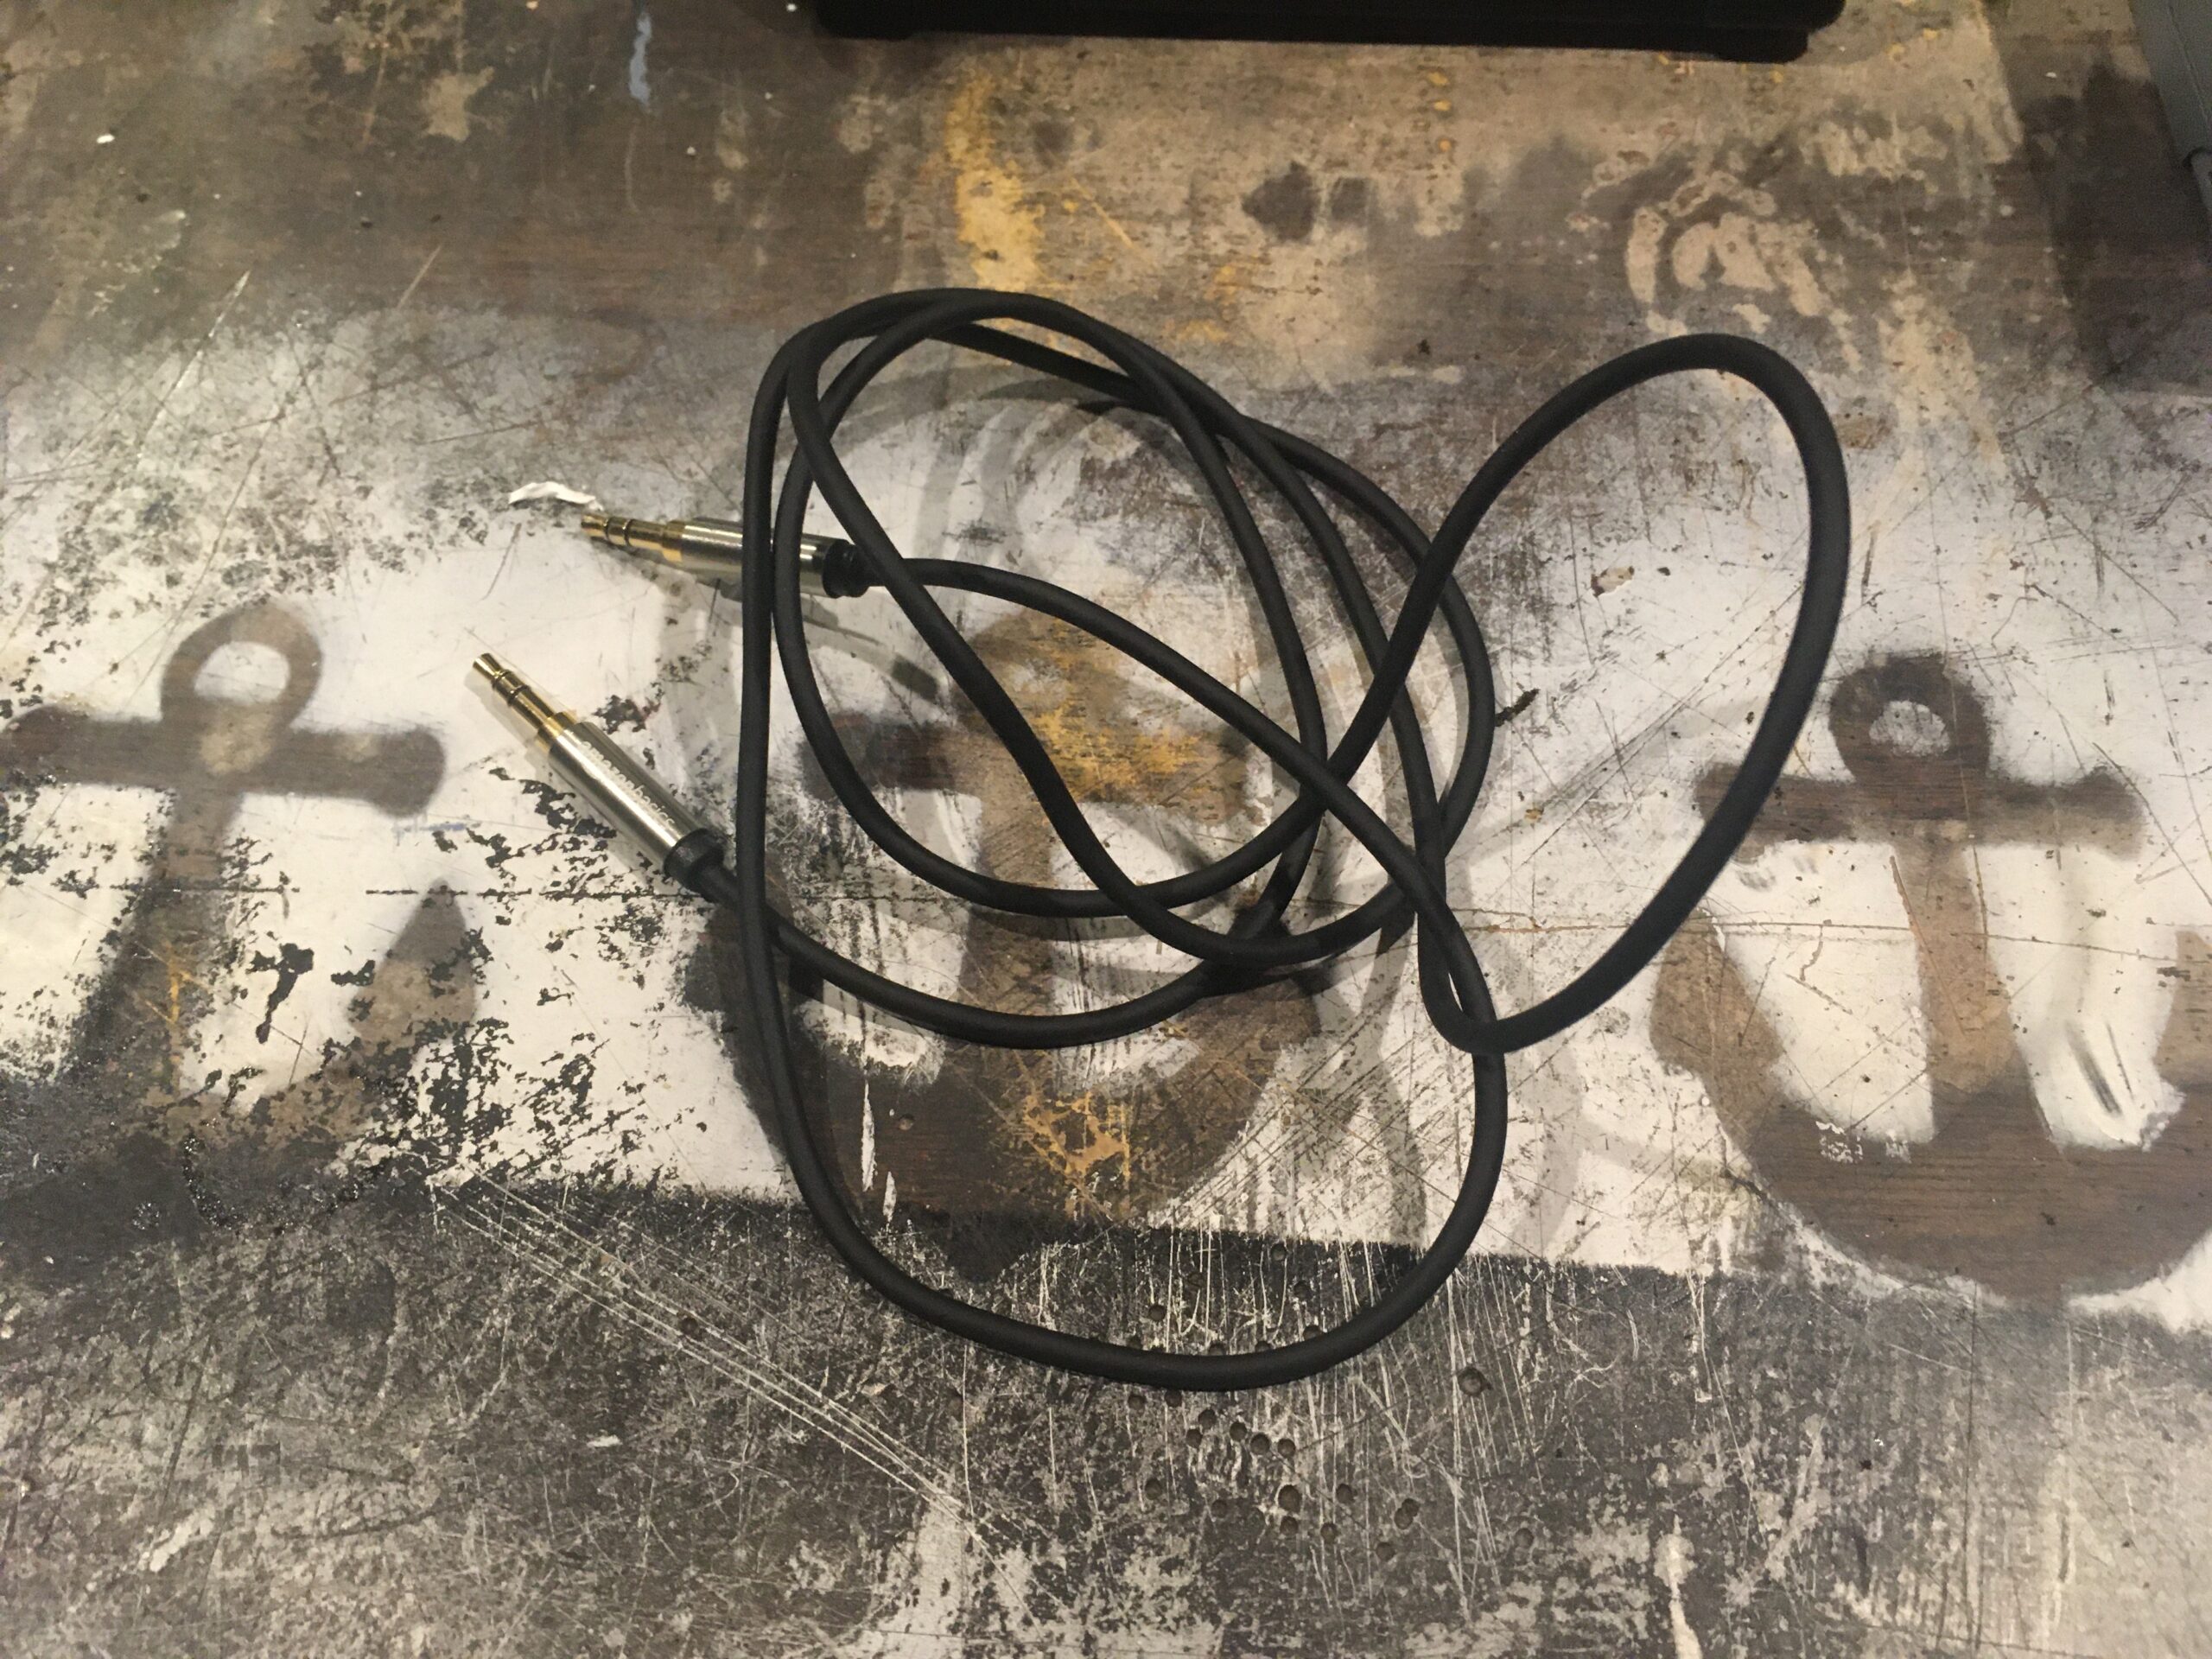
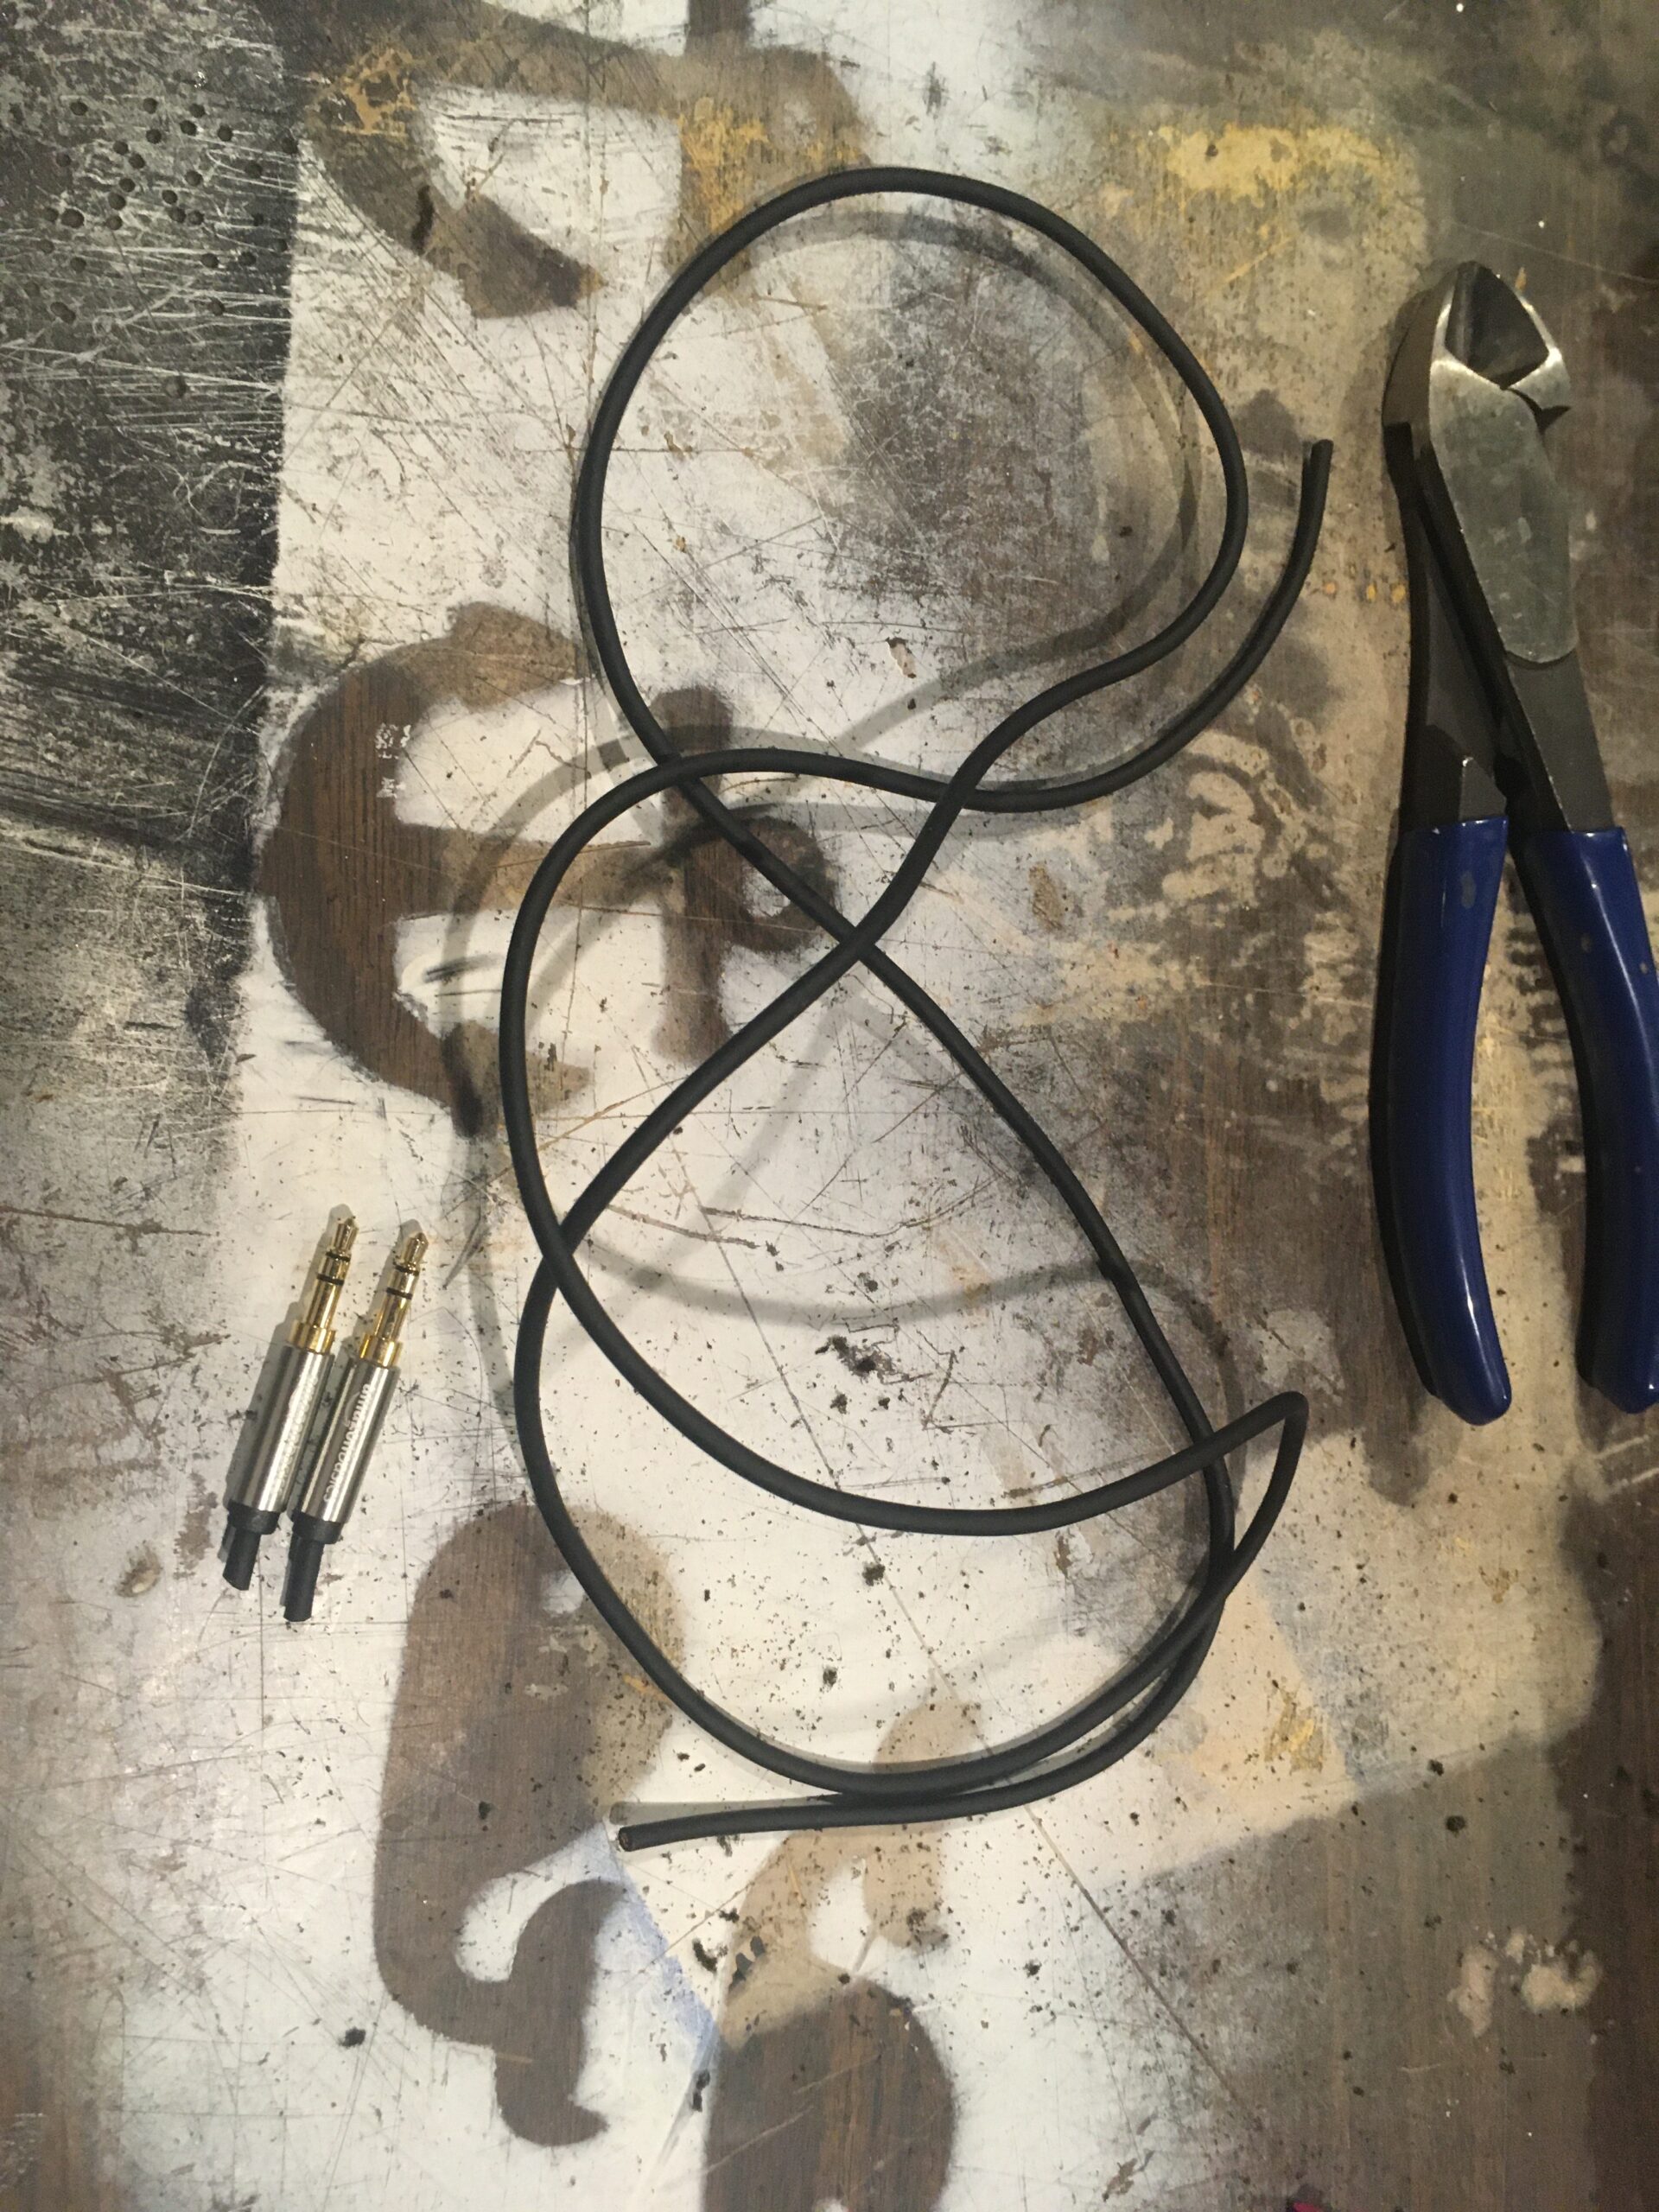
1. A 3.5mm cable or standard automotive grade wiring. This will be used to connect the harness pins to the AUX port.

Recommended Optional Parts:
1. The wire harness that plugs into the CD player. This has the wired pins for the AUX you will use to plug into your current harness, that will input your AUX source. If you have extra pins laying around you can use those, but these ones will fit 100% without bending/prying…..

Optional Parts:
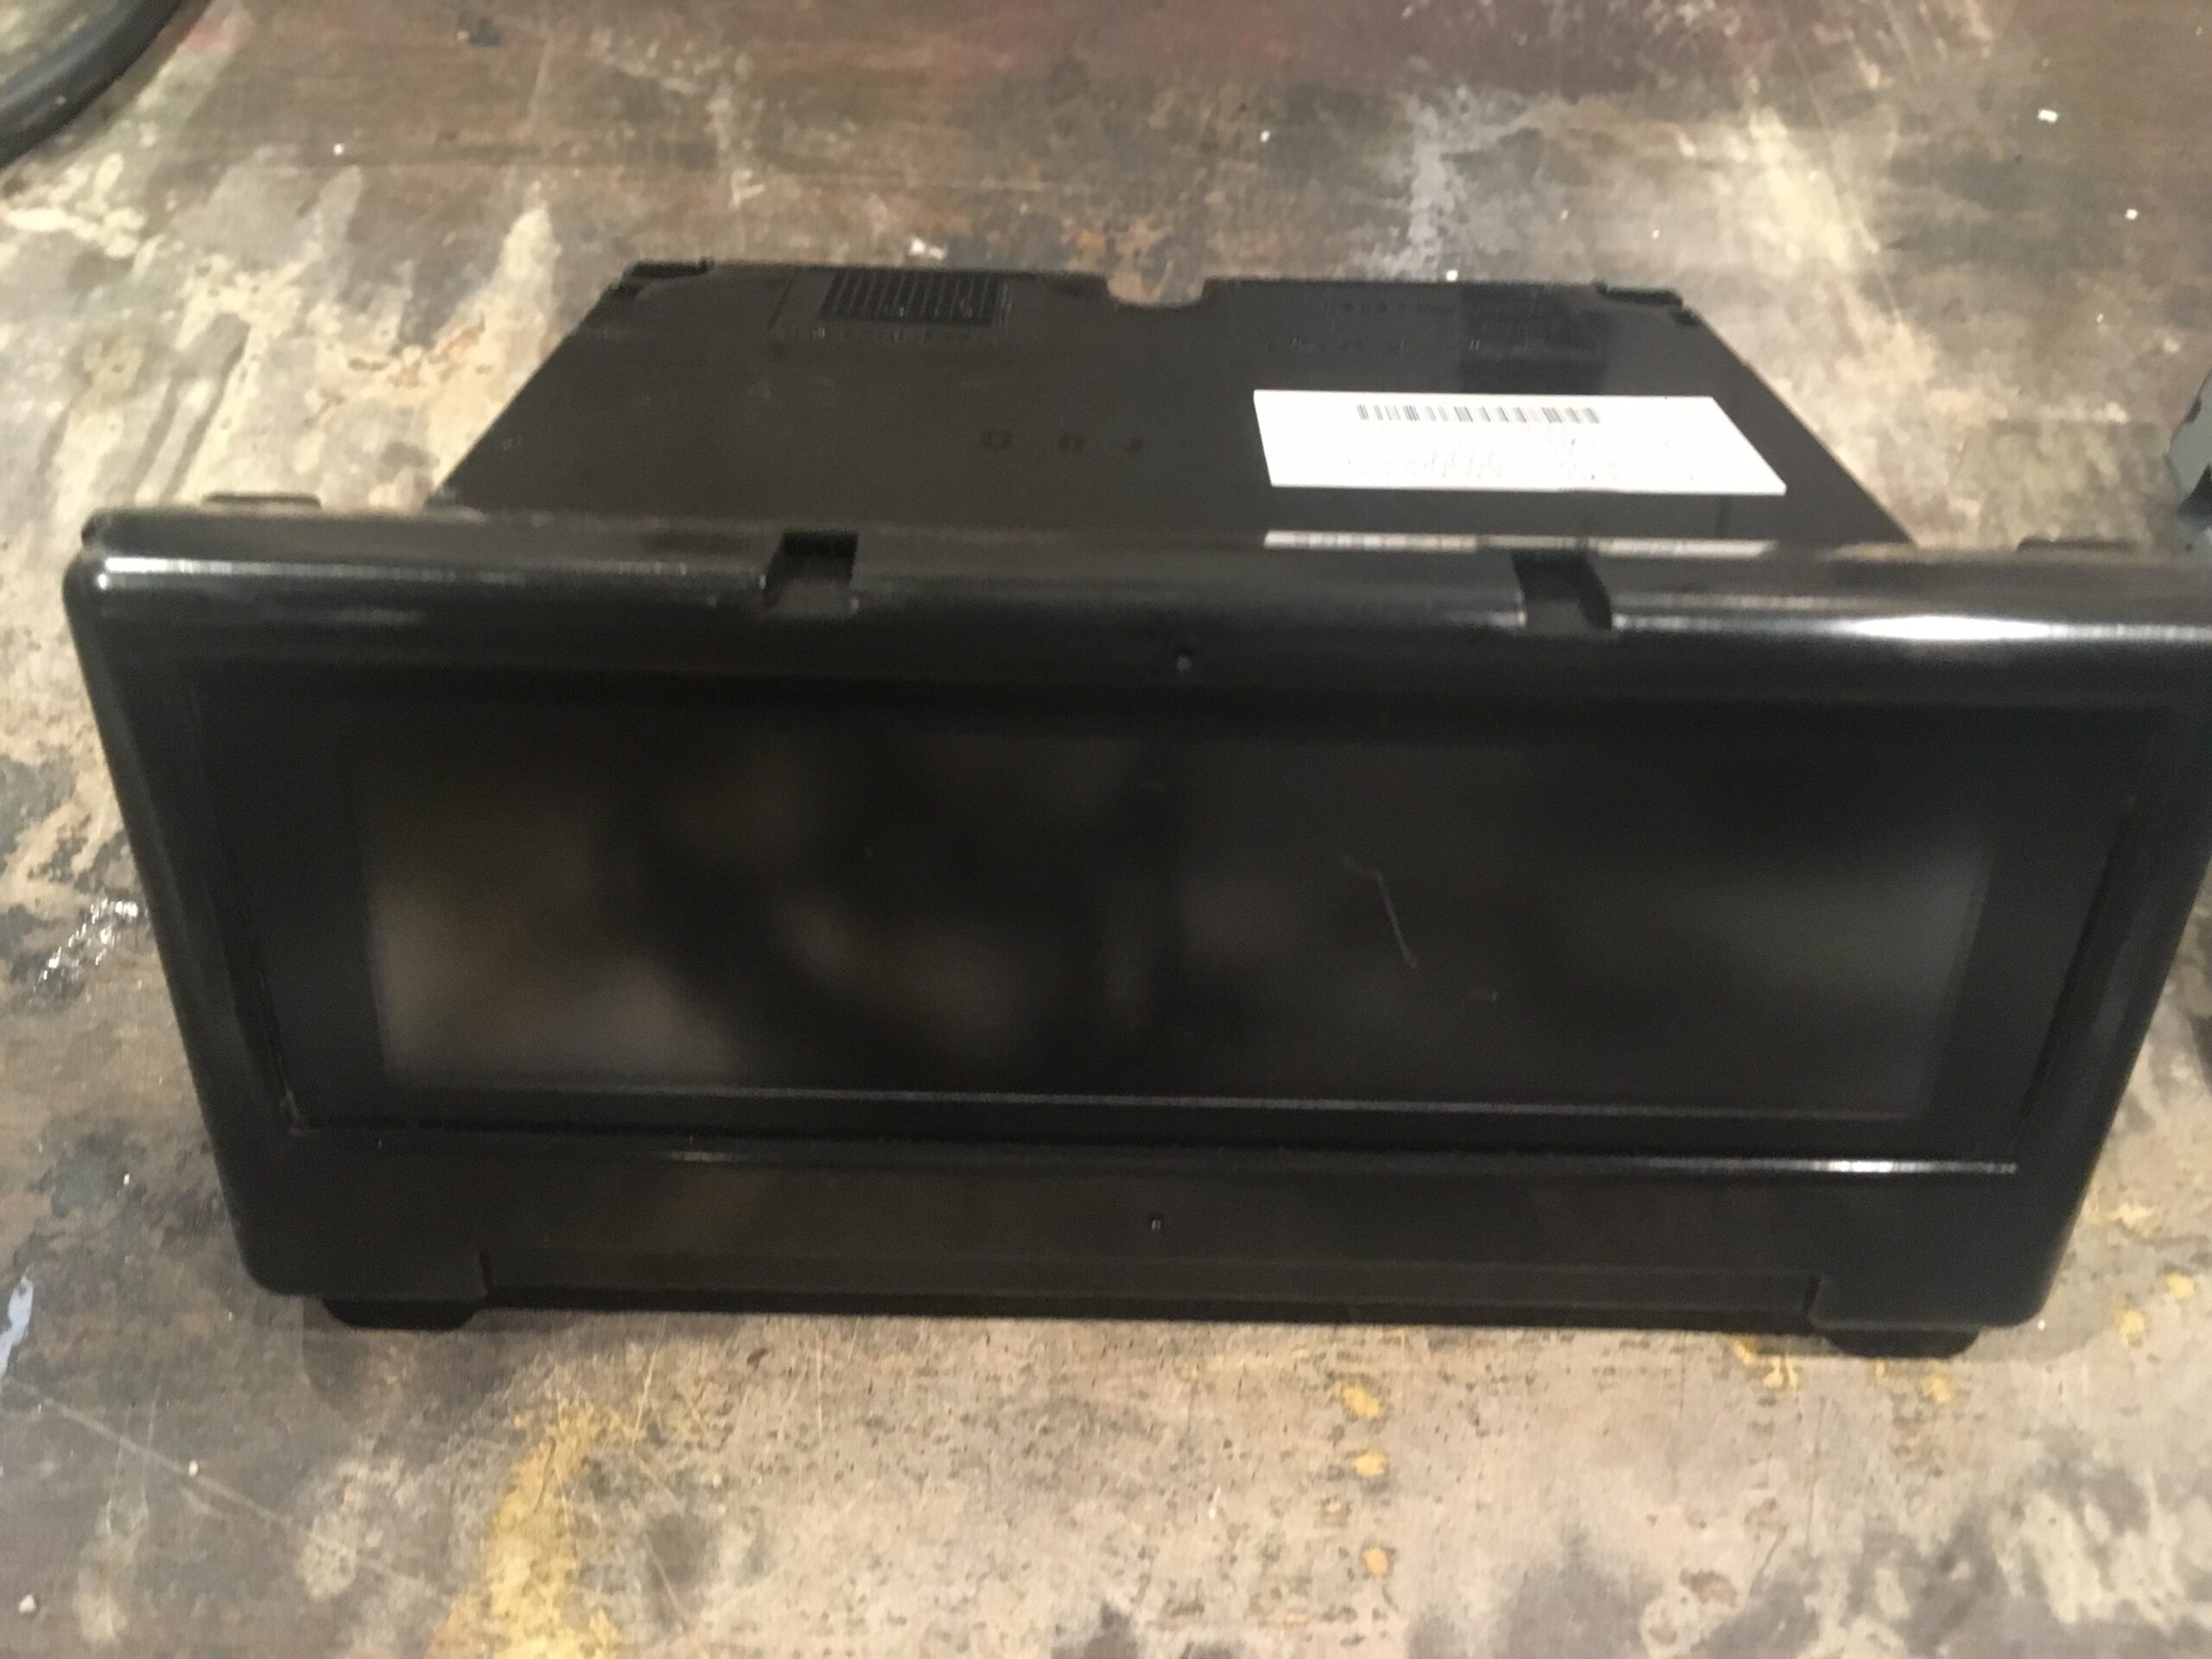
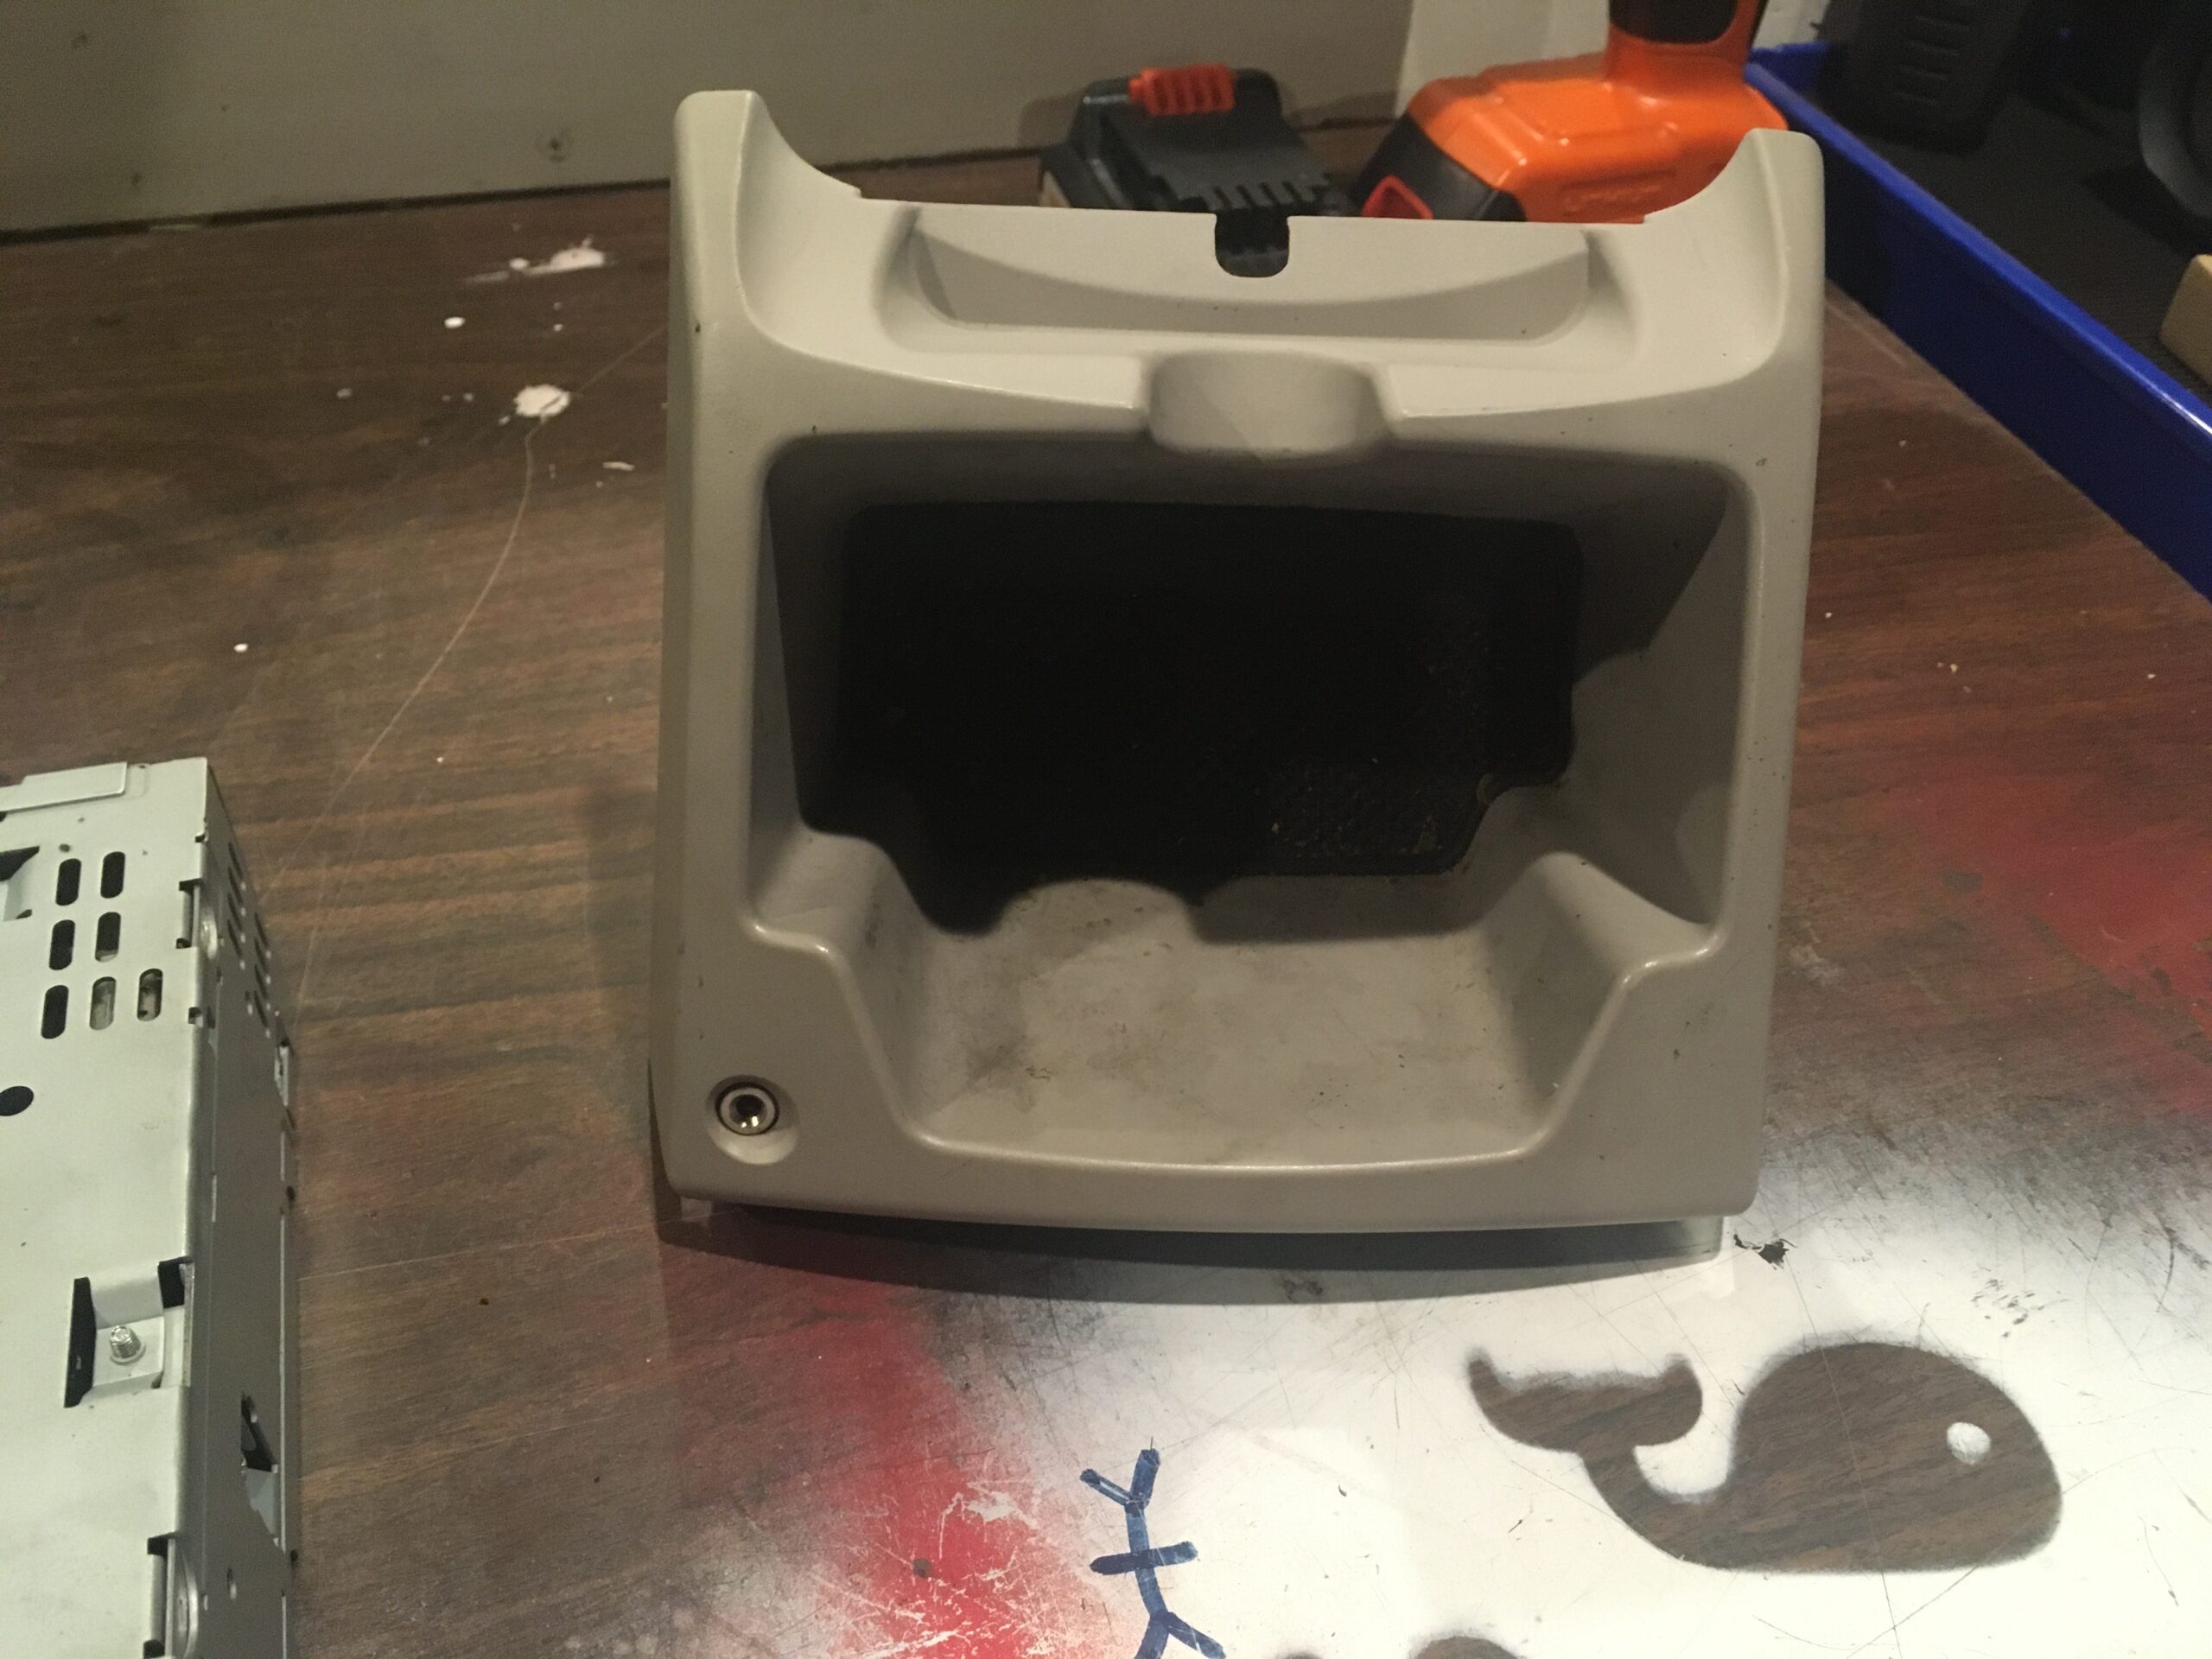
1. The behind the waterfall storage bin with the AUX receptacle. I found that this unit was not interchangeable with my 2006. Also, the AUX port clips out, and I mounted mine behind the waterfall anyways. This is your chance to mount the AUX port anywhere. Read step 16 below to know how long to make your harness.

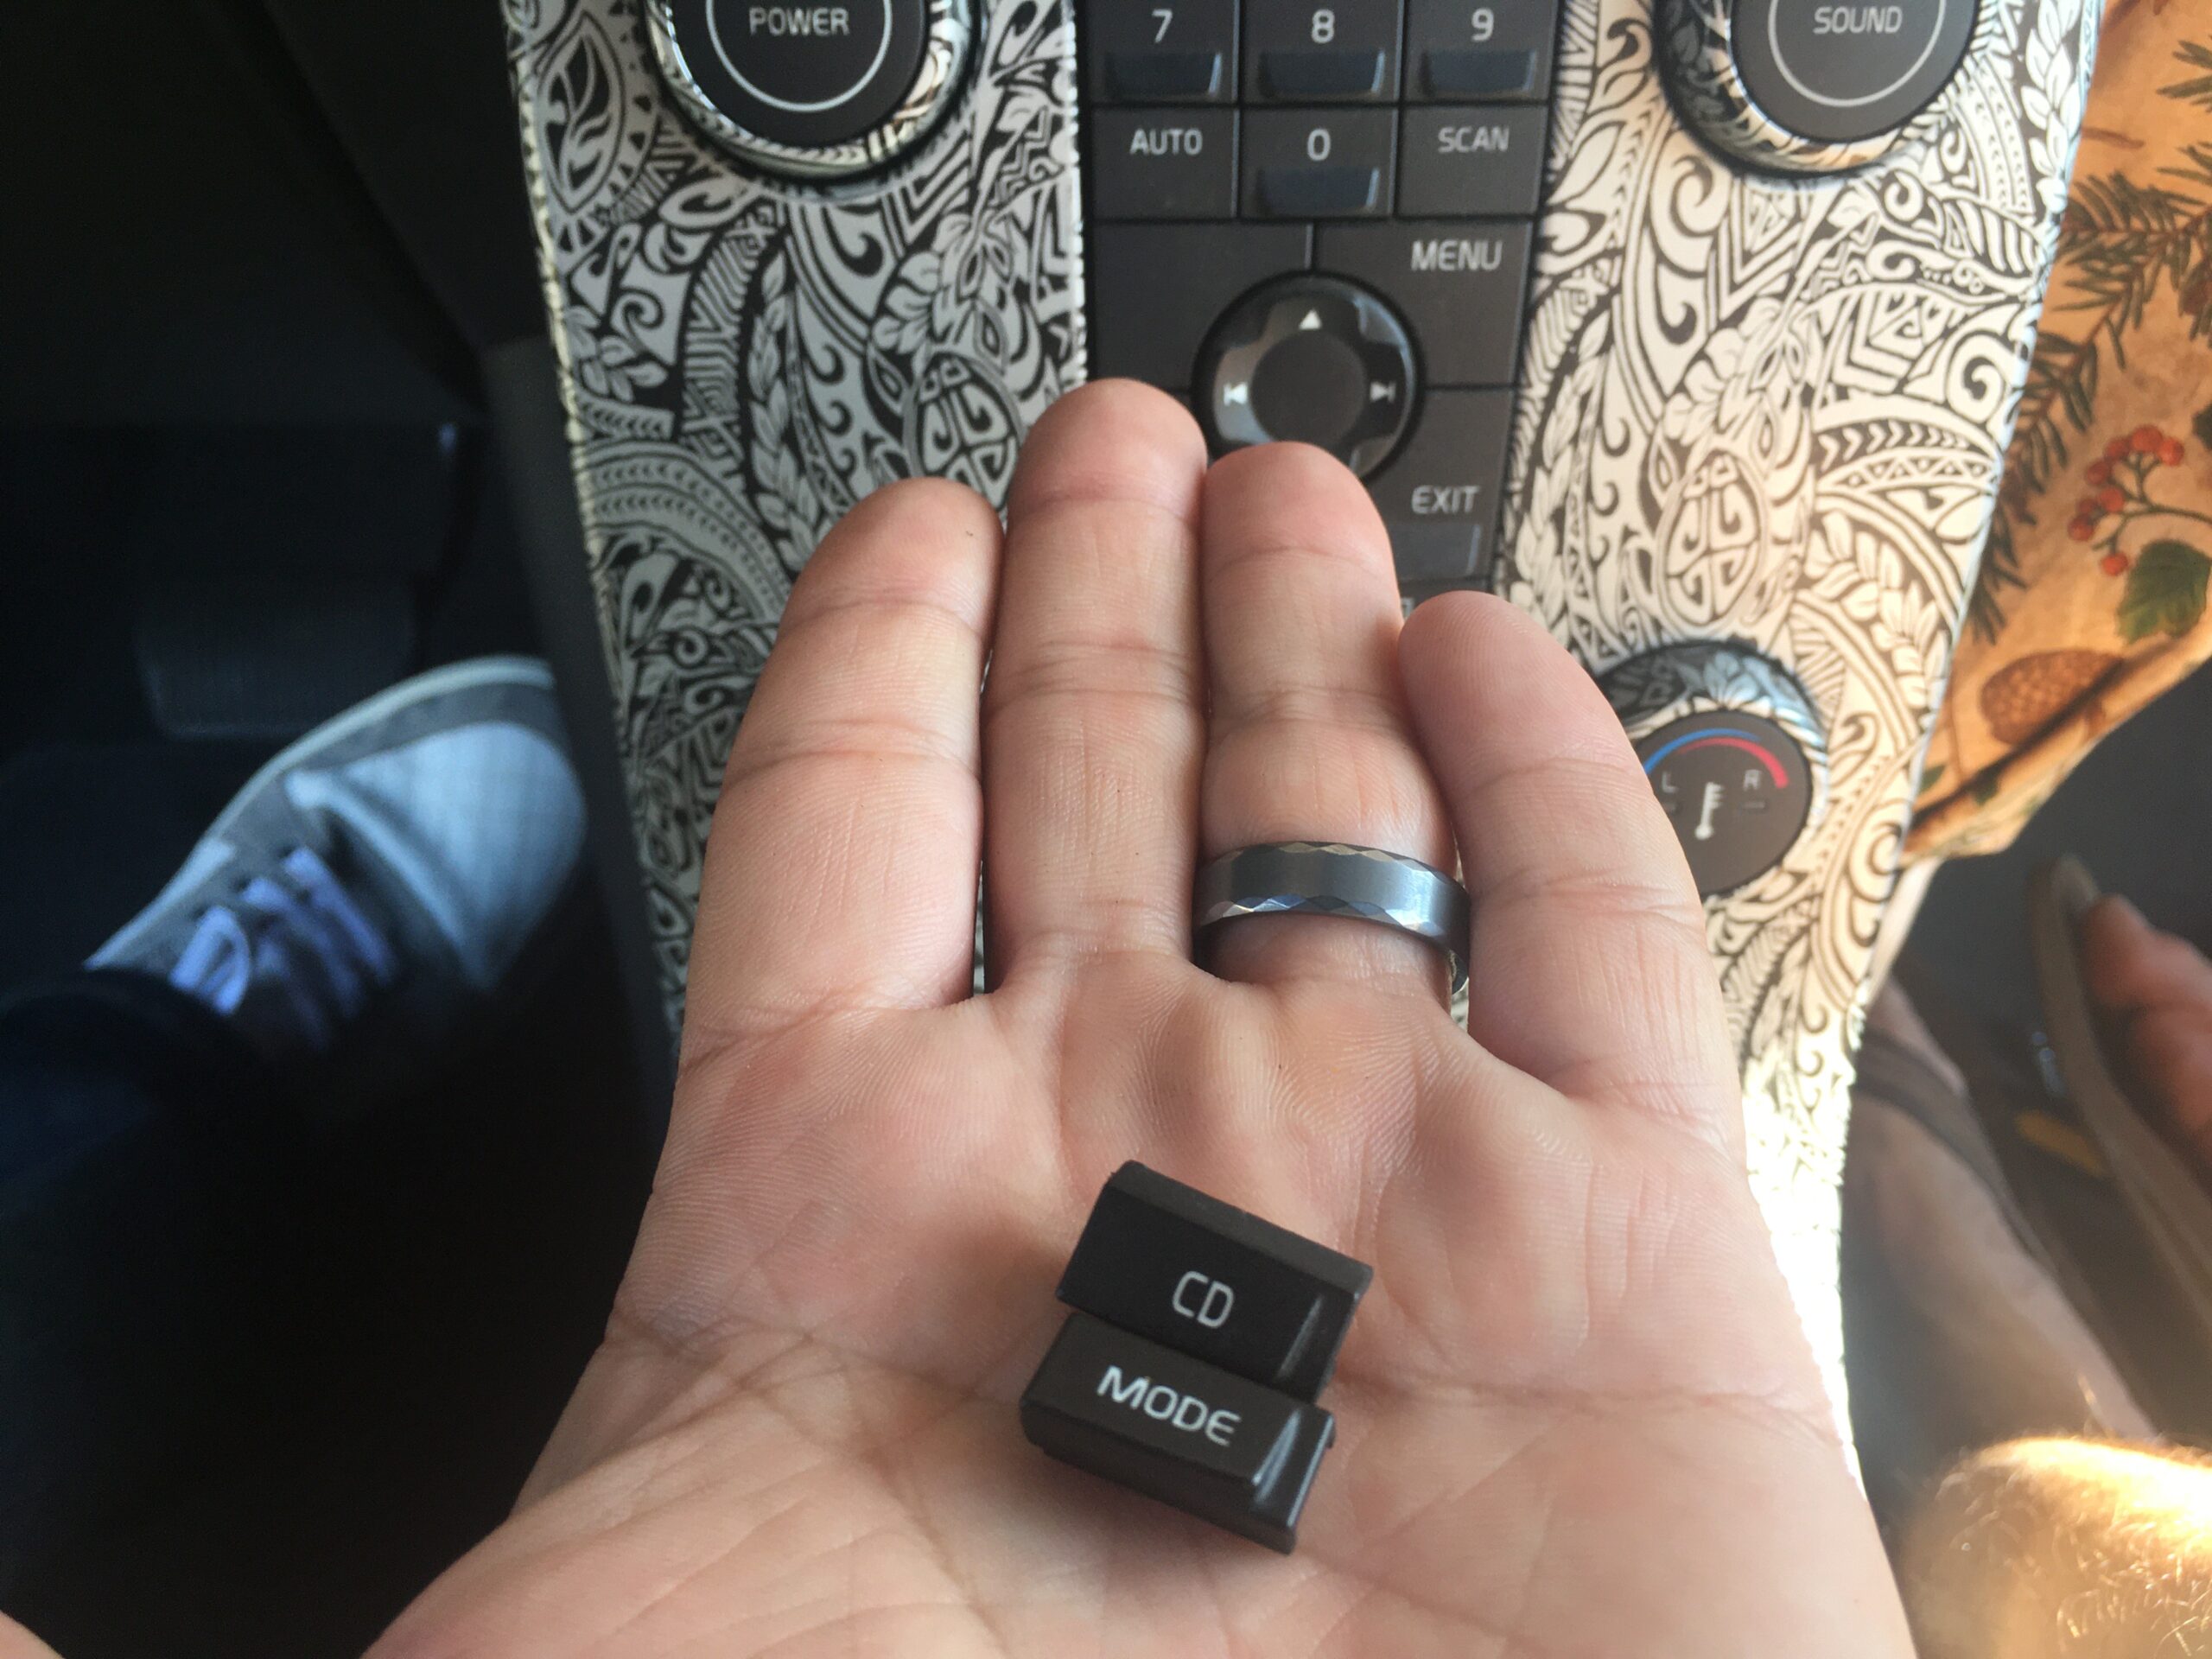
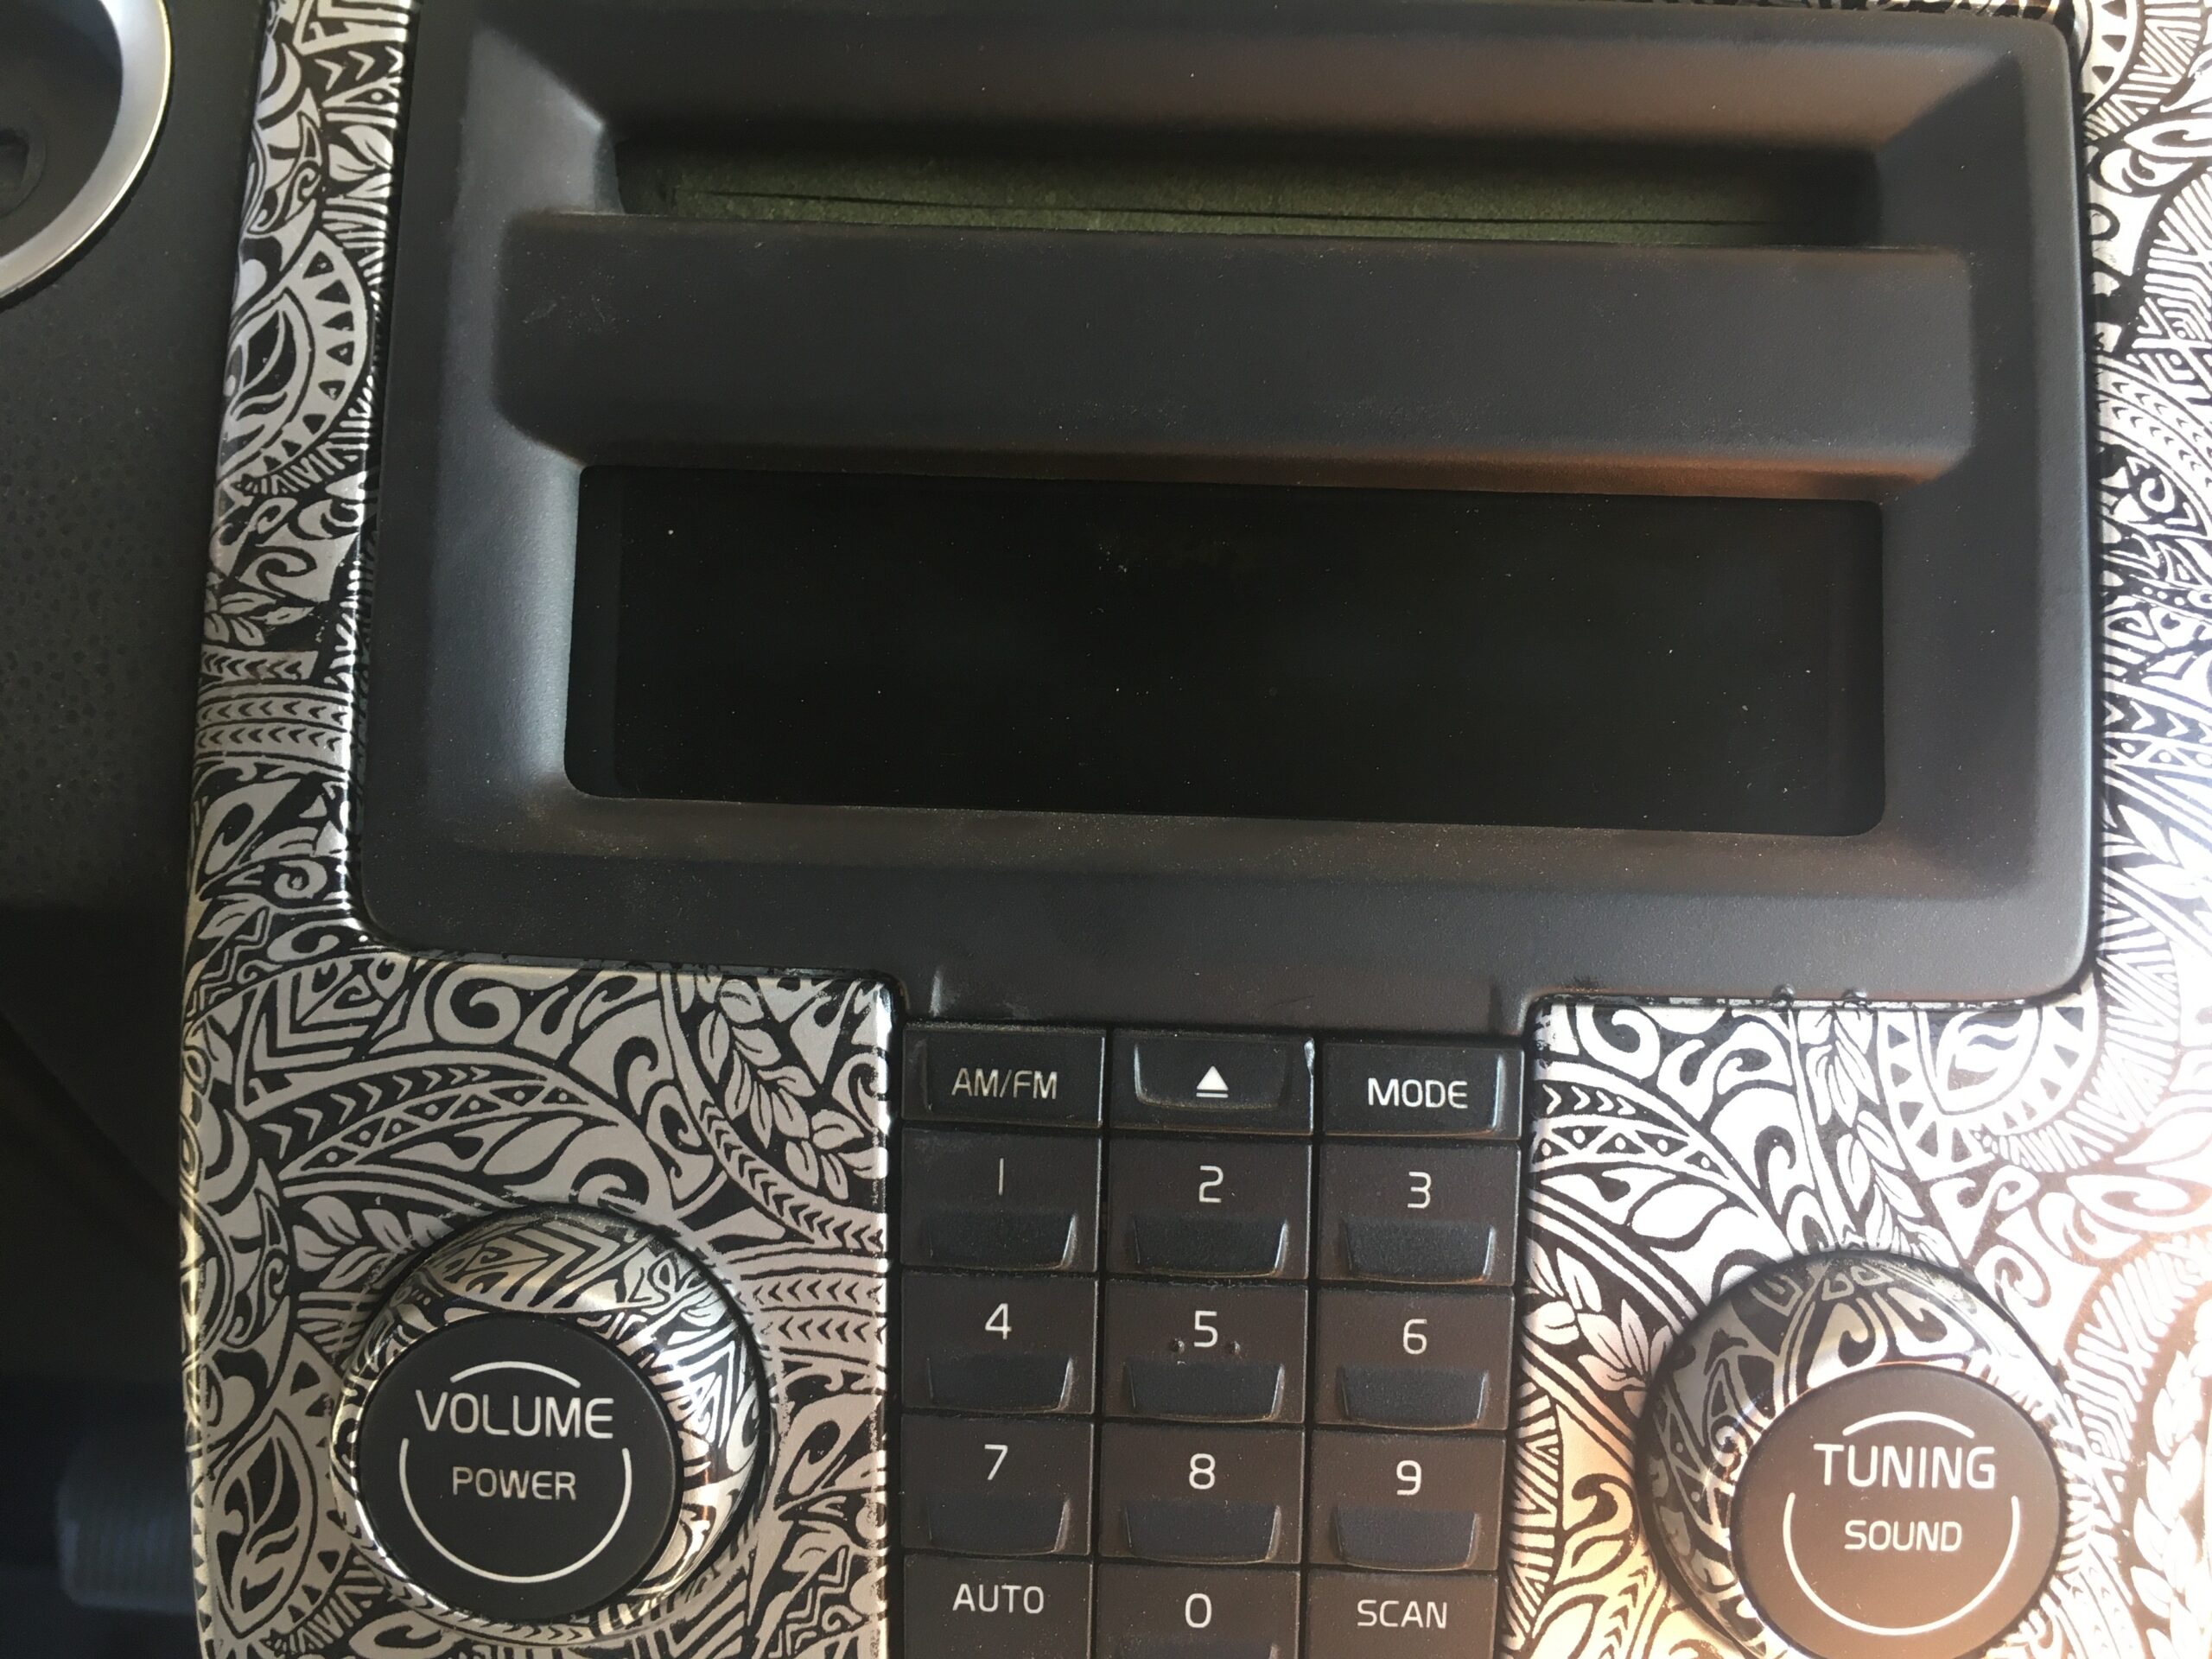
2. The “Mode” button from the top right of an aux equipped car. The ICM module will work either way, but if you want the button to say “Mode” rather than “CD”, this only takes 3 seconds to convert.

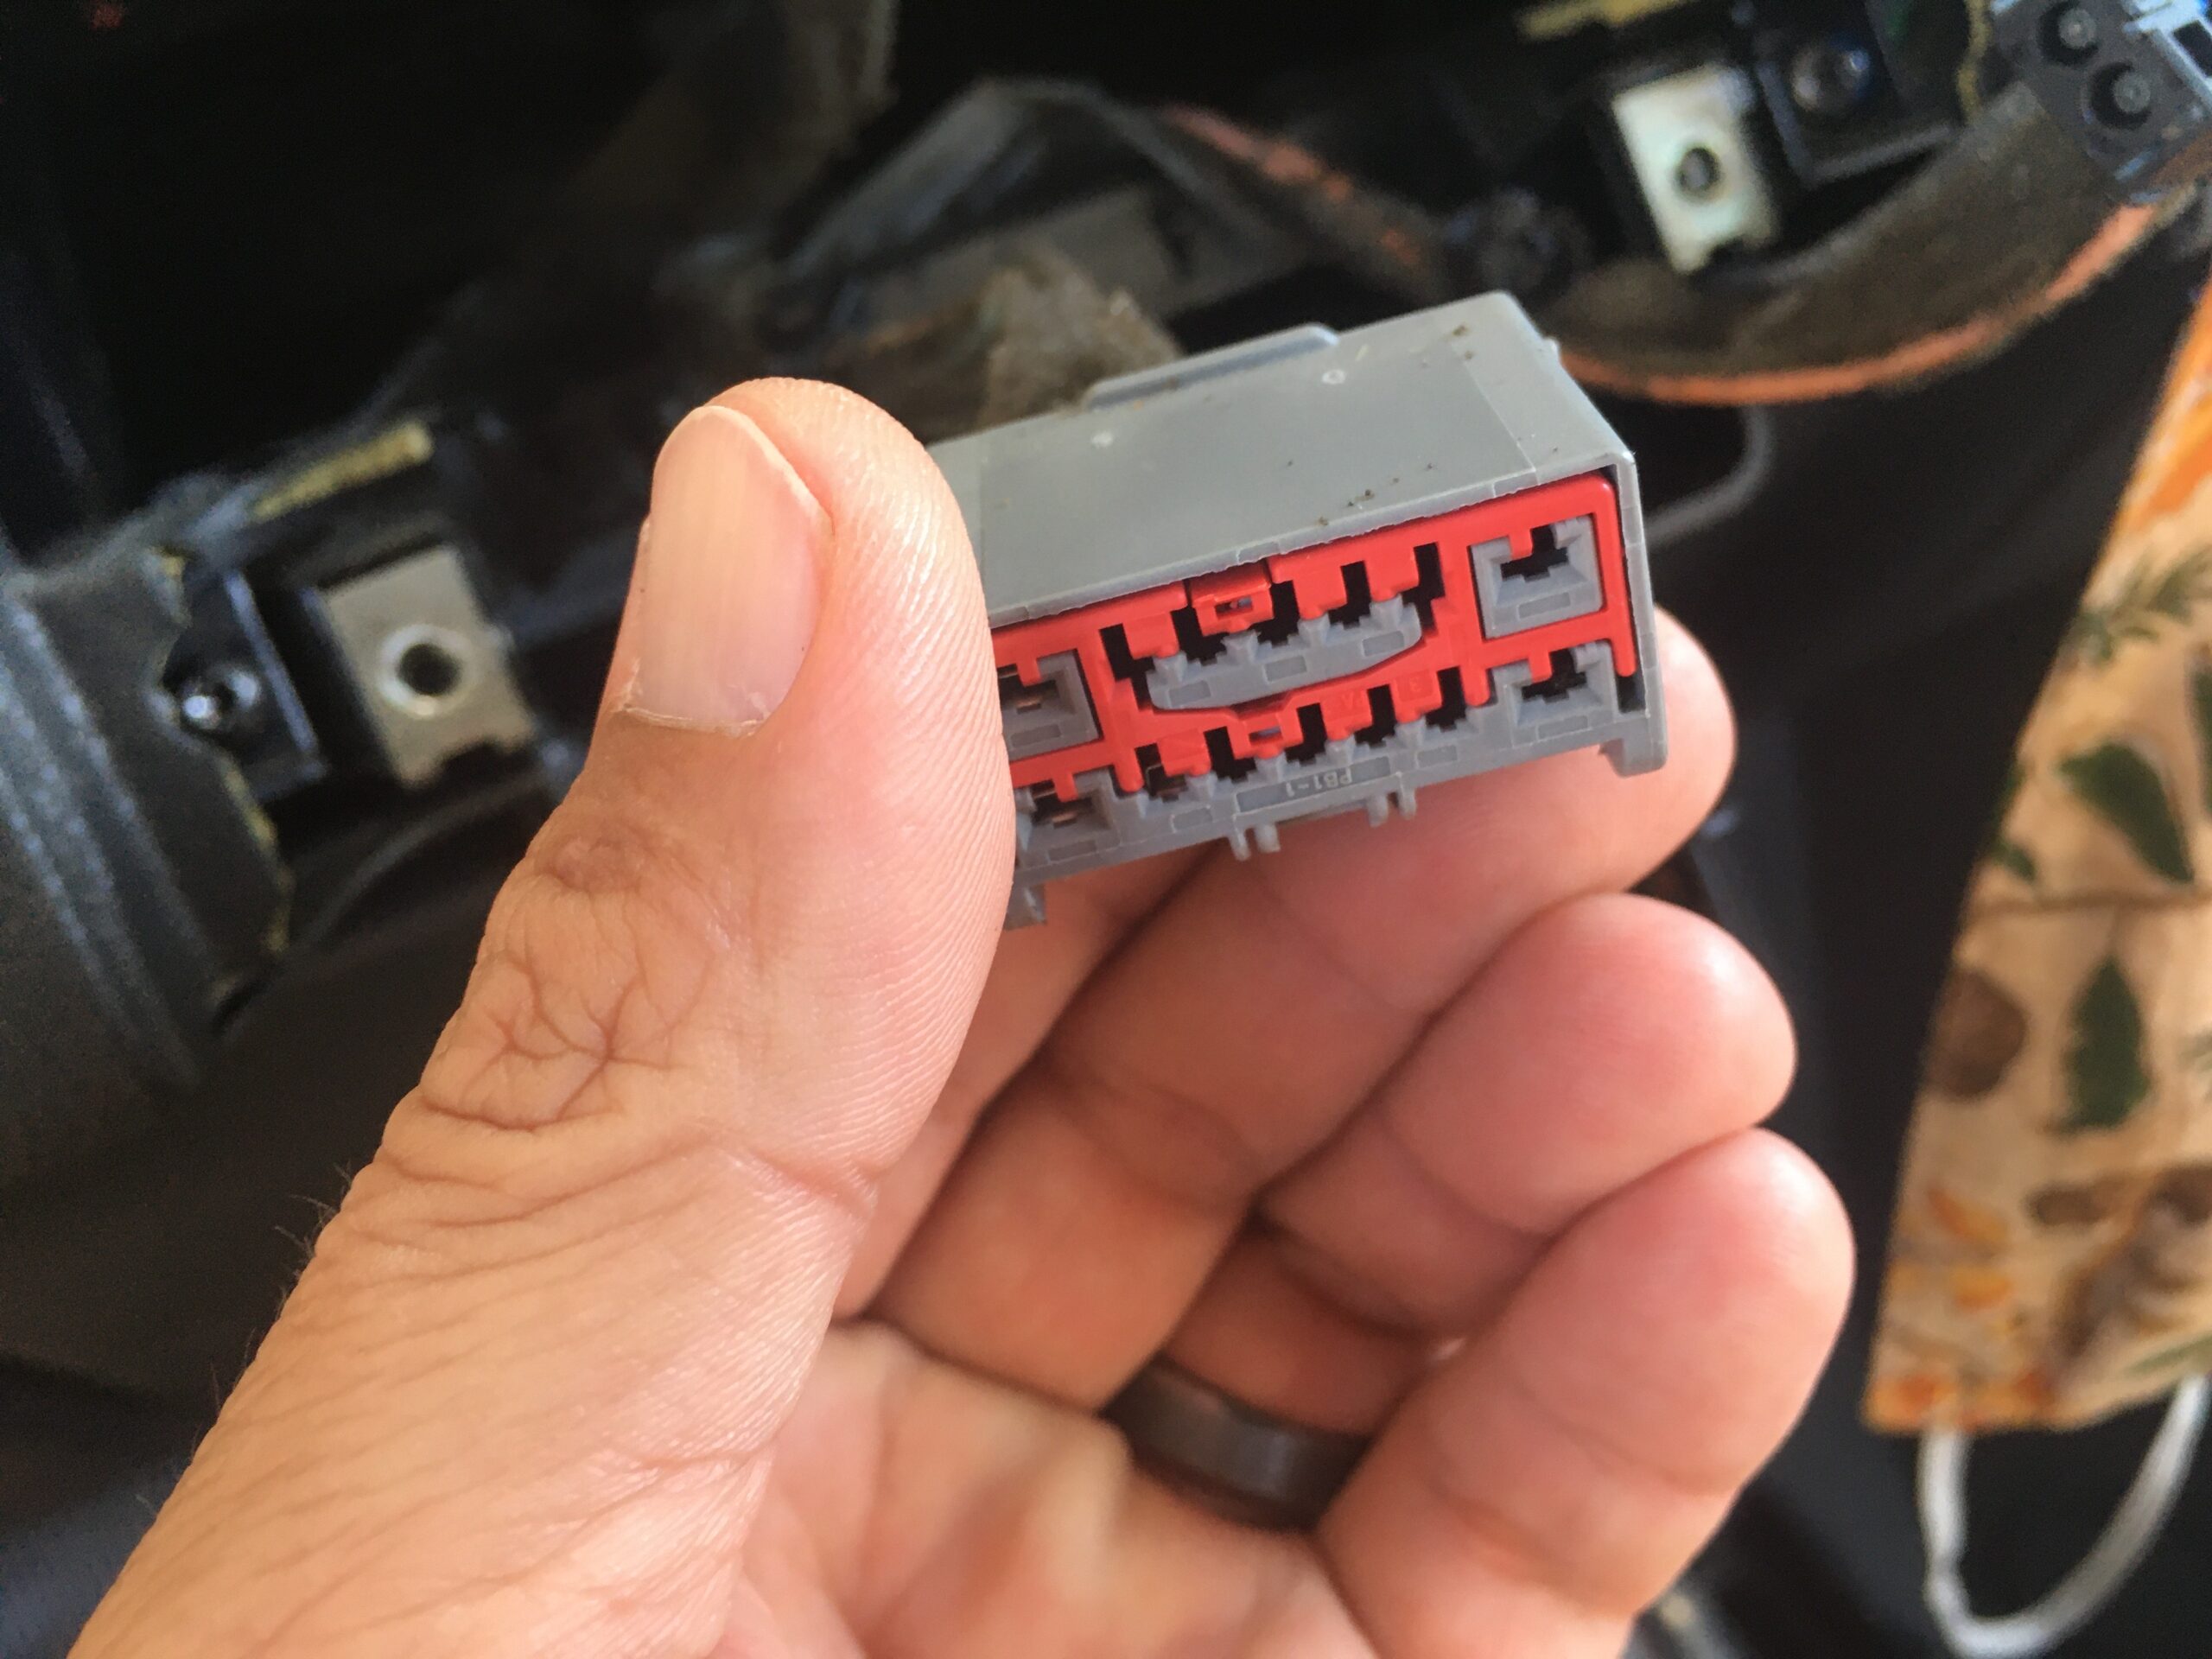
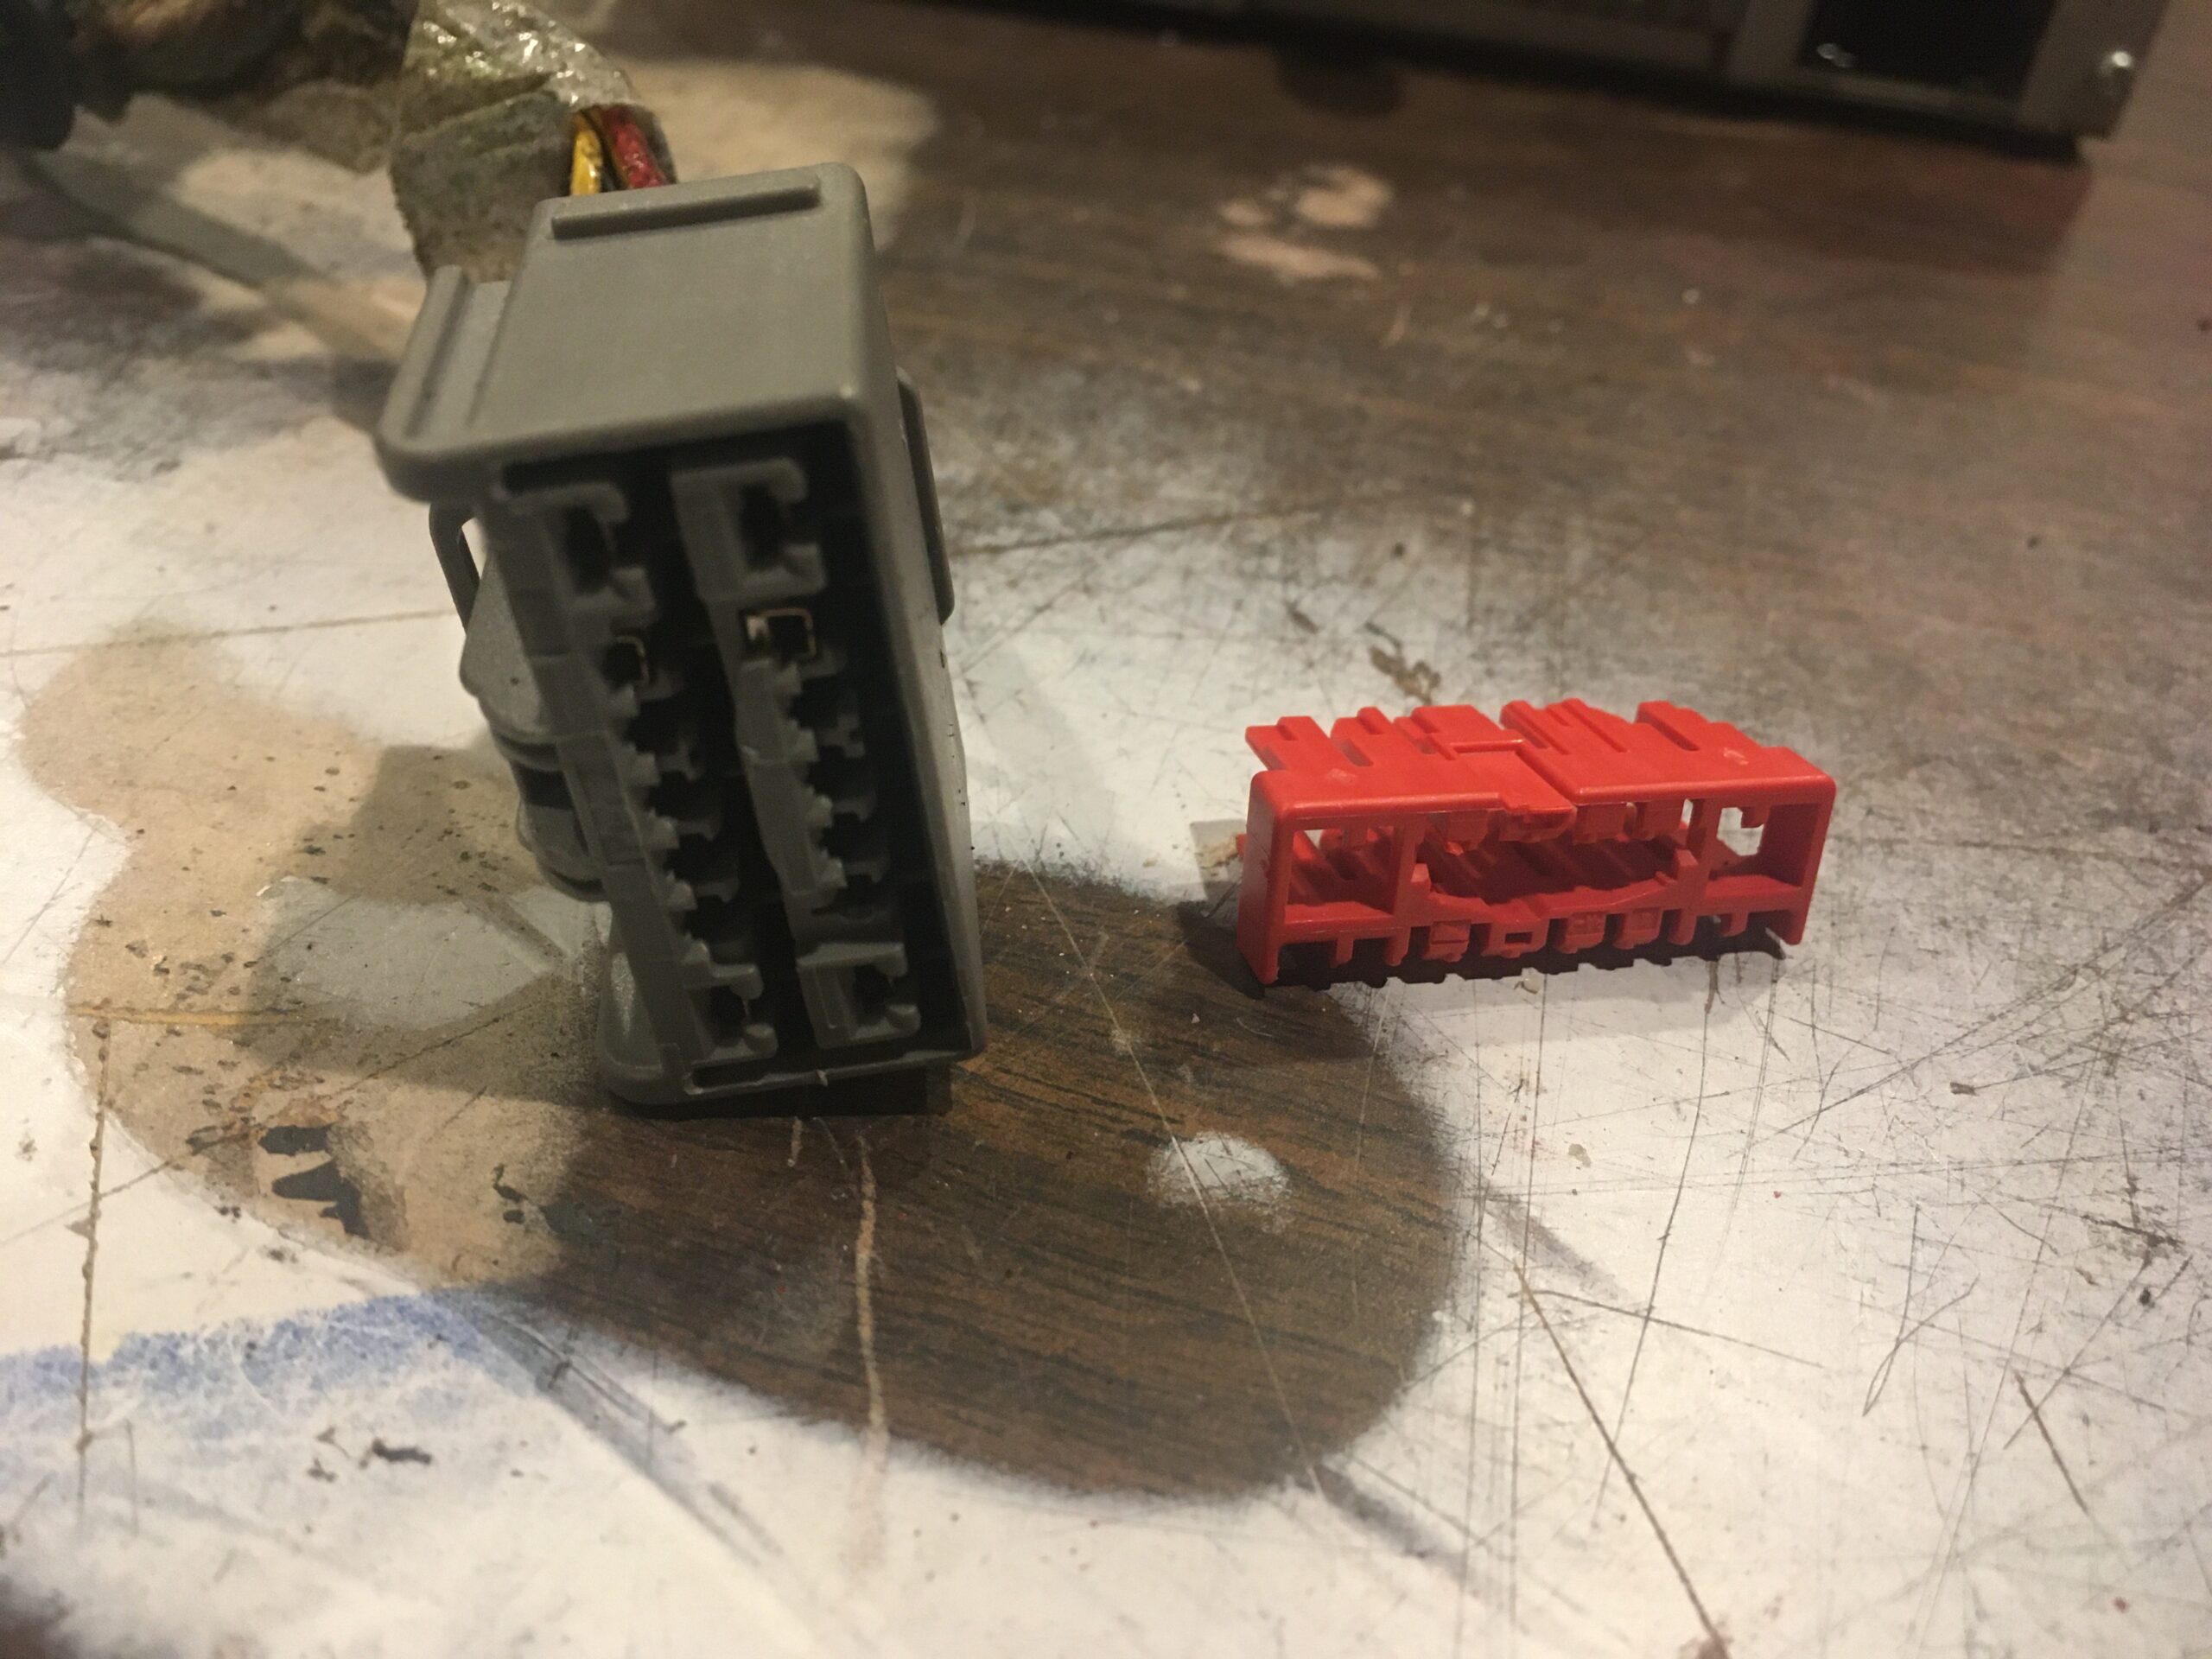
1. Detach the harness from the donor CD unit.
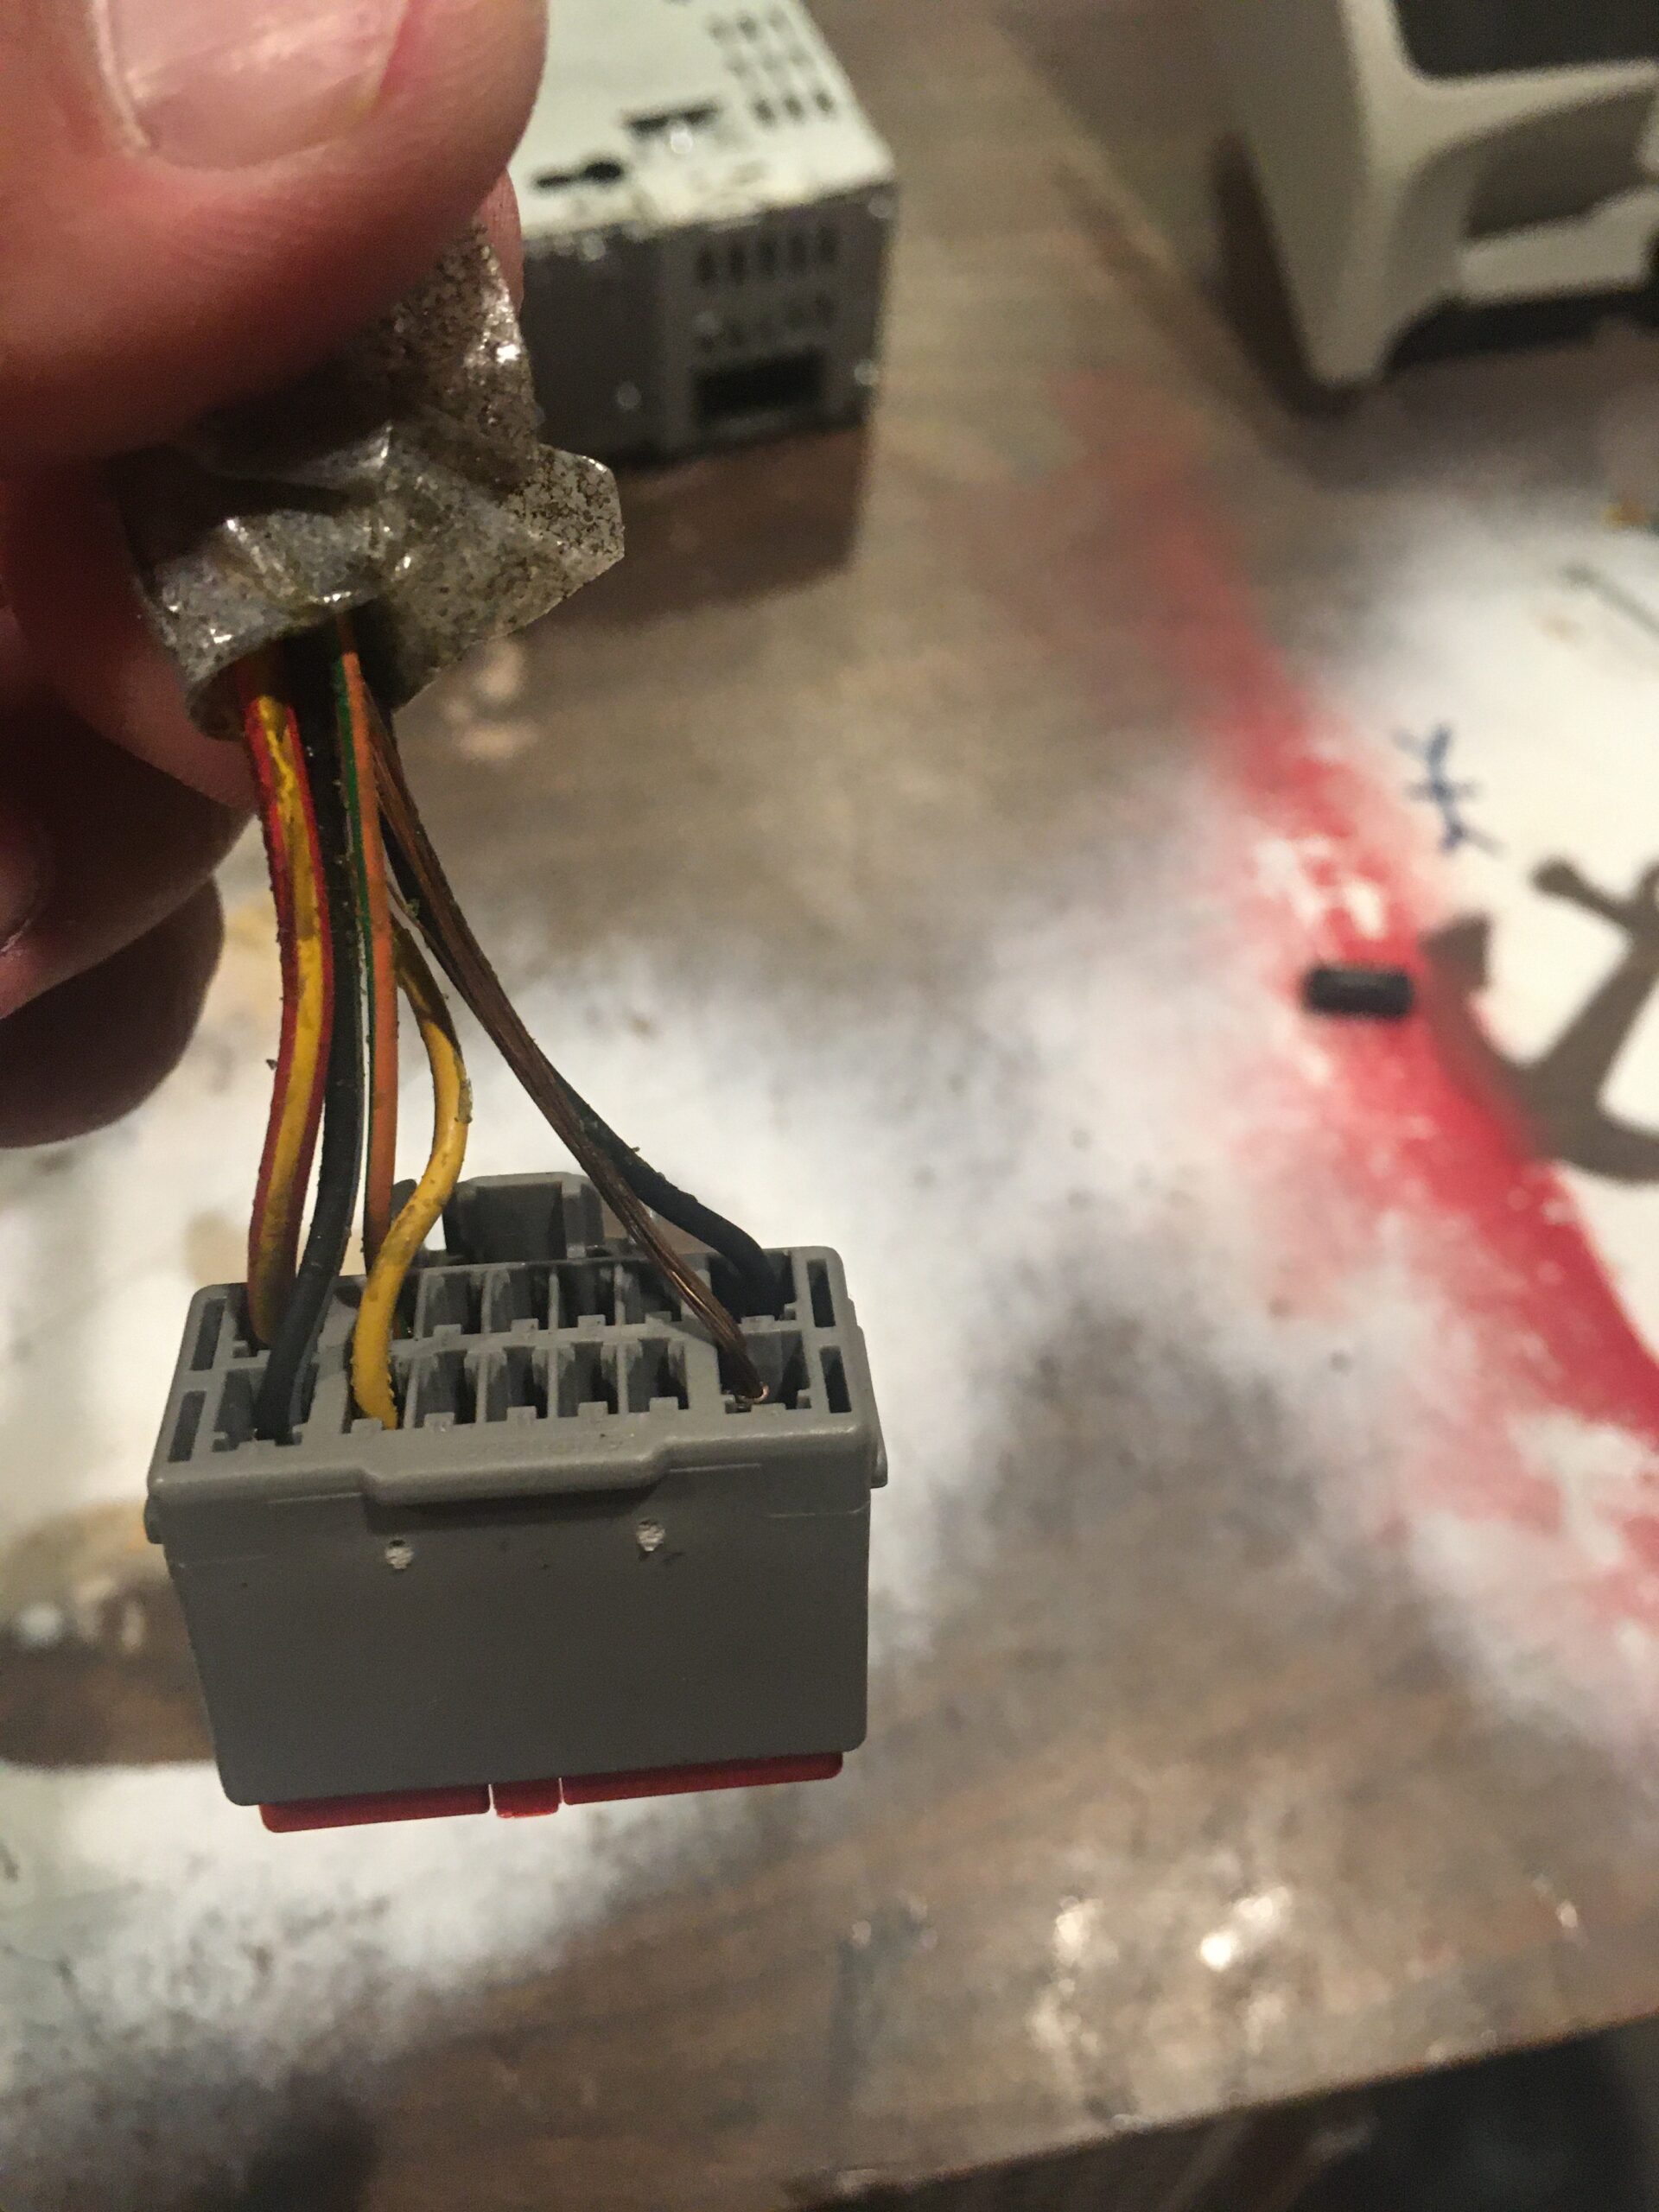
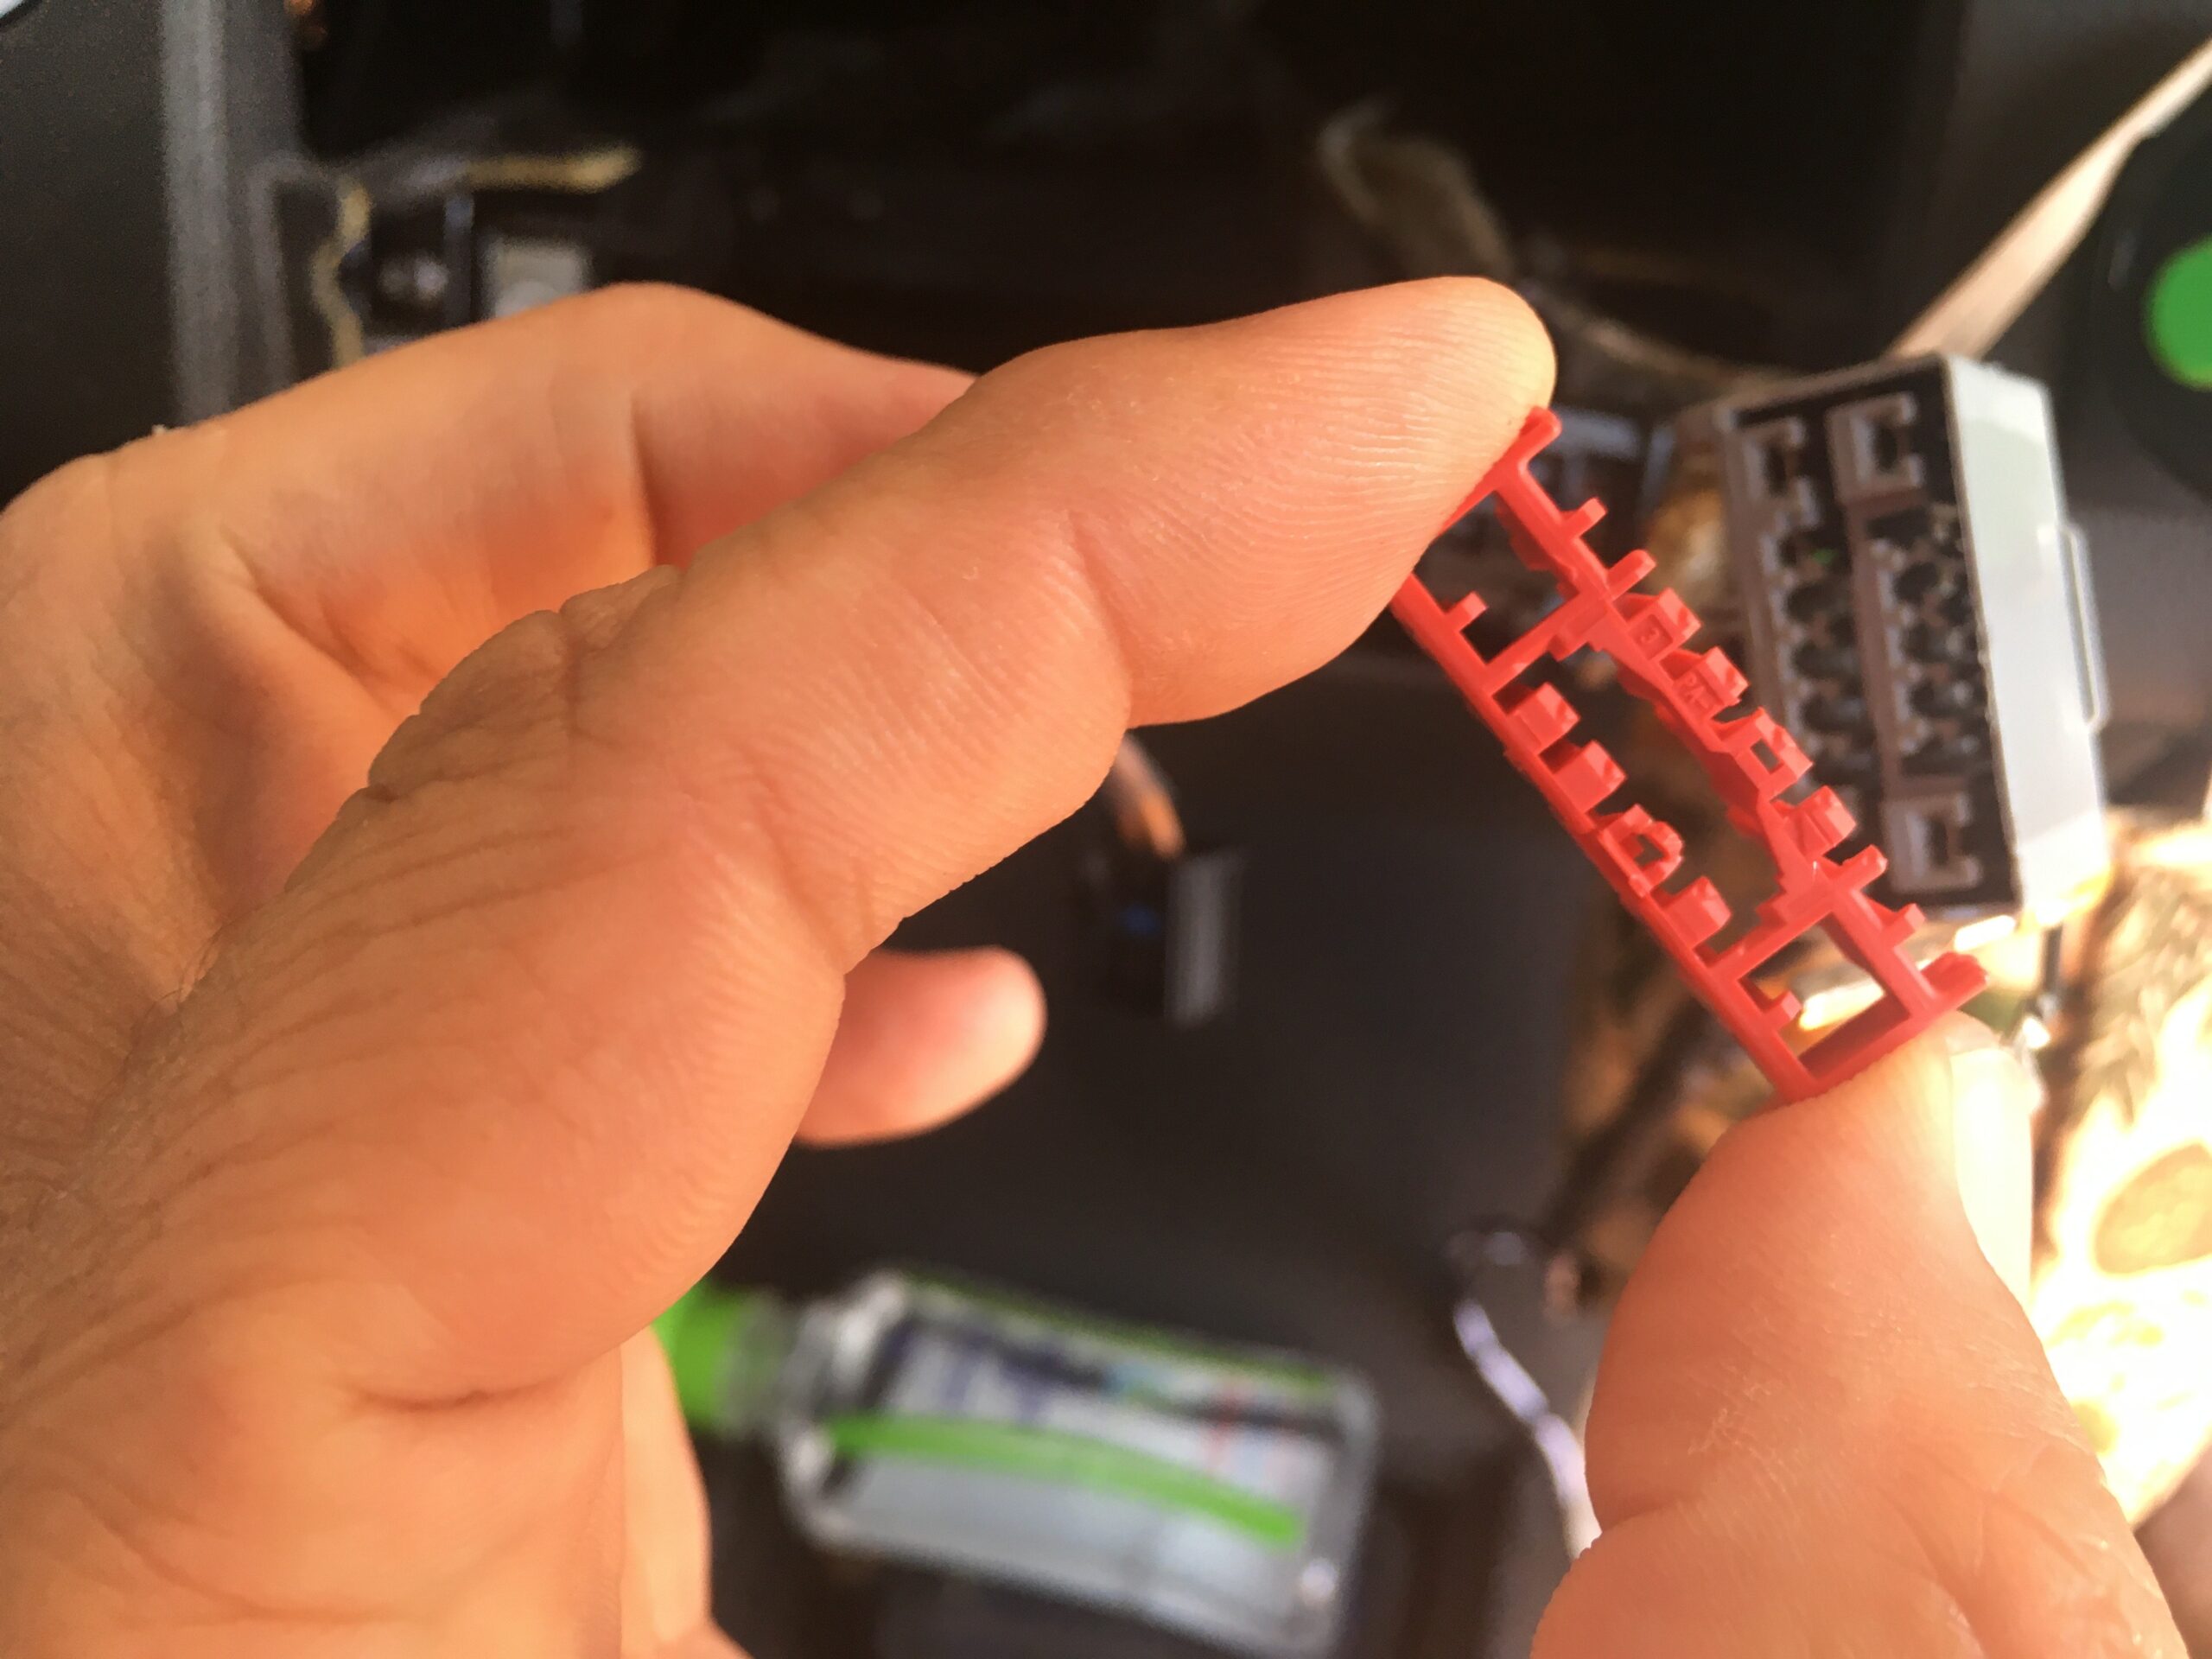
2. Remove Red pin retainer on outside of harness. This will give you access to remove the pins in question.

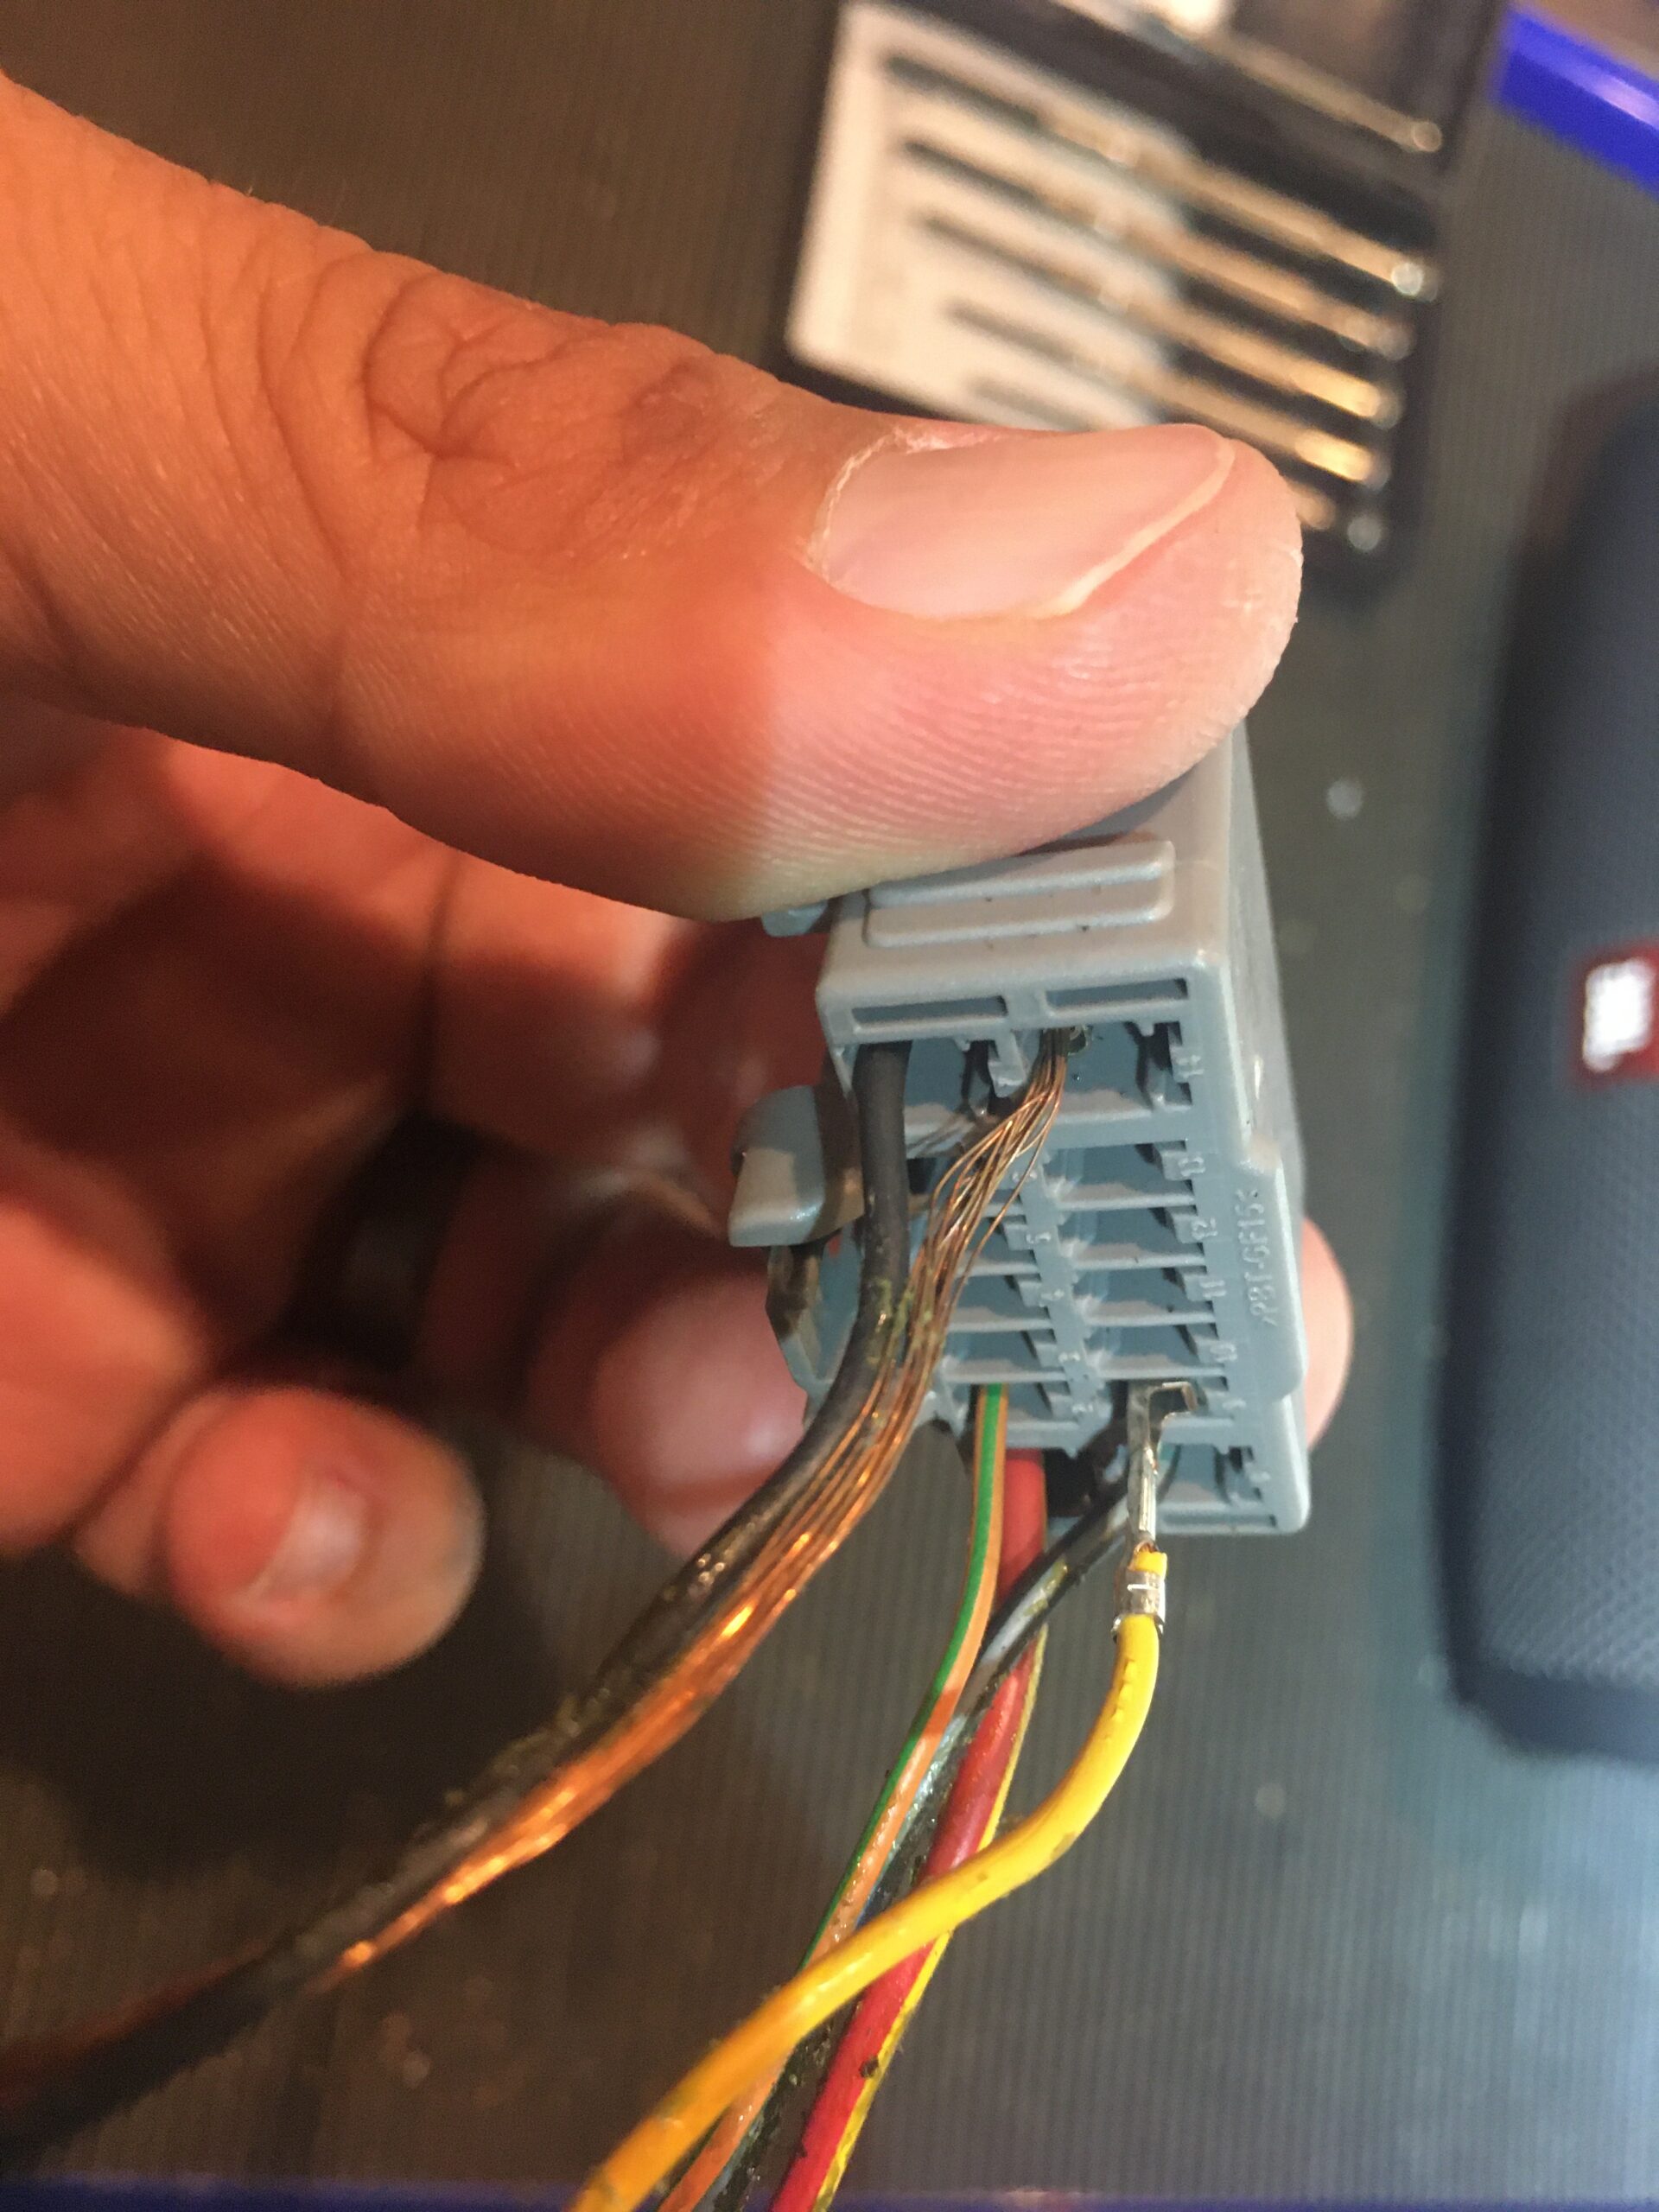
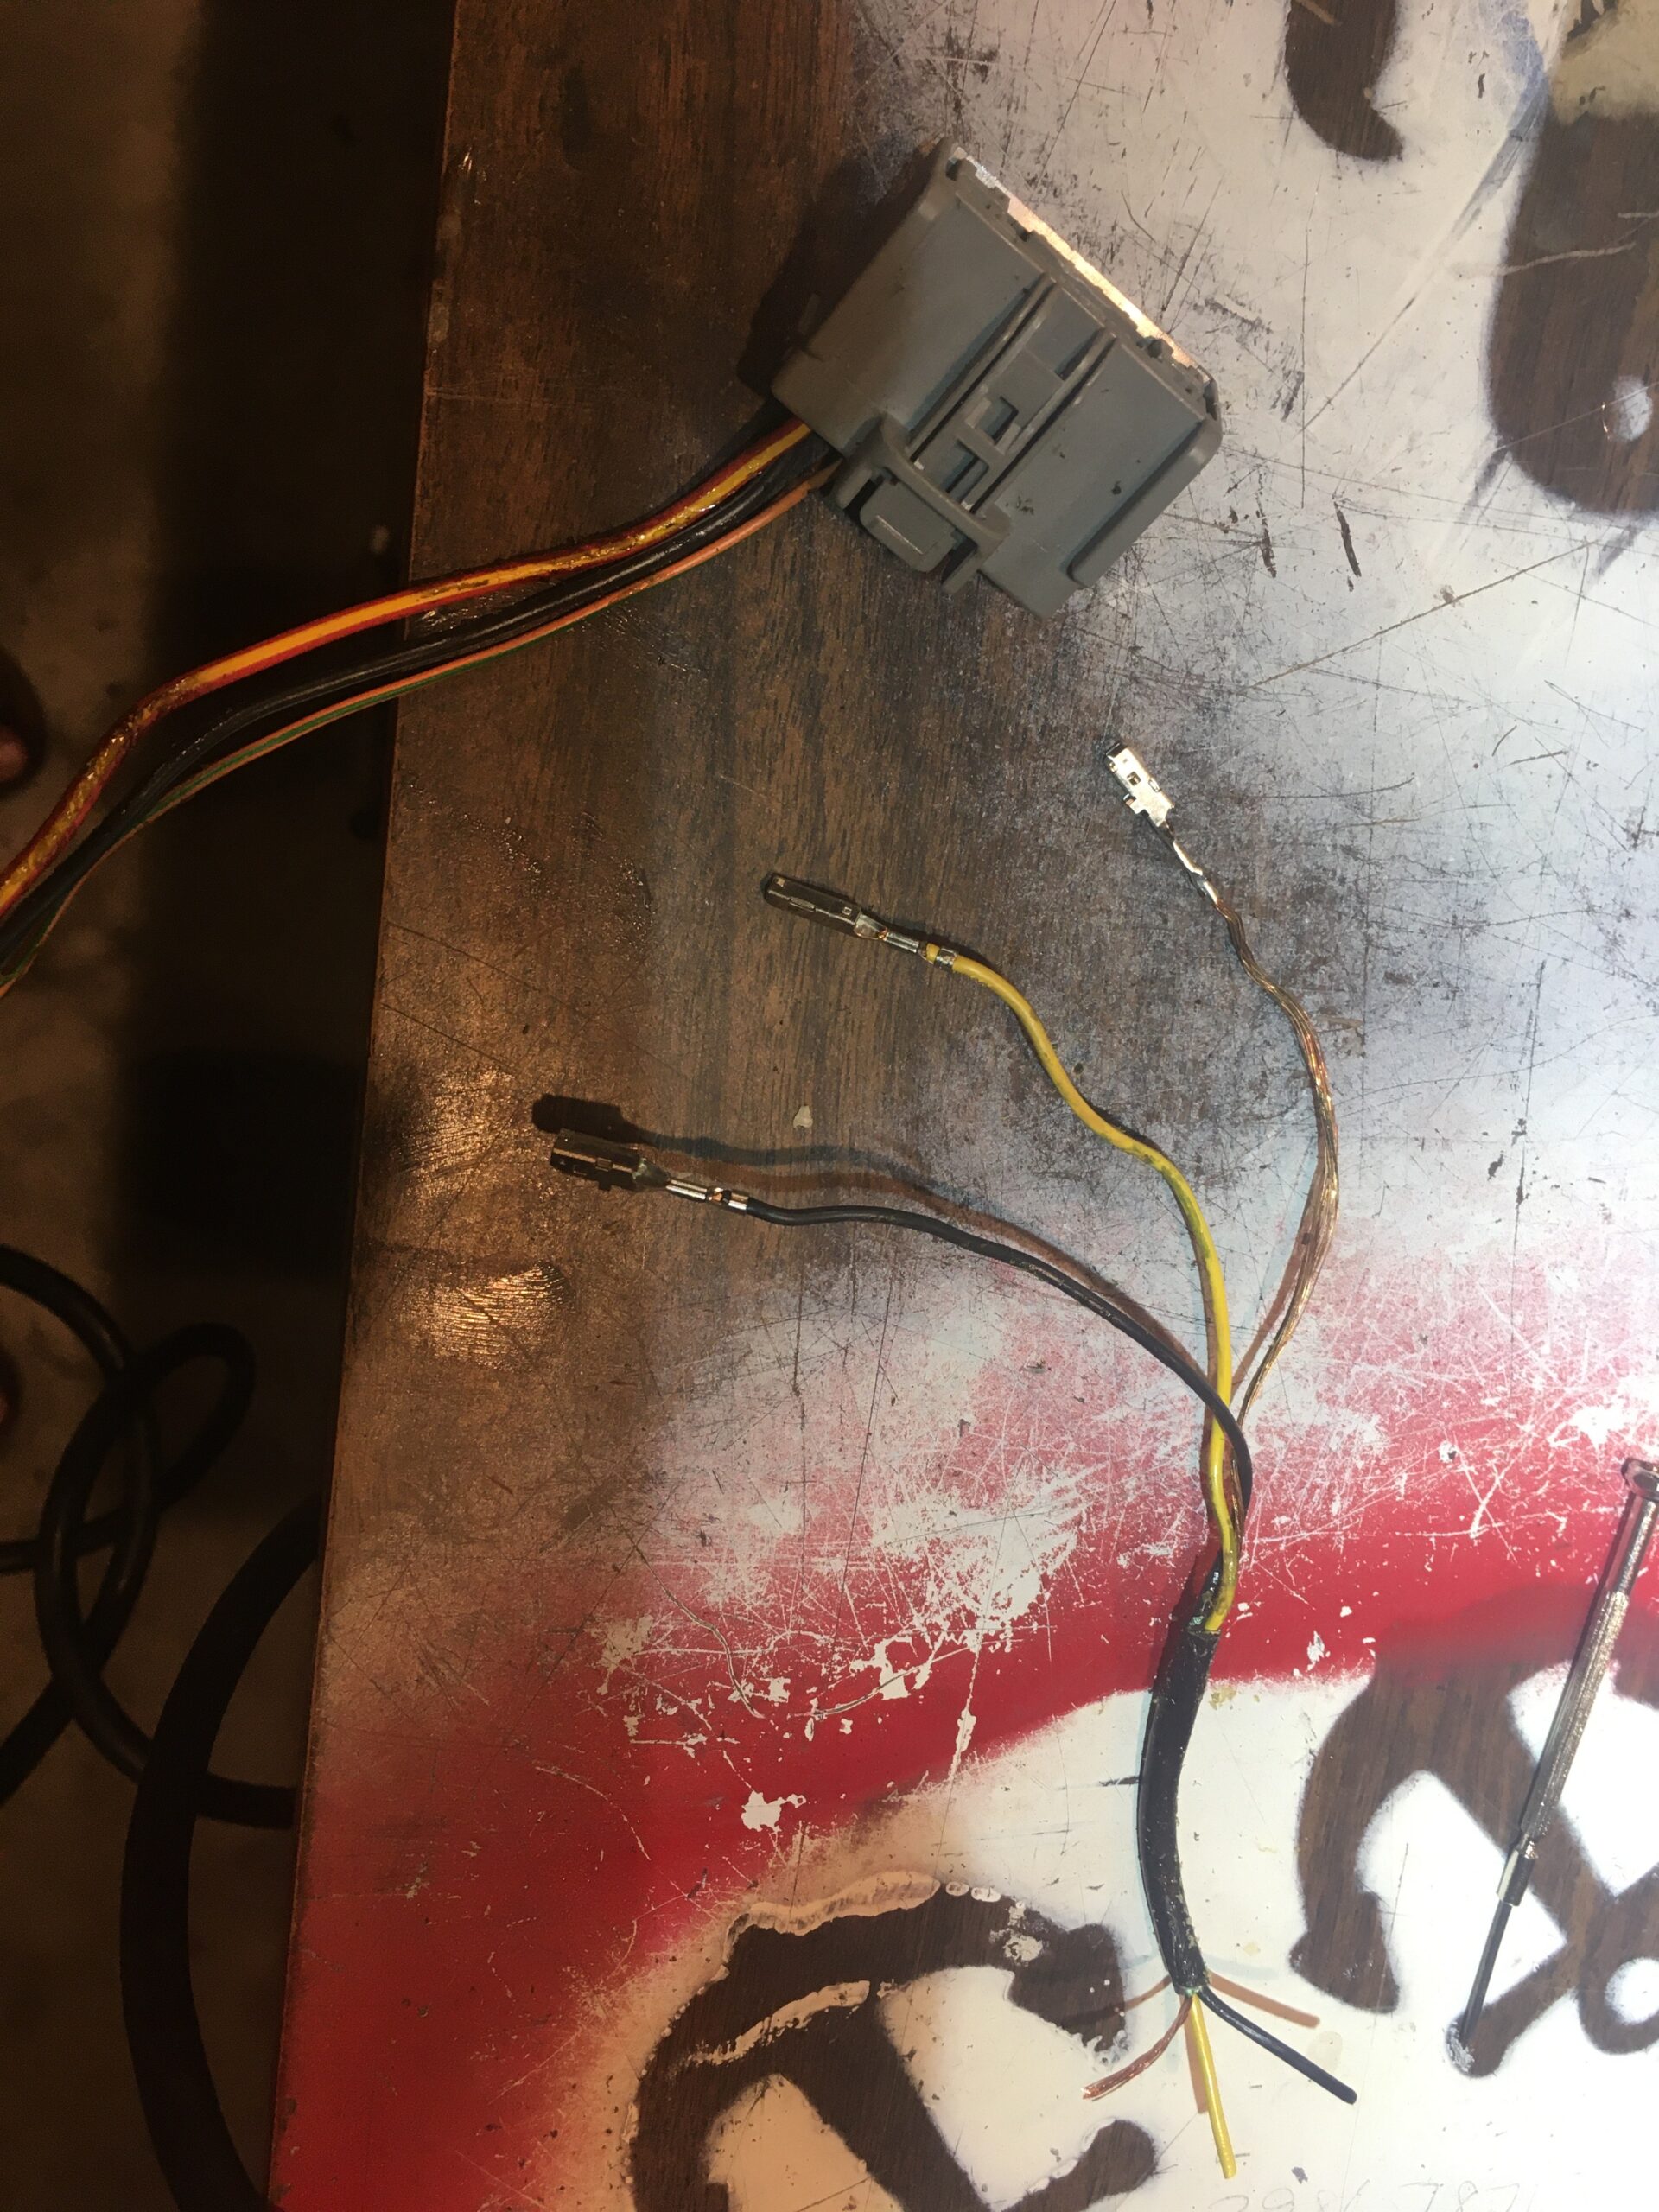
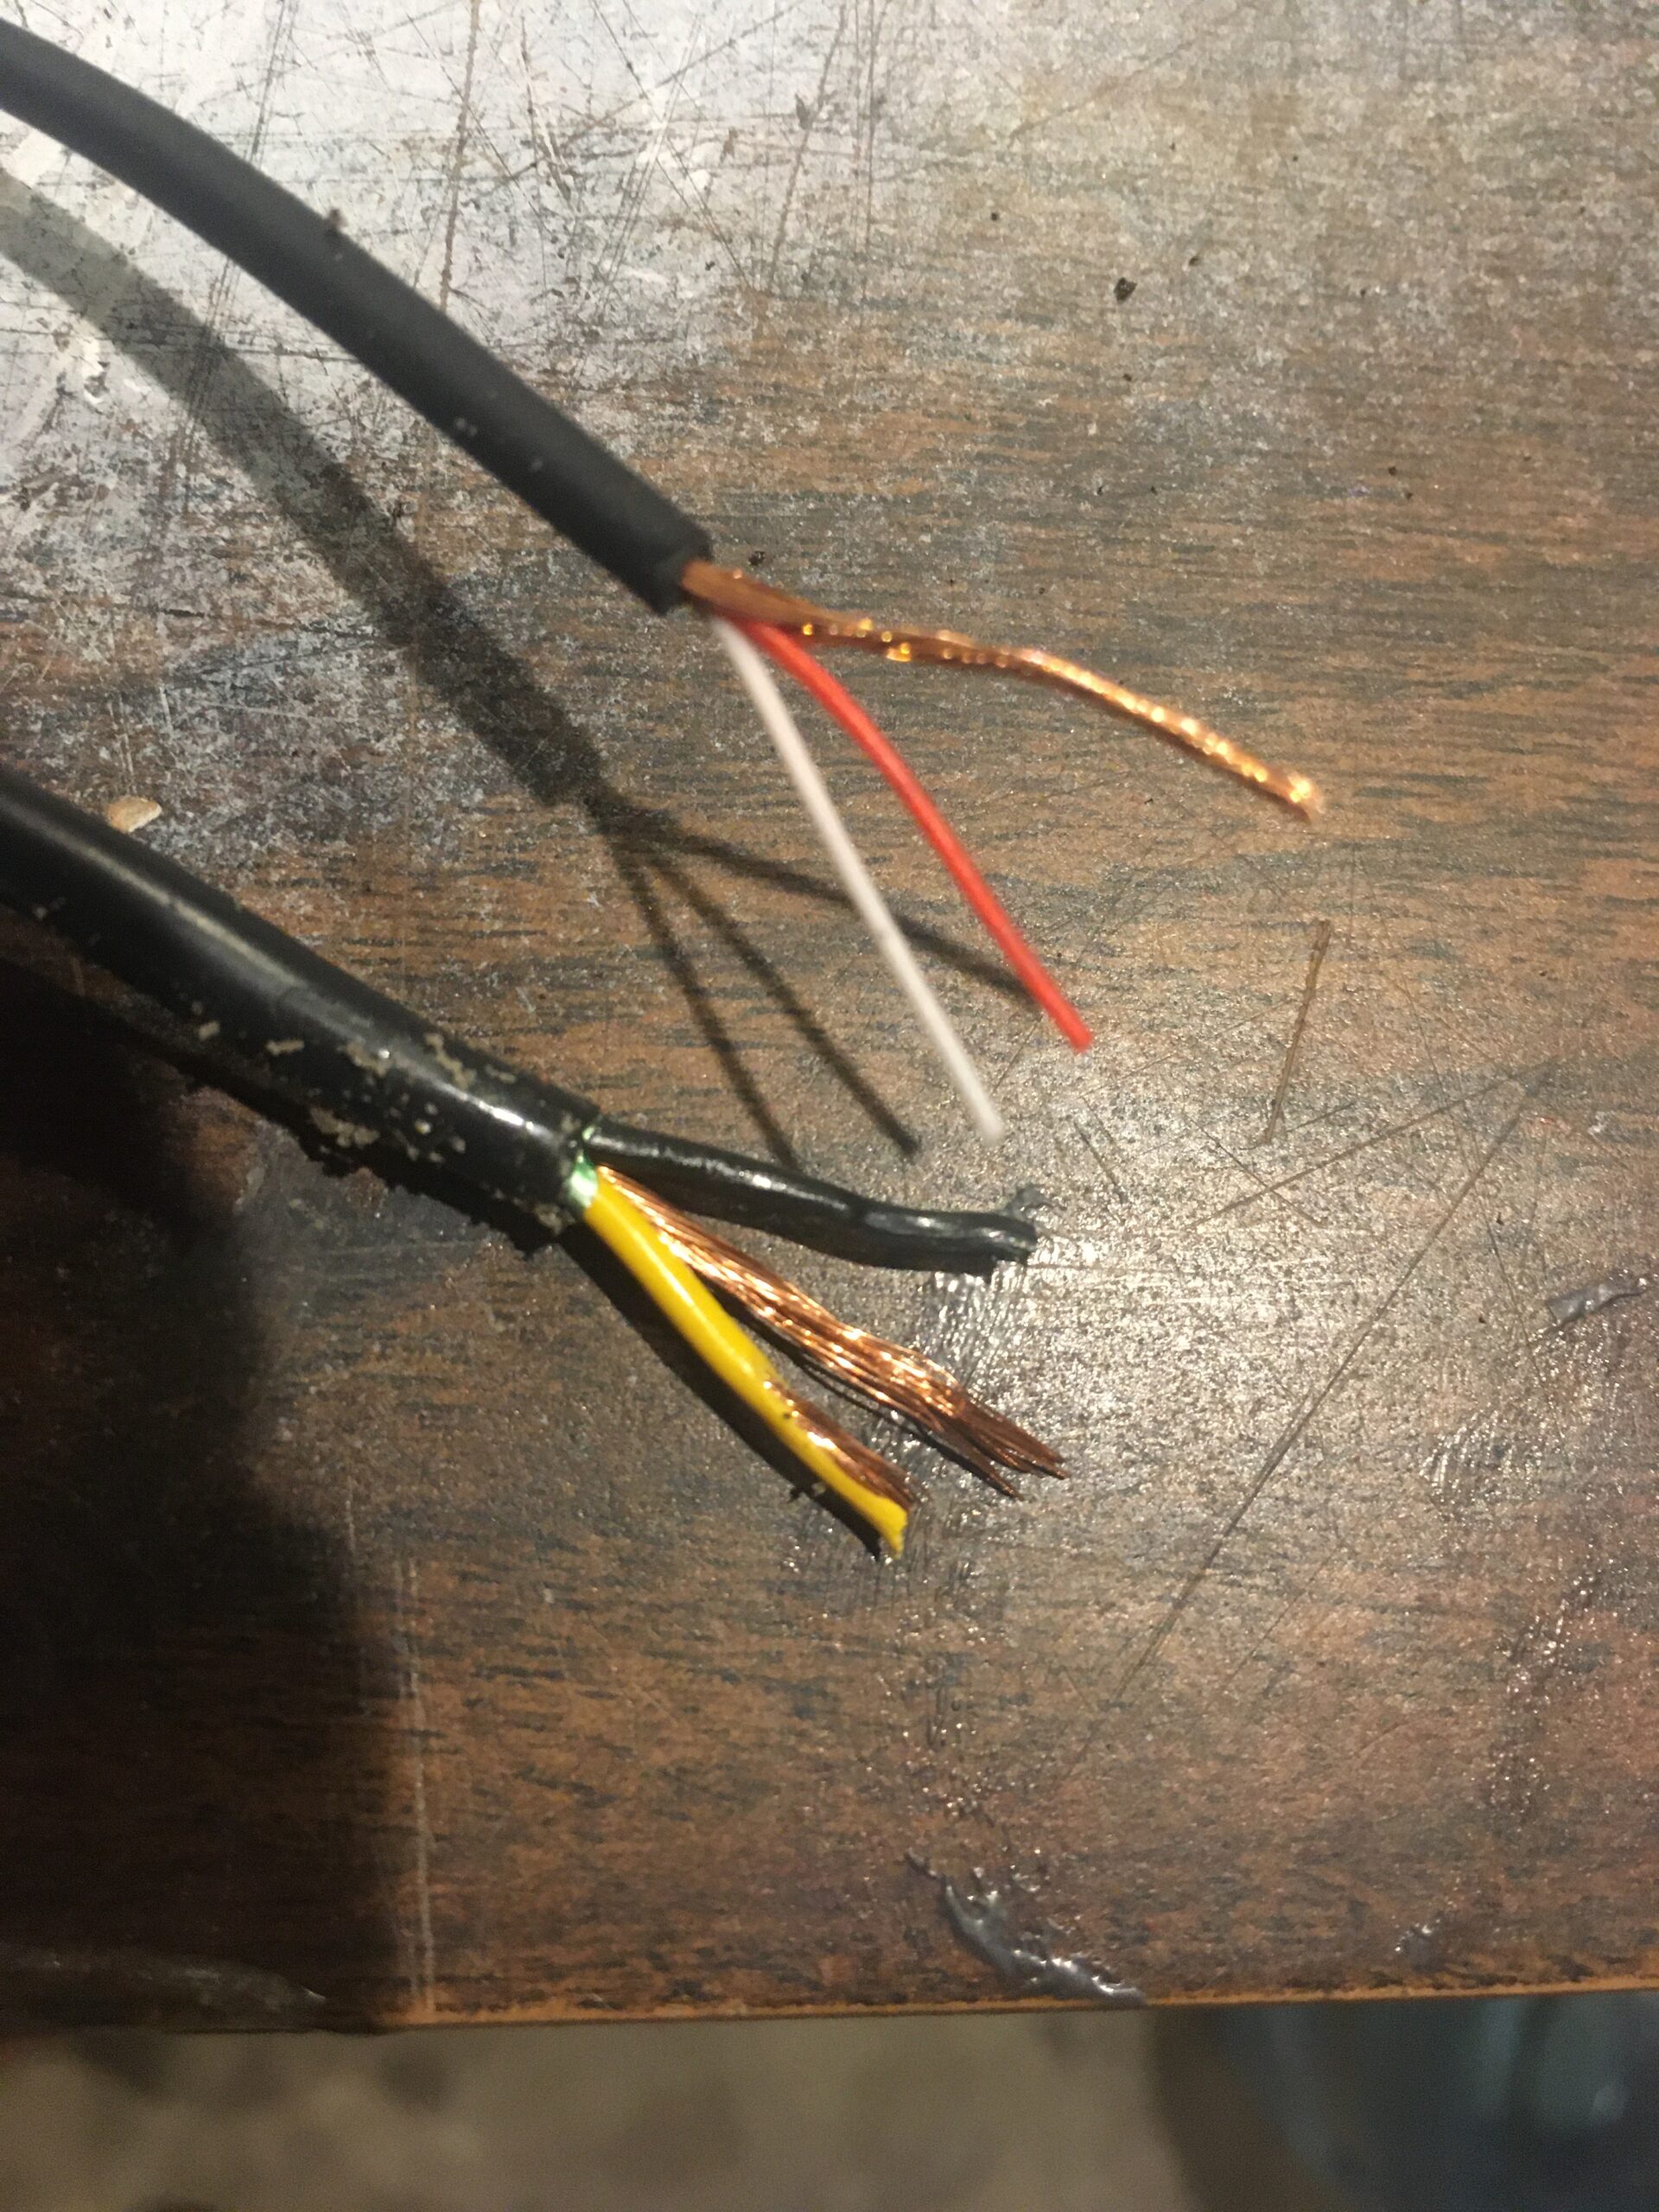
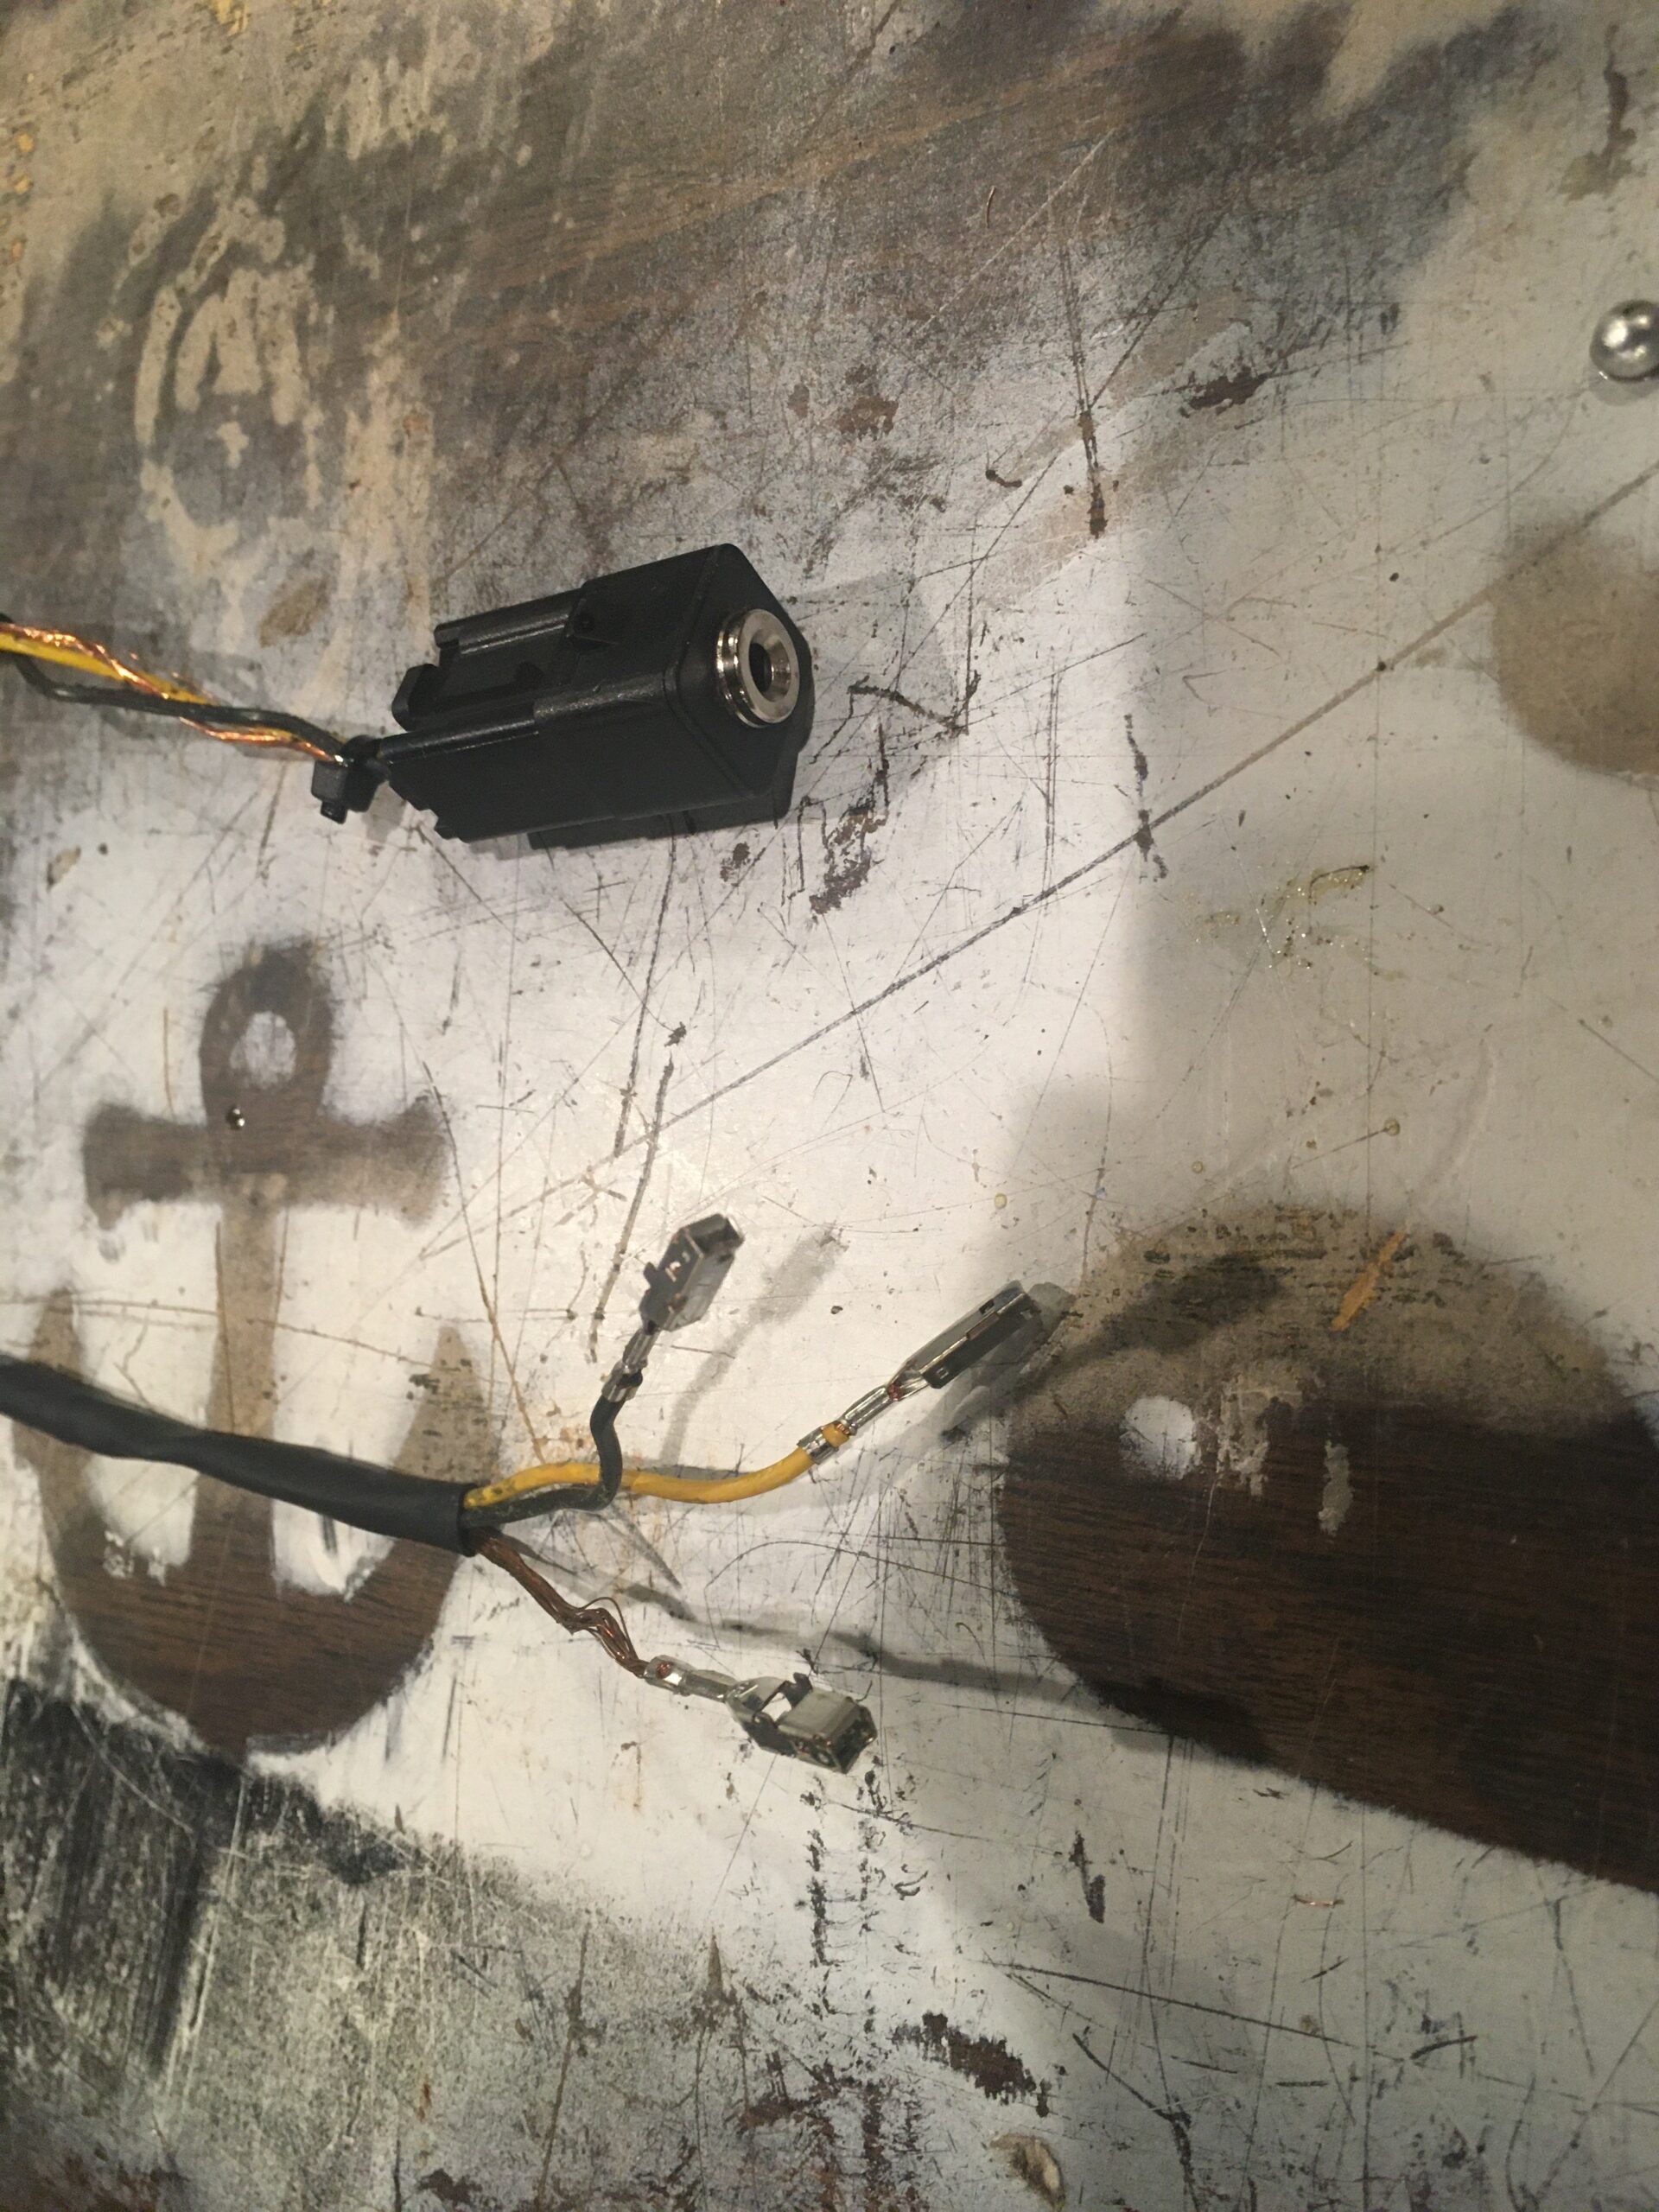
3. There are three pins you want to remove. The numbers are 7 (AUX right), 9 (AUX Left), and 14 (Ground). You will notice the colors of these will match the 3 wires on the AUX port in the storage bin that goes behind the waterfall. From the back of the wire harness, where the wires insert, you will see a gray plastic pressure clip holding the pin. You are not re-using this harness, so I pried those down(broke them out of the way), then went to the front and pushed the pins out with a small flathead driver. After all 3 are out, you are left with this:


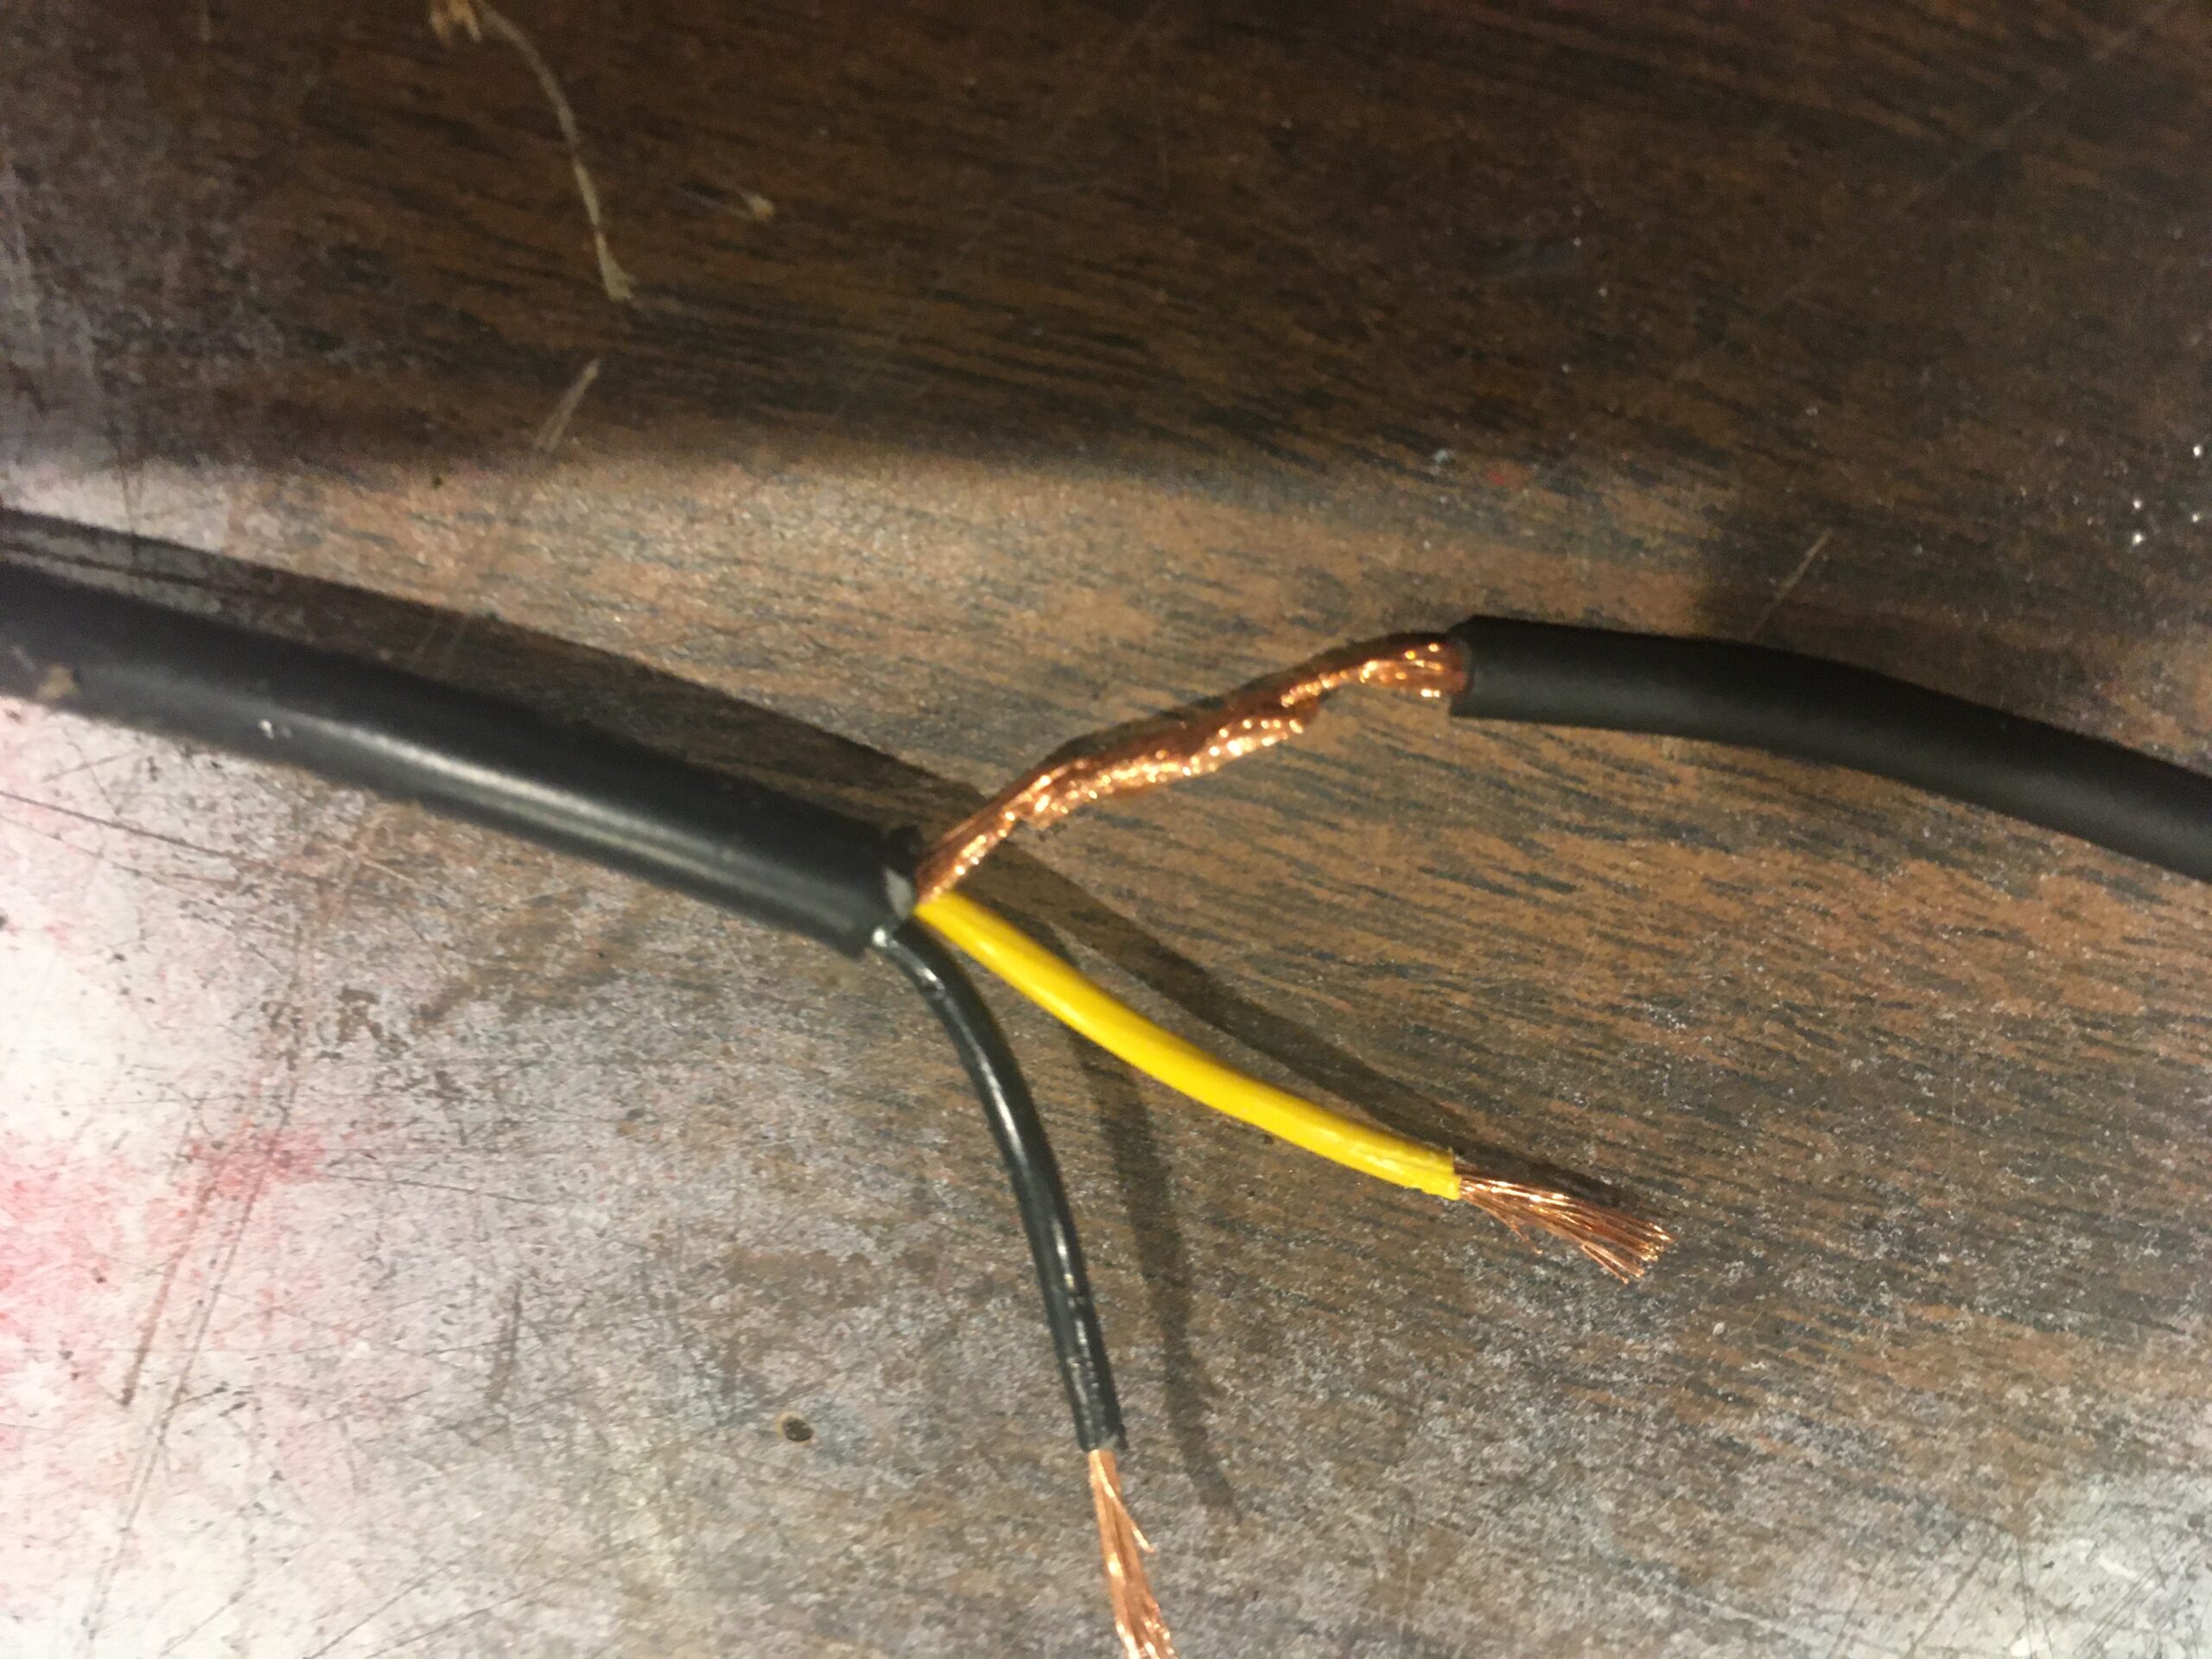
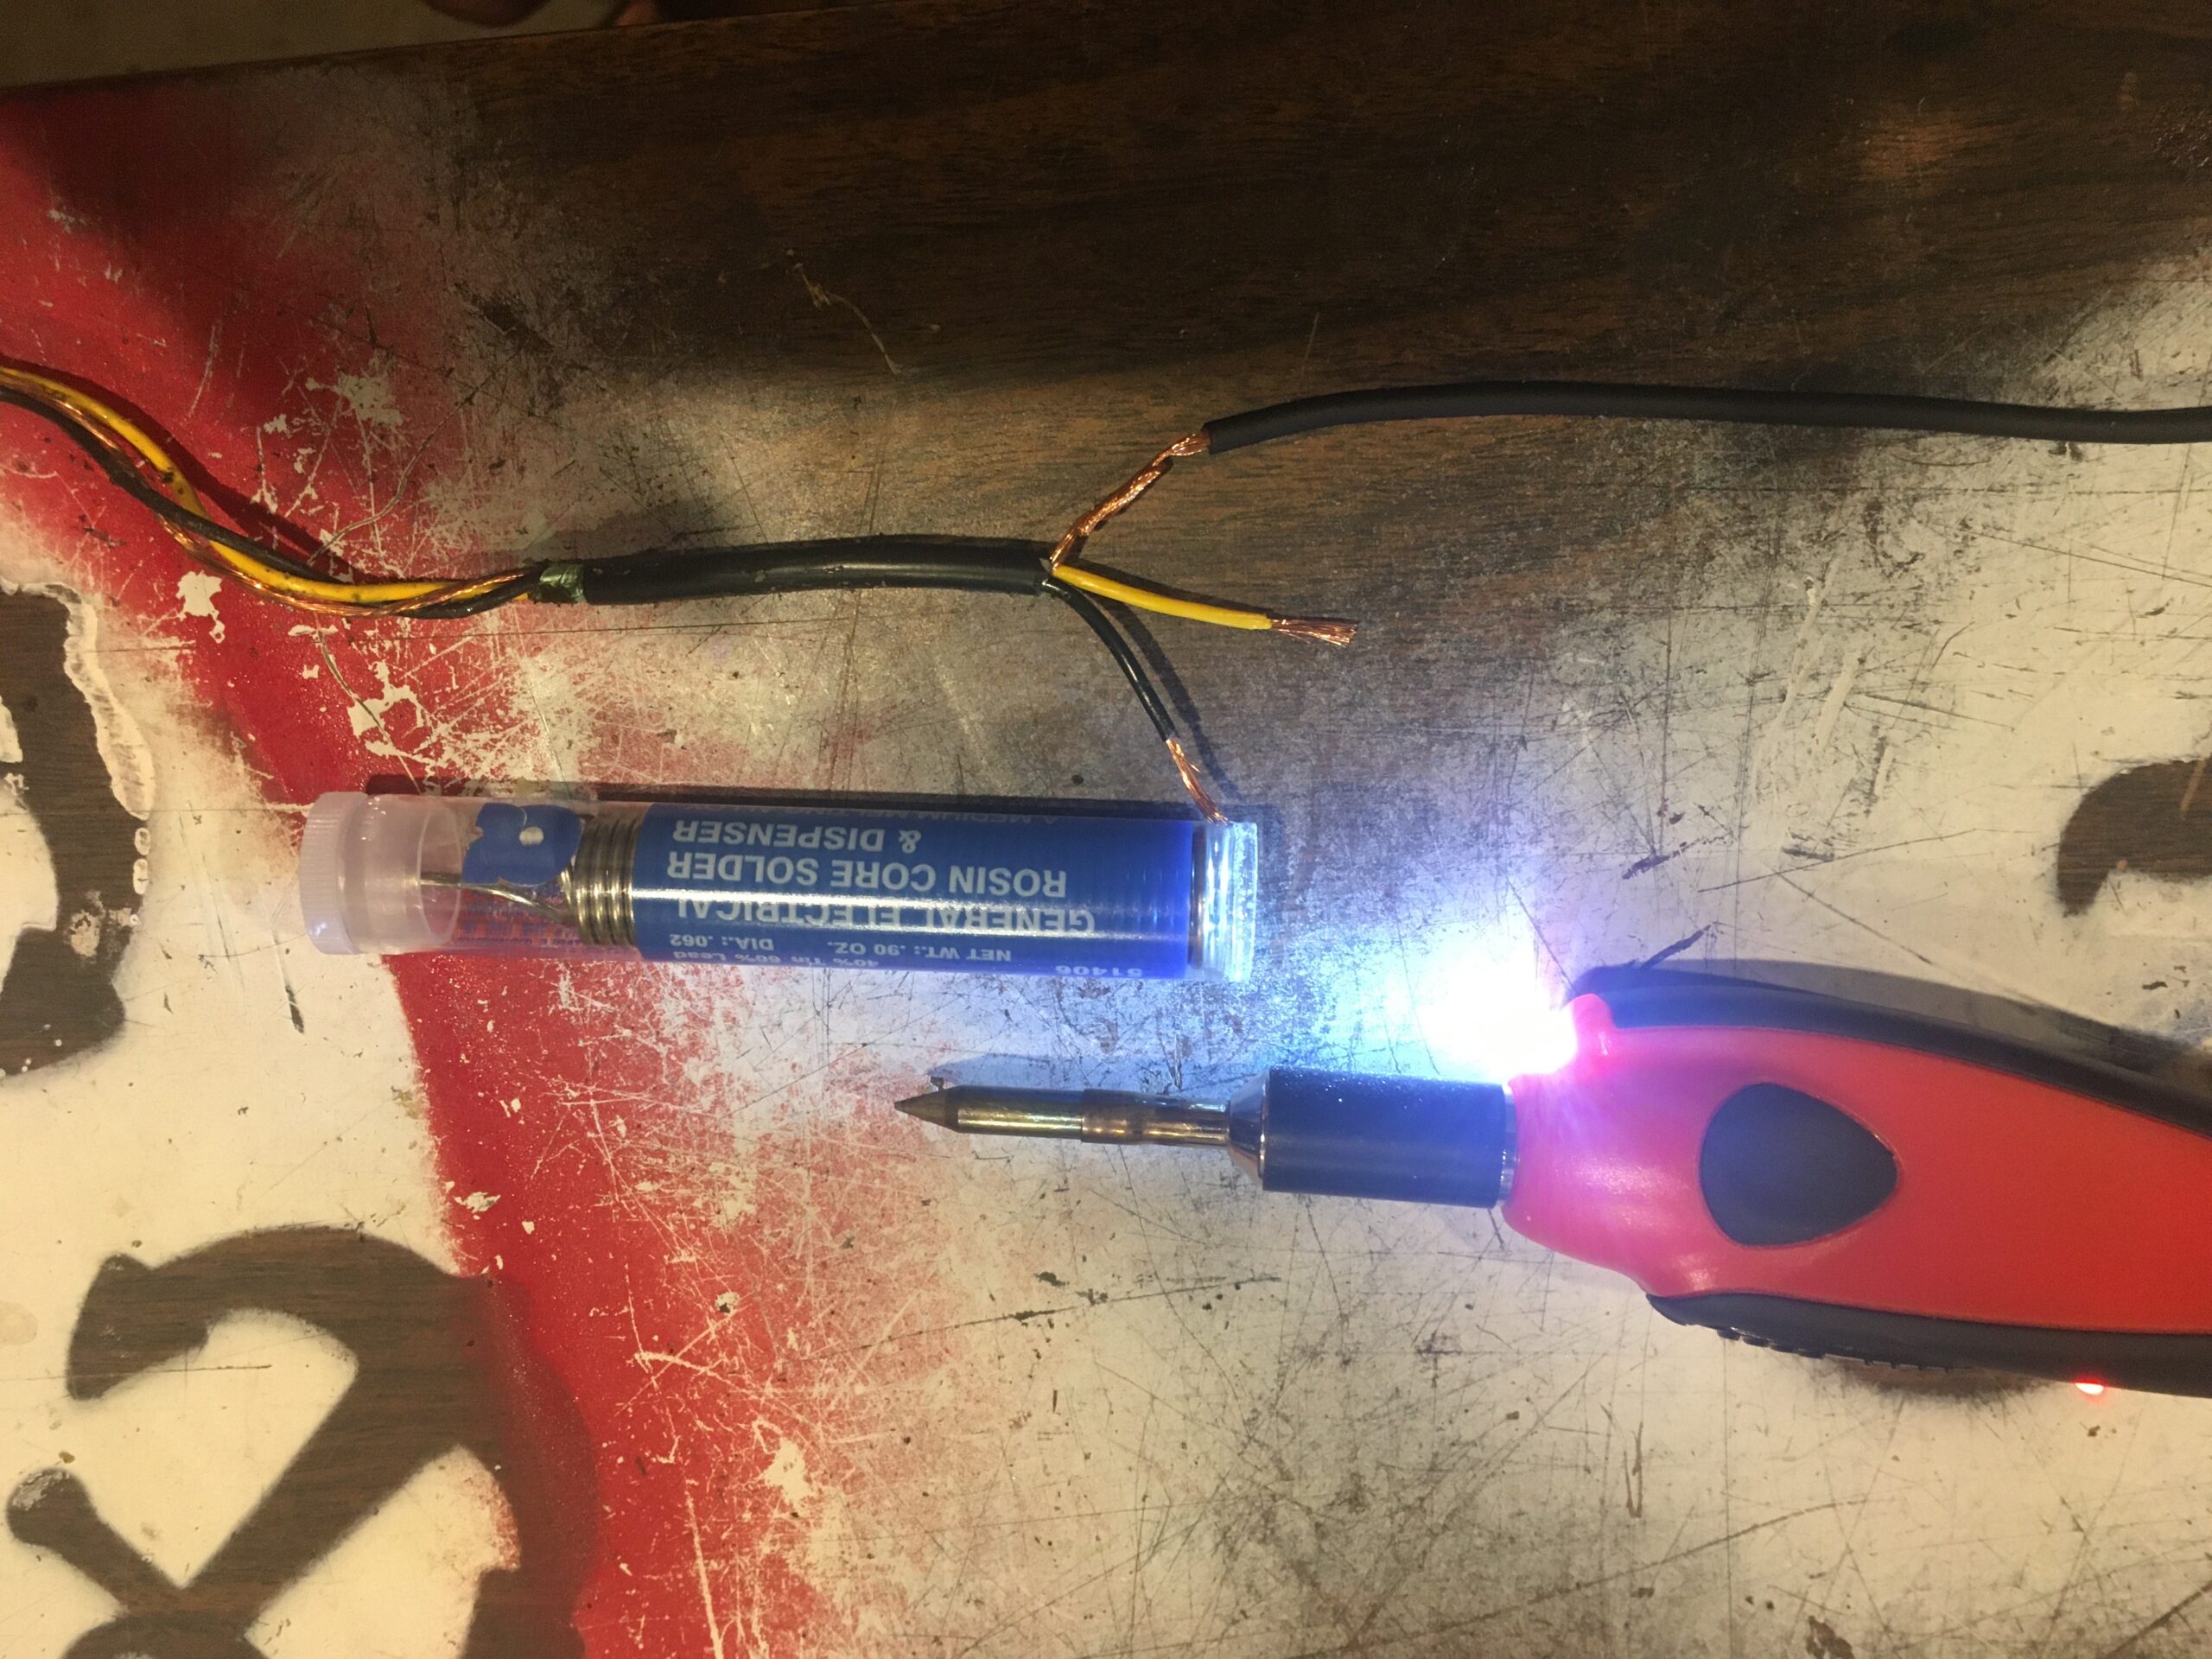
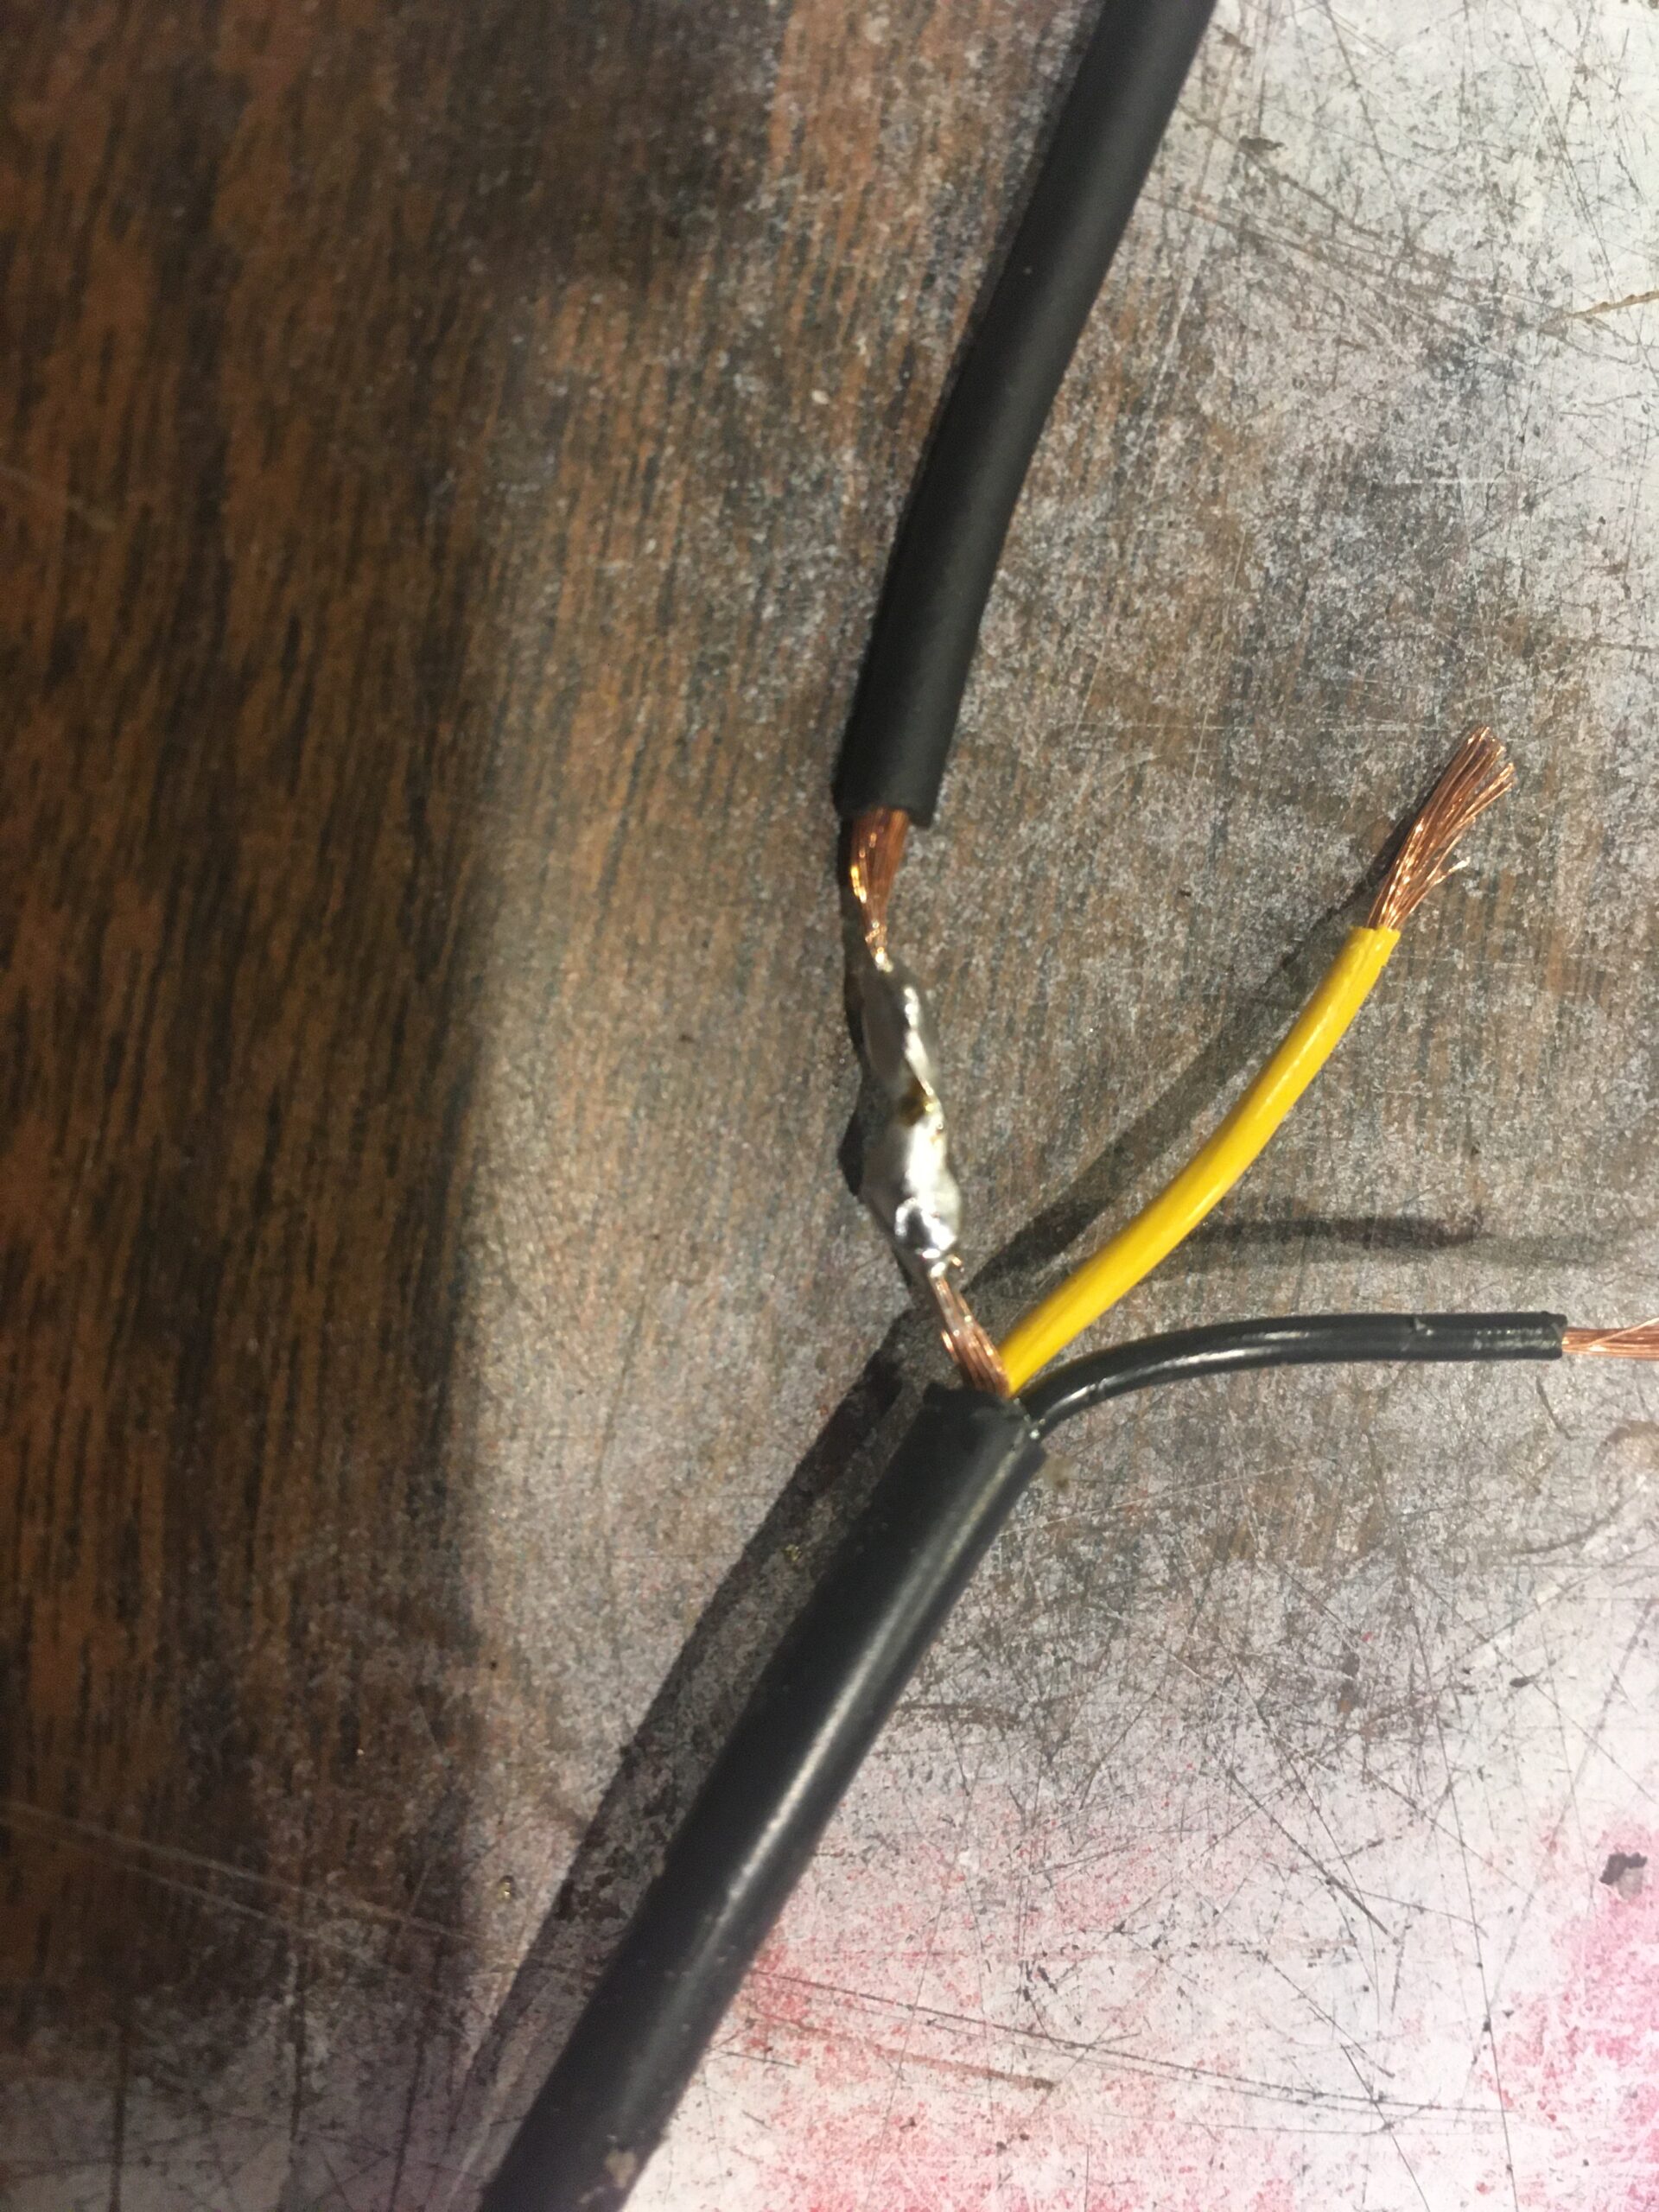
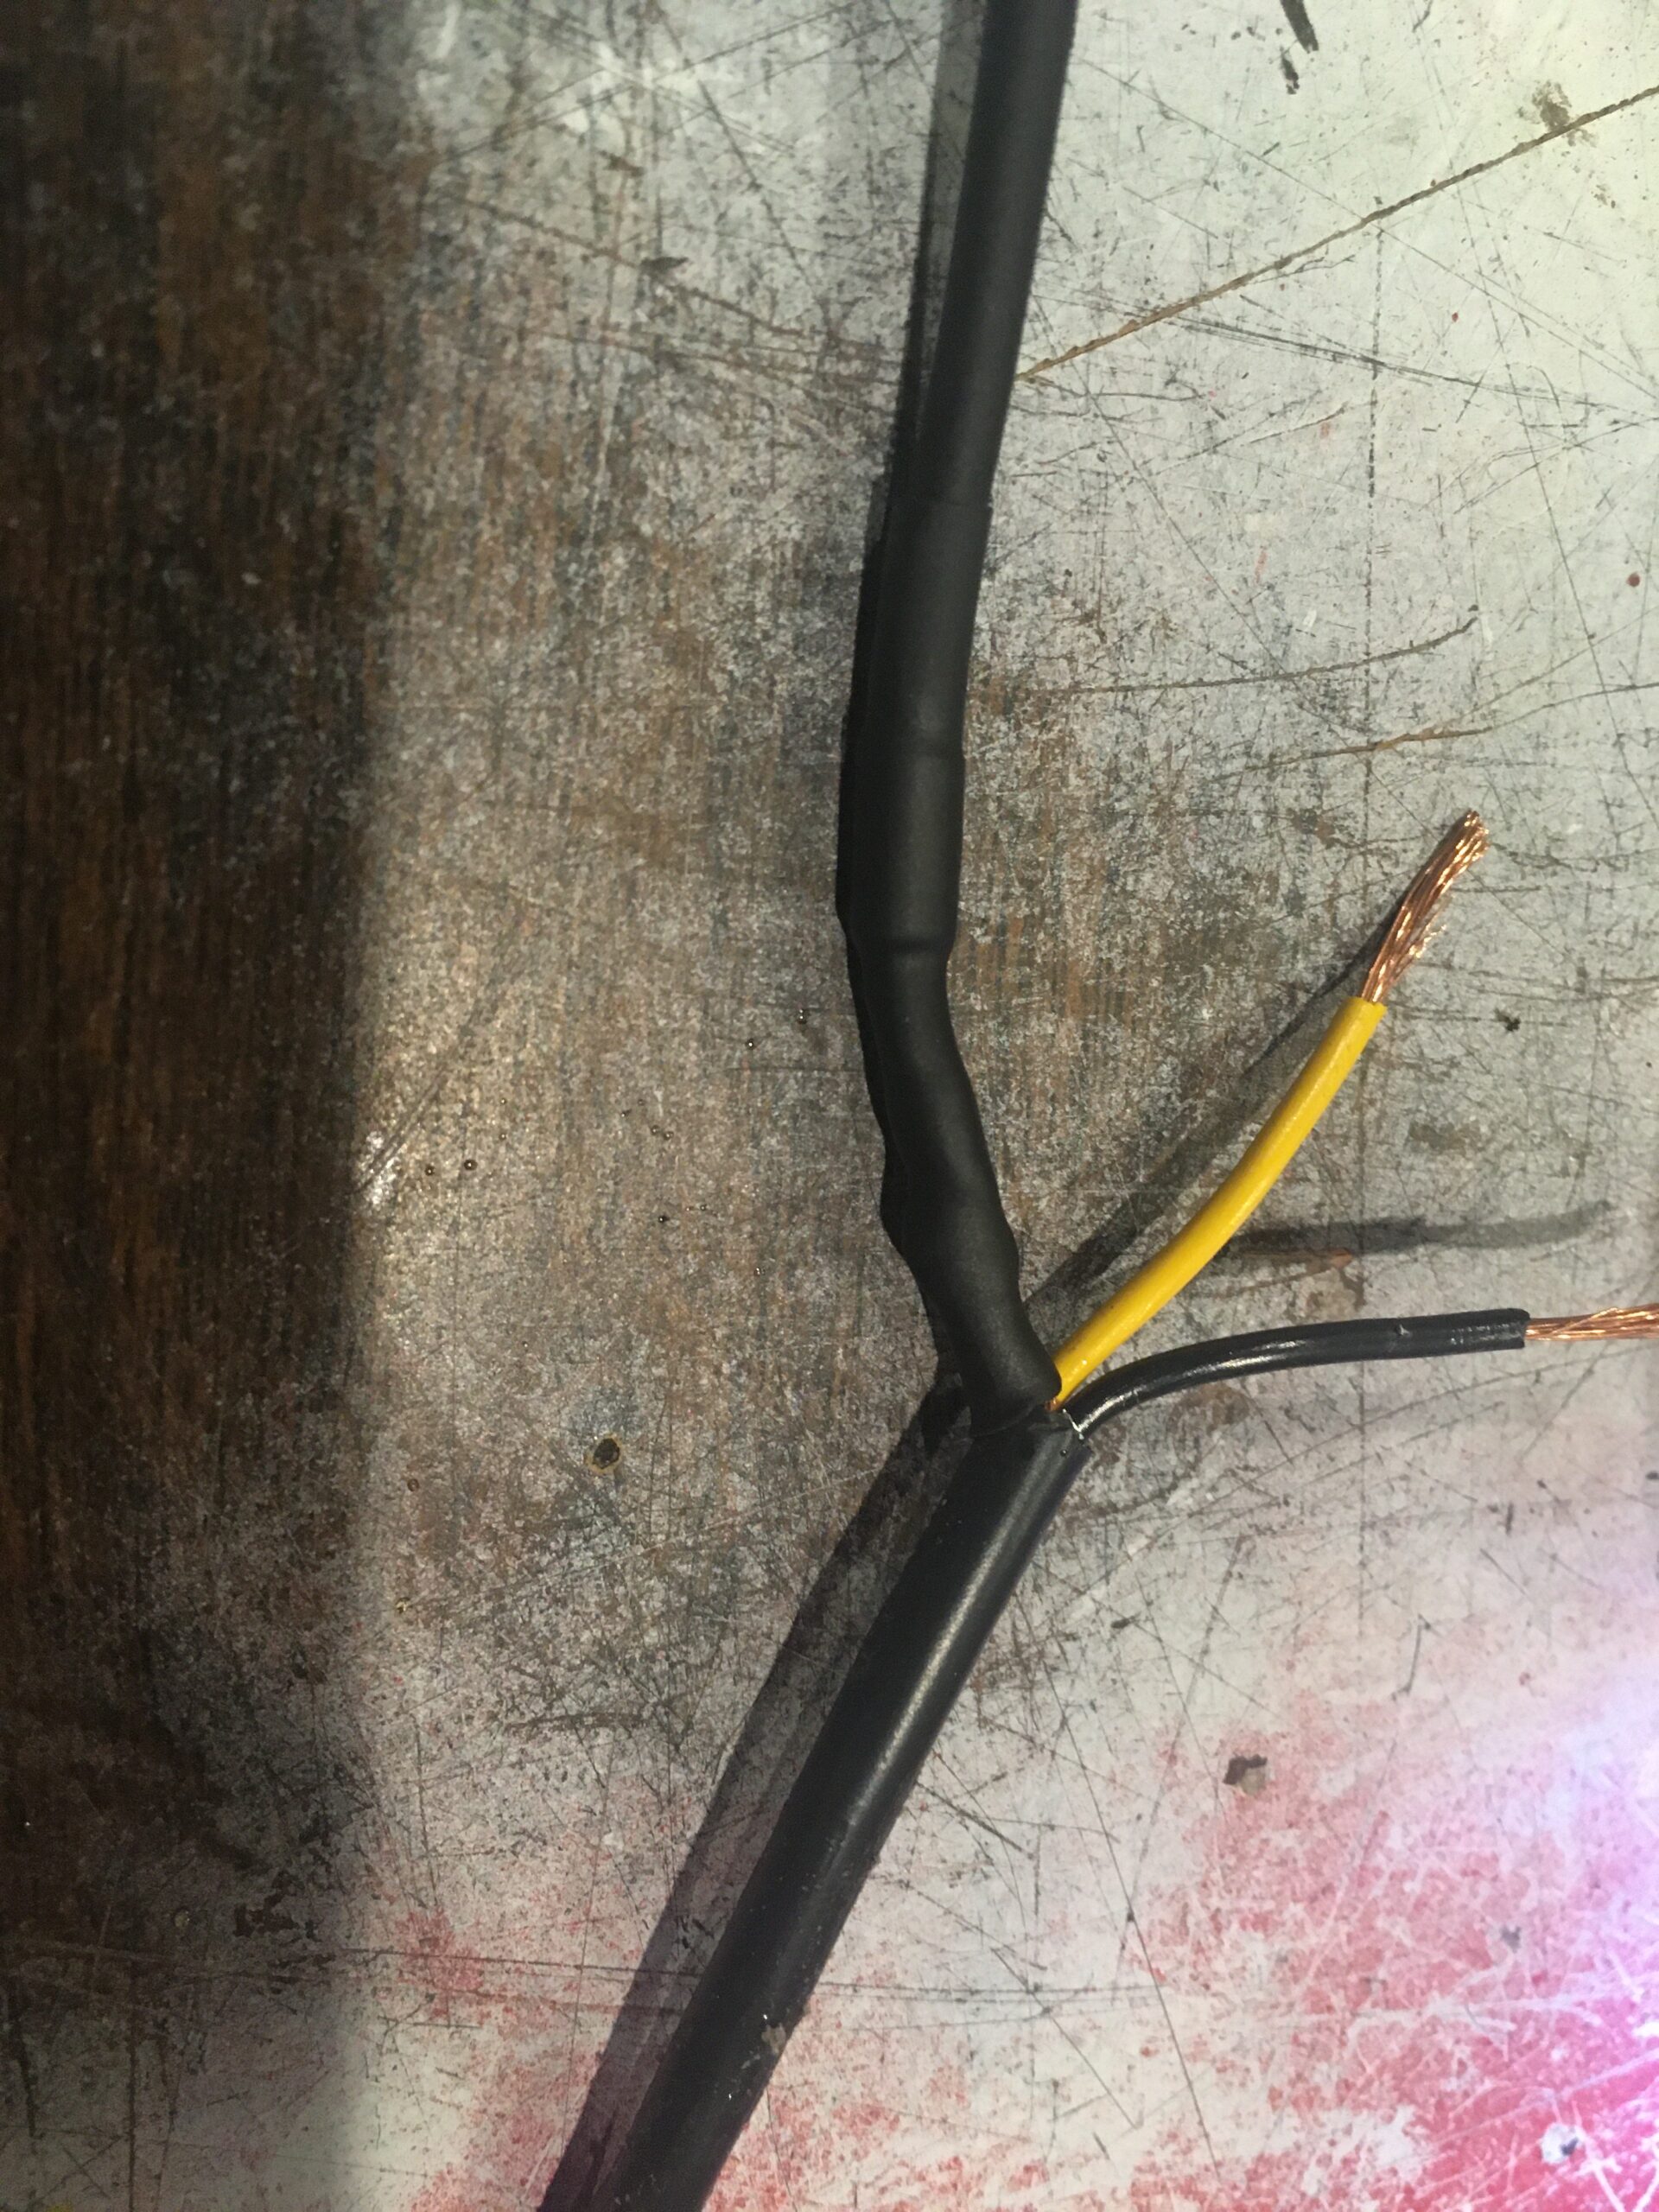
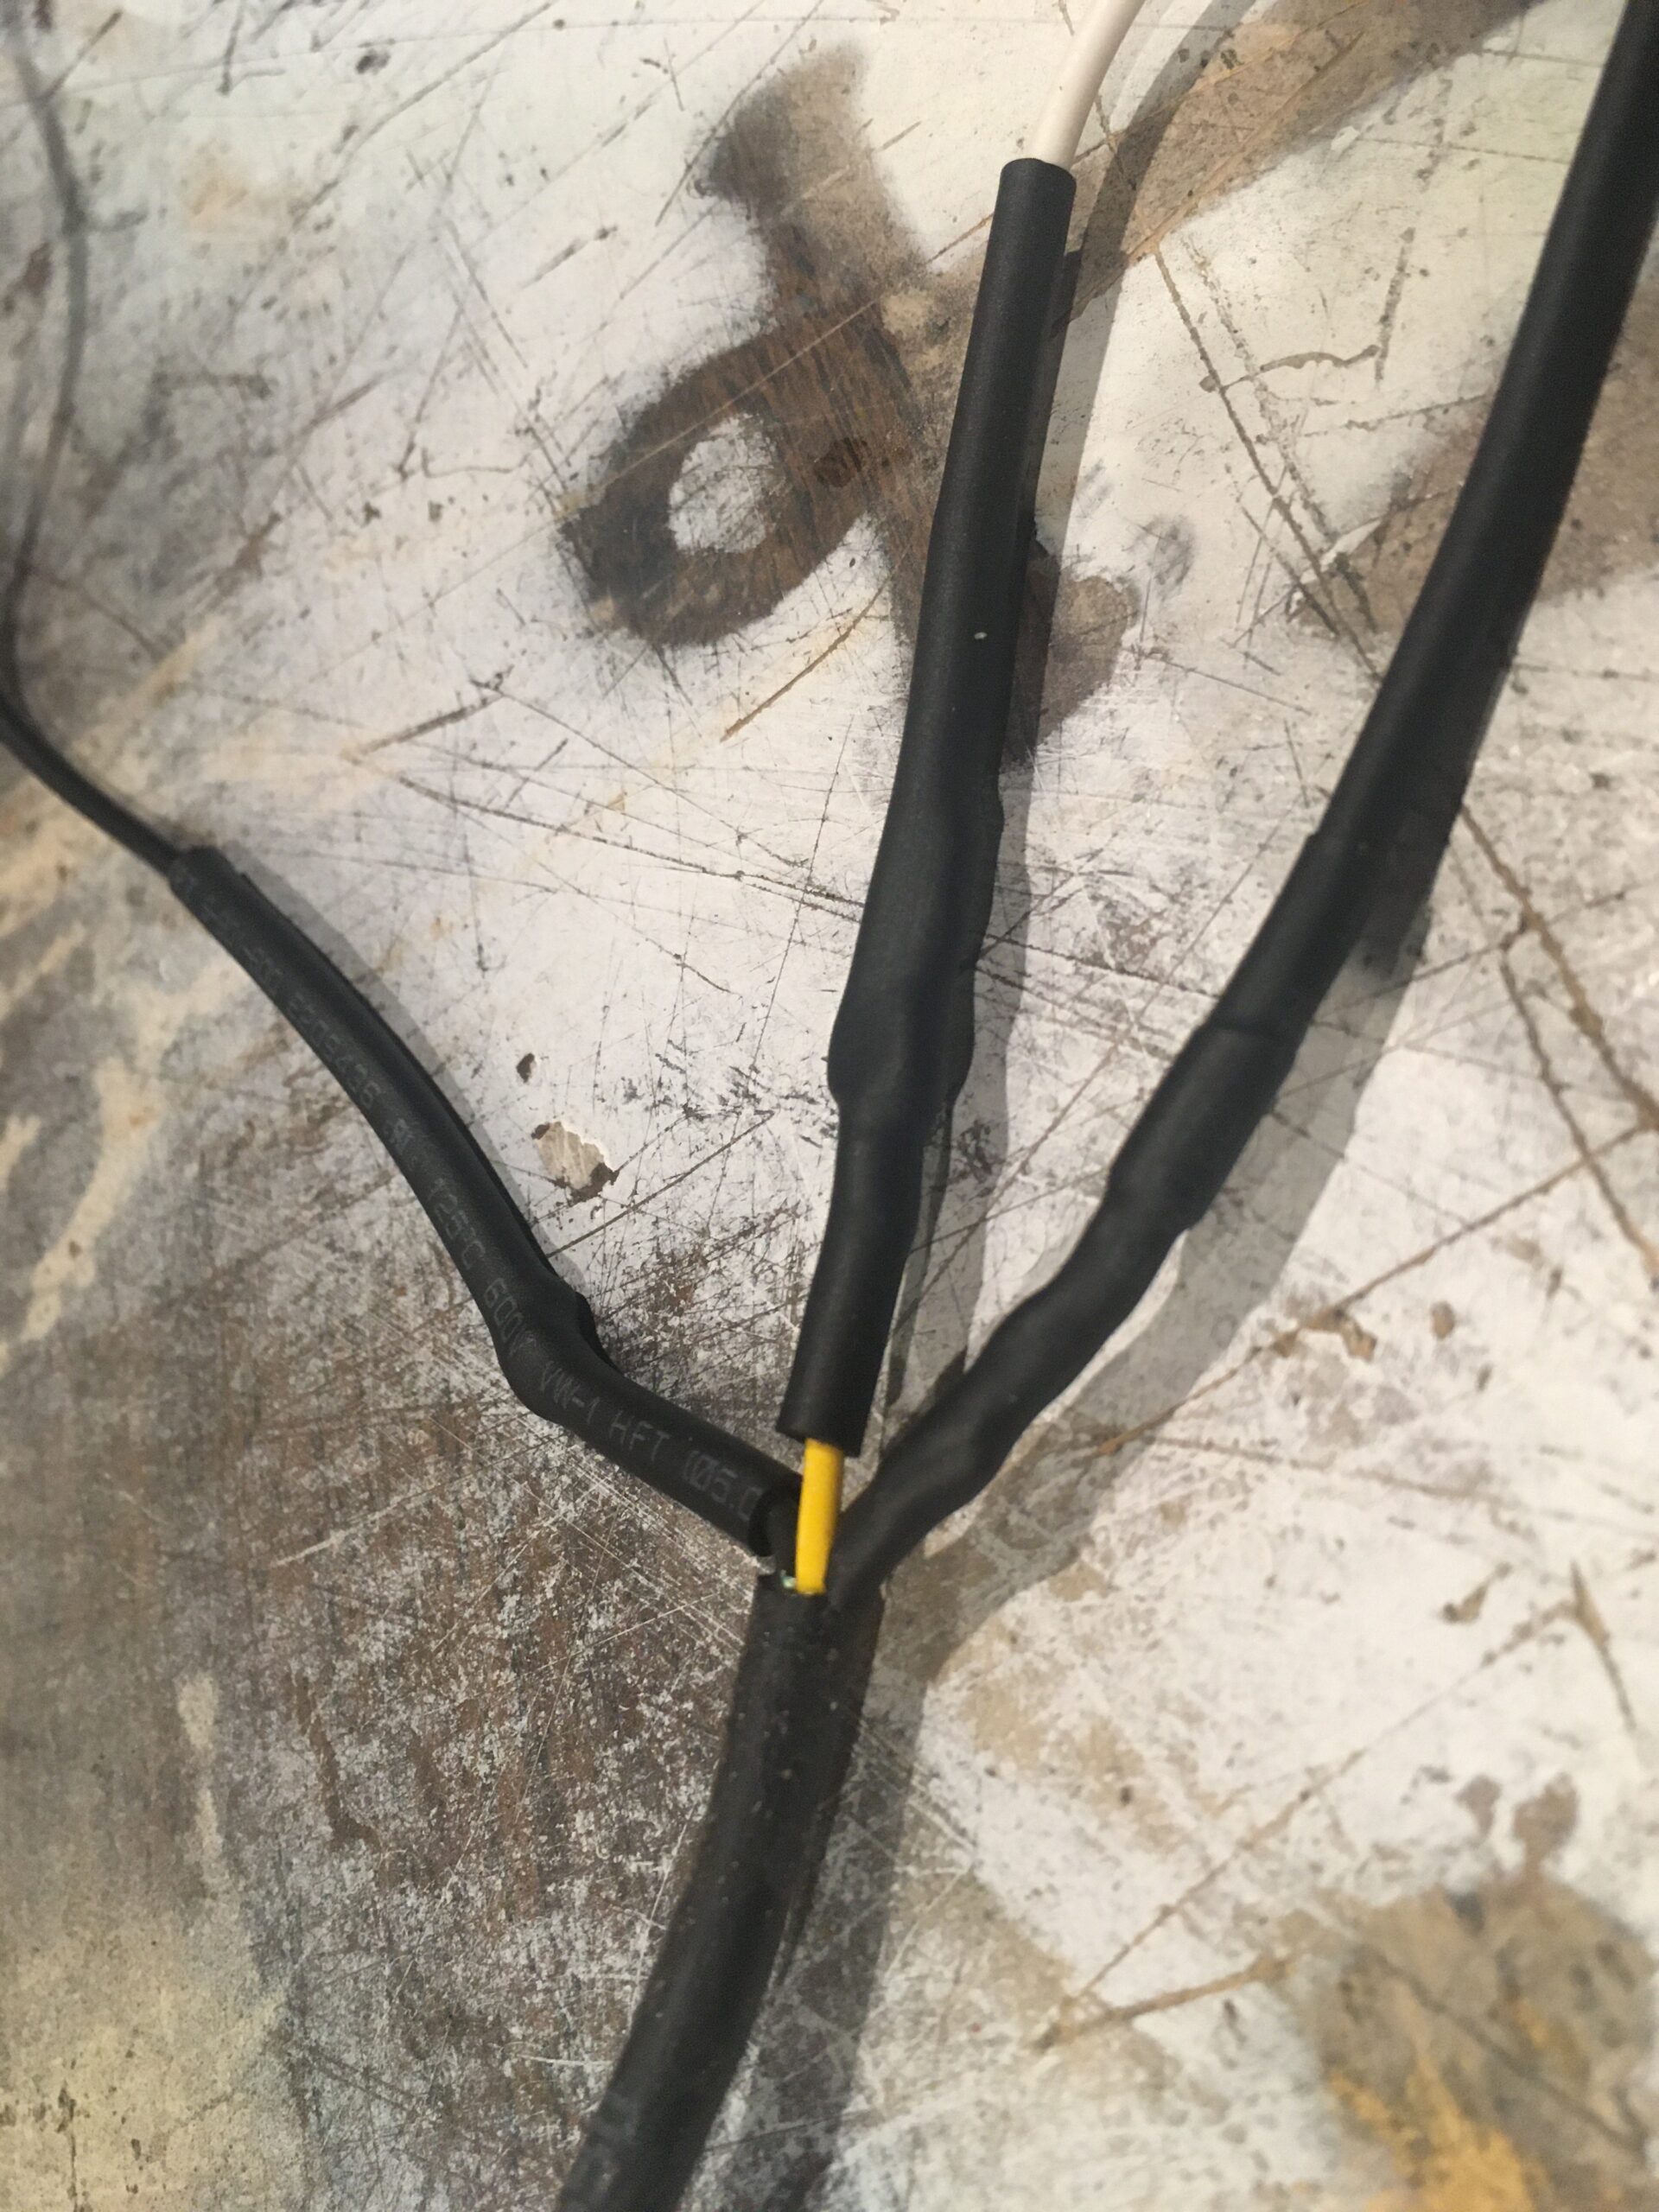
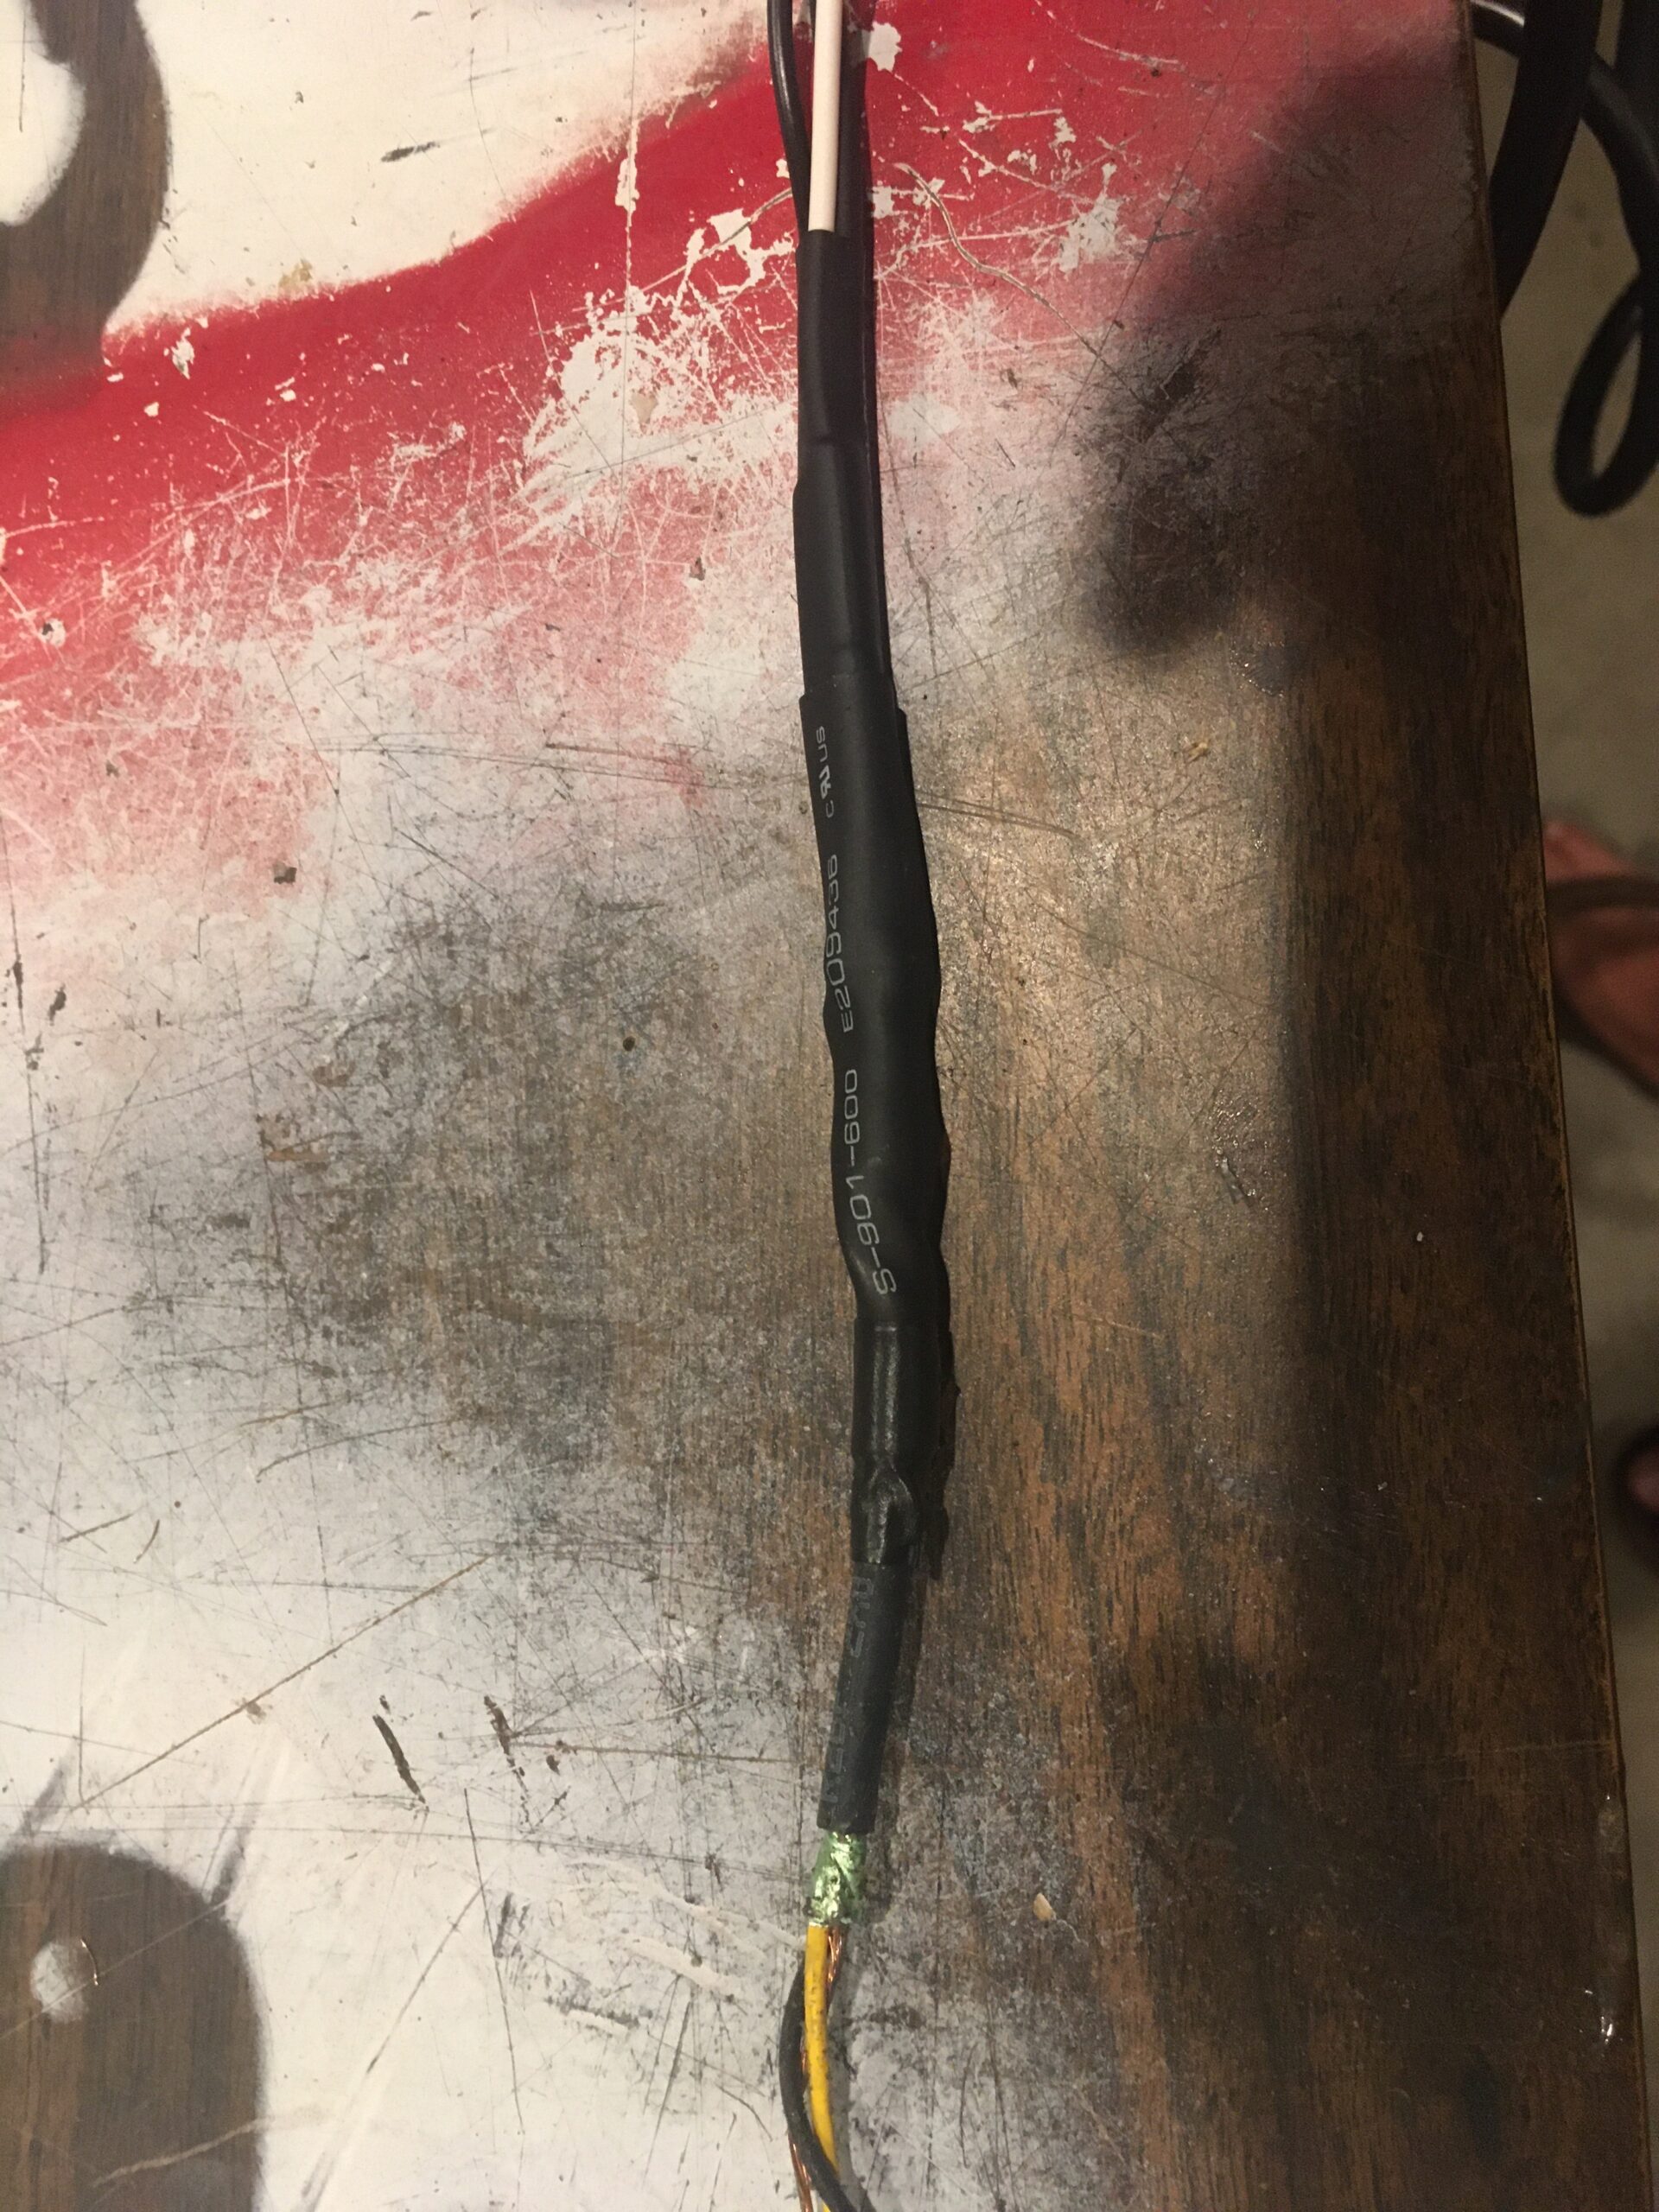
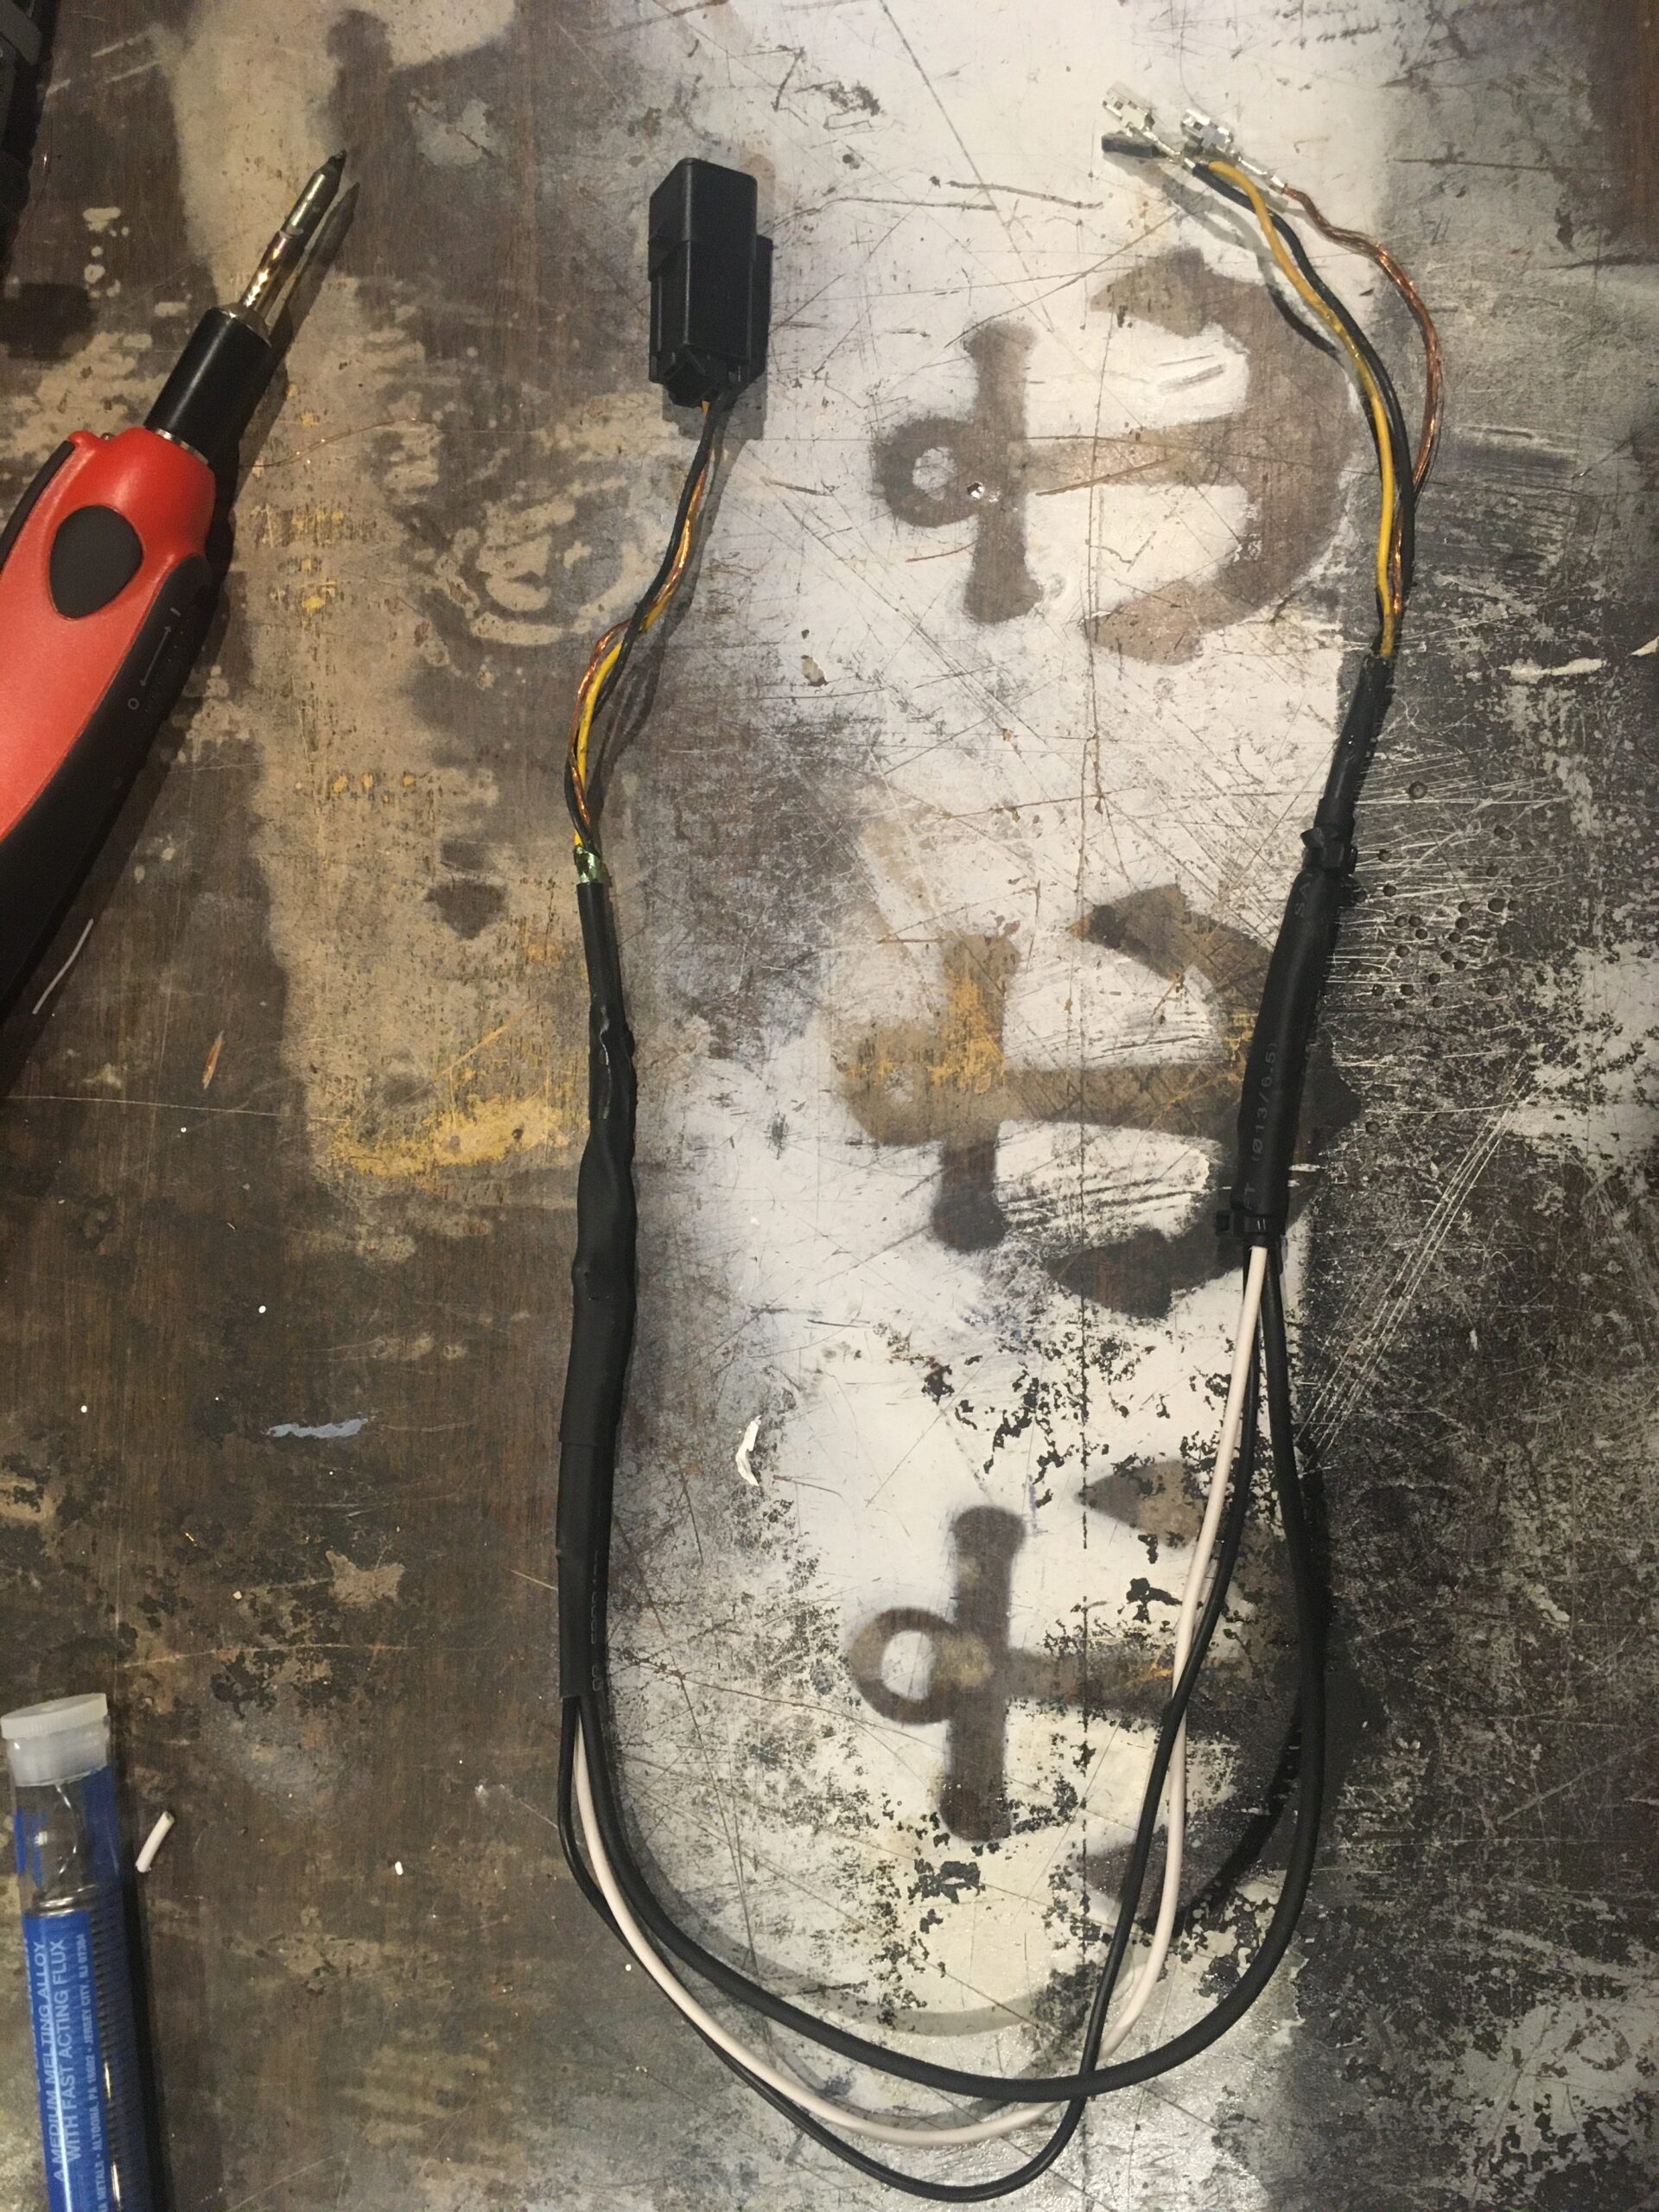
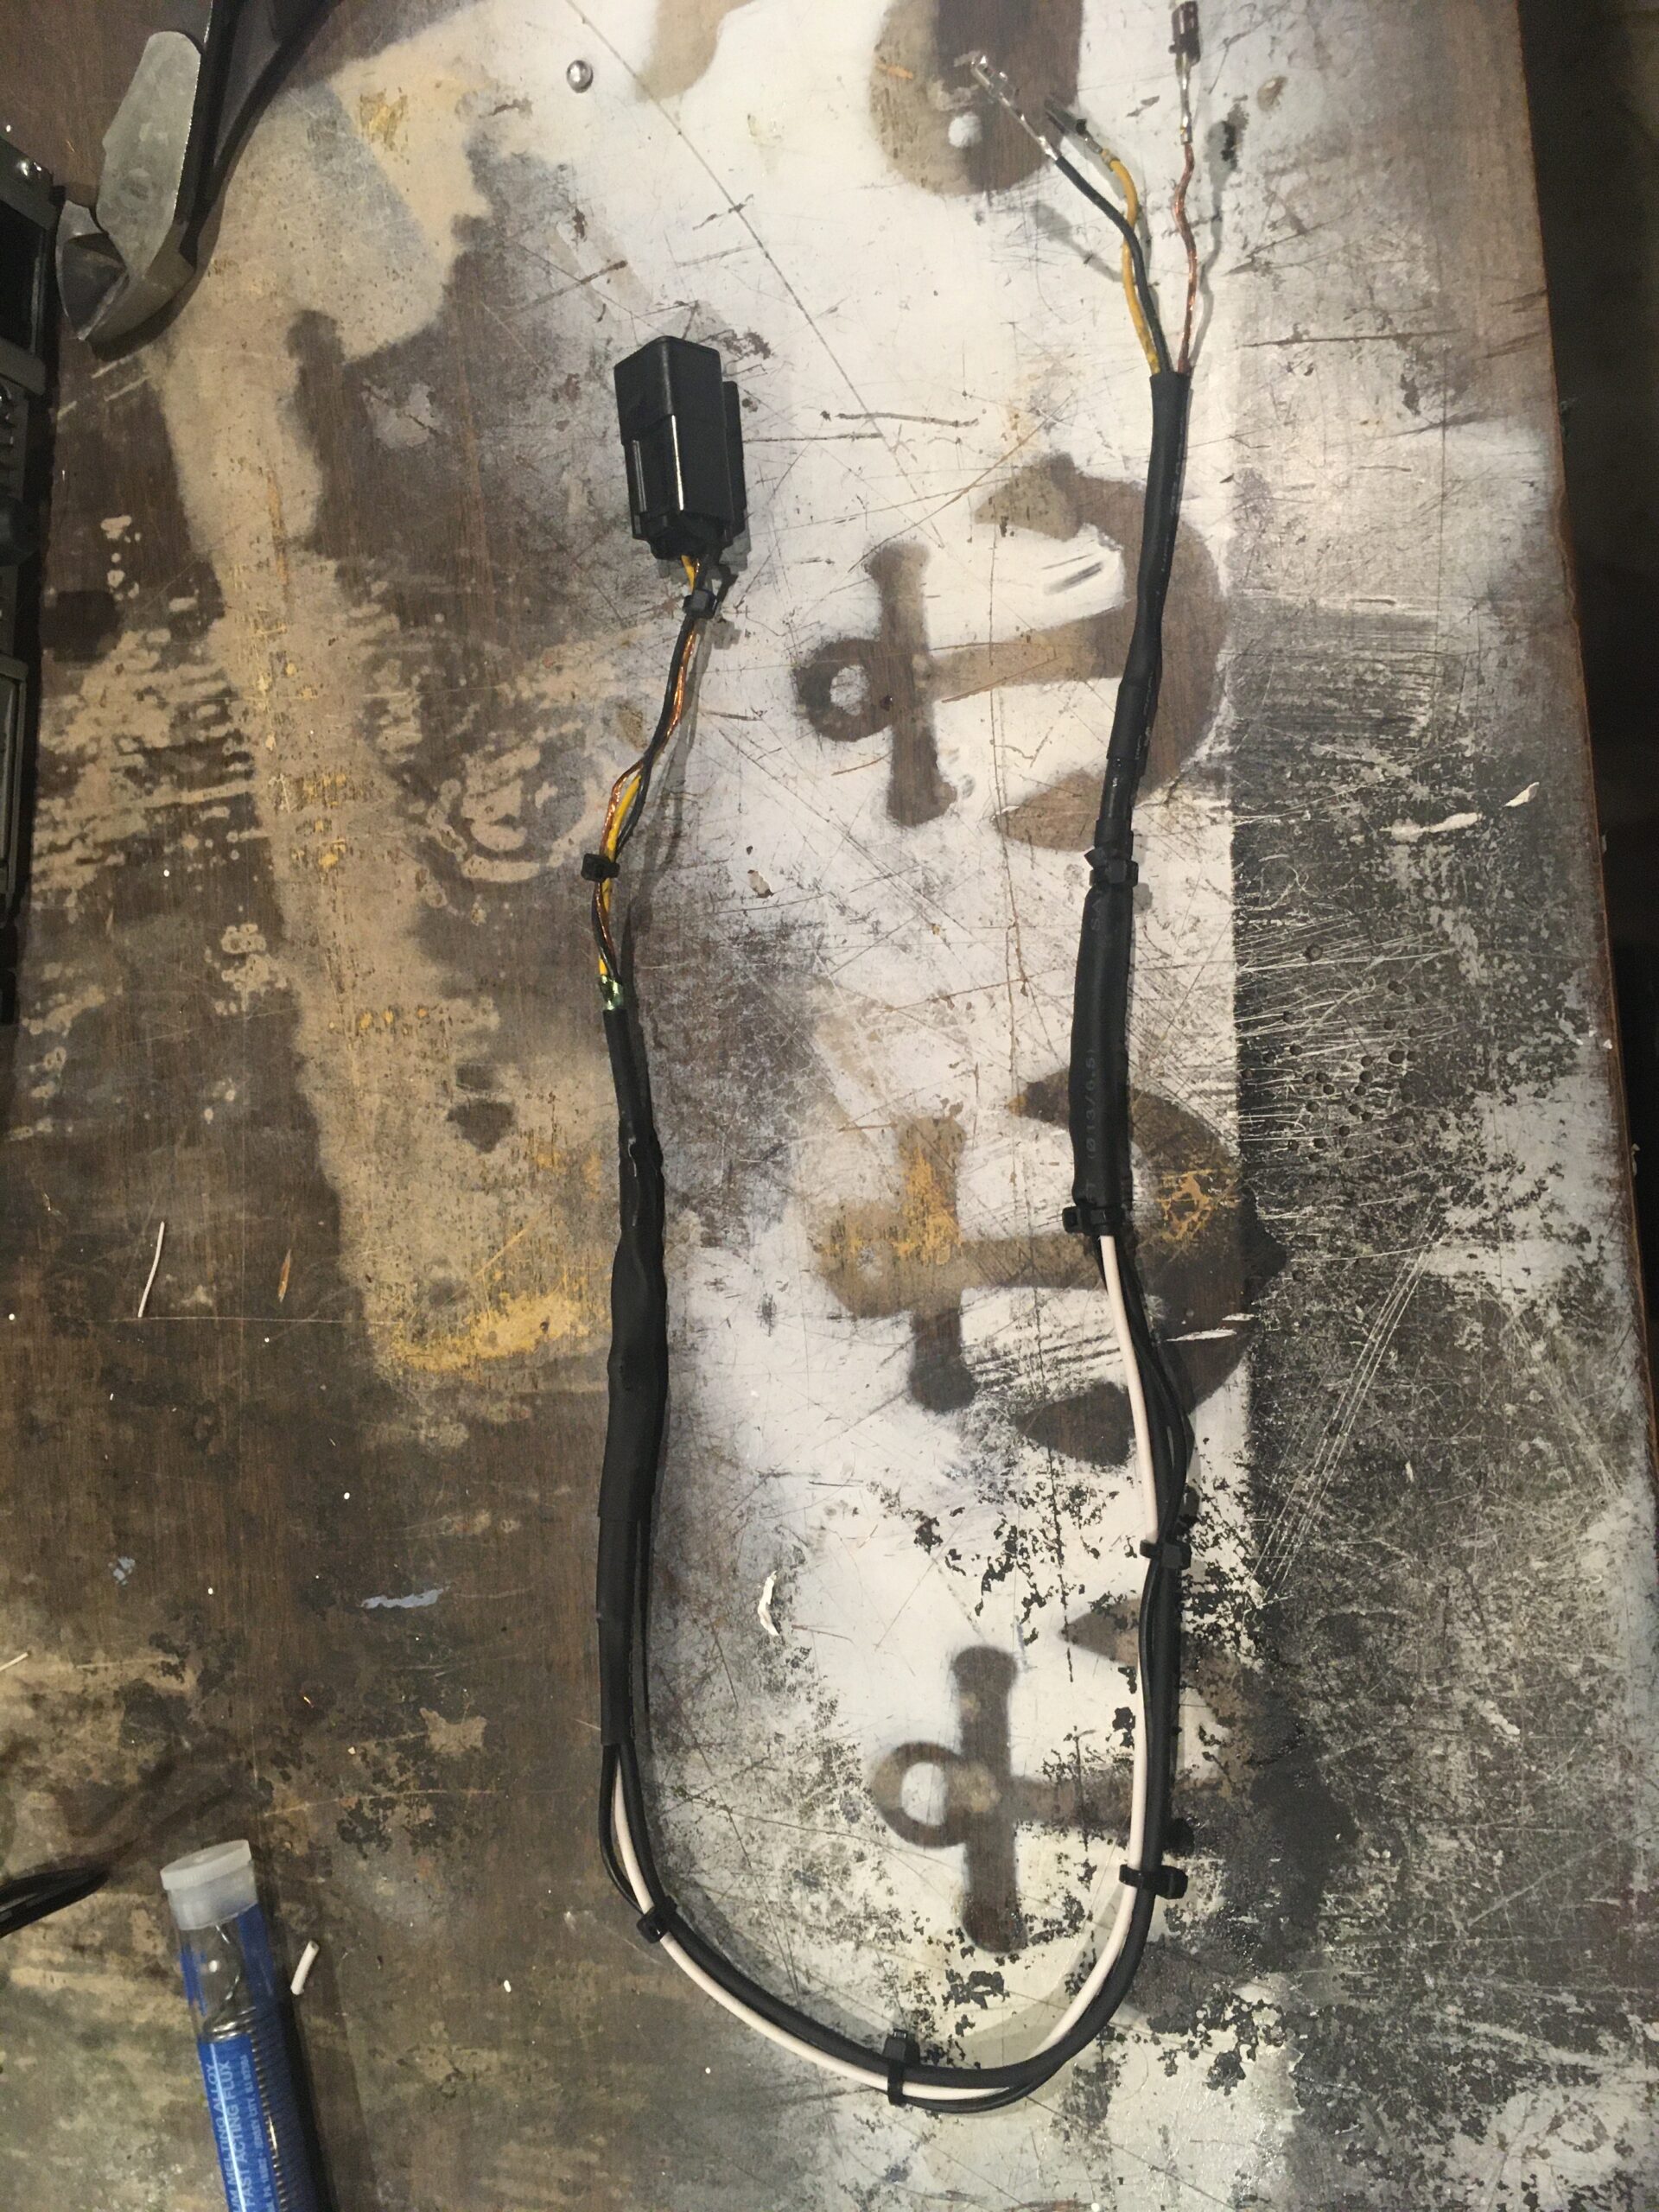
4. You need to connect the 3 wires to the factory AUX port. I started with an Amazon Basics cable, which I felt was way too thin. I wanted to match wire gauge, so I used the amazon cable for the ground only (All three wires striped and merged to make one thick ground). I used 2 separate wires of appropriate gauge to connect the left and right channel. I stripped, twisted, soldered, and then shrink wrapped all connections. Finally I added some zip ties to keep the entire set of wires together. If I had a single long piece of shrink wrap, that would have been my first choice.


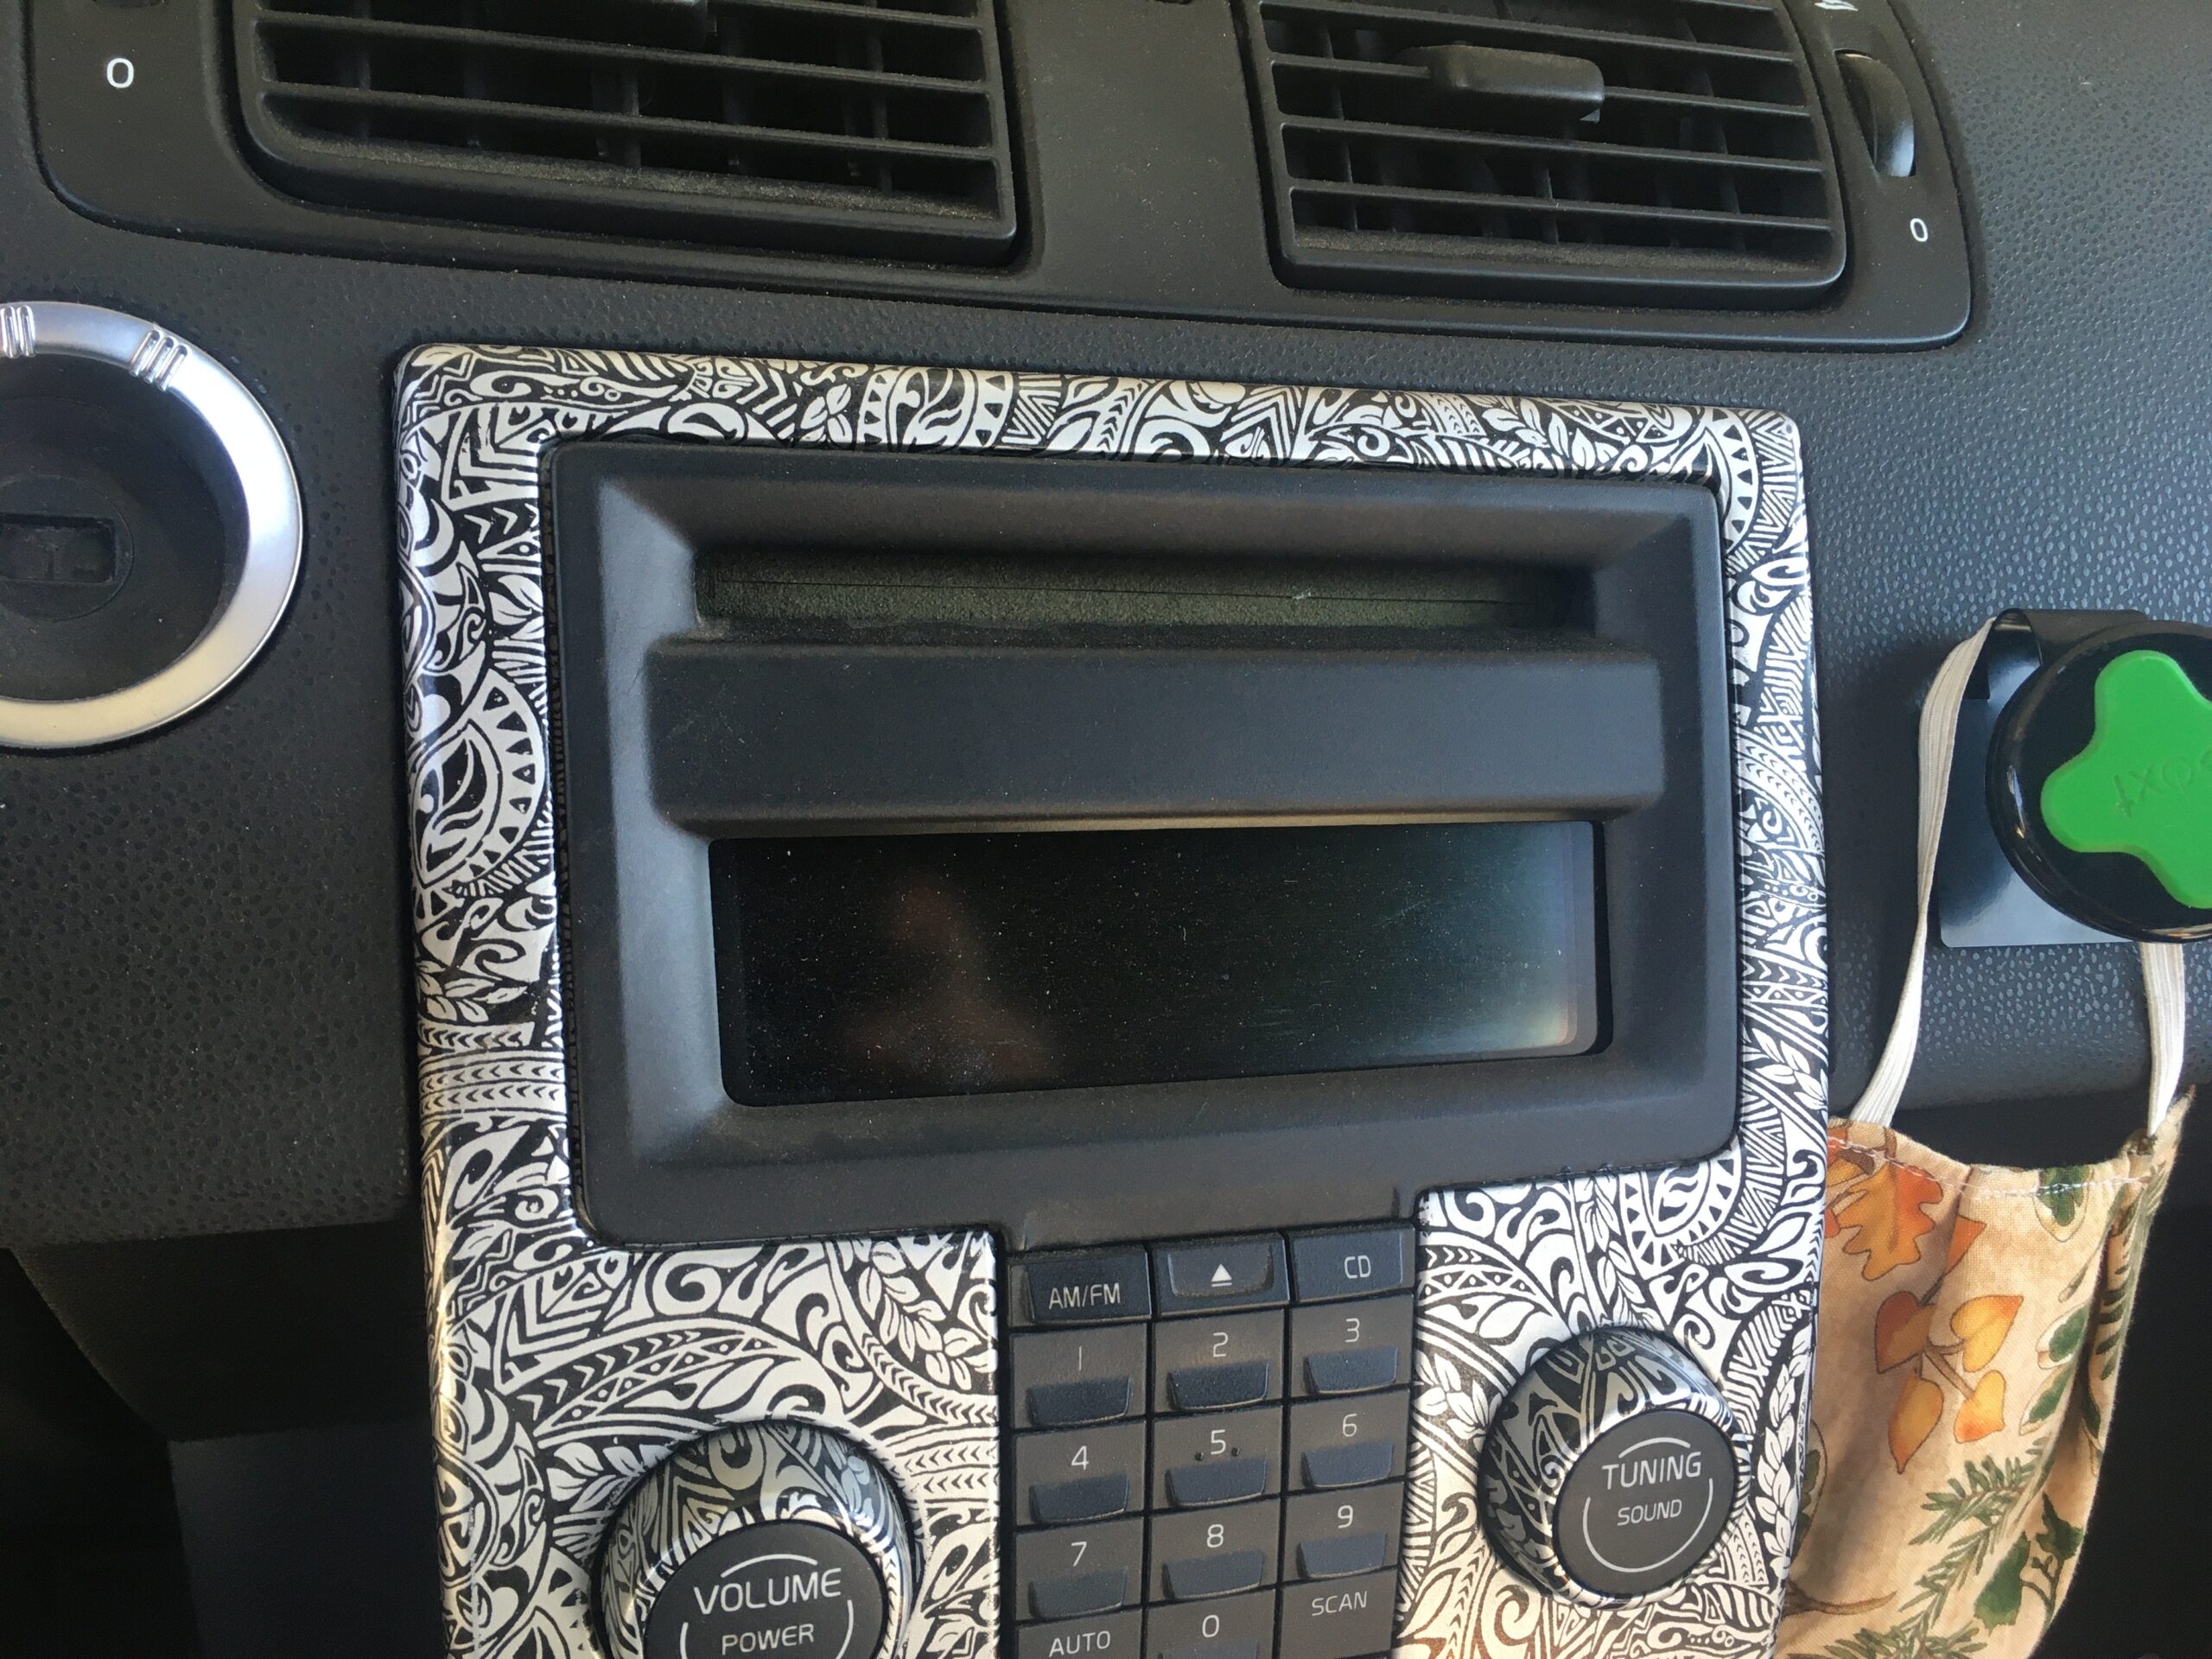
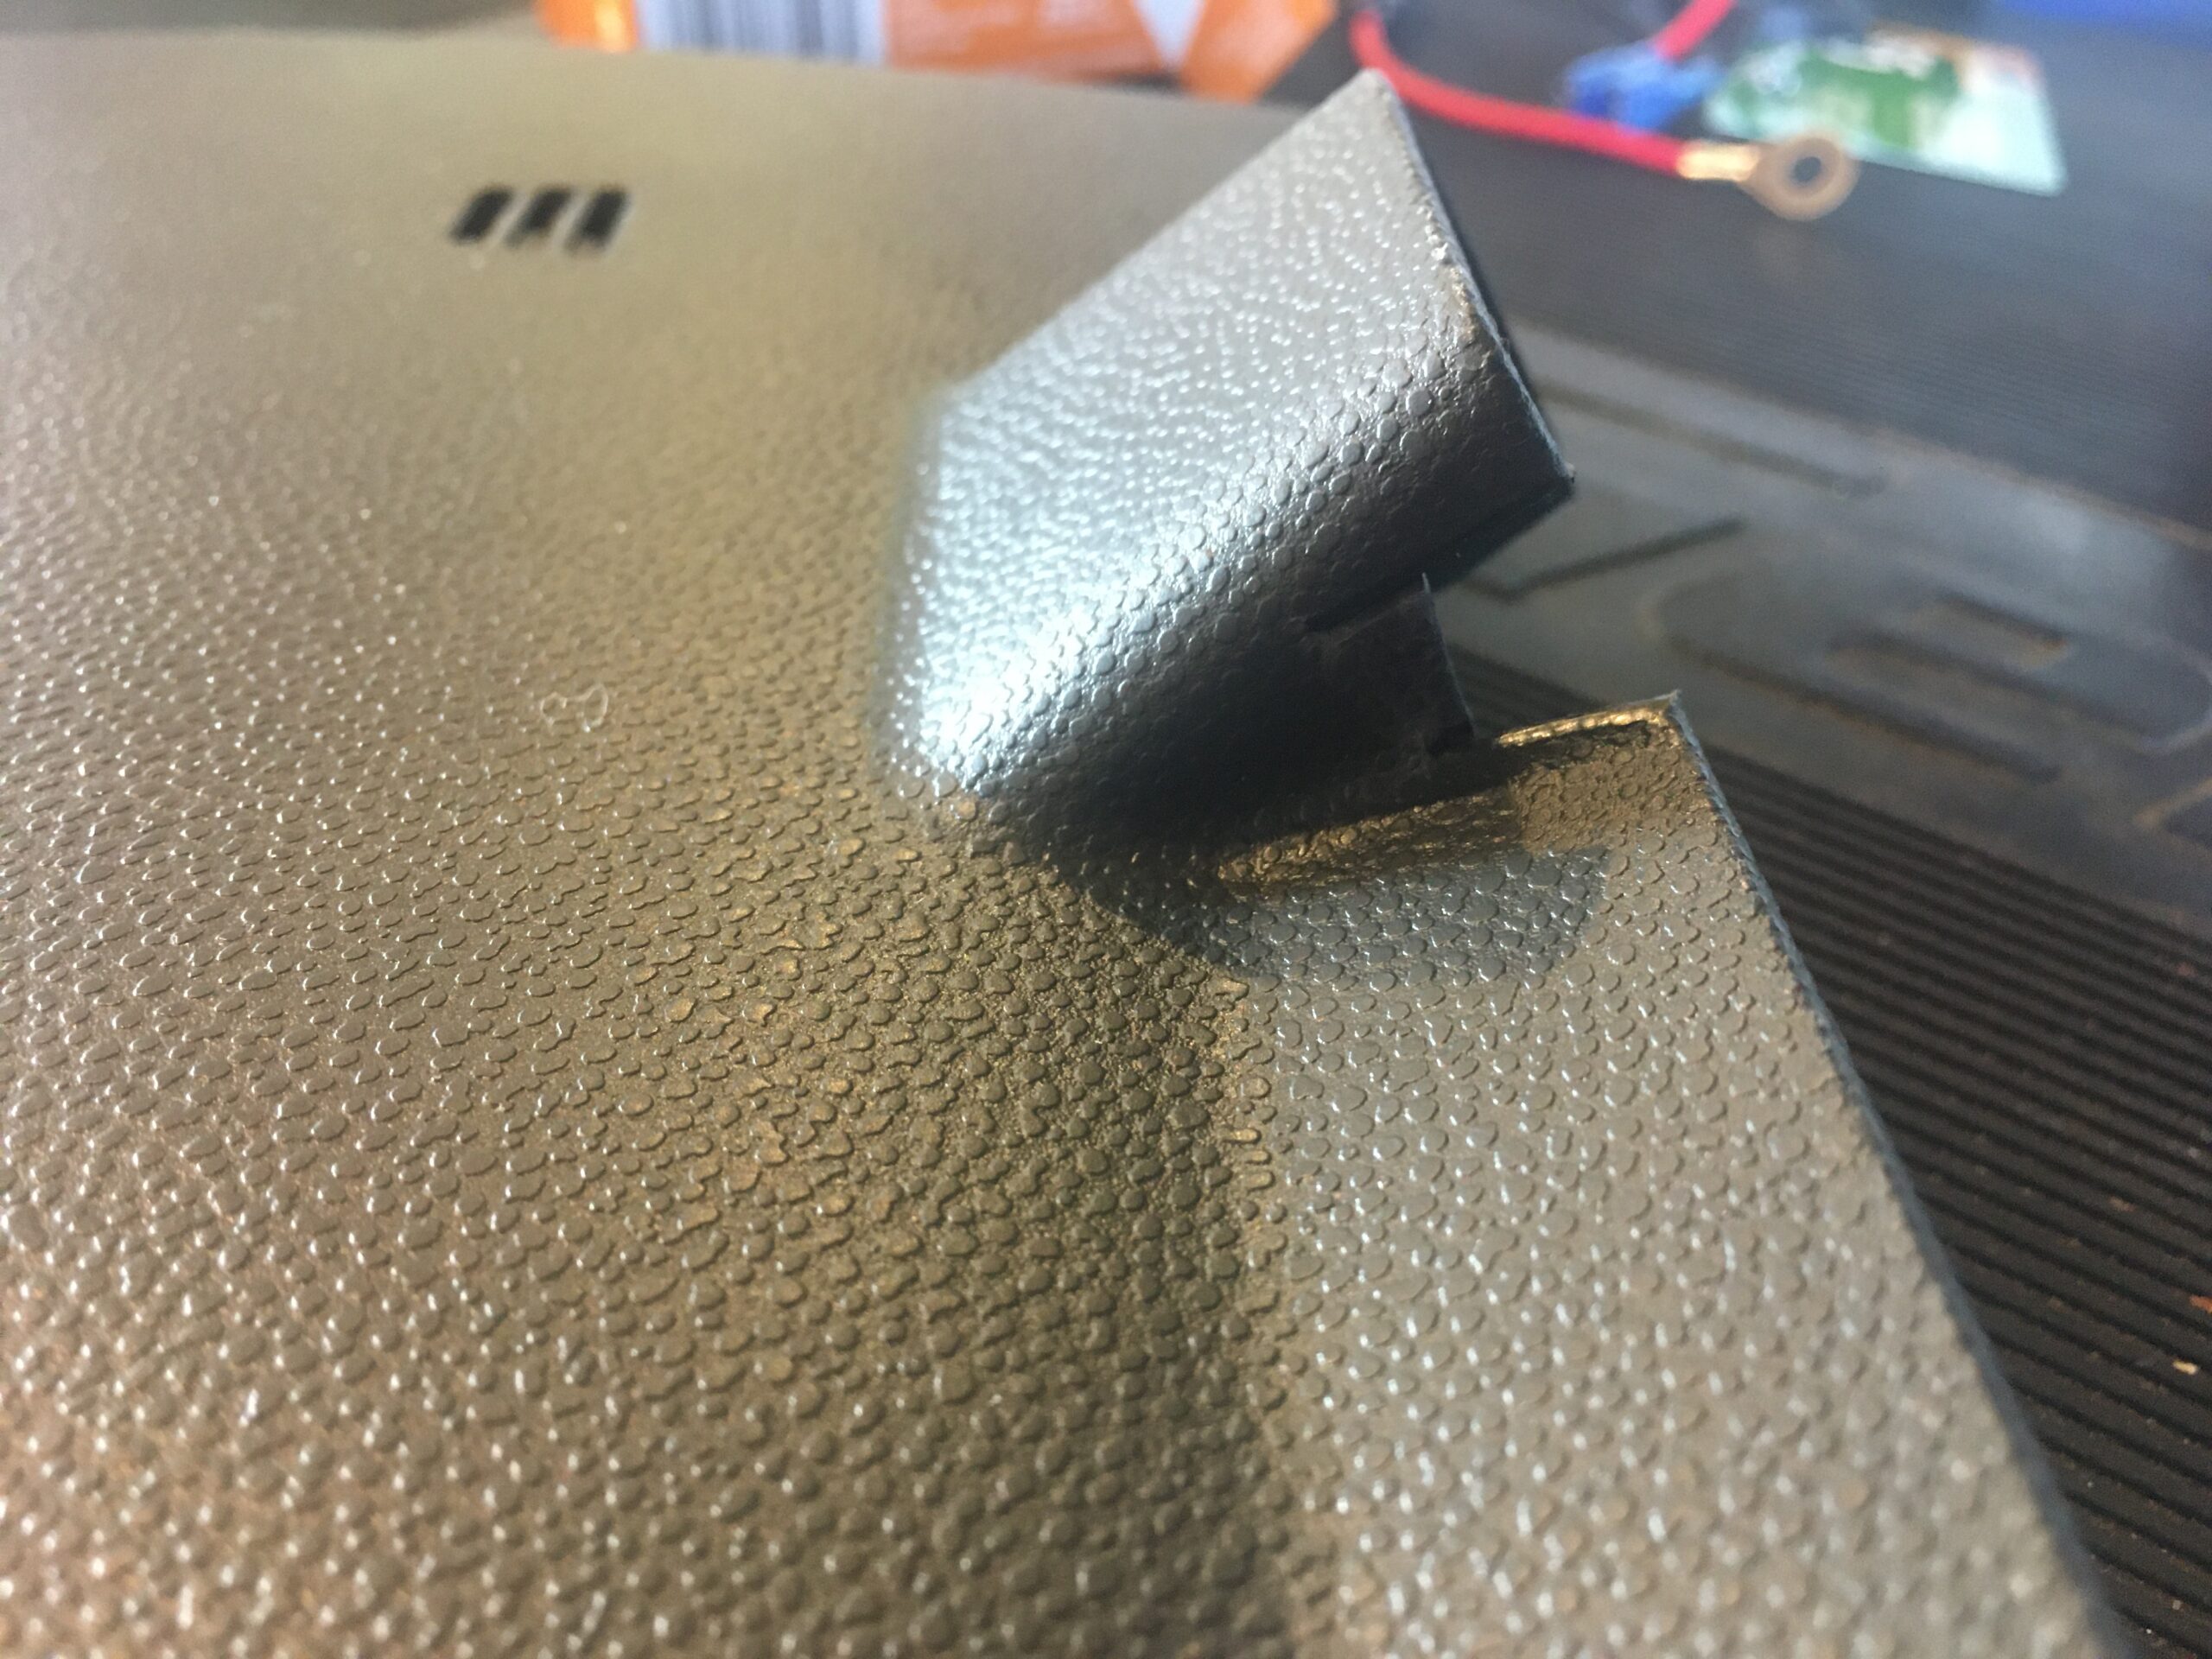
5. Remove your (in your car) CD deck/radio trim bezel with a flathead driver, pry from the top.
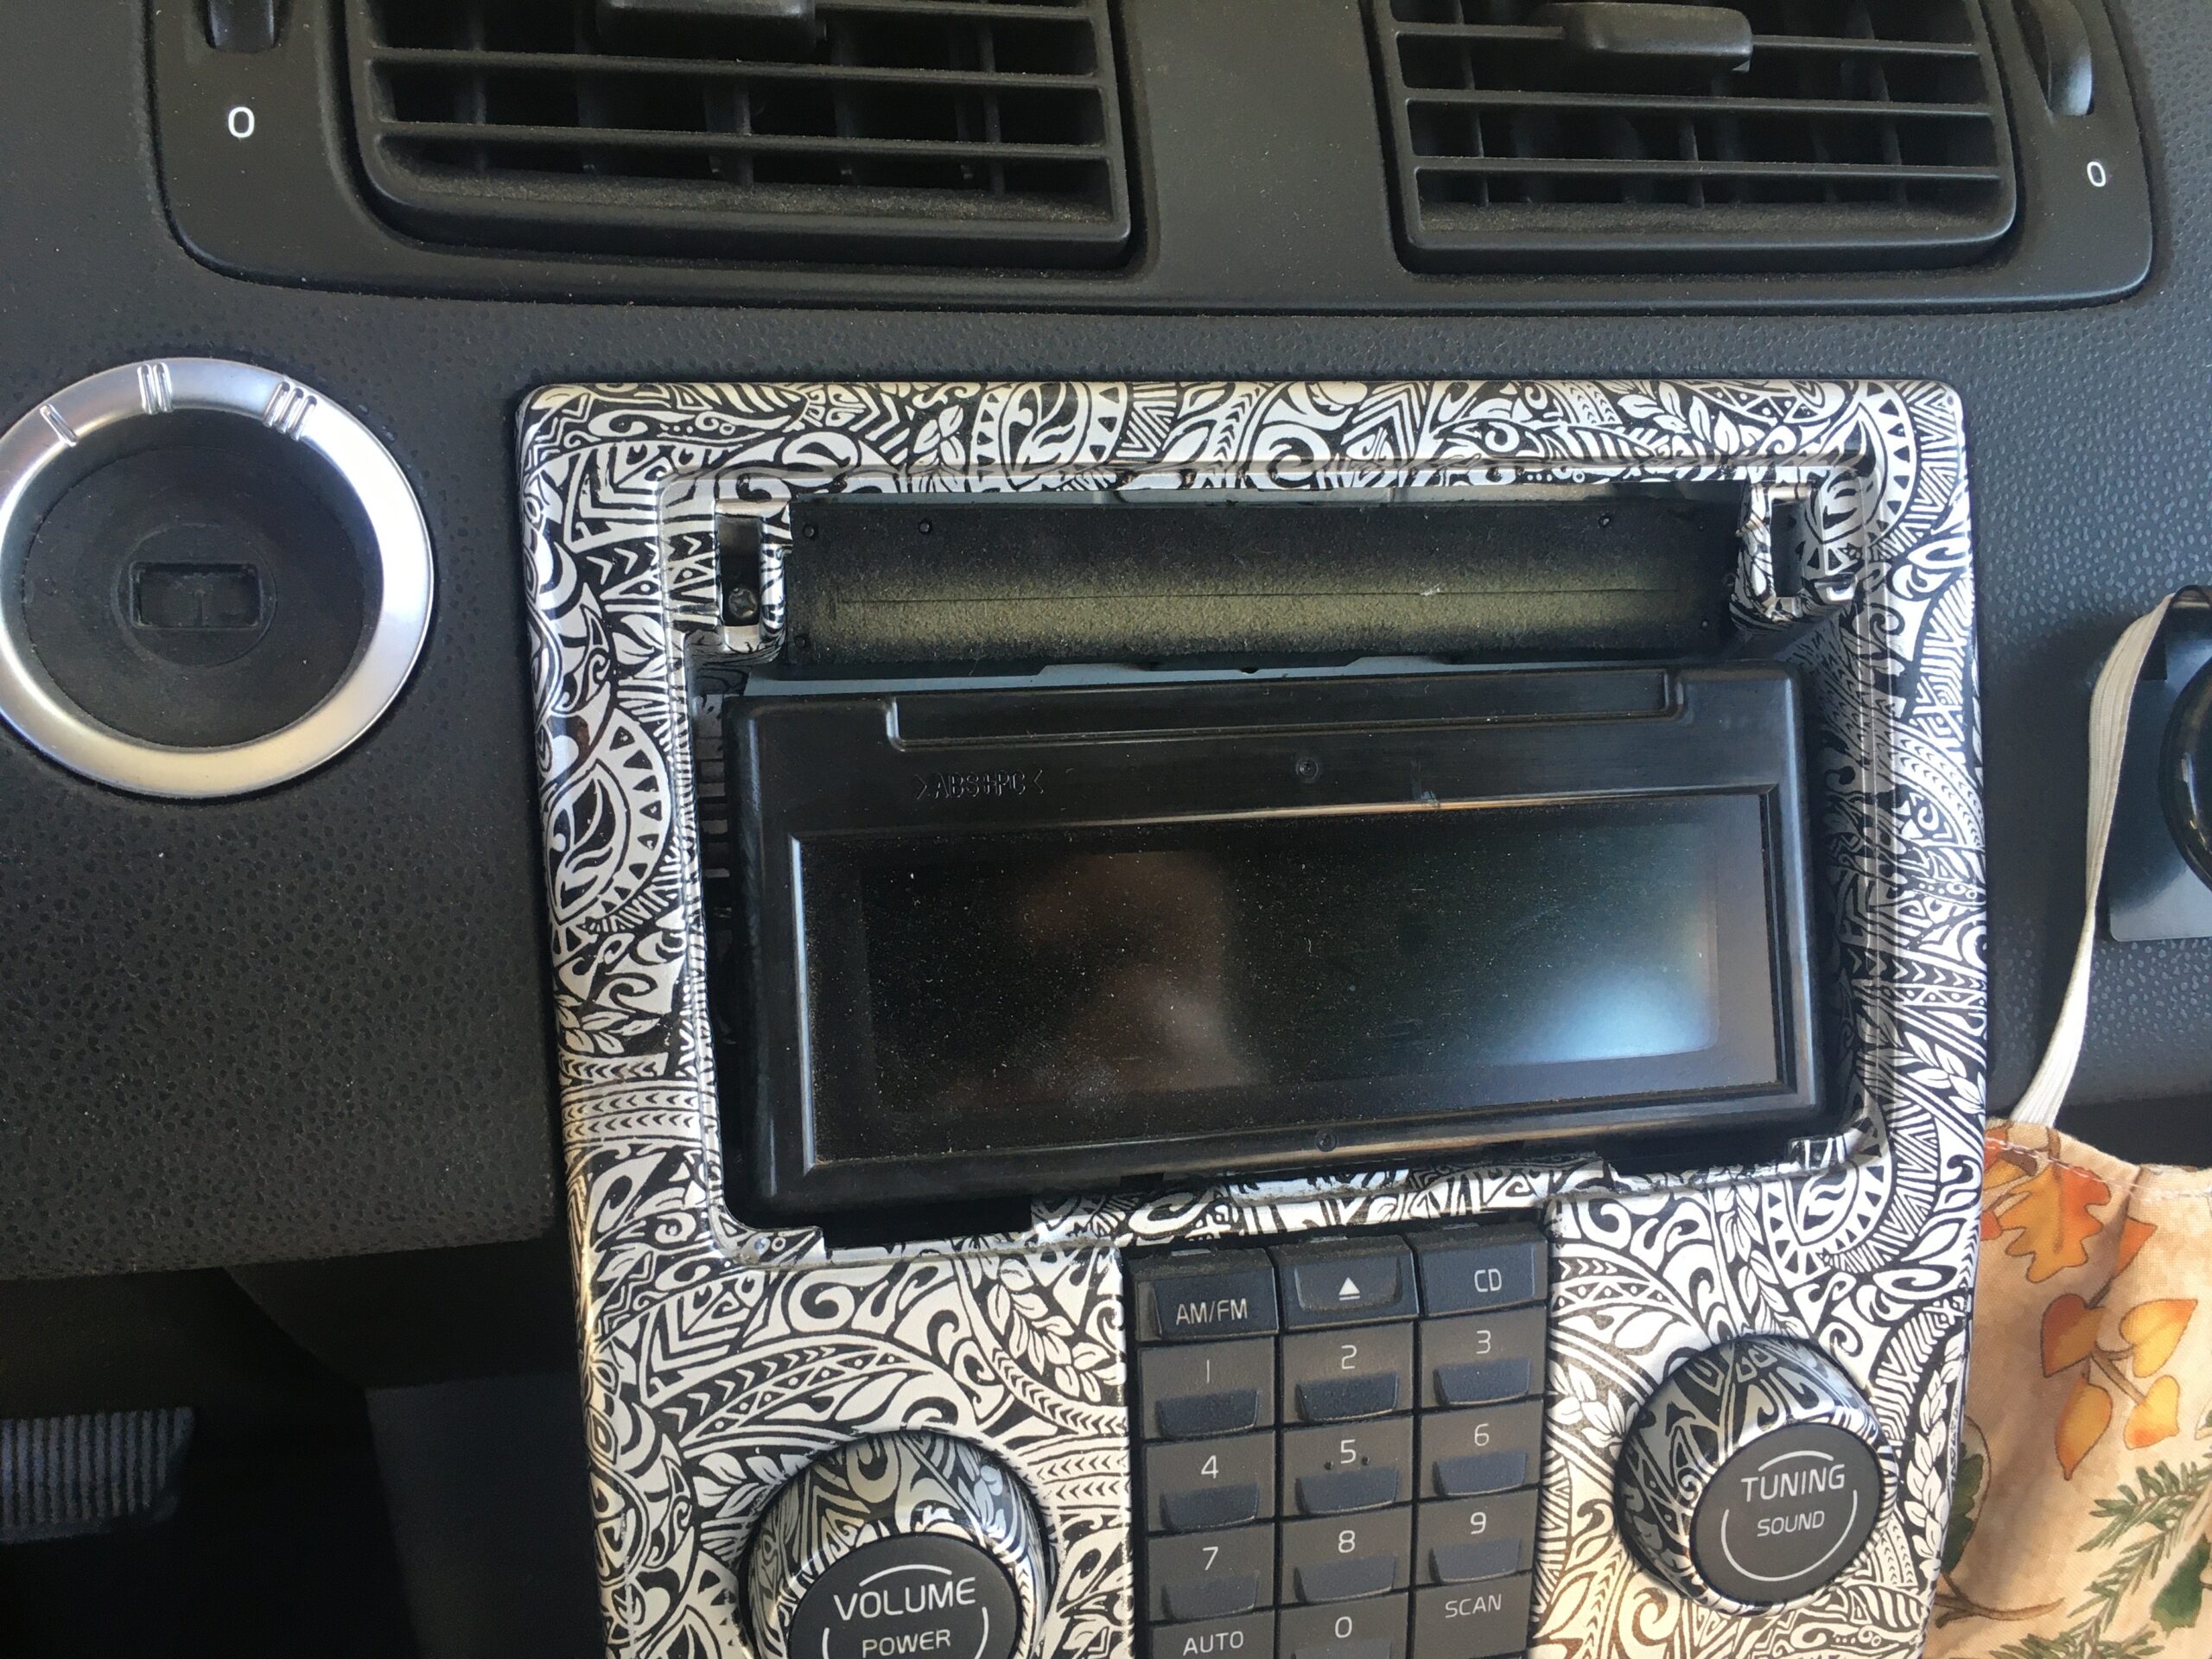

6. Remove your ICM by prying on both sides or top. IT has two retainer clips. Then unplug the 2 wire harnesses attached.
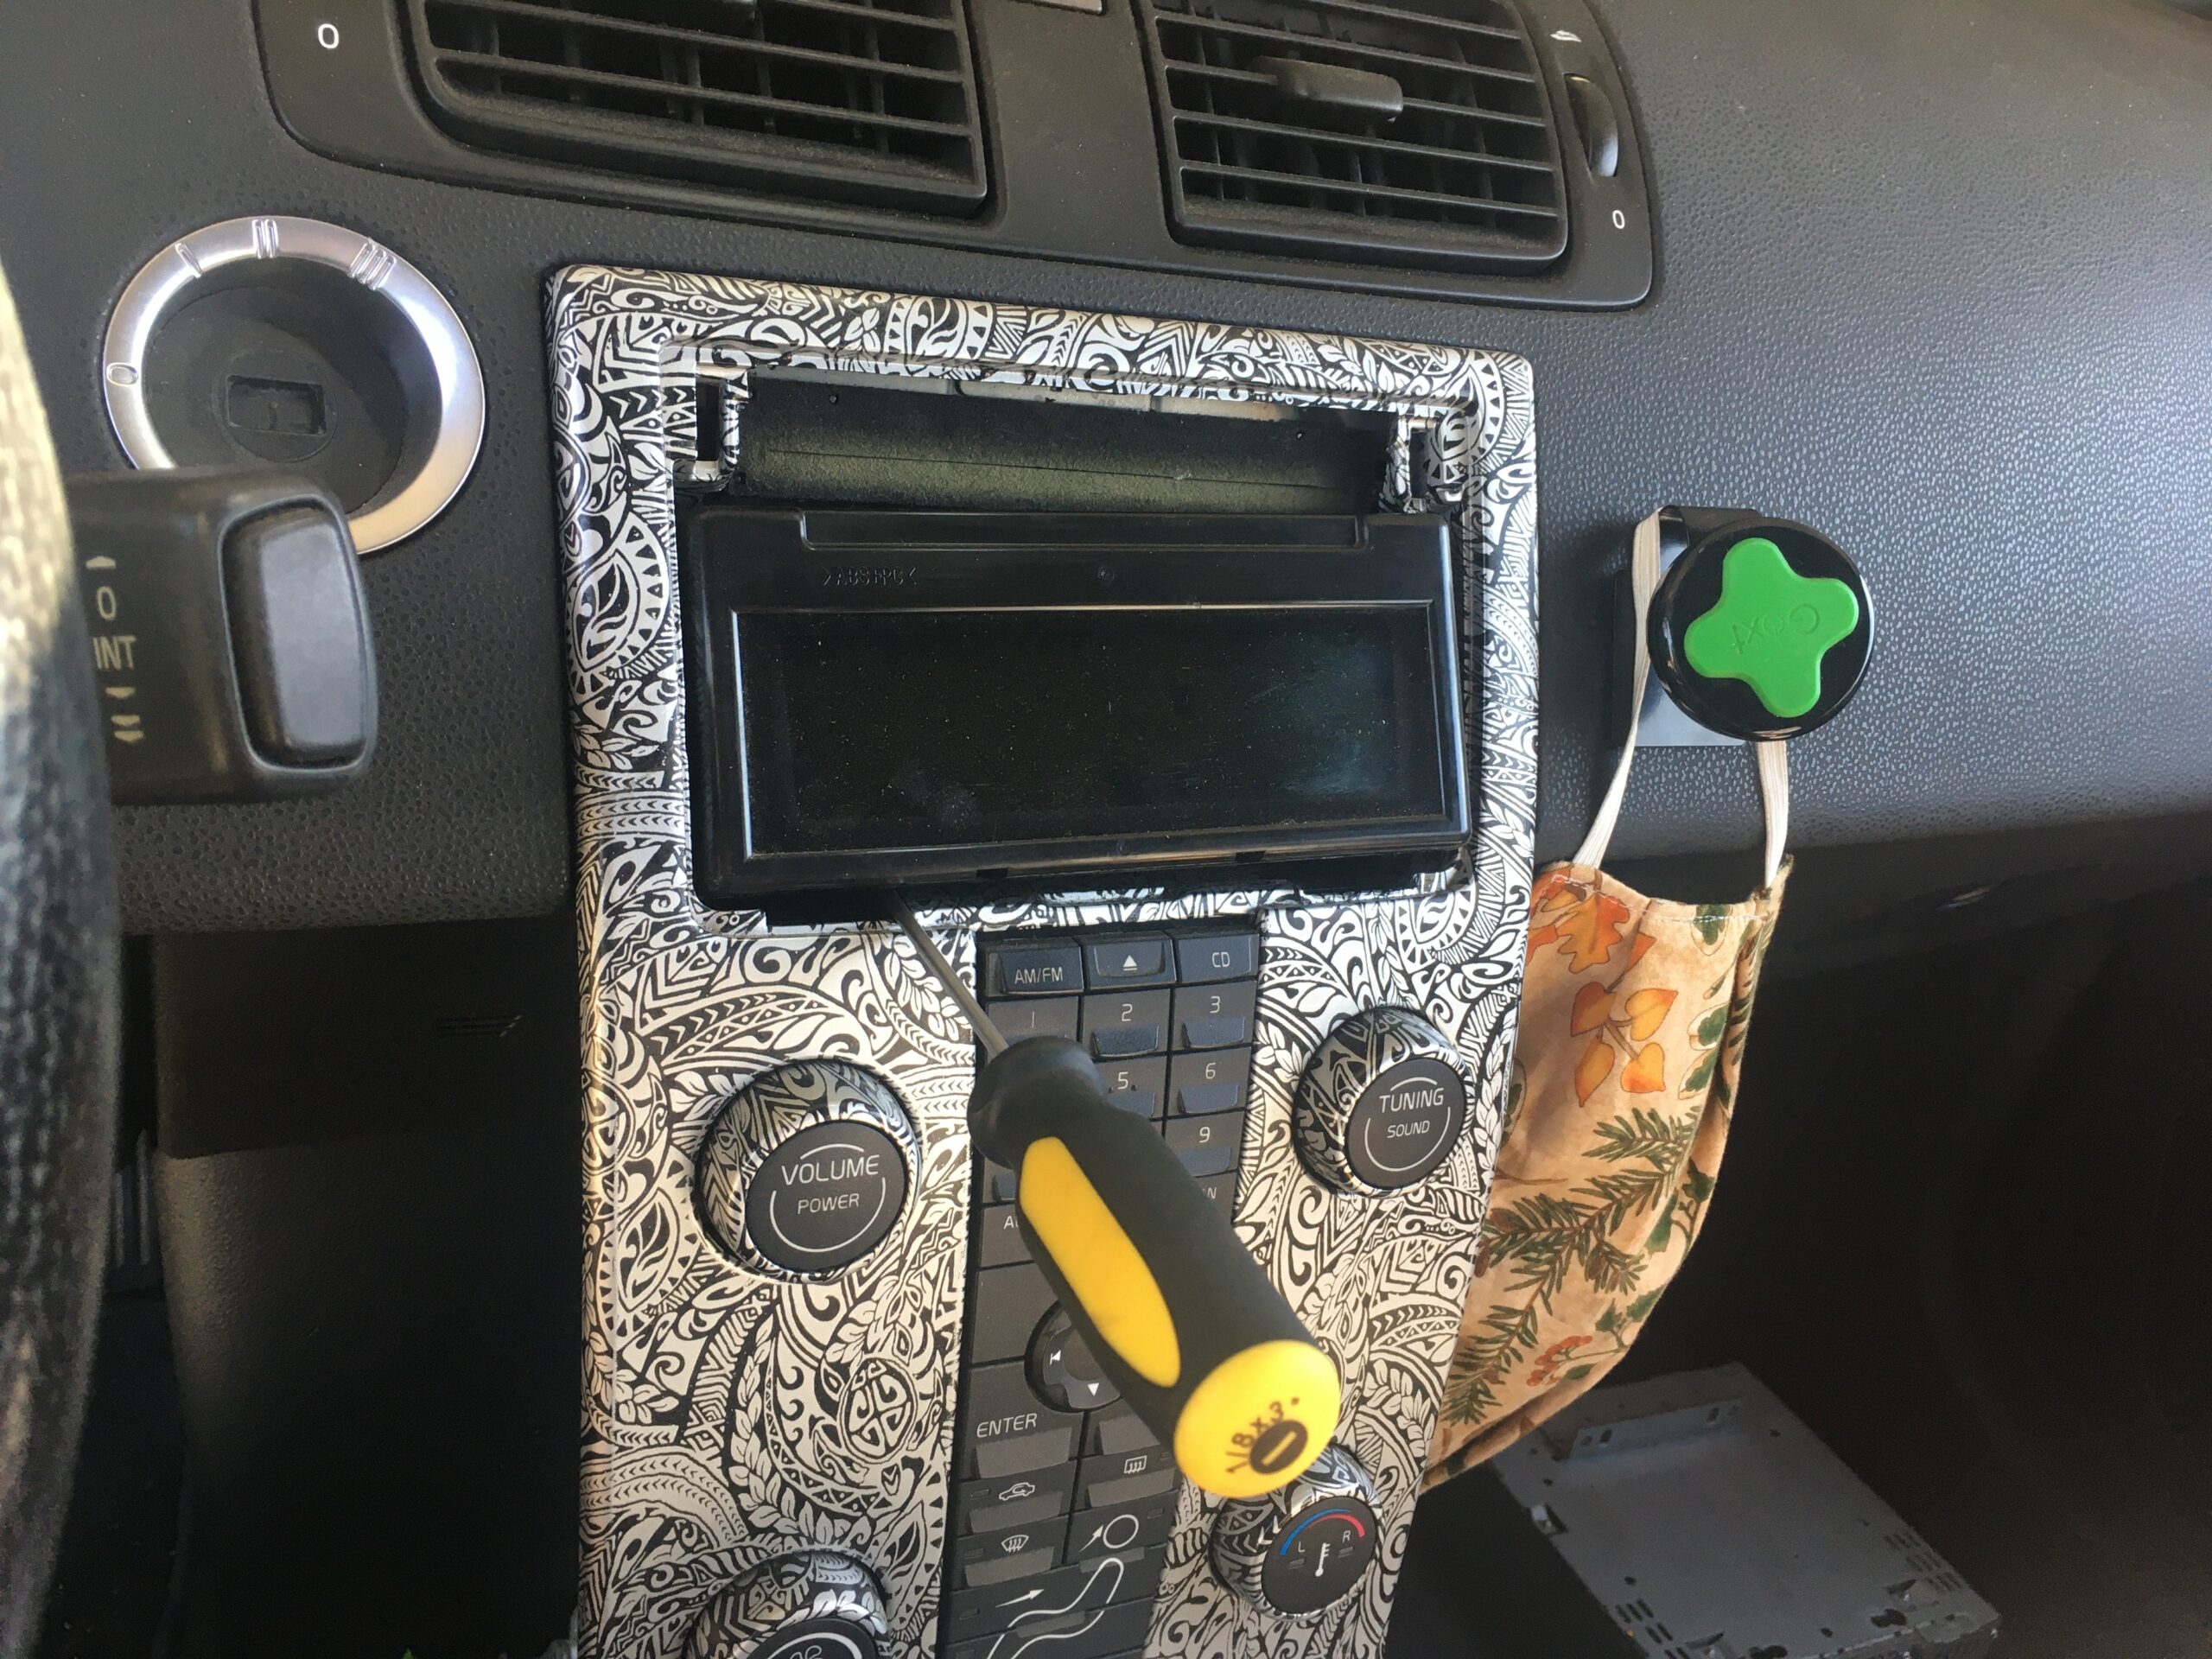

7. Remove your 12V charger bezel behind your shifter, just pull or pry with flathead.
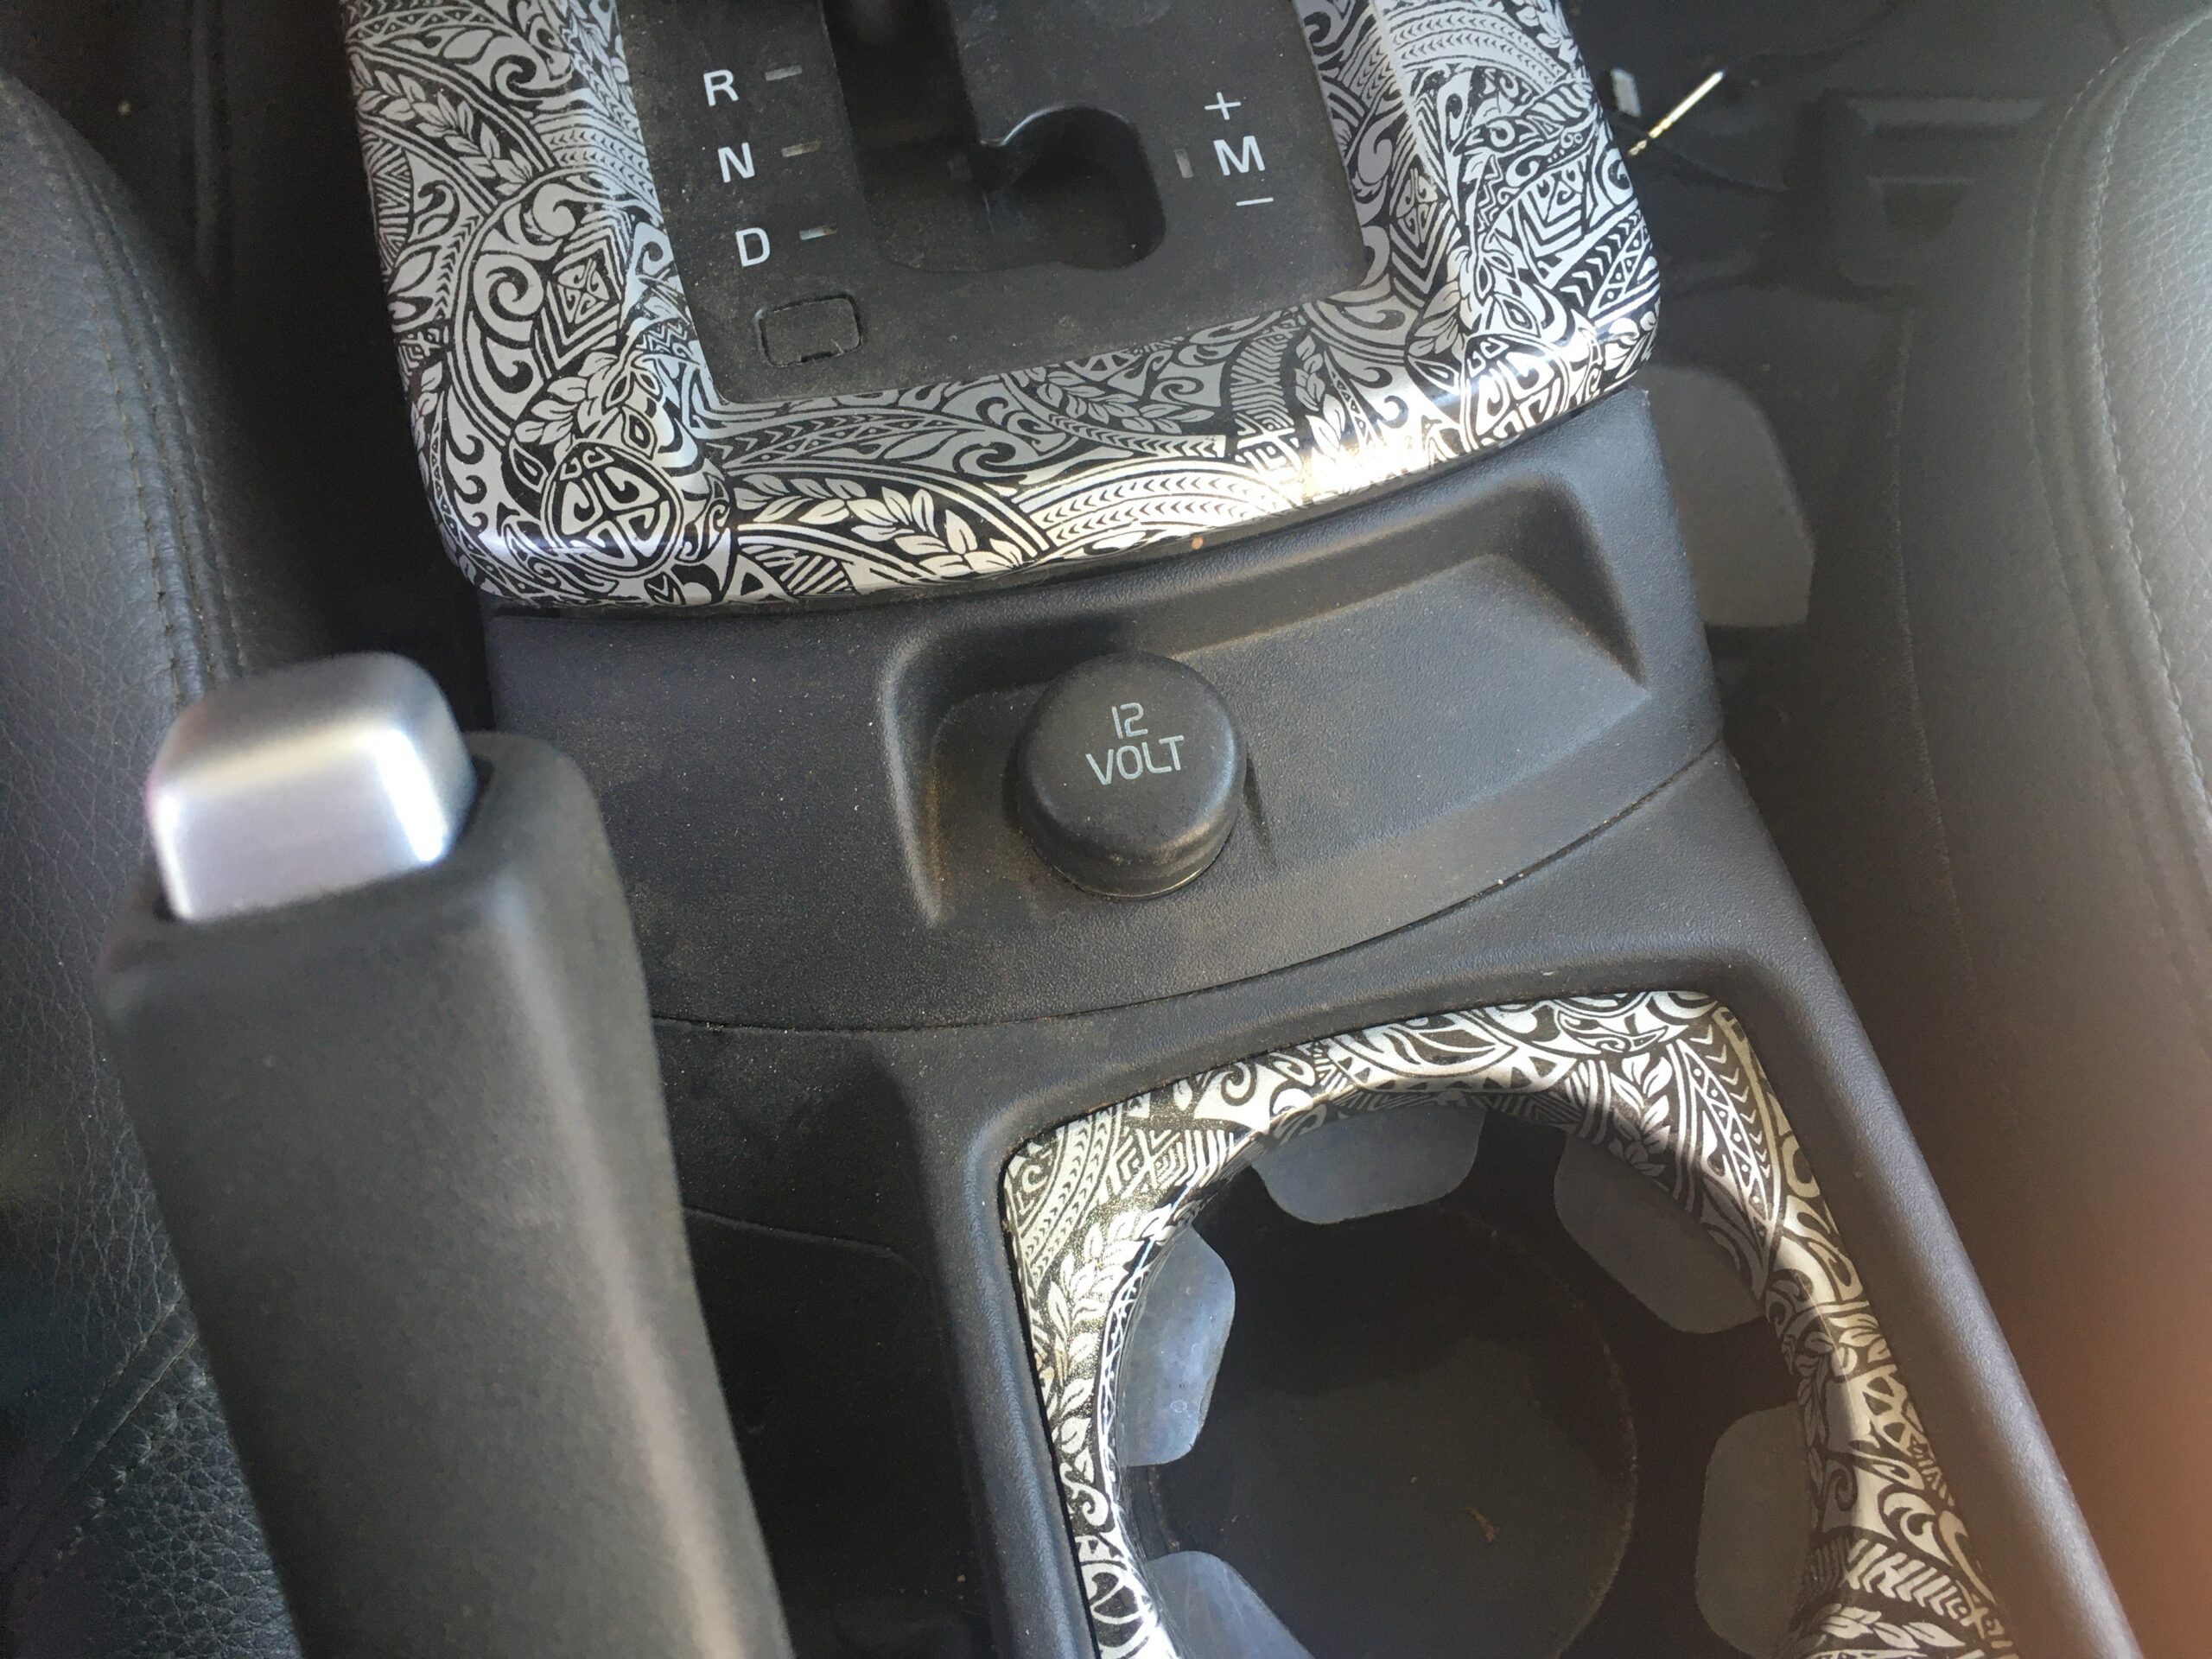
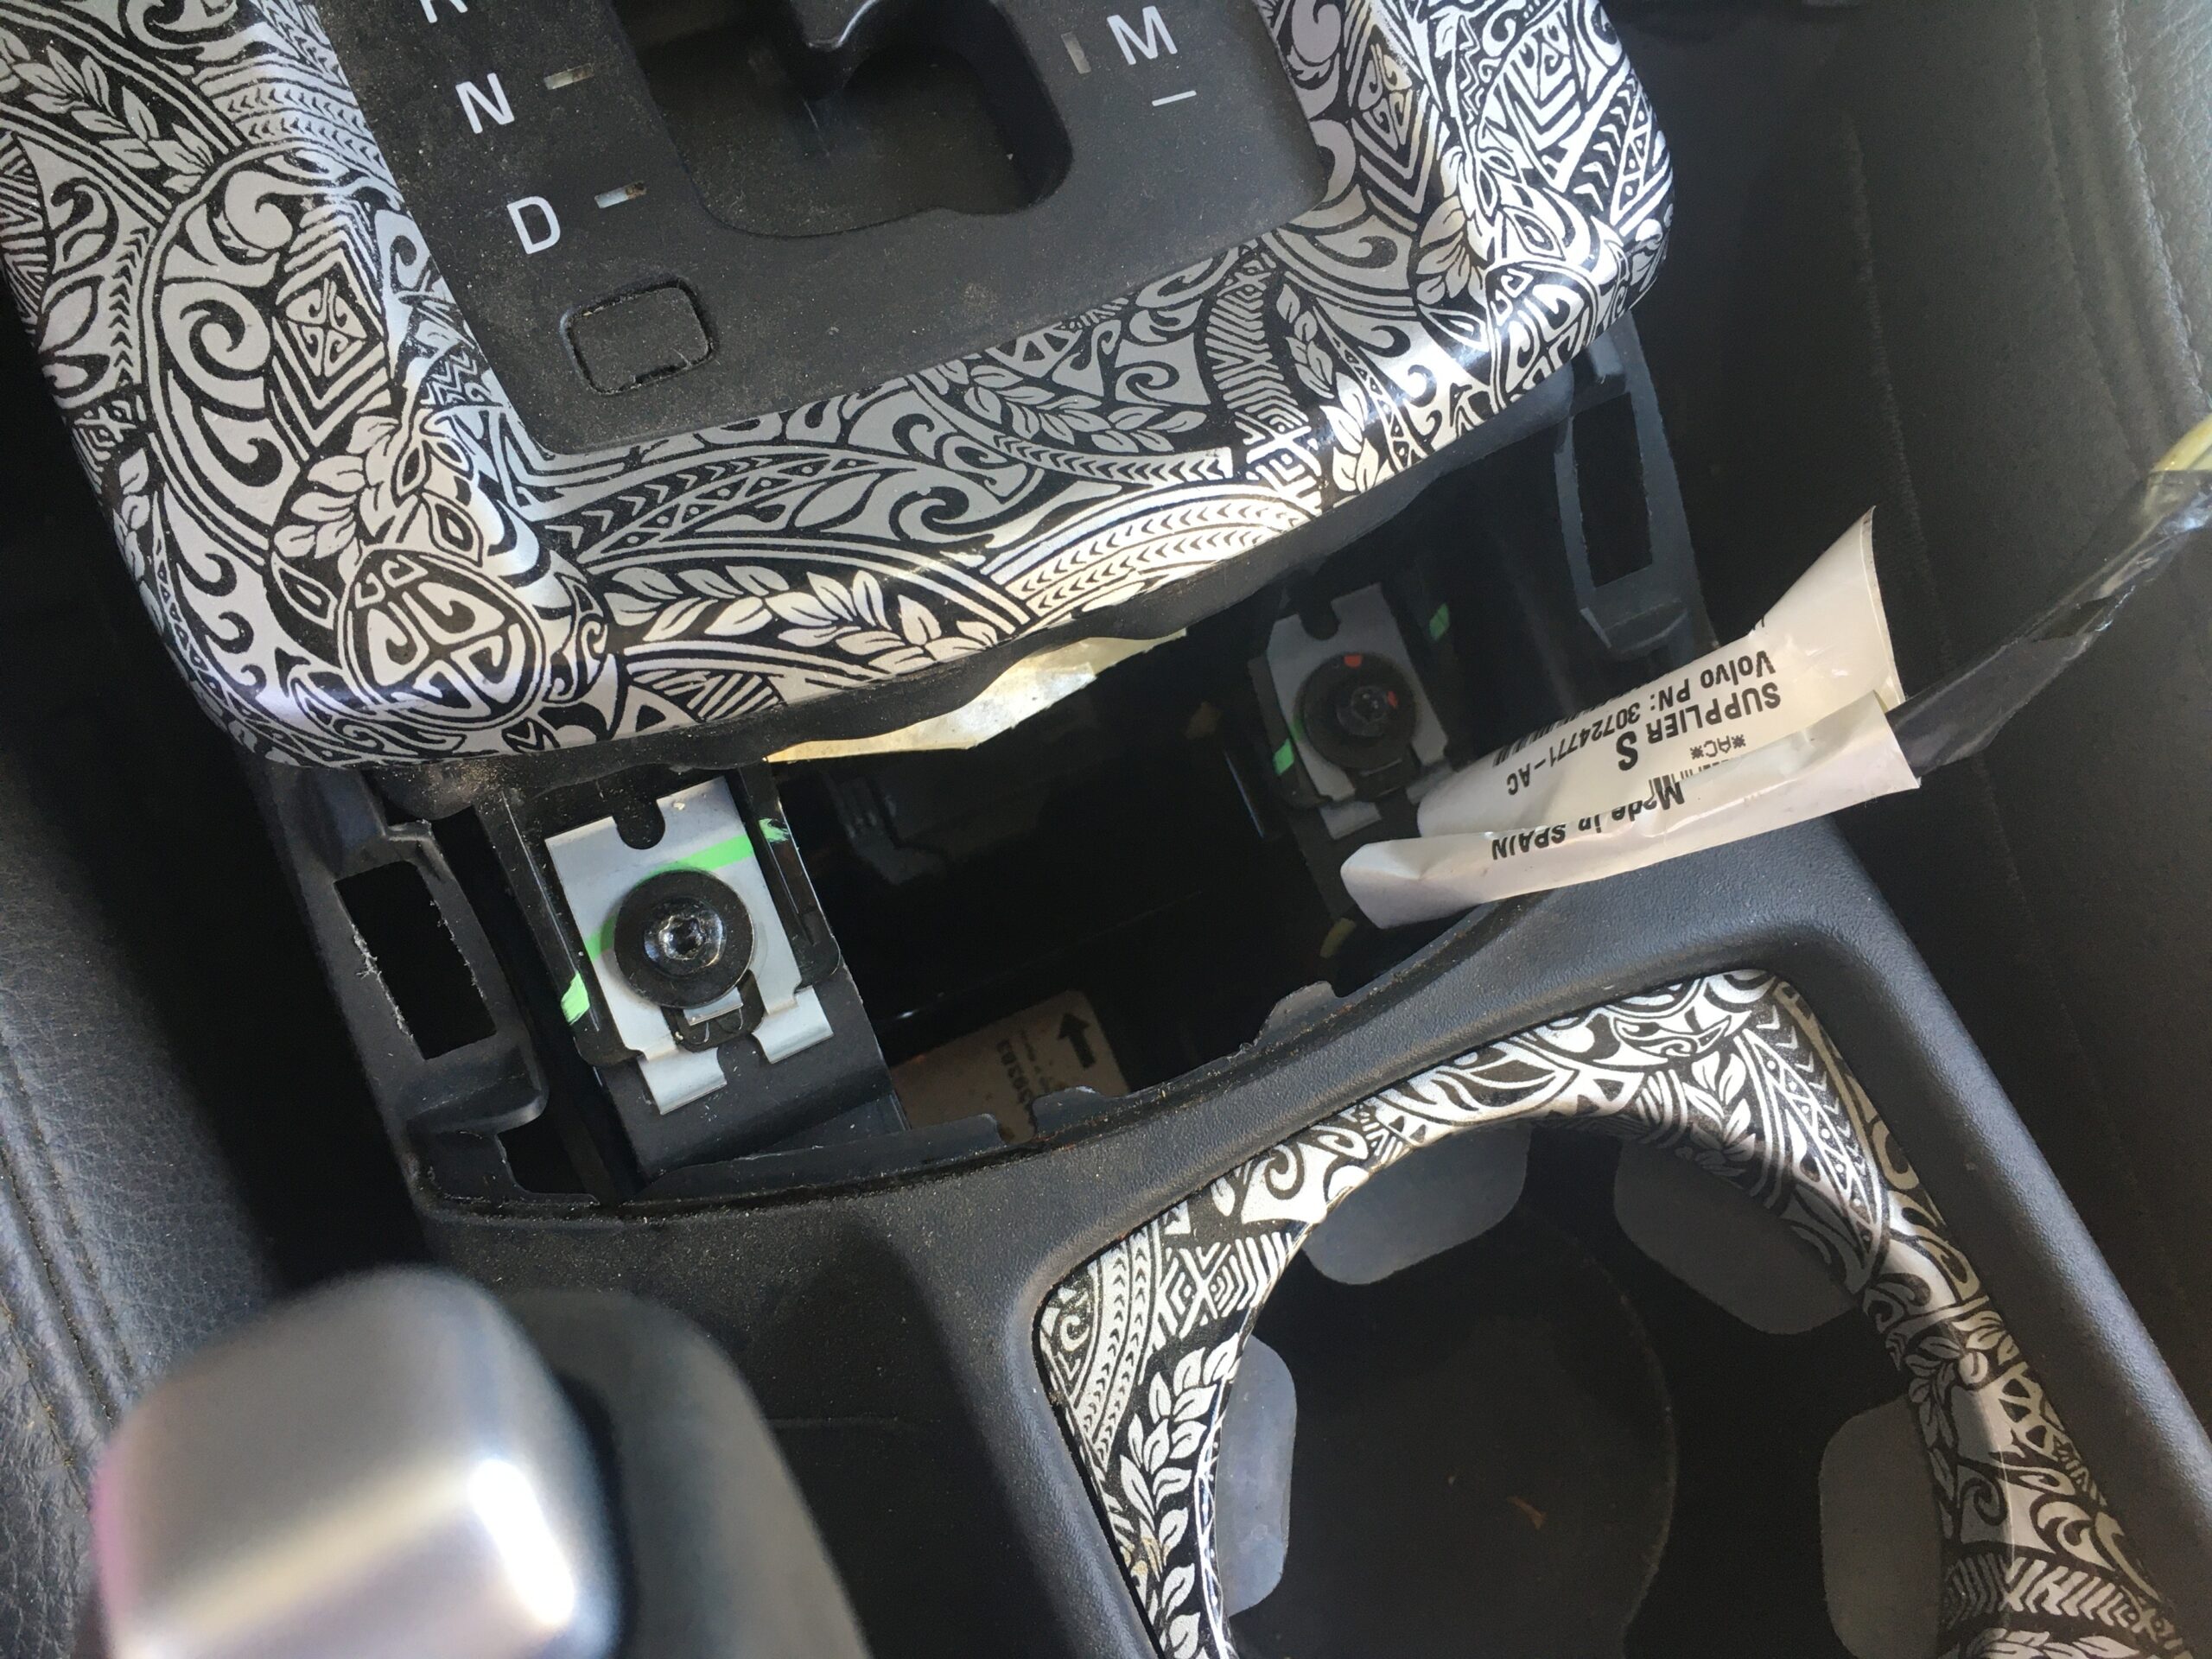

8. Now you need to remove 4 torque screws holding your waterfall in place. Two under the 12V charger and 2 behind your ICM screen.


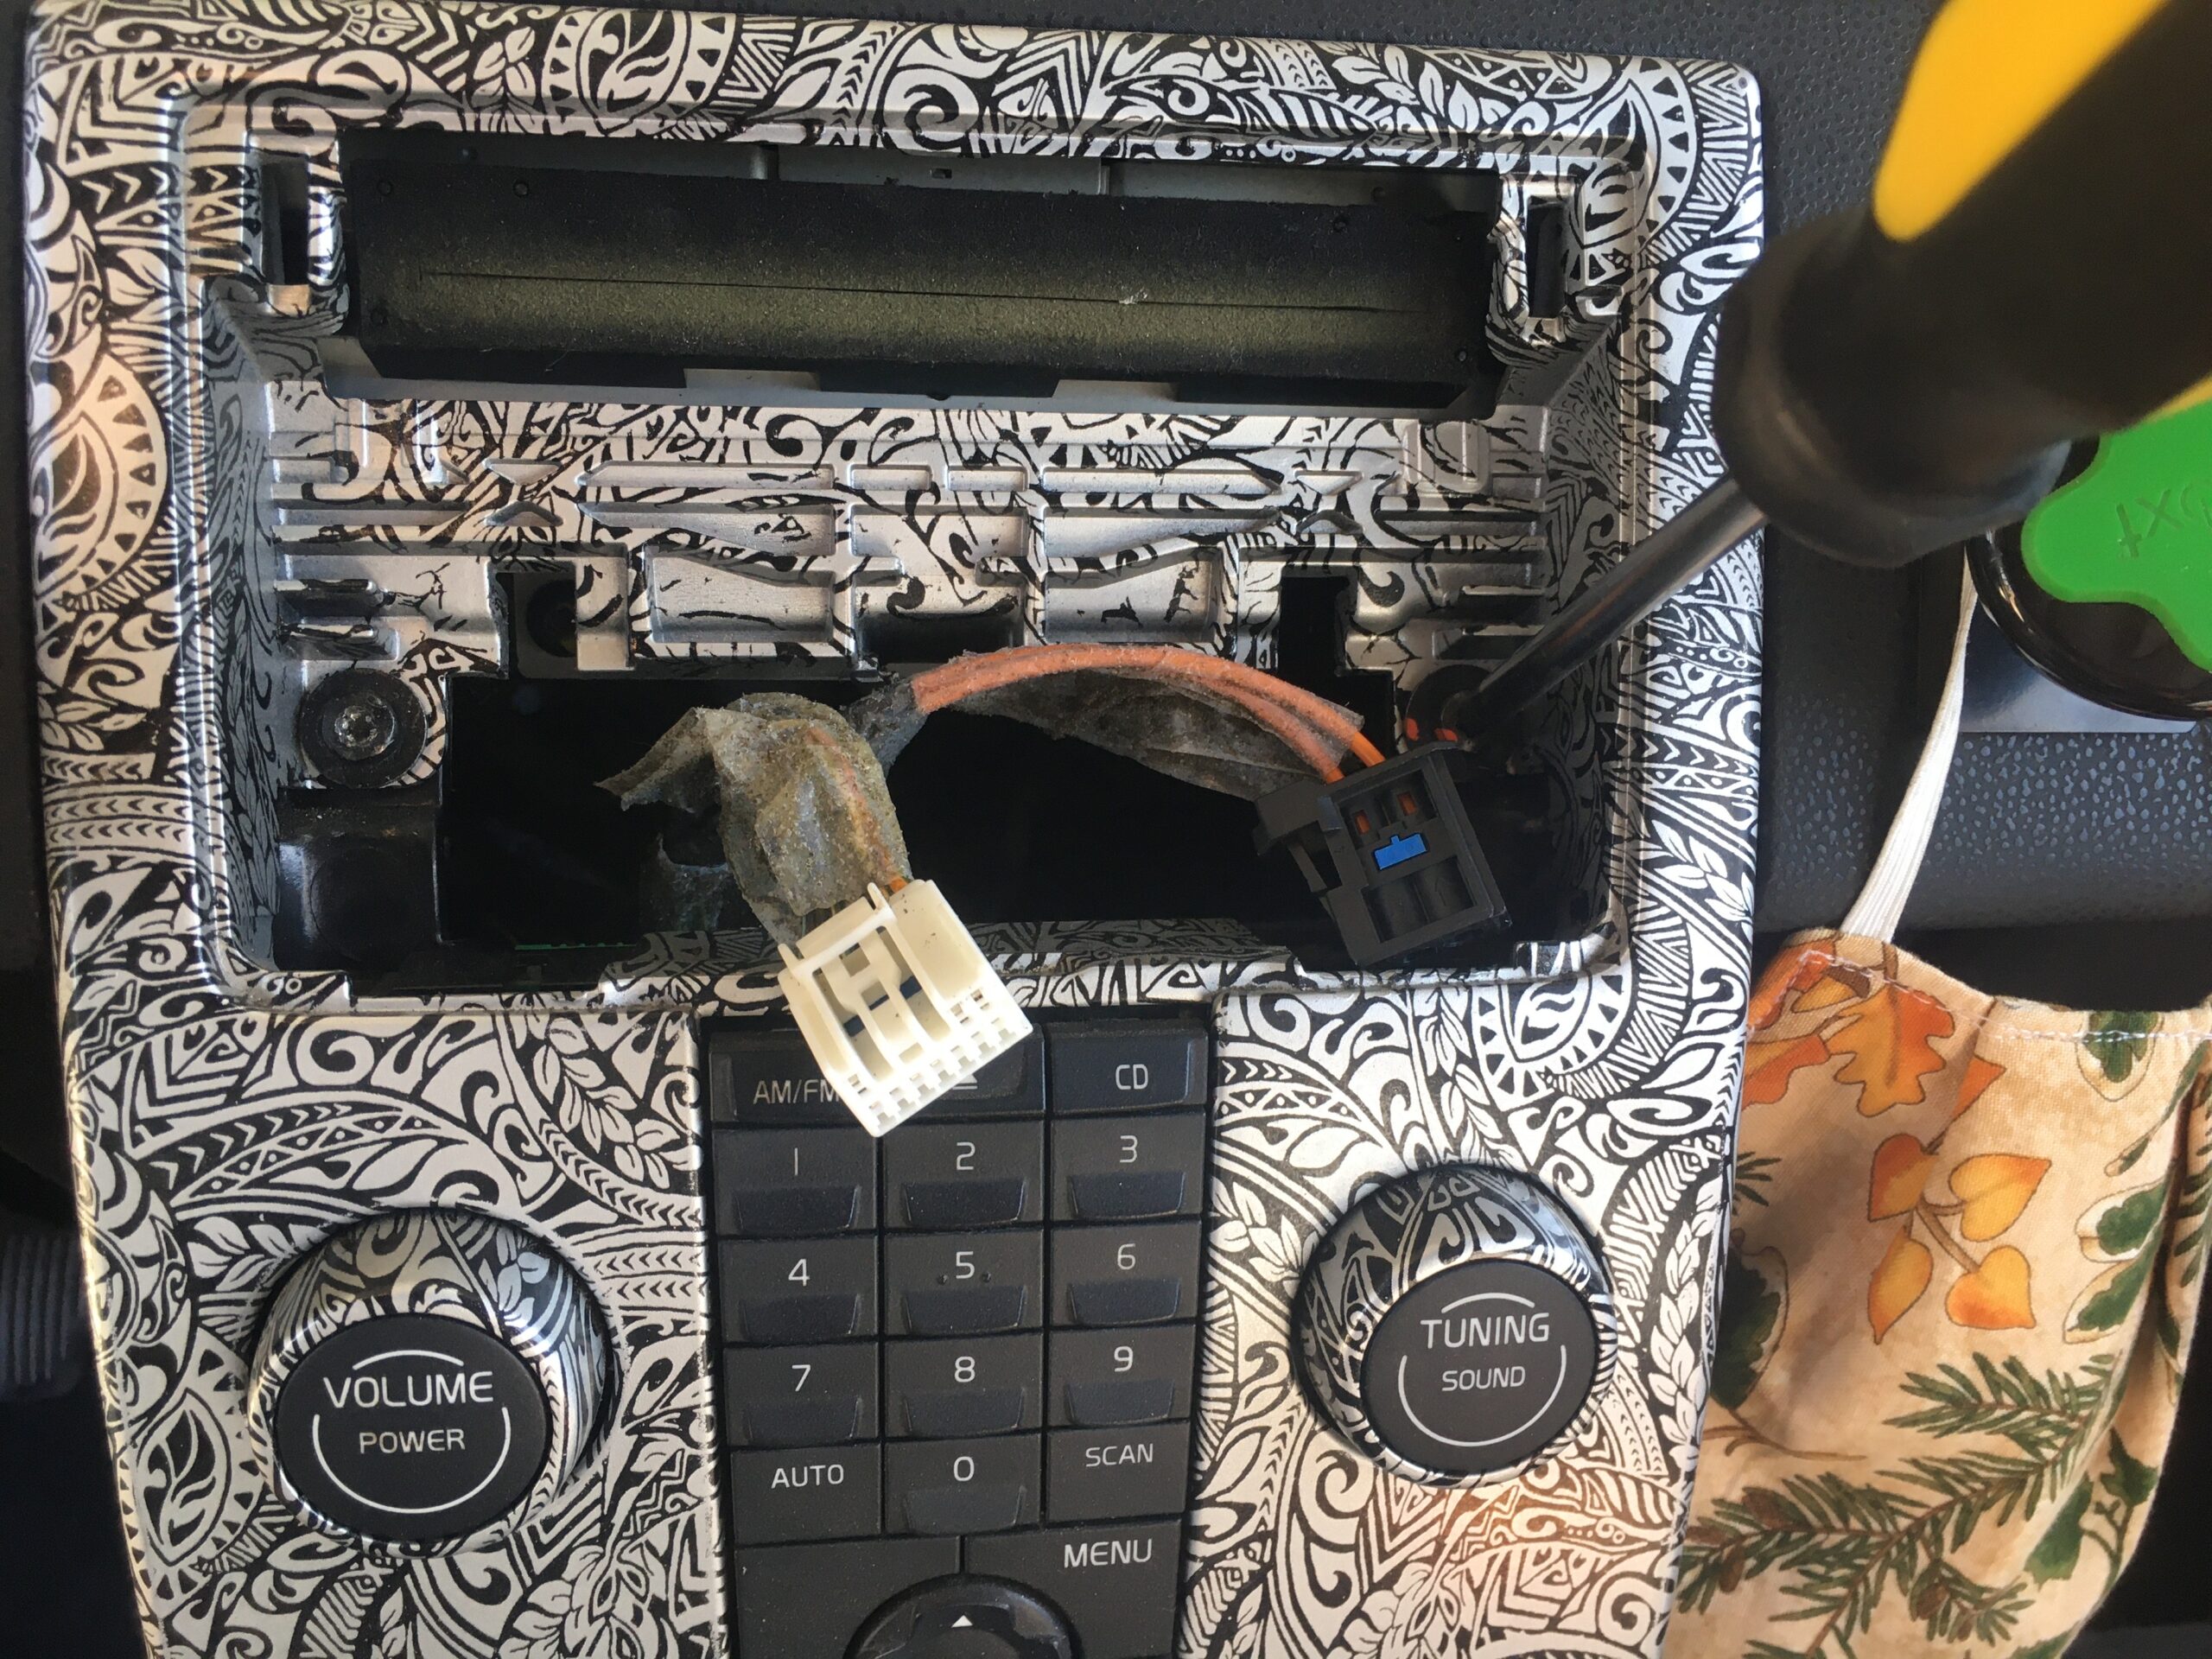
9. Unplug the wire harness connected to the waterfall.
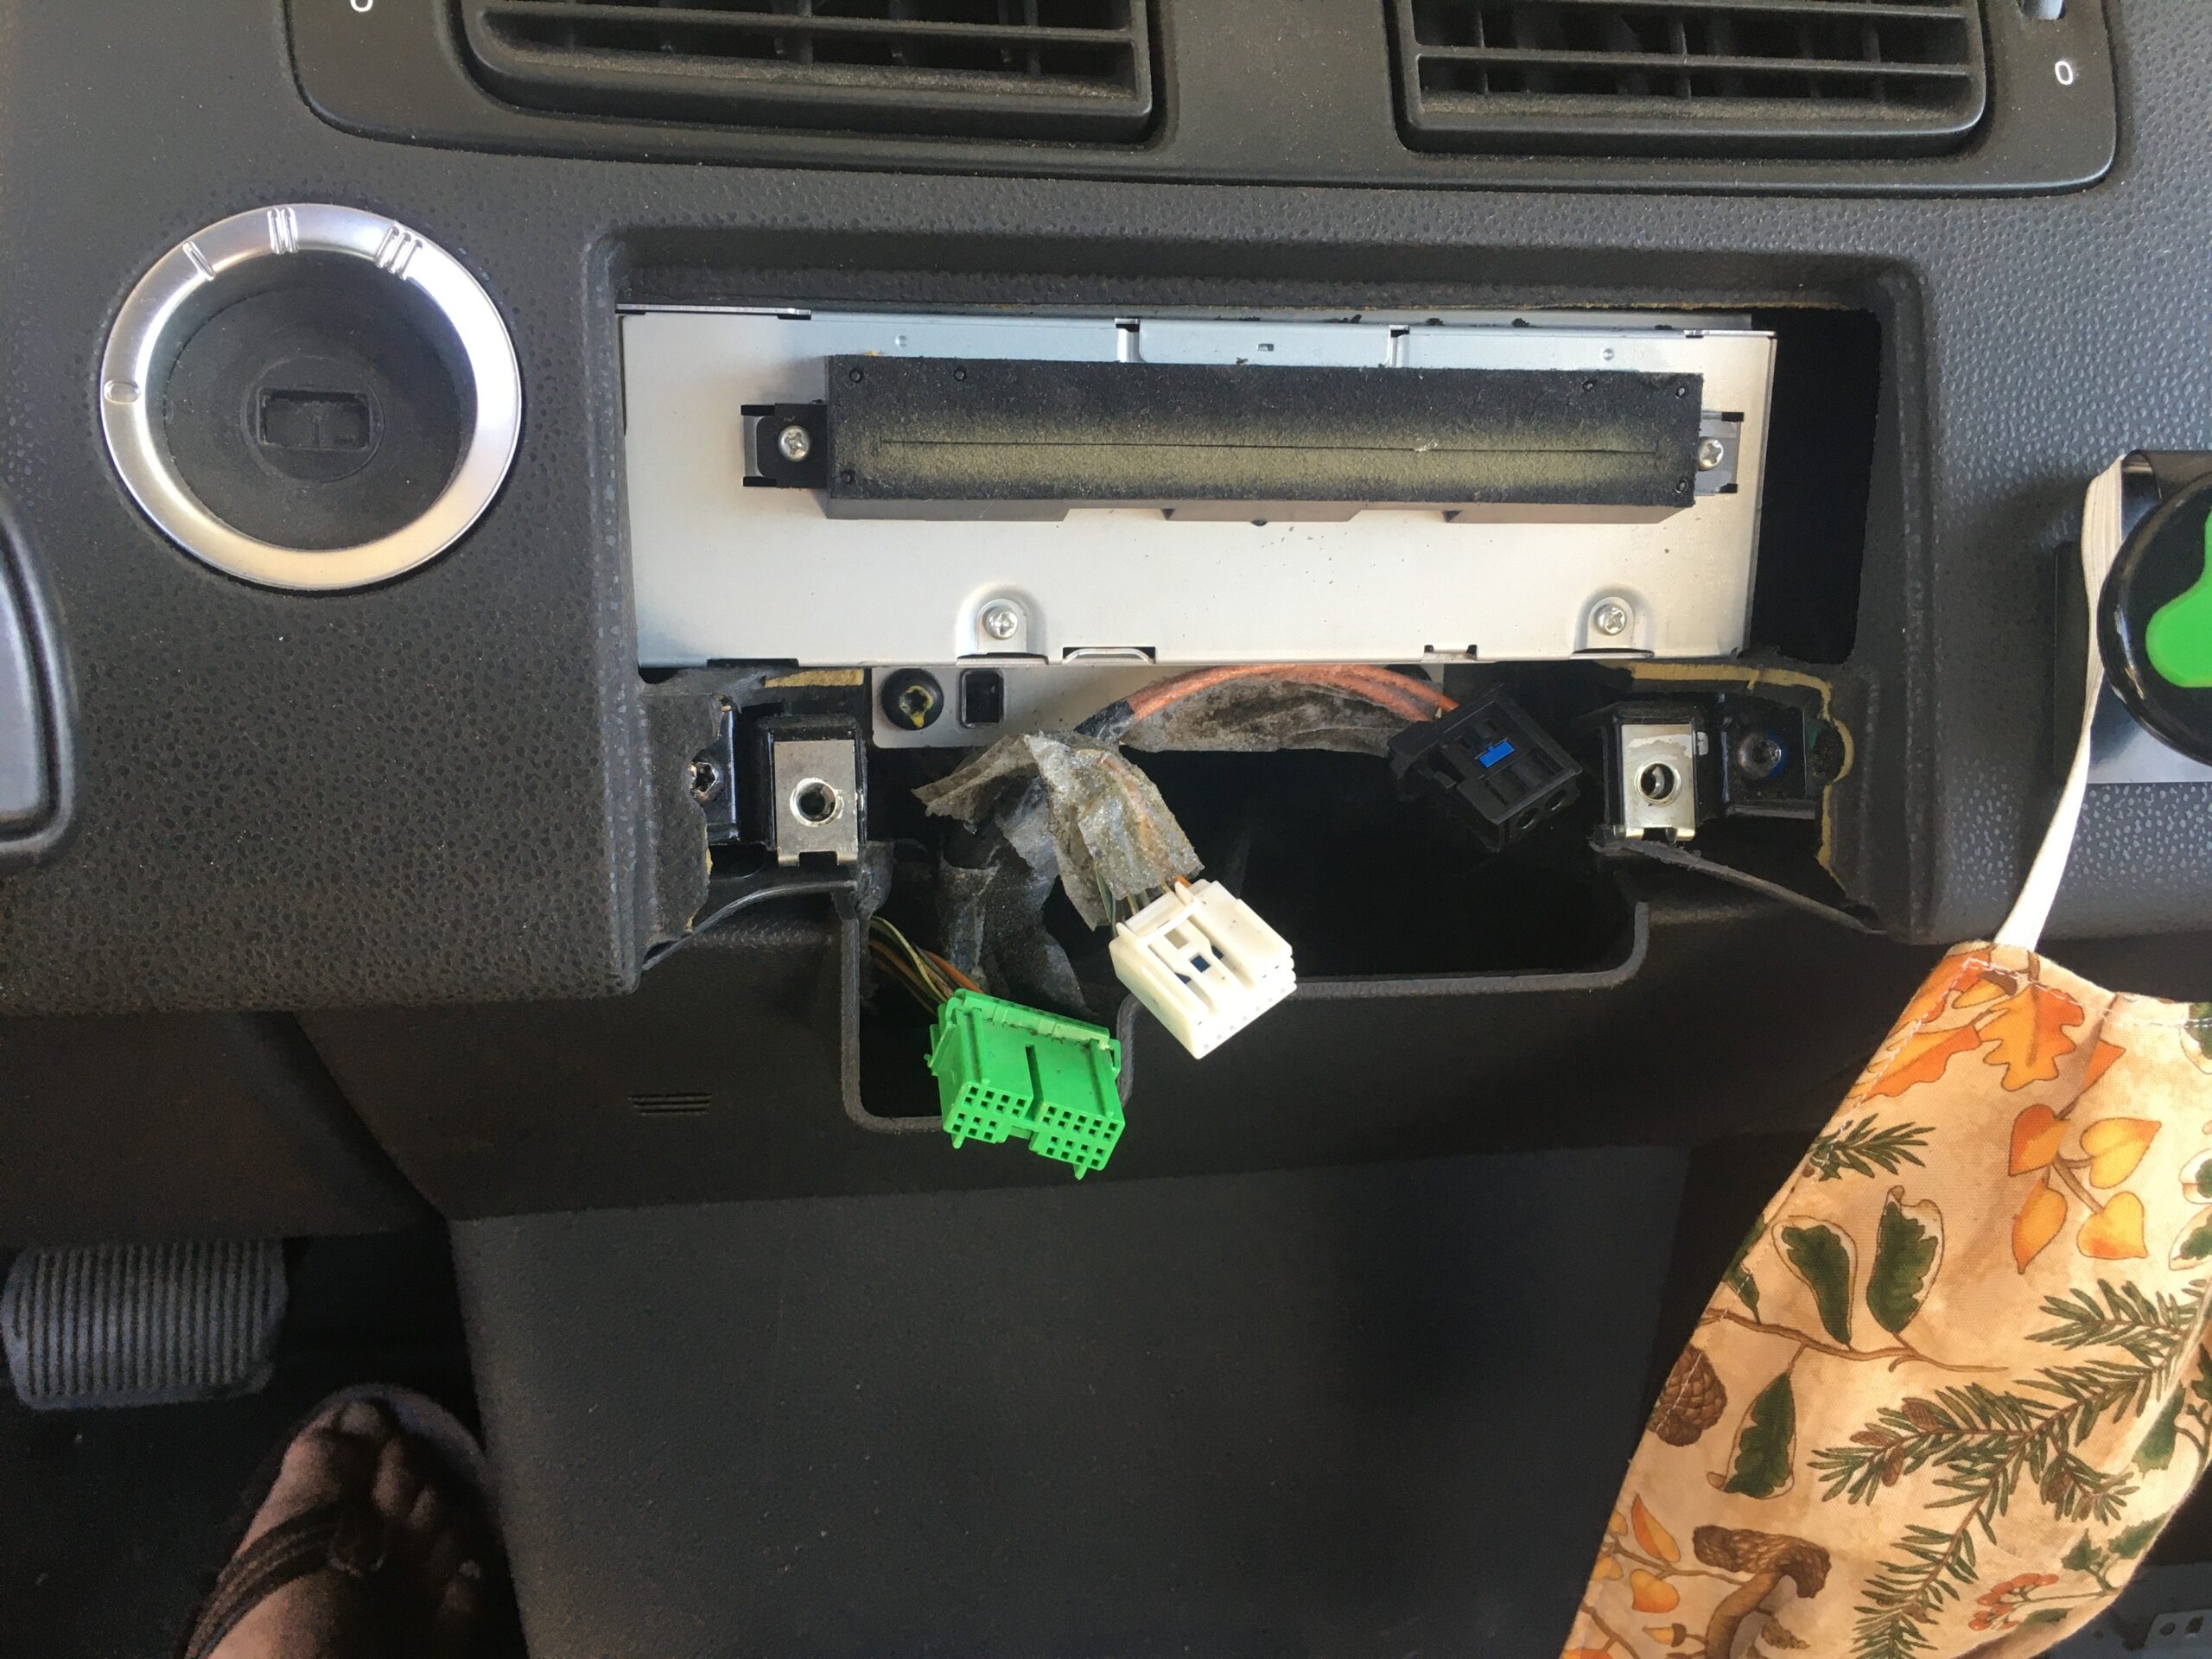

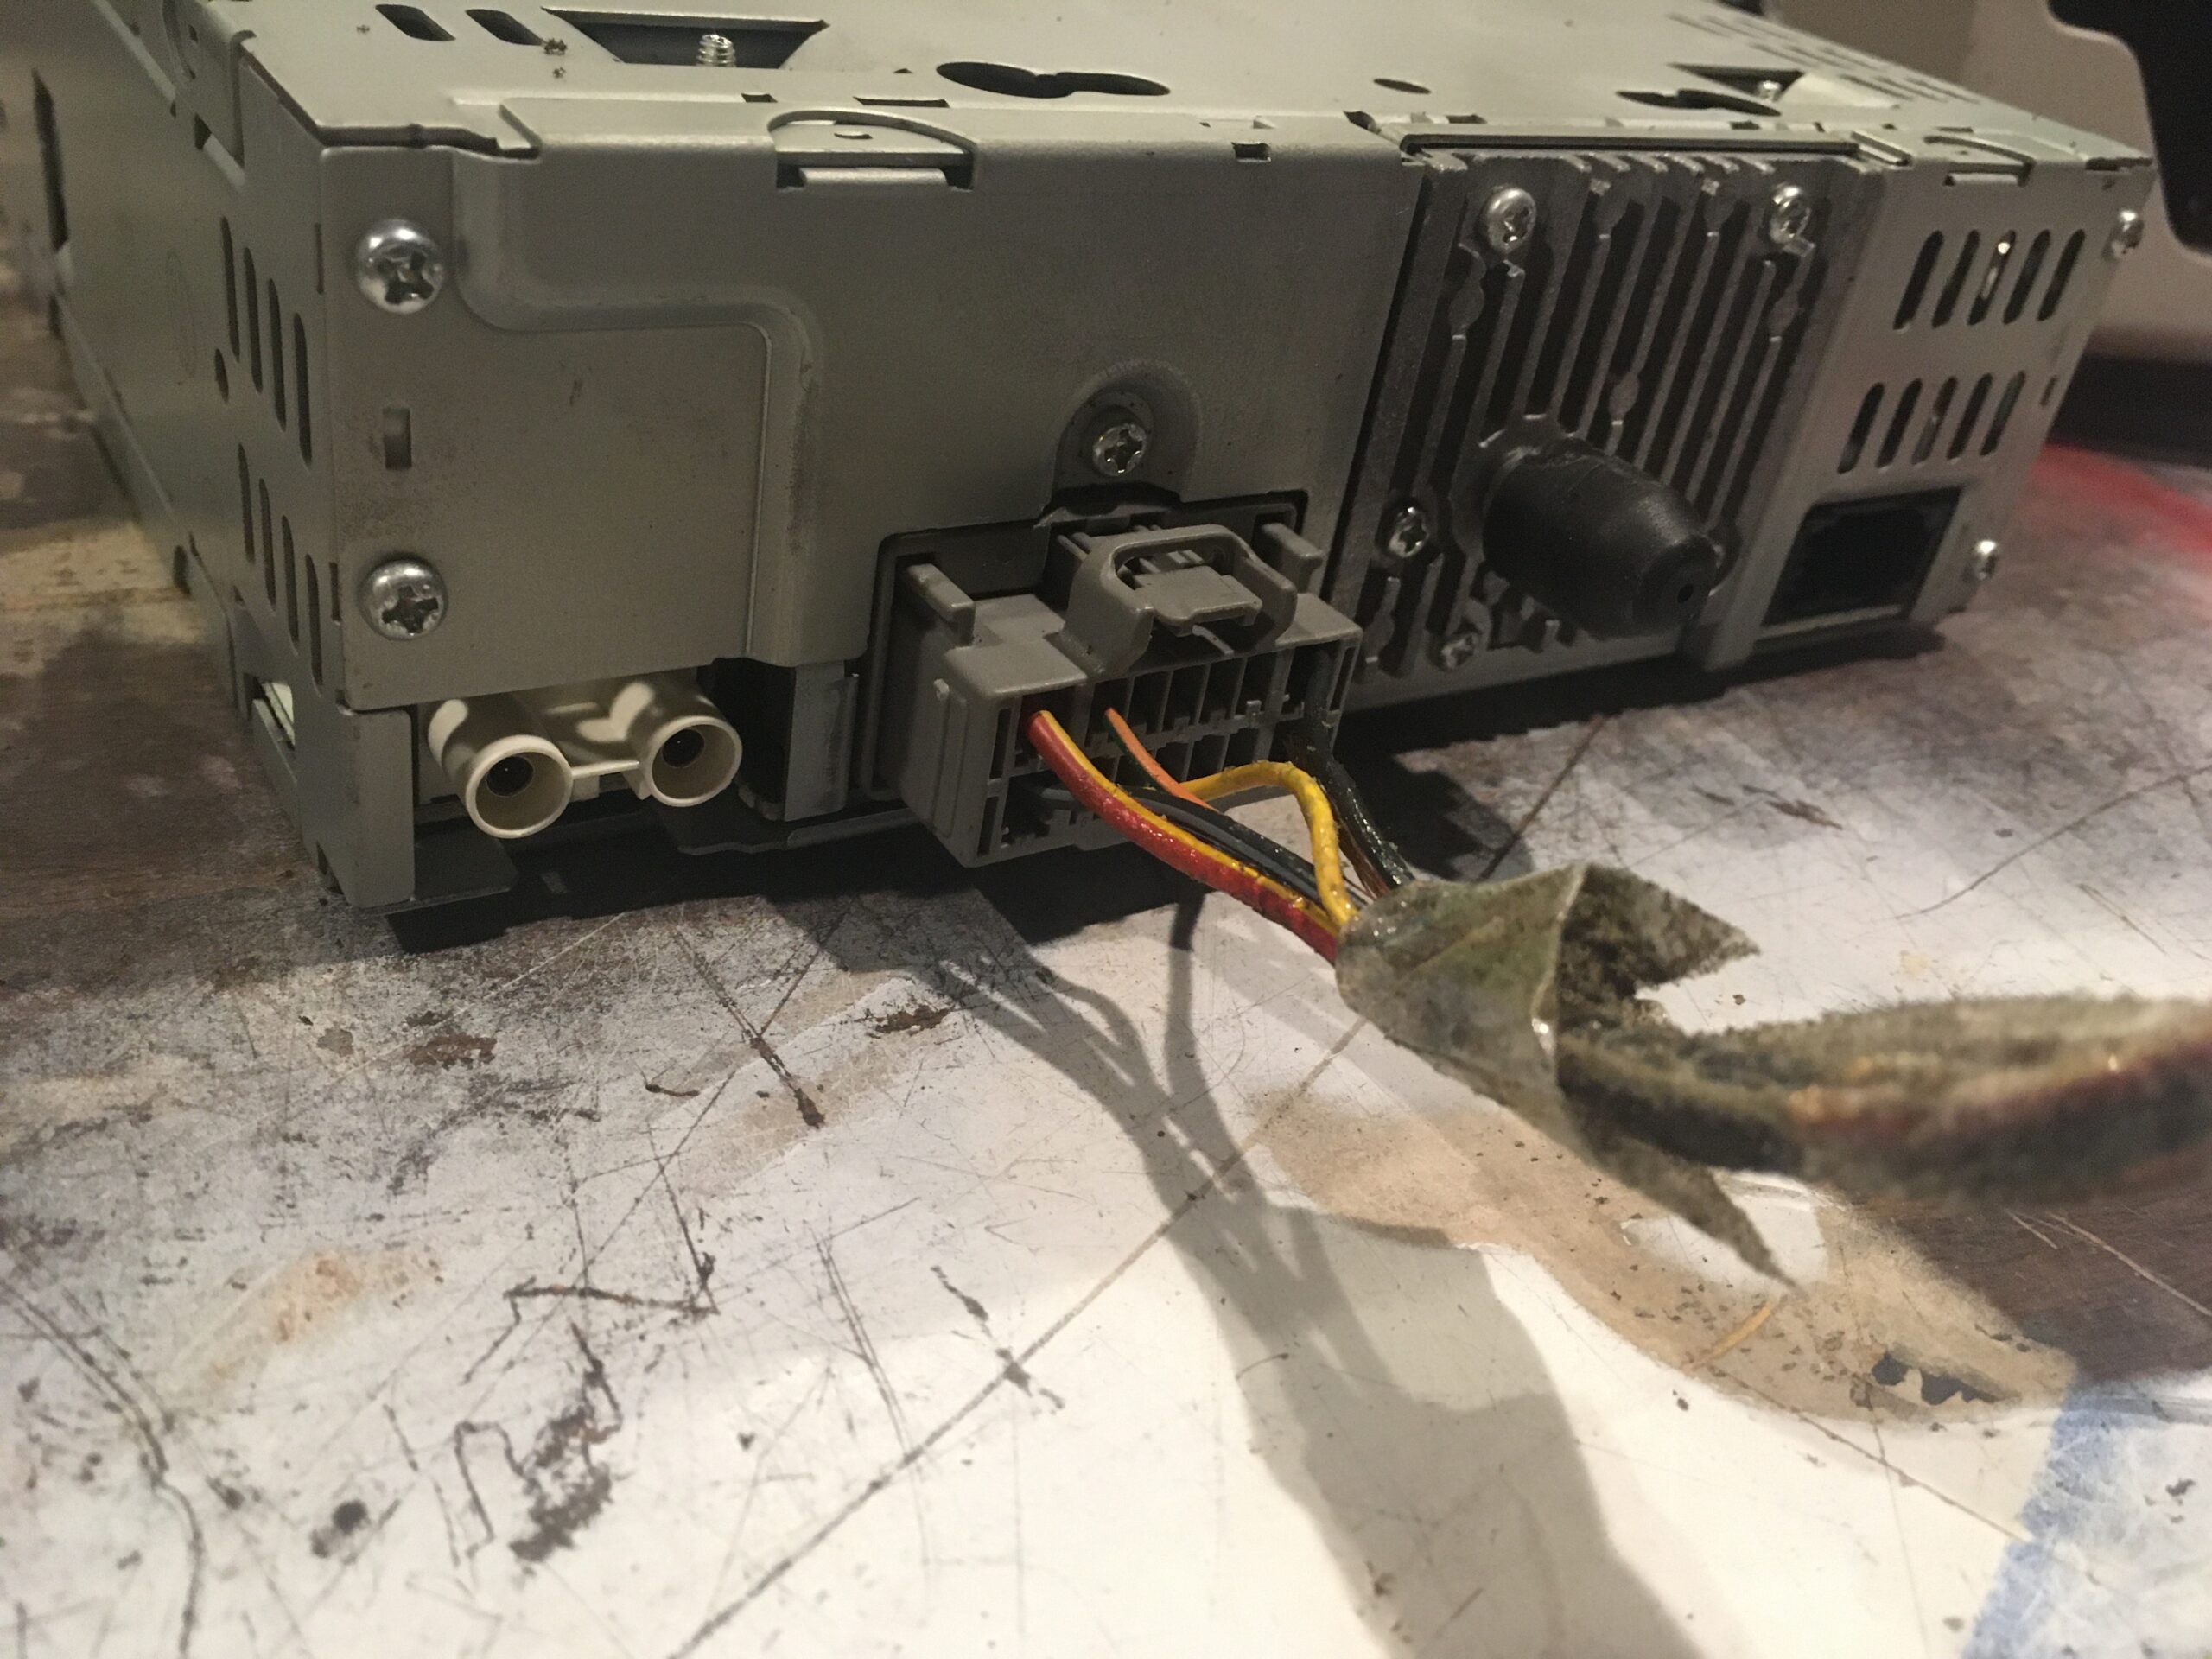
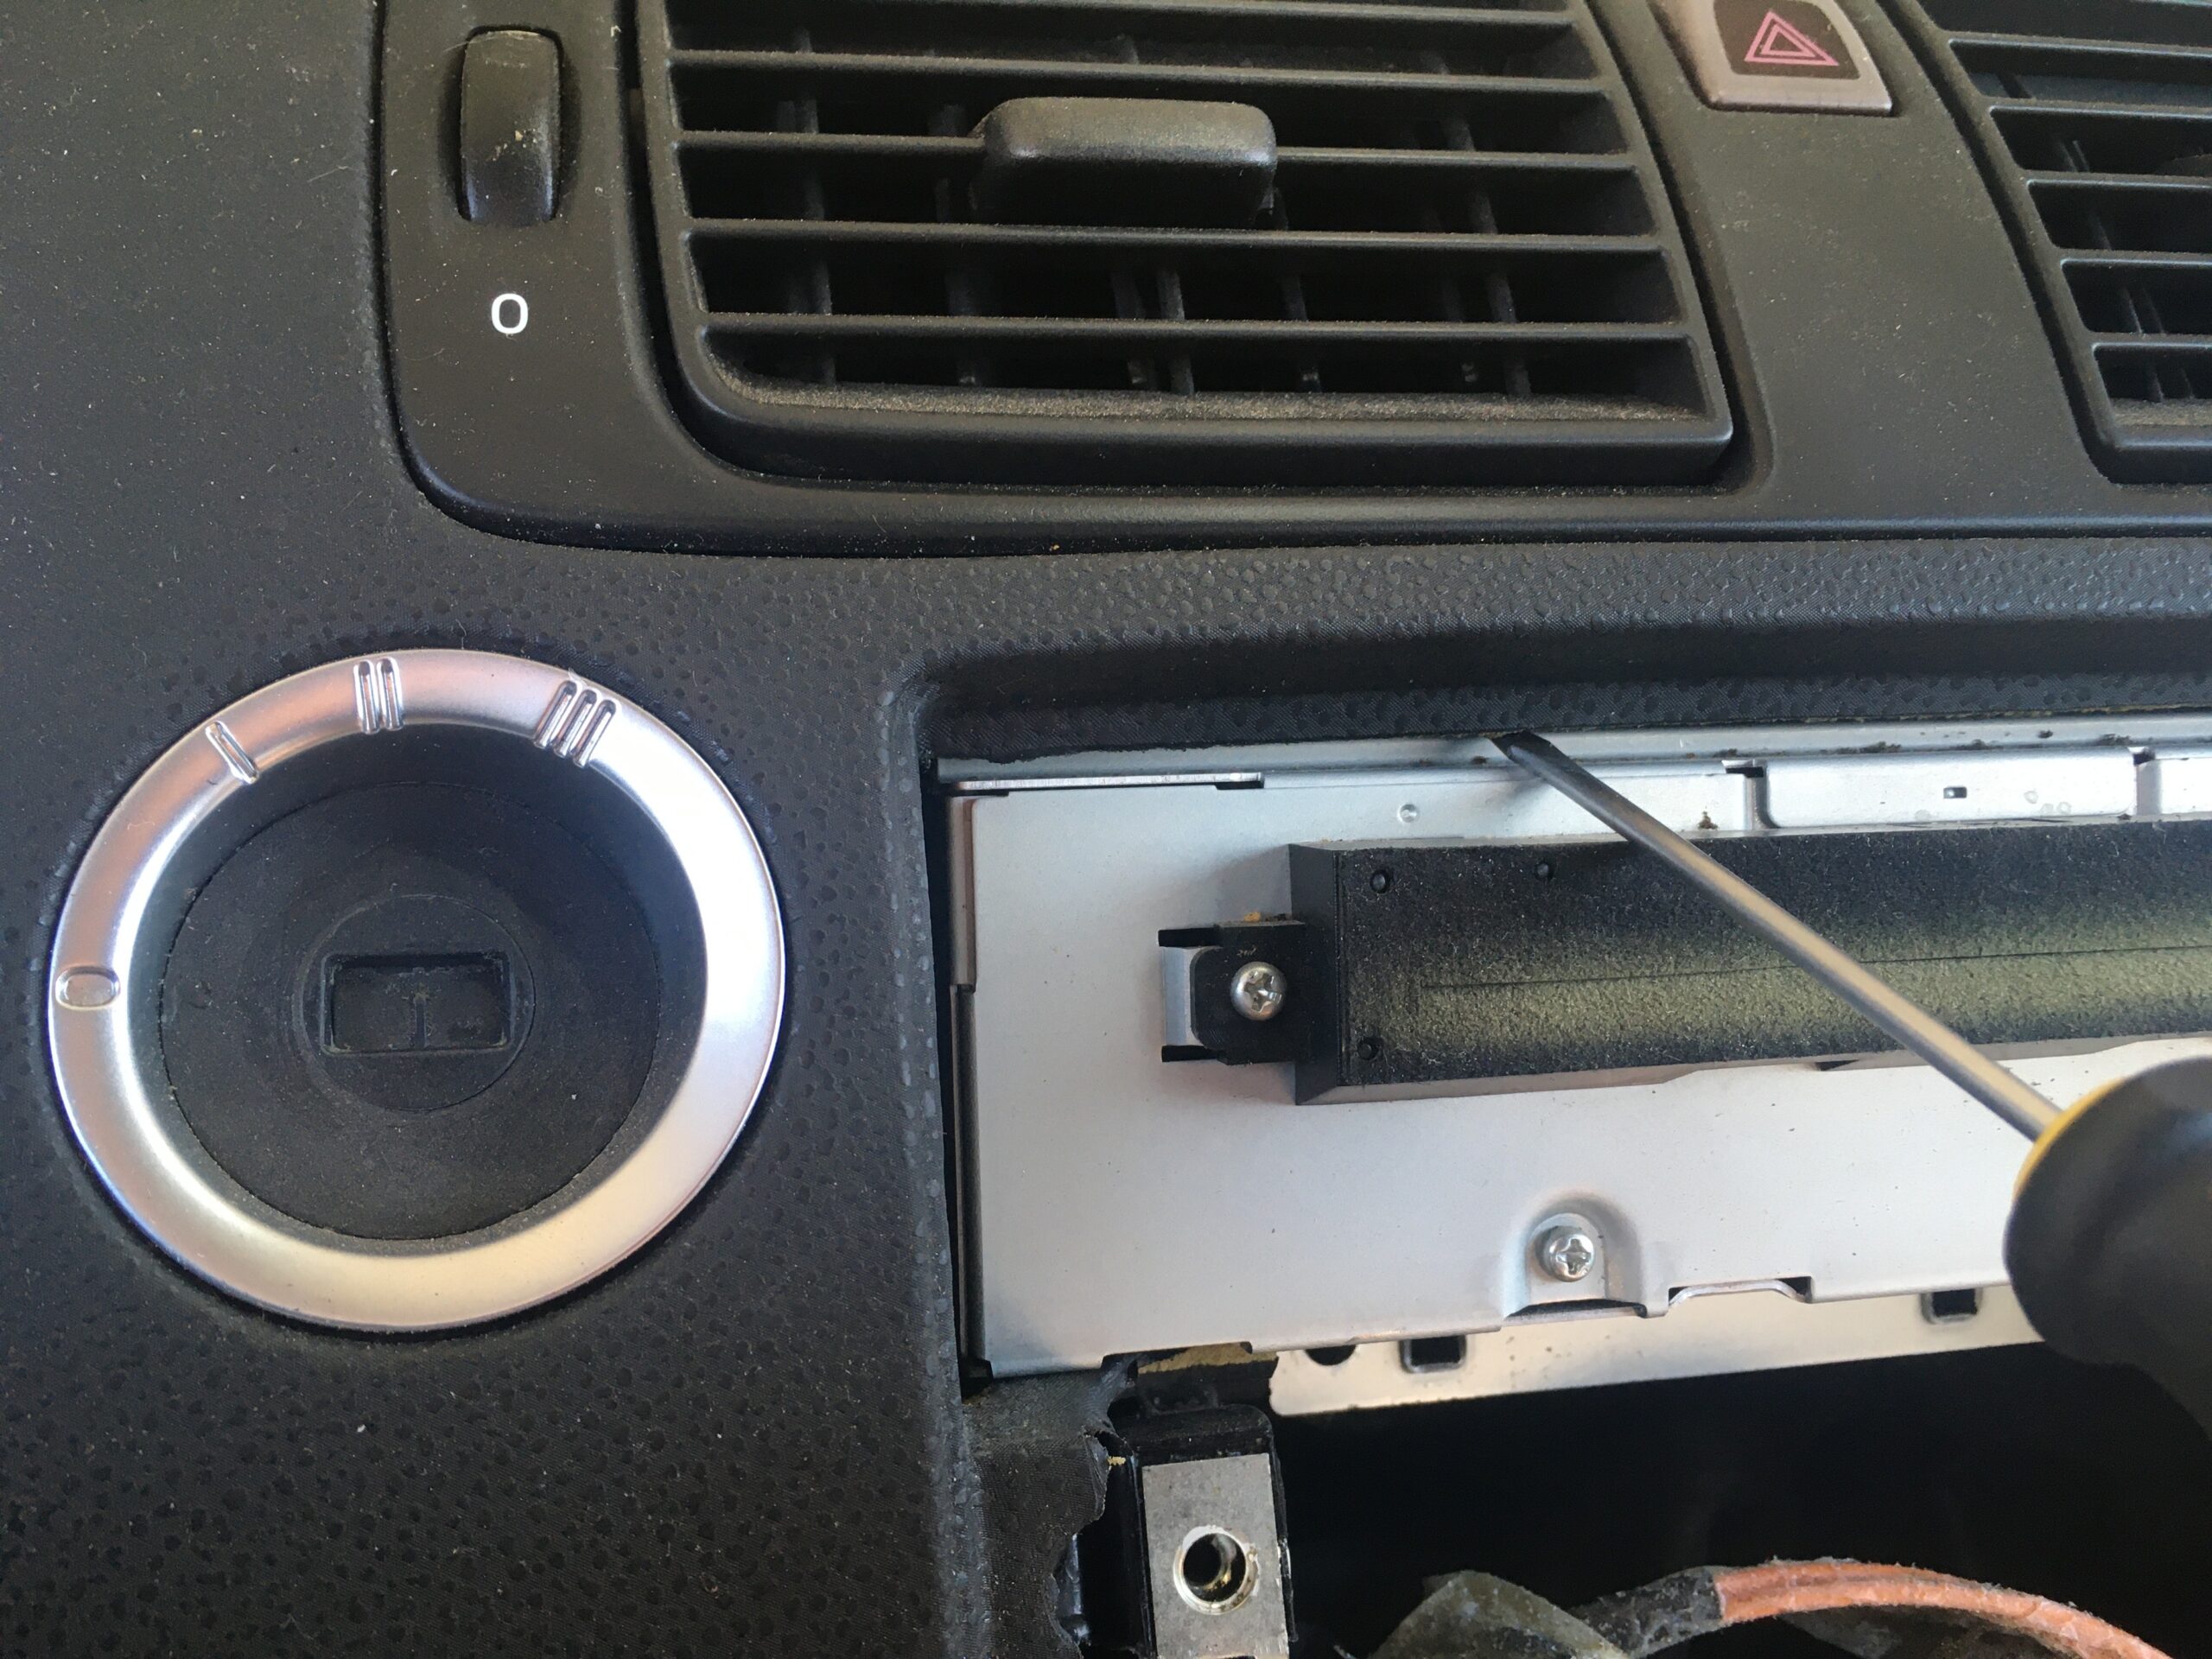
10. Remove the 2 torque screws holding the CD deck in place and wiggle/pull it out. Then remove the 3 wire harnesses connected to it (Wire harness, Radio Antenna and Optical cables).

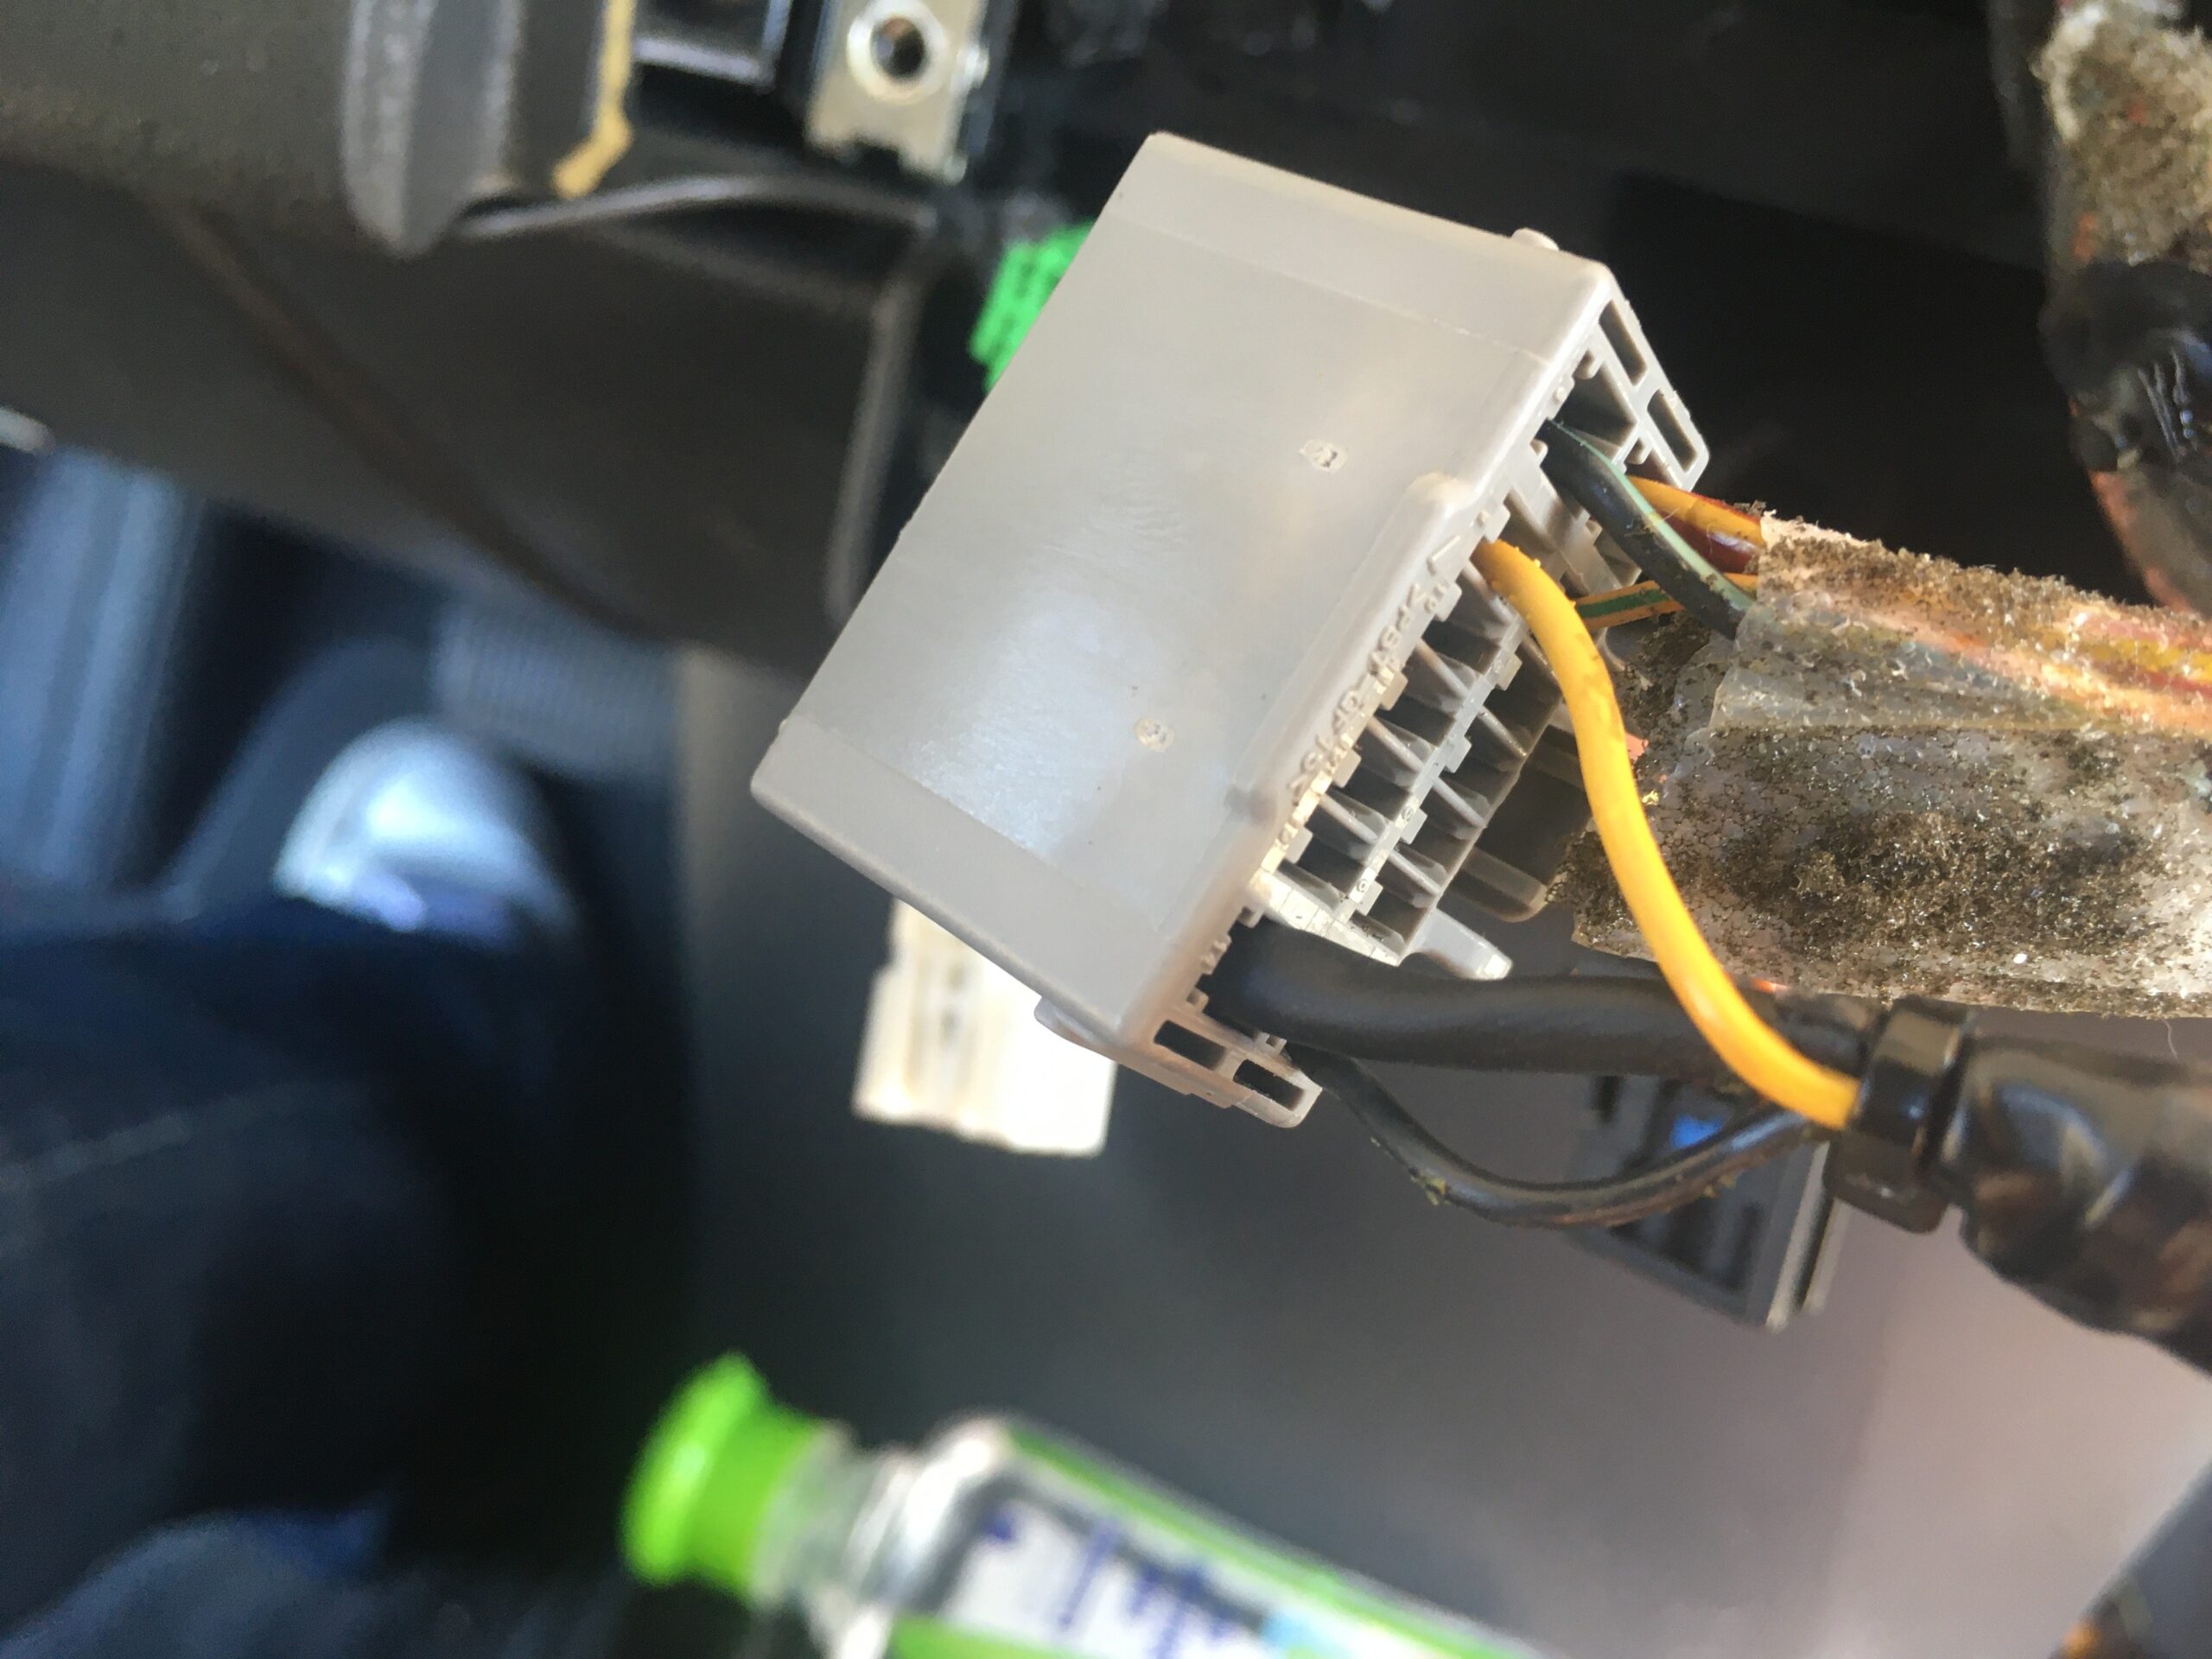
12. Remove the red retainer on this harness.
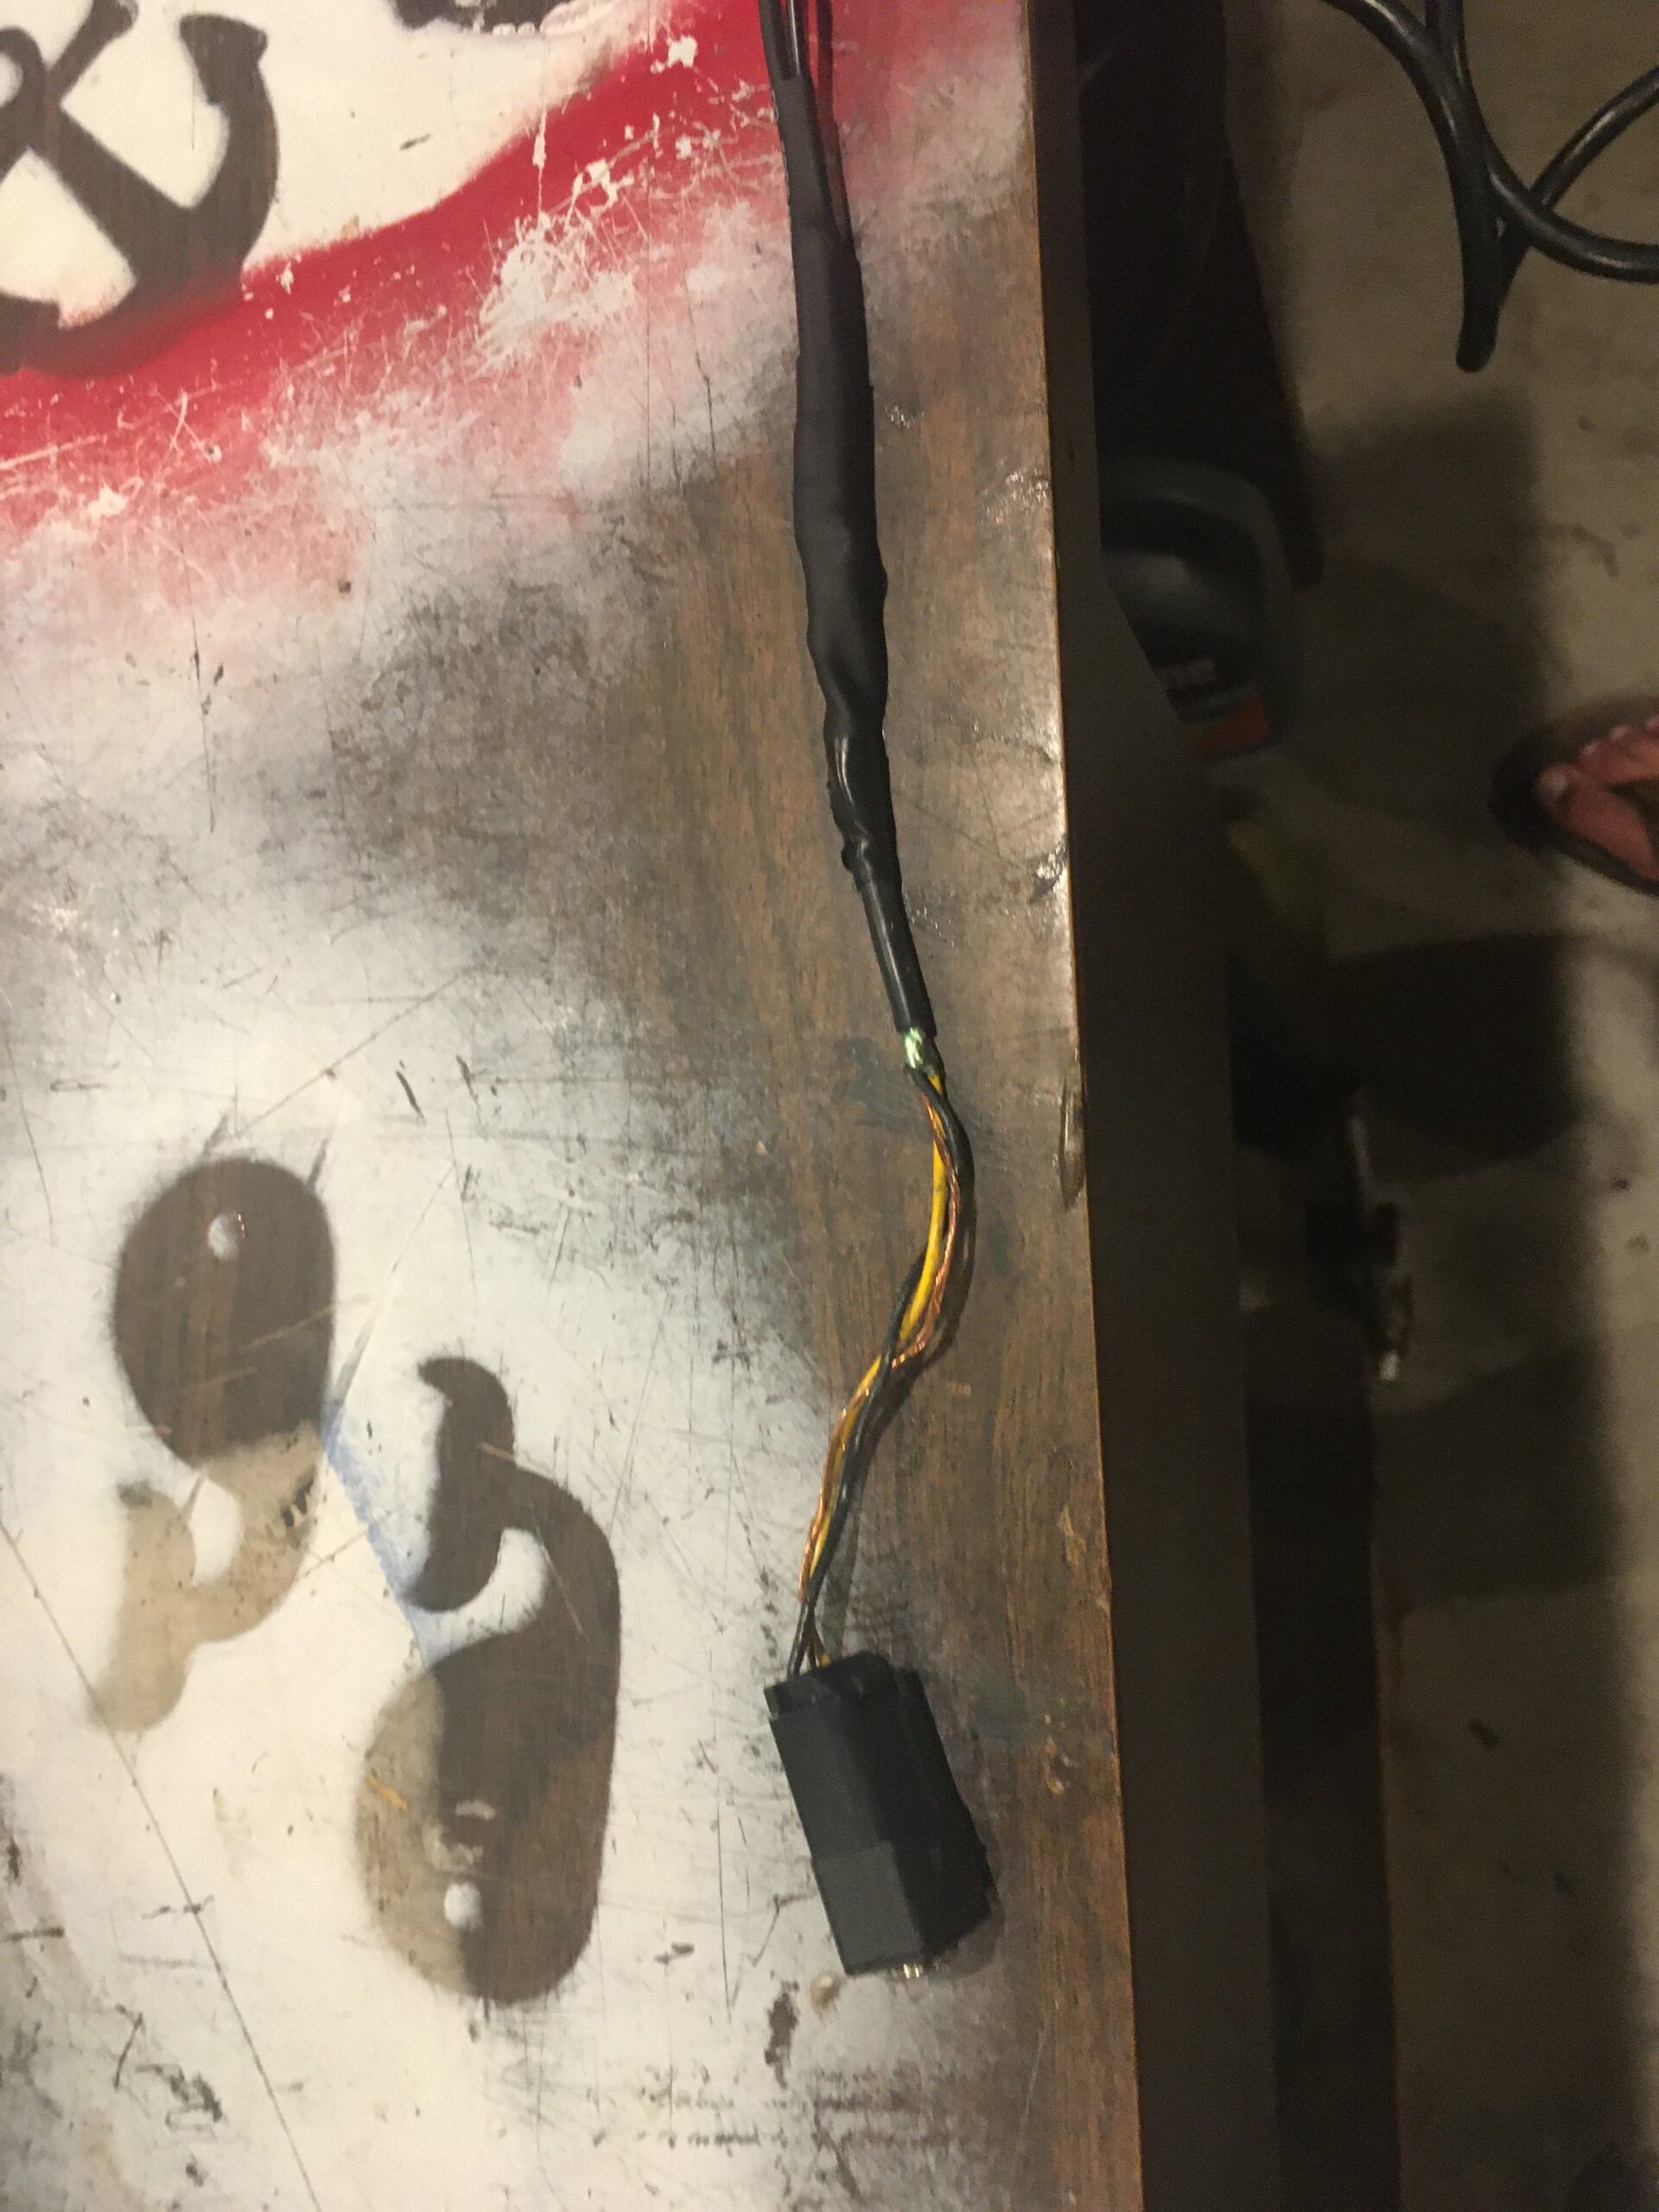
13. Slide your pins from your newly minted jumper/patch cable into the appropriate numbered slots (7,9,14). You will hear then “click” into place. Look at the front to see how the pins are placed, there is a top and bottom and you want to match, so the pins are fully locked into harness, and so you have a sold connection to the CD deck when the harness is connected.

14. Plug in all your harness for the CD deck and the ICM screen. Do this without putting them all back, this is you testing your work before you put it all back together.
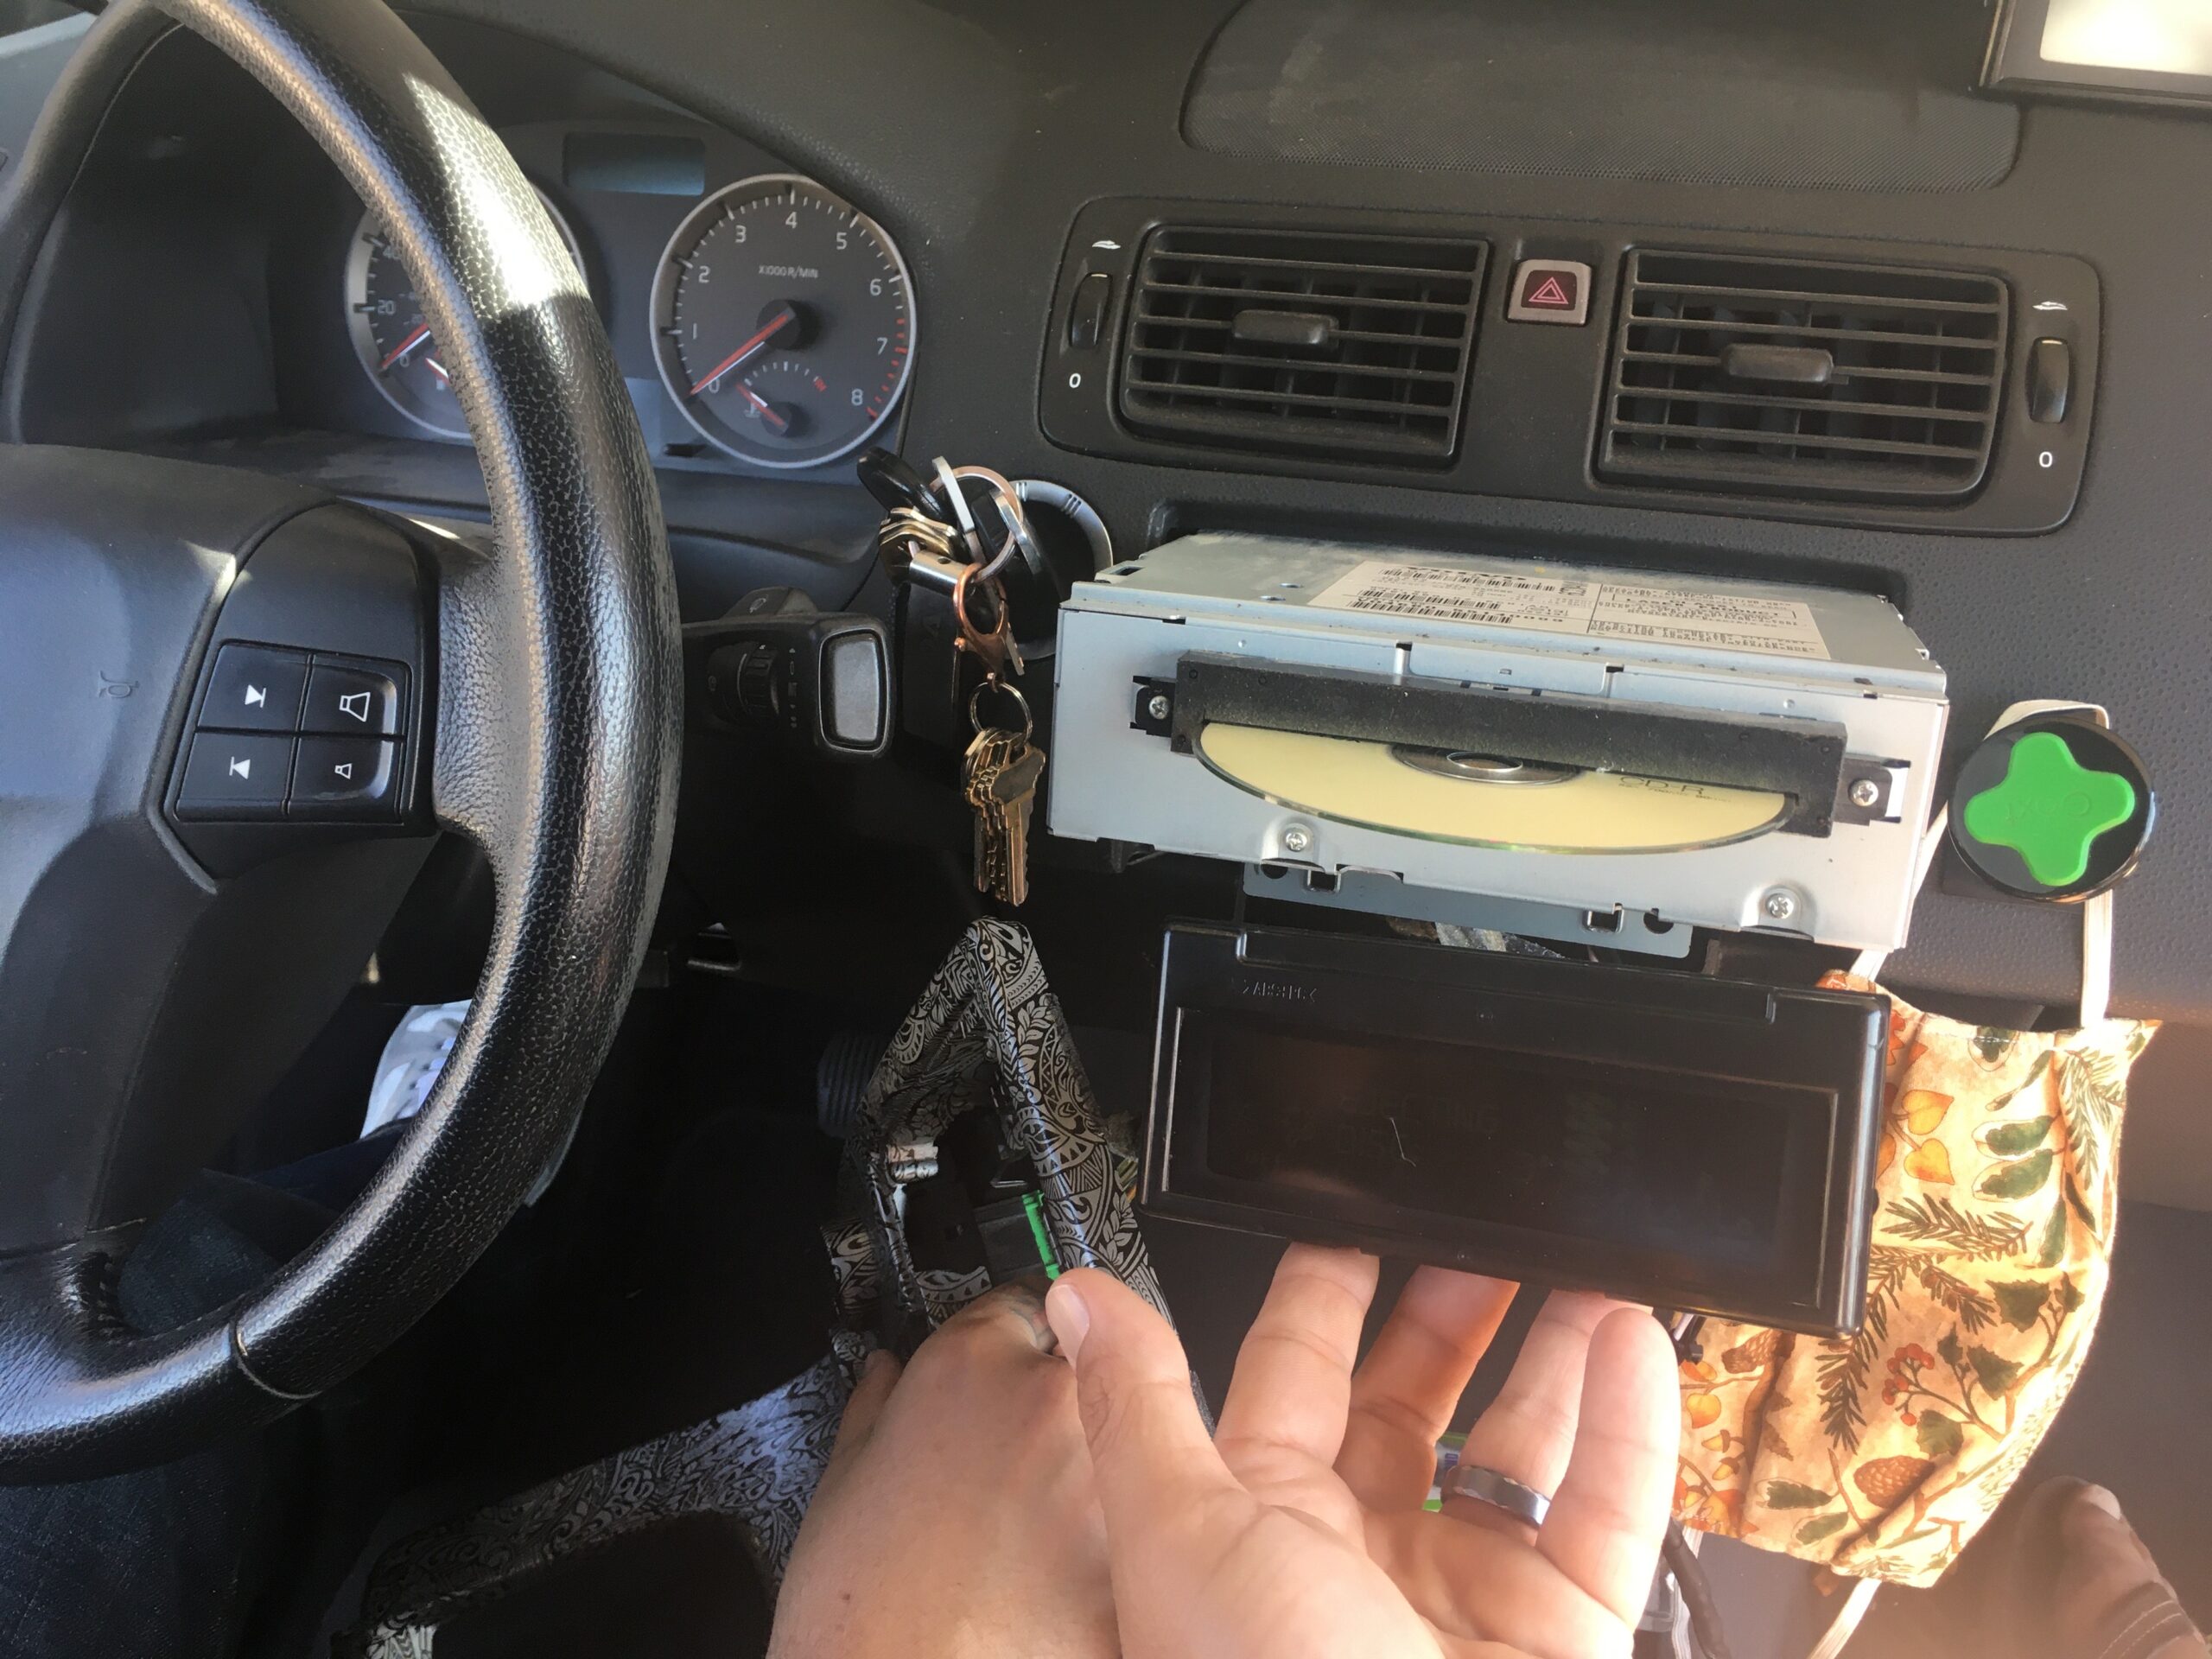

15. Fire up your car, hit the “CD” button and see your new AUX option. The button now is your changer to CD and AUX, and your selection highlighted on the ICM screen.

16. Run your aux wire to your preferred destination. I ran mine to pop out with the waterfall wiring. I did have to cut a small grove in the kick panel for the wire to fit, but you cannot see it. At first I noticed the wire was being pinched, so I wanted to make sure the wire was free and clear from any stress. You could run to glove box, dome light area, truck….. wherever, as long as the jumper/patch cable you made is long enough. After I used a small strip of #M double sided tape to mount the aux port to the back of waterfall.


17. Re install CD deck, bolt into place
18. Replace Waterfall screws (4), plug in harness to waterfall, replace 12V cover behind shifter.
19. Plug harnesses to ICM screen and pop back into place.
20. Replace the CD deck/ICM trim bezel.
21. The very last step, and the best, pop off your “CD” button with a tiny flathead driver, pop on your new “Mode” button.


22. Dust of your gen2 iPod and load up some tracks.
Hope that helps some of you out. We’ve been grabbing these units at the junkyard as much as we can find them. All us 05-06 owners no the struggle, and this little joy just makes the car some much more enjoyable.


